 |
Goodwin Racing RoadsterSport Exhaust By Bill "BillaVista" Ansell |
IntroductionA HUGE gallery of pics and some comments on the full cat-back Goodwin Racing RoadsterSport Exhaust for Fiat 124 Abarth that I recently installed on my 2017. Note that this will not be a "full" installation article as per my normal style - rather it will be more of a super gallery of pics with the addition of some commentary by me. The reasons for this are as follows:
|
 |
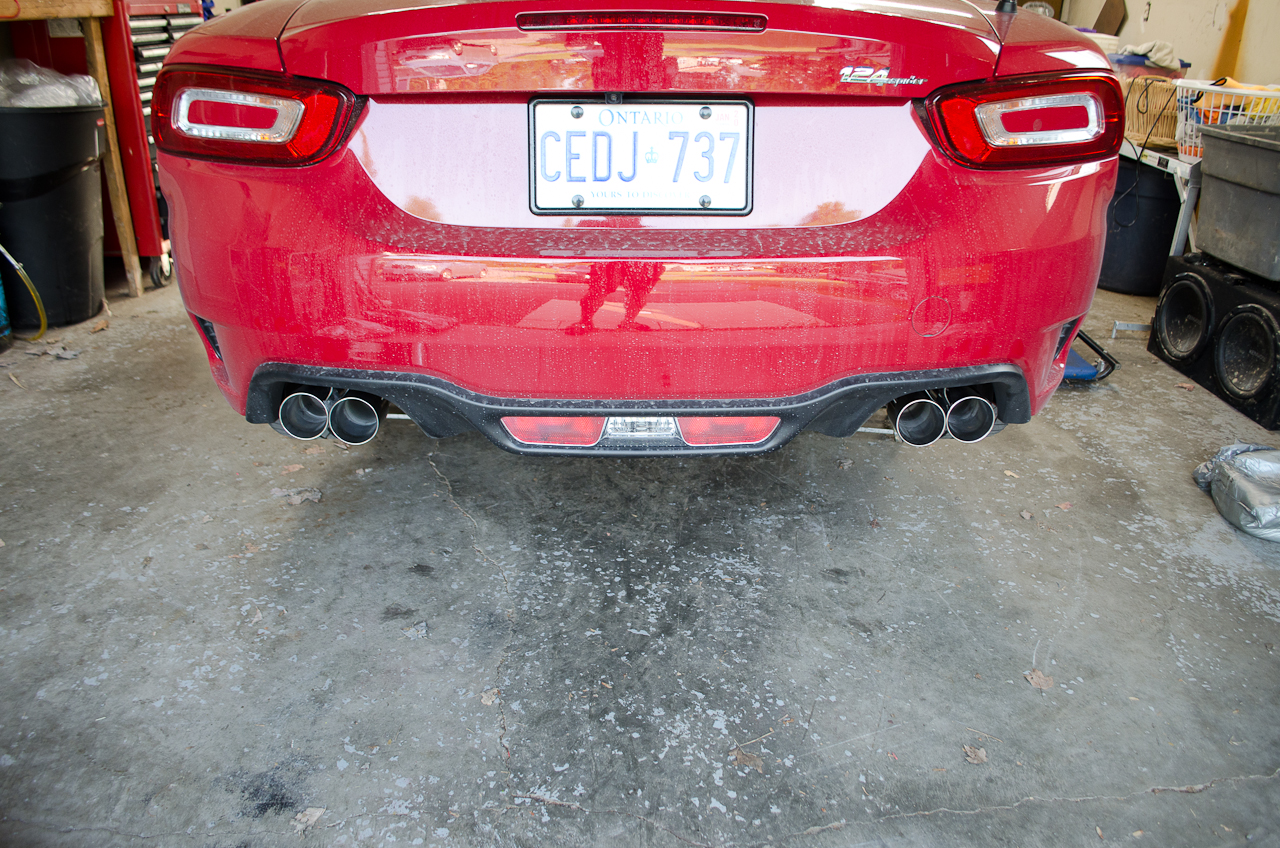
So, instead of detailing every step, I thought users might benefit from a lot of pictures, including comparisons between the stock and Goodwin systems. The pictures Goodwin have on their website don't really do the product justice, in my humble opinion (for example, I wasn't entirely convinced I loved the tips...but in person they are gorgeous!) Personally, when making a purchasing decision - especially an expensive one - there's no such thing as too many pictures. I will also have some comments and observations to make along the way - both positive and negative. So, without further ado...I purchased the full cat-back Goodwin Racing RoadsterSport Fiat 124 ABARTH Exhaust Combo (Unresonated). Two things to note here - Obviously, having an Abarth I bought the Abarth version, which has a wider spread on the exhaust tips to better fill out the exhaust cut-outs in the bumper (of which they do a great job - as we shall see). I also opted for the unresonated version - meaning there is no resonator in the midpipe. Coupled with the muffler delete - this makes for the loudest, most aggresive-sounding system Goodwin make...my feelings on that at the end of the article! So, this complete system, from rear to front, consists of:
|
|
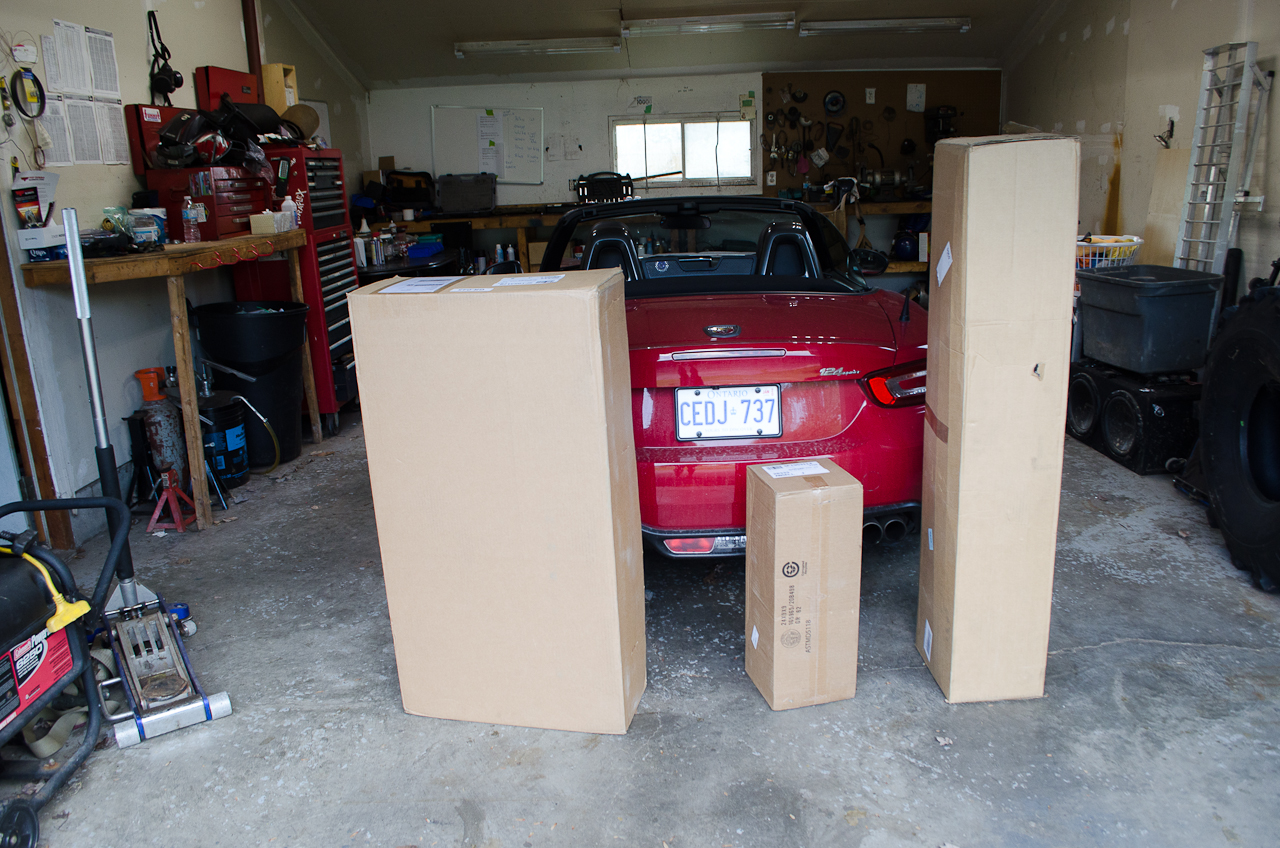 |
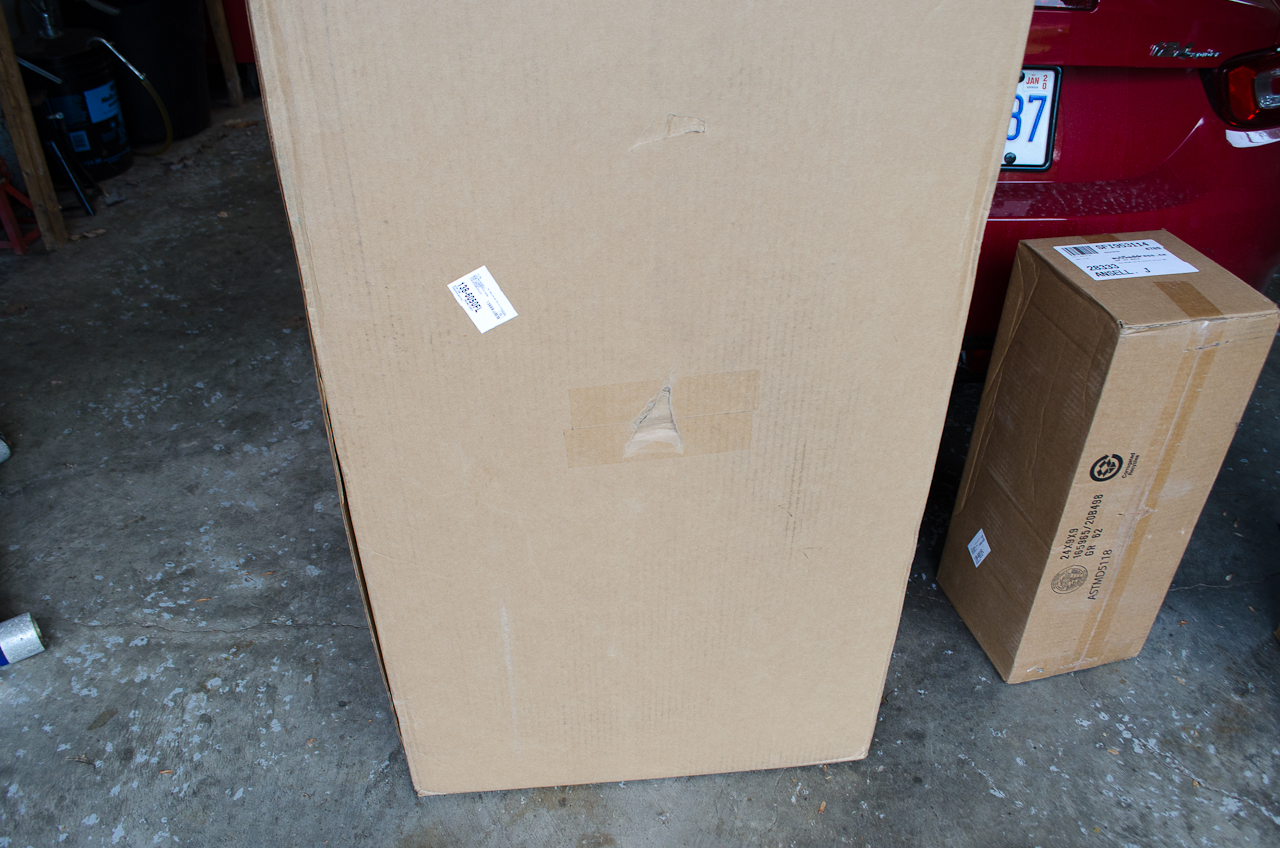
Each component is shipped in its own box. From left to right we have:
Note: If you are picking the system up, DO NOT take your 124...no way is it all going to fit! |
|||||||||||||||||||||||||||||||||||||||||||||||||||||||||||||||||||||||||||||||||||||||||||||||||||||||||||||||||||||||||
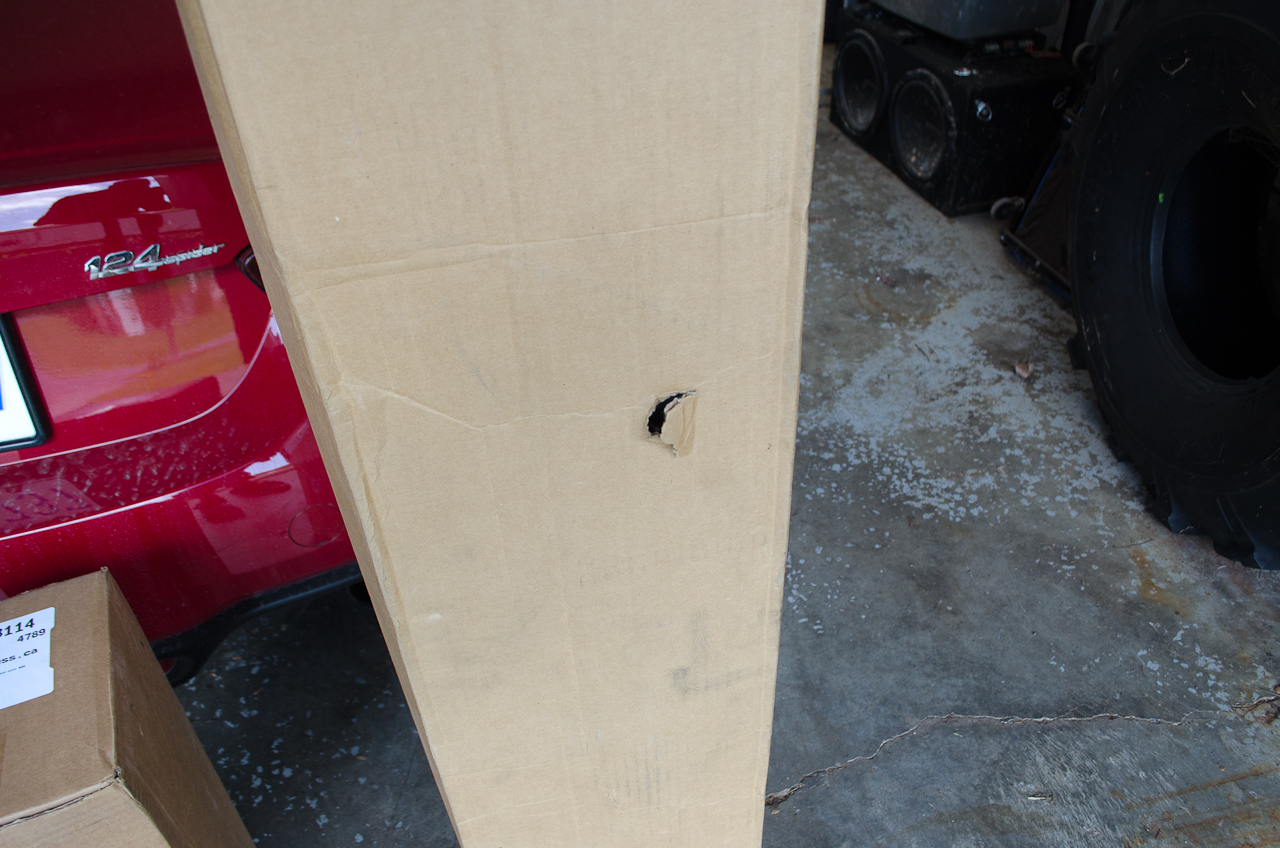
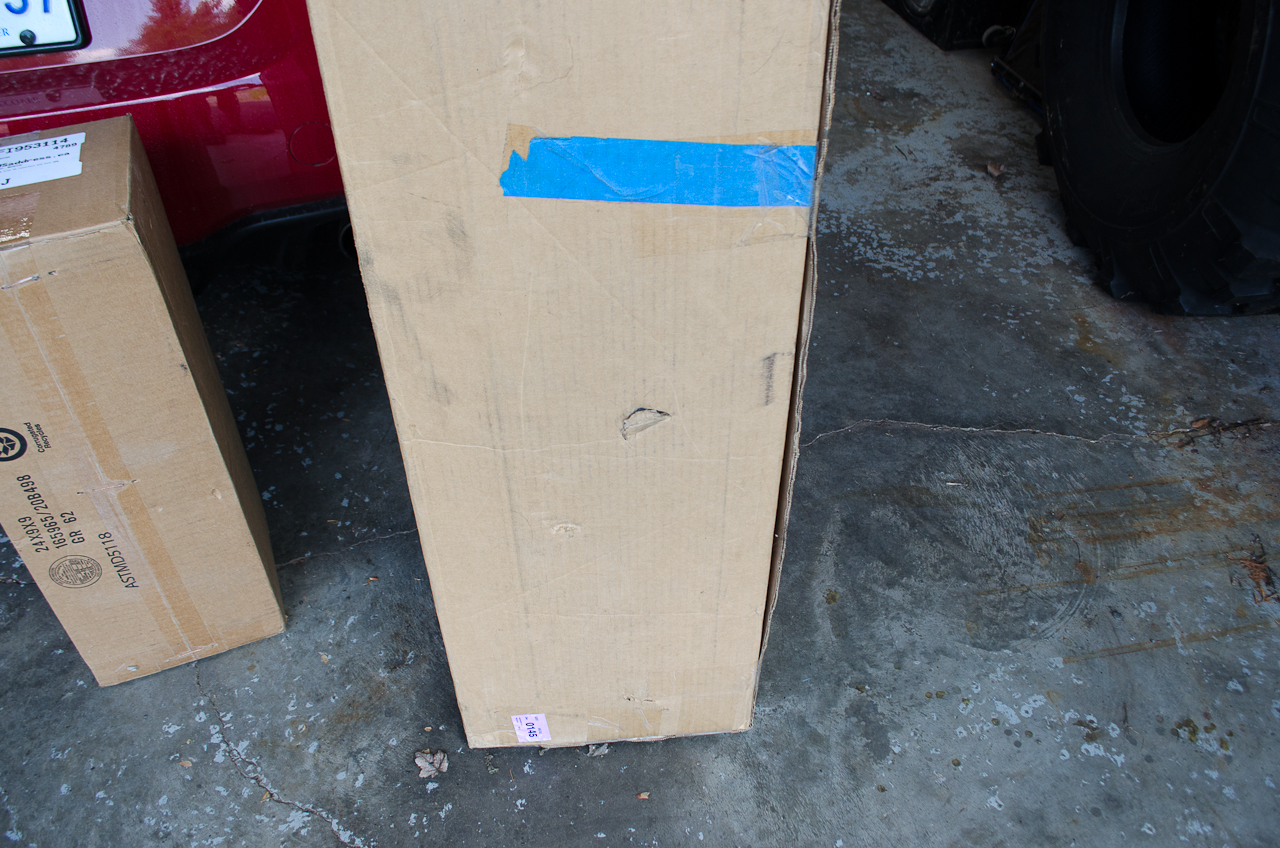
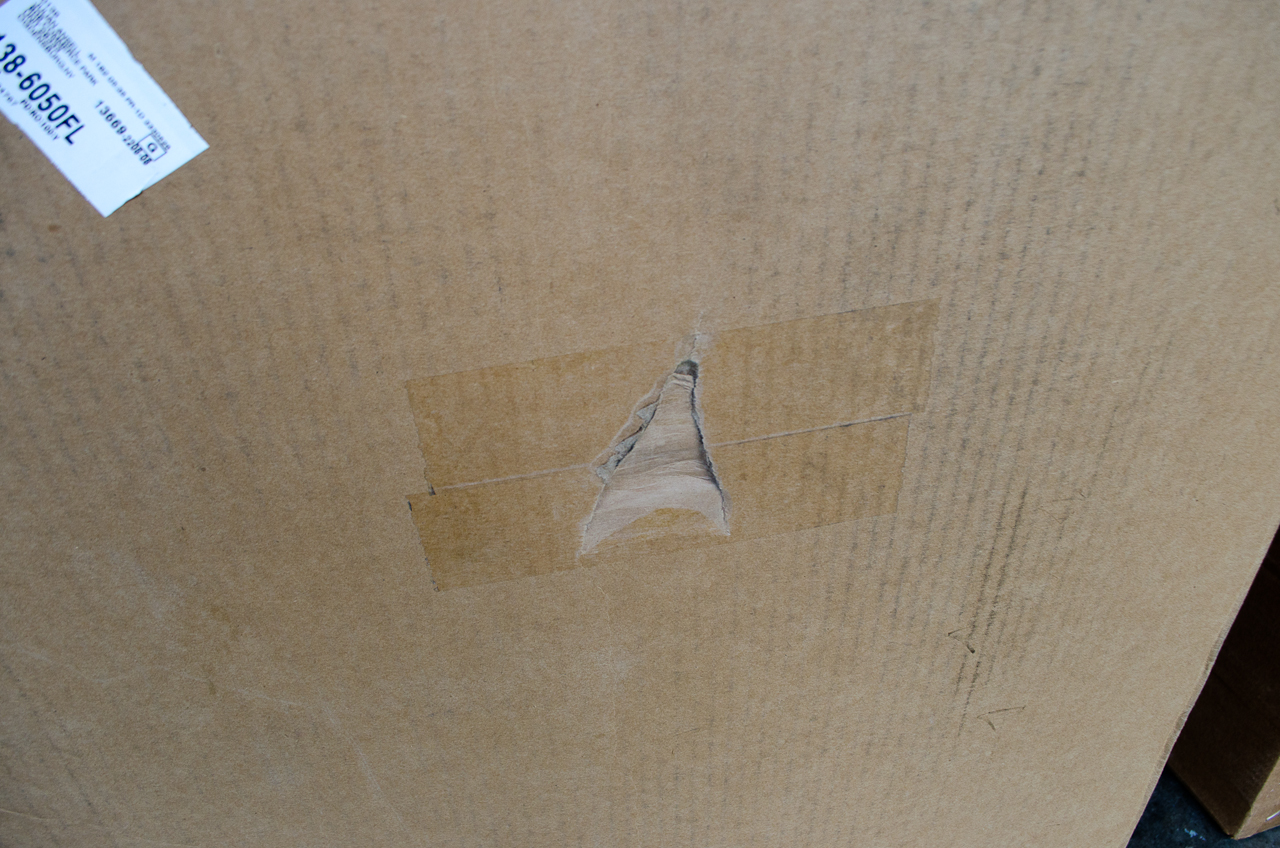
There was some damage to the cartons, presumably during shipping...
... but inside everything seemed very well packed and protected.
|
||||||||||||||||||||||||||||||||||||||||||||||||||||||||||||||||||||||||||||||||||||||||||||||||||||||||||||||||||||||||||
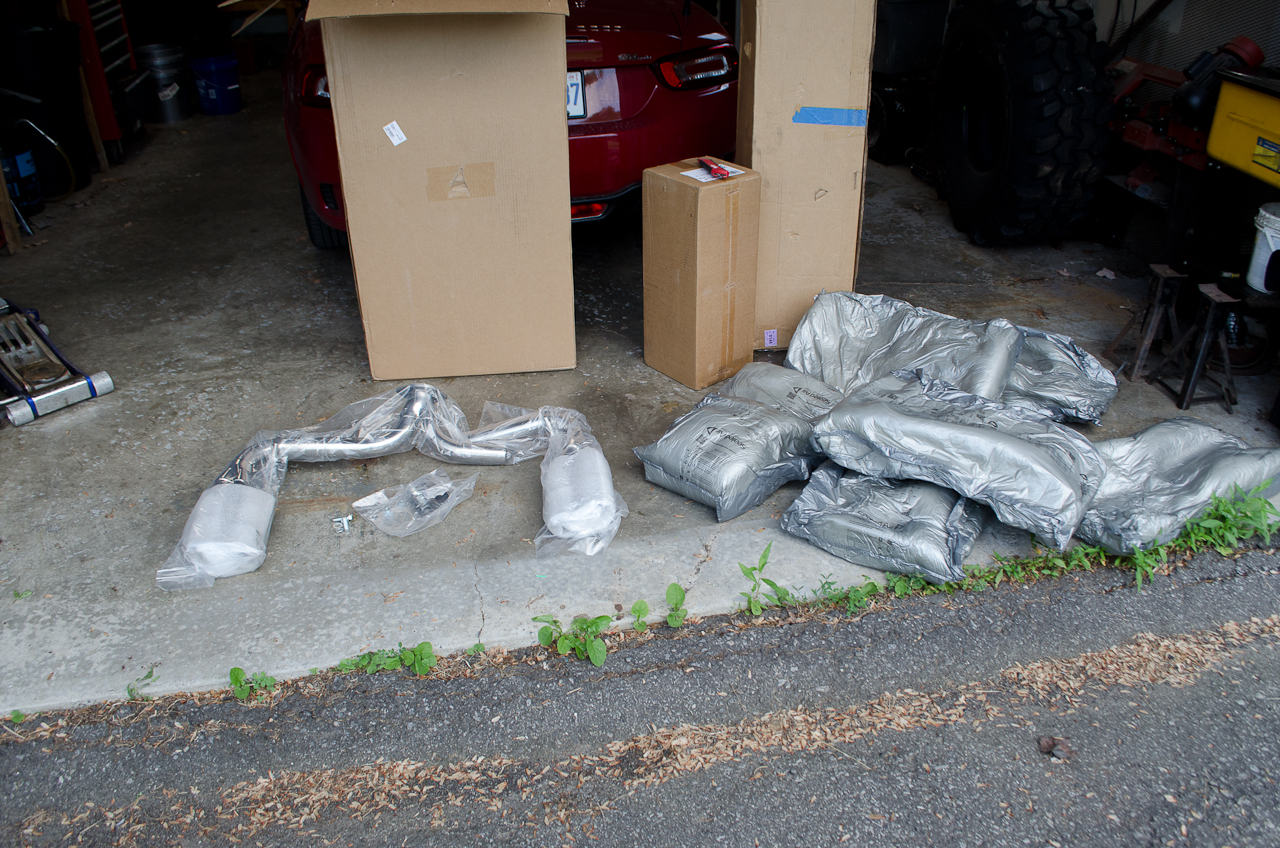 |
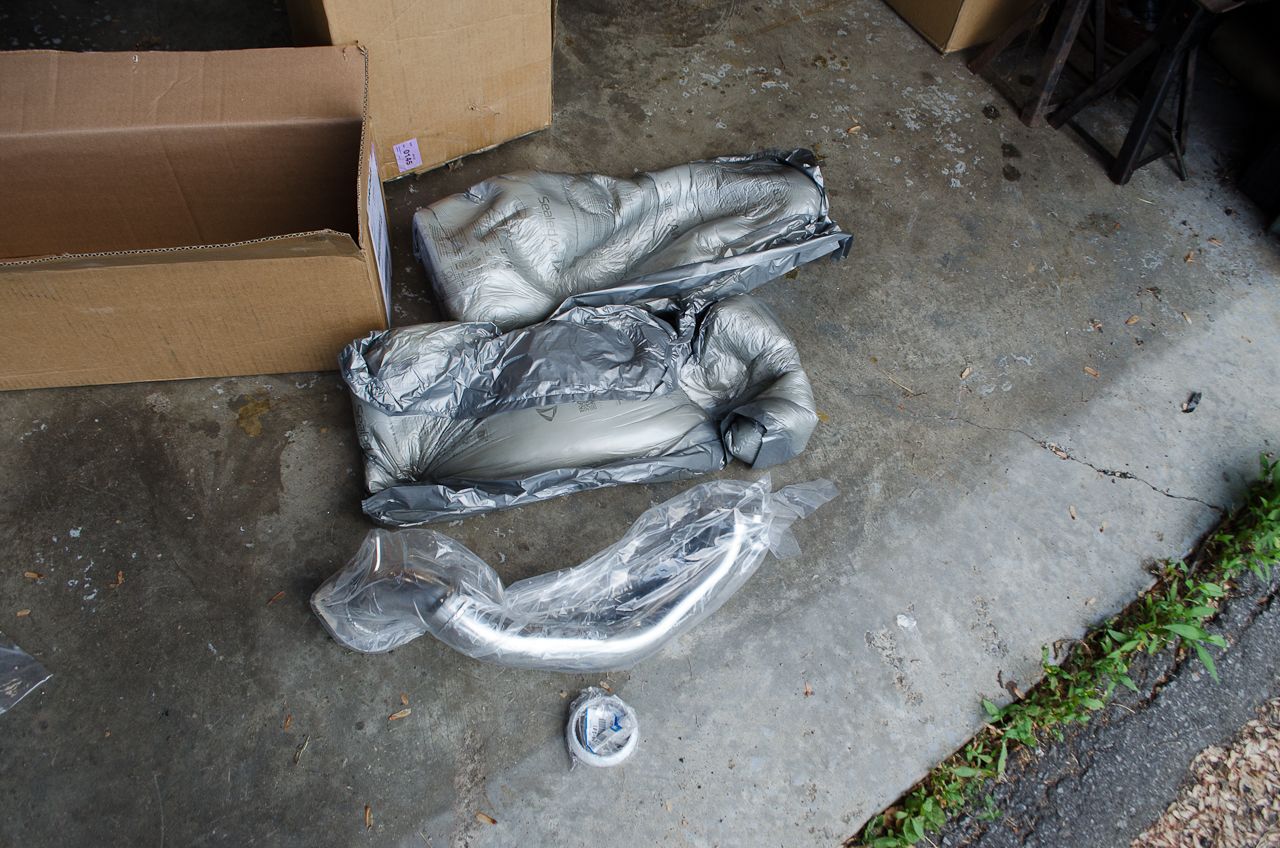
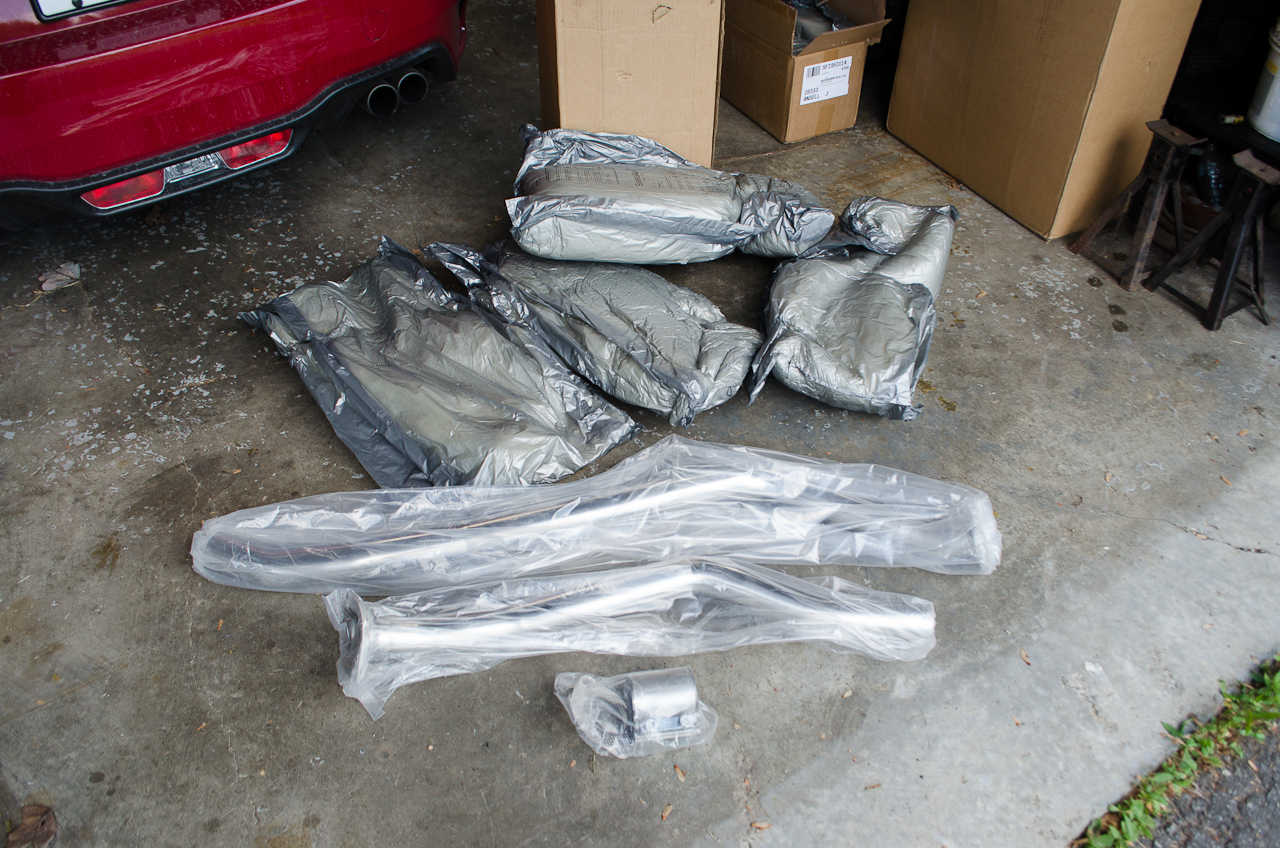
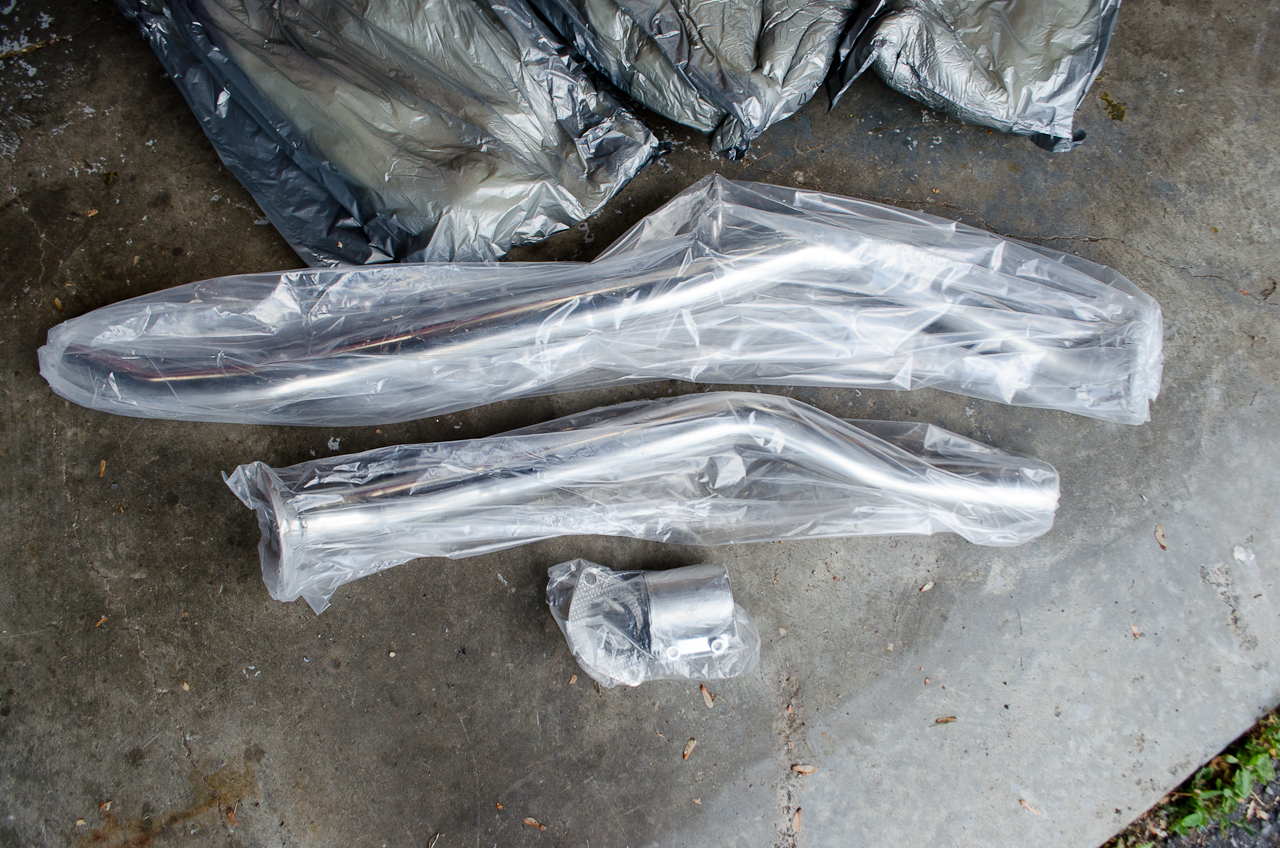
The quad exhaust unboxed. Look at all the packing material on the right. | |||||||||||||||||||||||||||||||||||||||||||||||||||||||||||||||||||||||||||||||||||||||||||||||||||||||||||||||||||||||||
 |
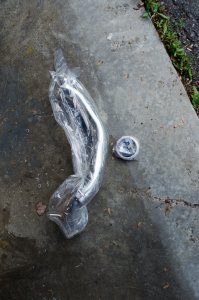
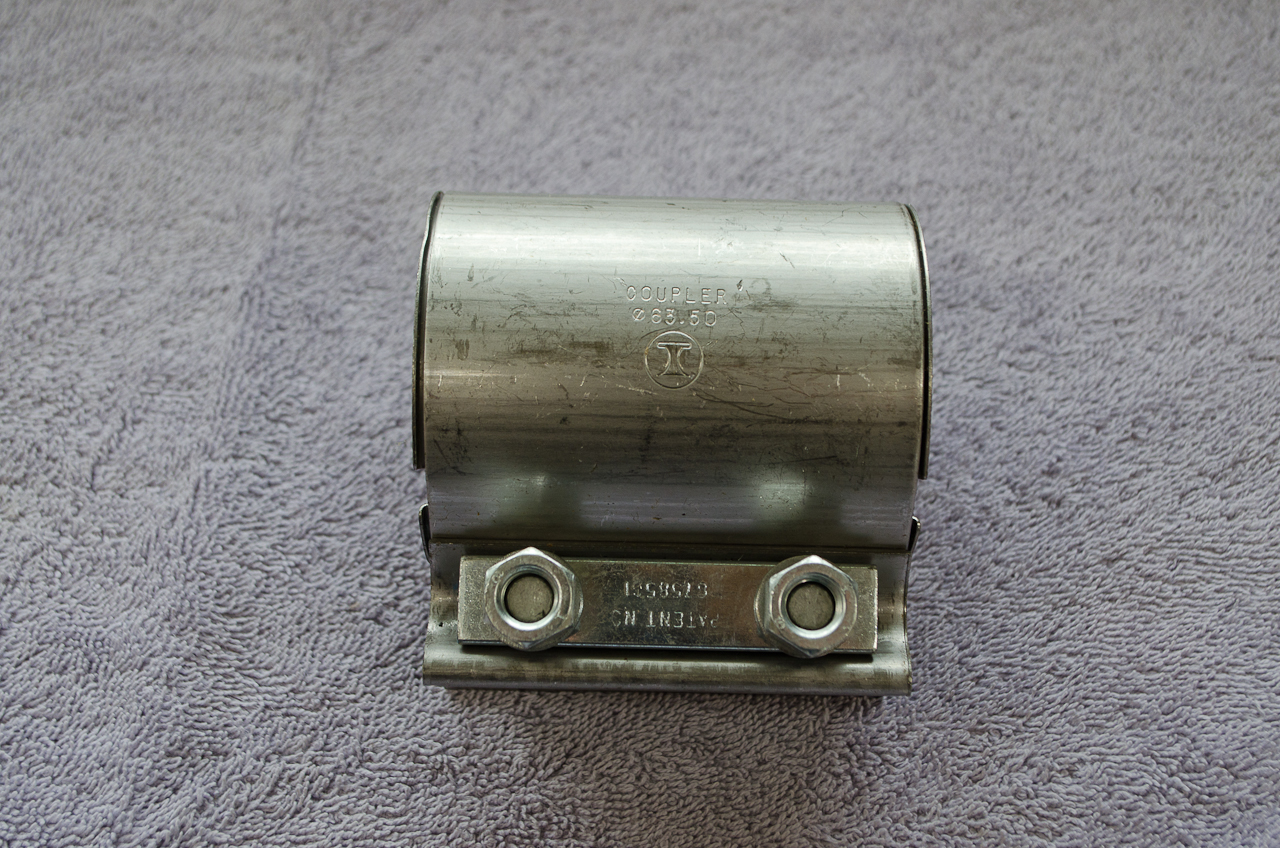
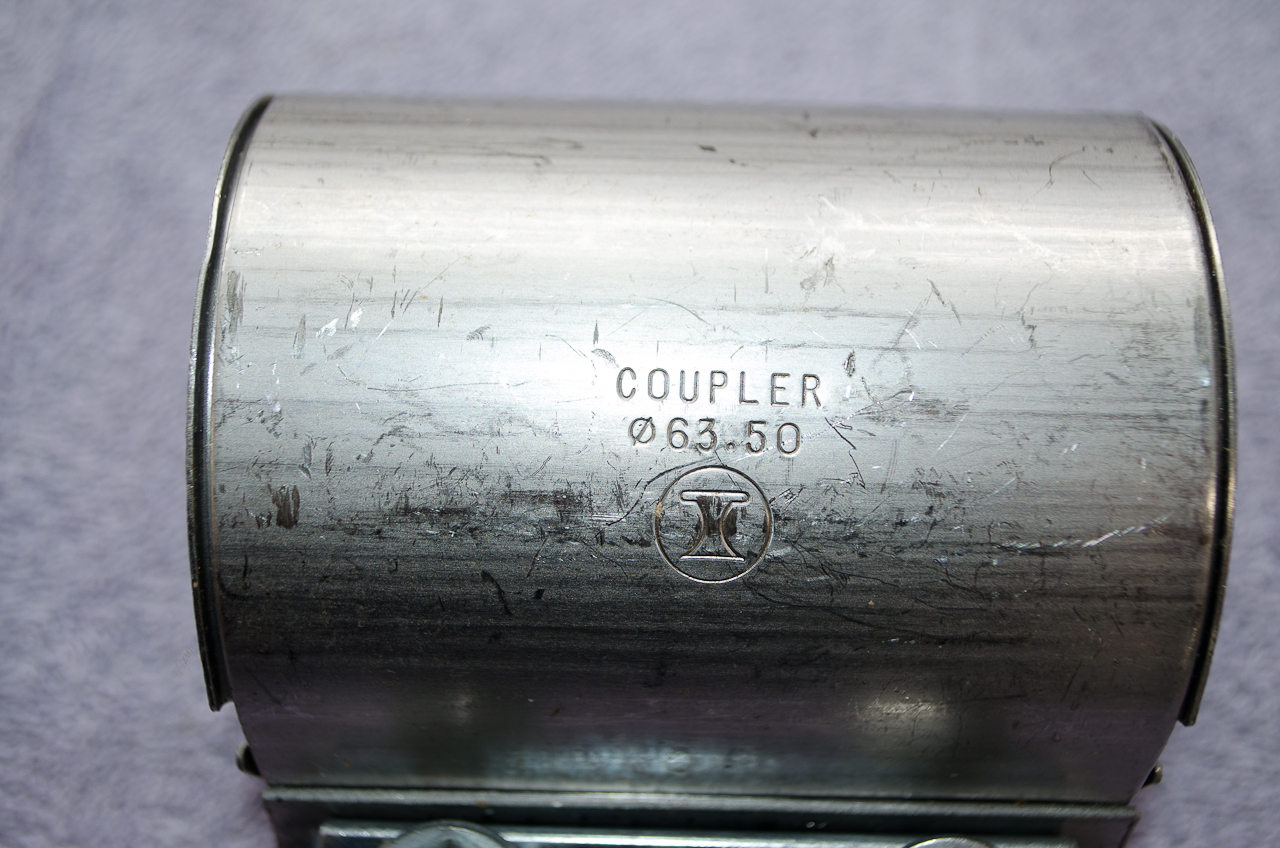
Everything plastic wrapped and extra padding added around the polished exhaust tips. There is a hardware kit included, consisting of a clamp, a gasket, and some nuts and bolts...more on this later. |
|||||||||||||||||||||||||||||||||||||||||||||||||||||||||||||||||||||||||||||||||||||||||||||||||||||||||||||||||||||||||
 |
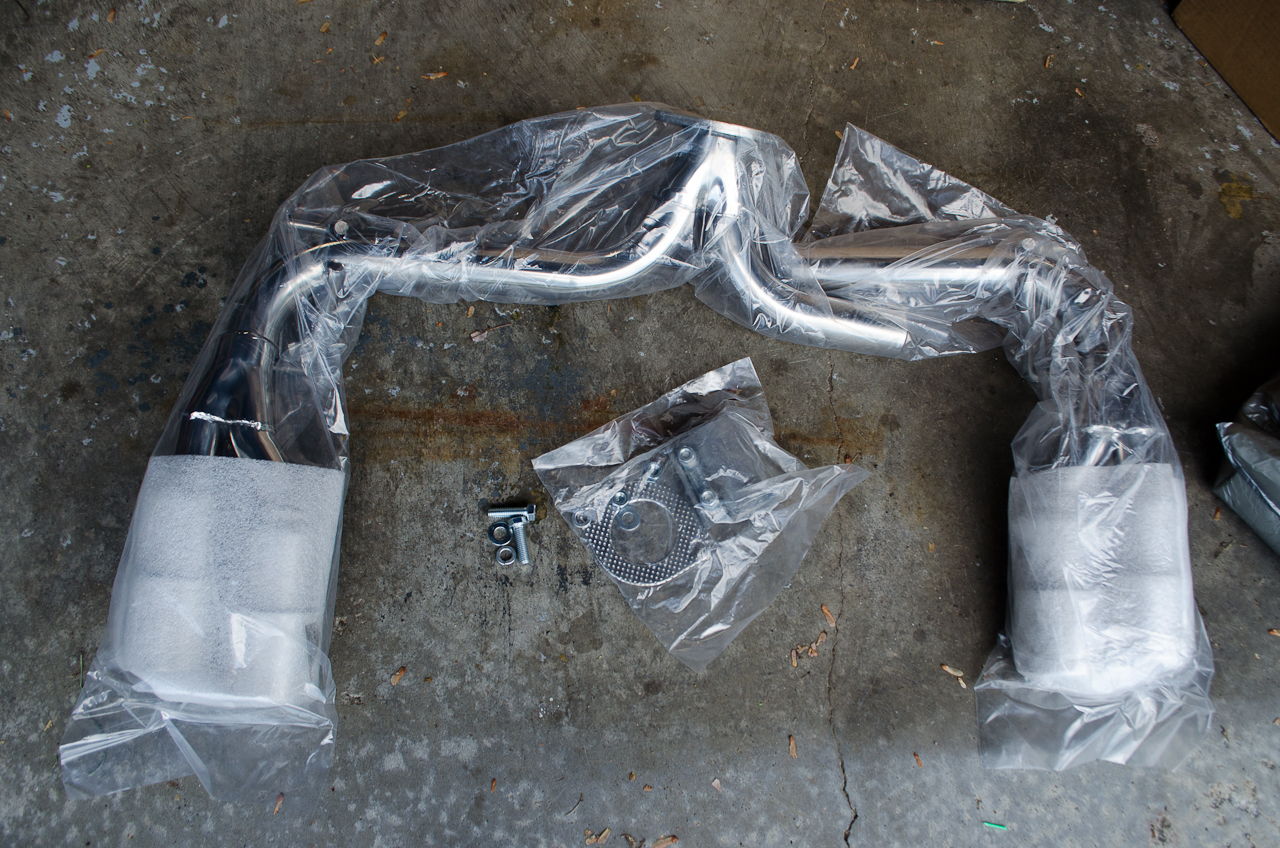
The crosspipe unboxed. Again, plenty of packing. |
|||||||||||||||||||||||||||||||||||||||||||||||||||||||||||||||||||||||||||||||||||||||||||||||||||||||||||||||||||||||||
 |
Again, plastic wrapped. | |||||||||||||||||||||||||||||||||||||||||||||||||||||||||||||||||||||||||||||||||||||||||||||||||||||||||||||||||||||||||
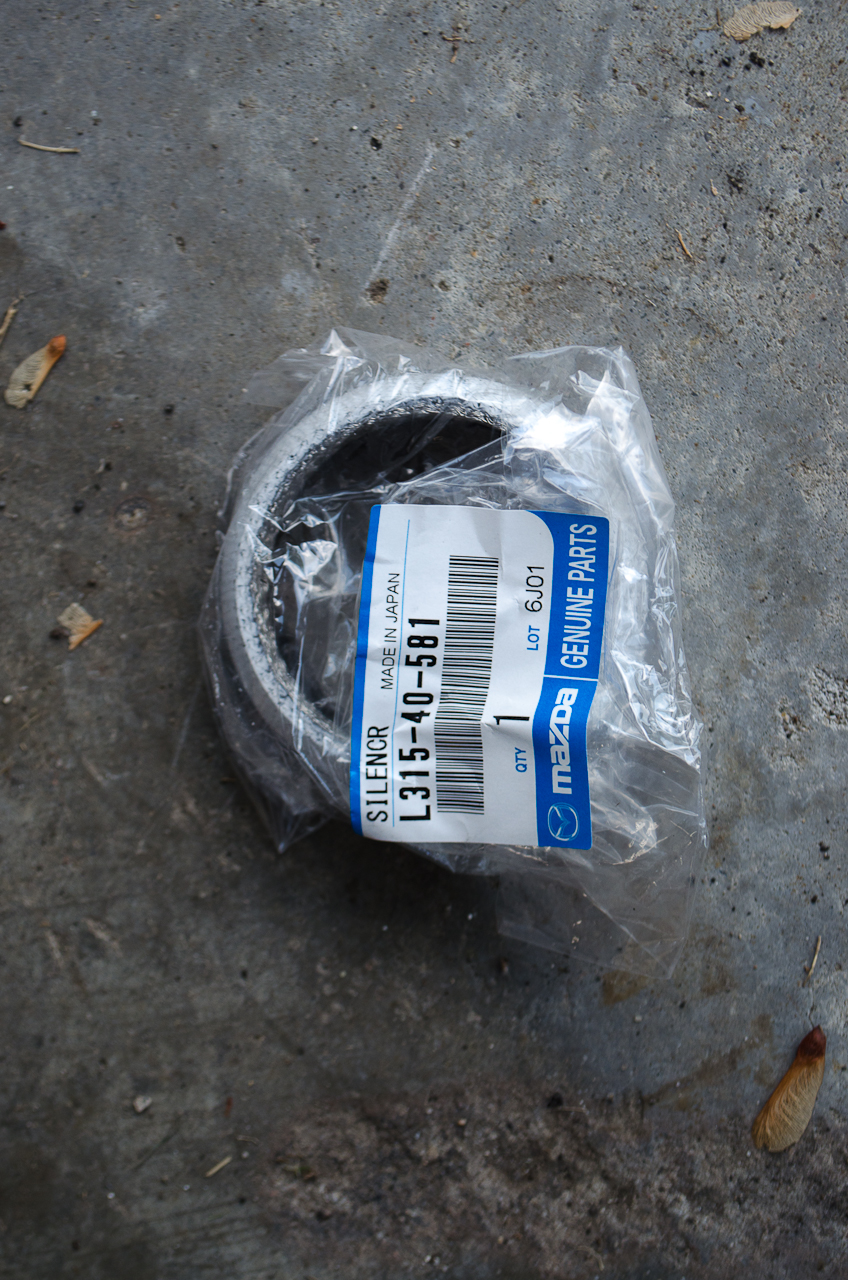 |
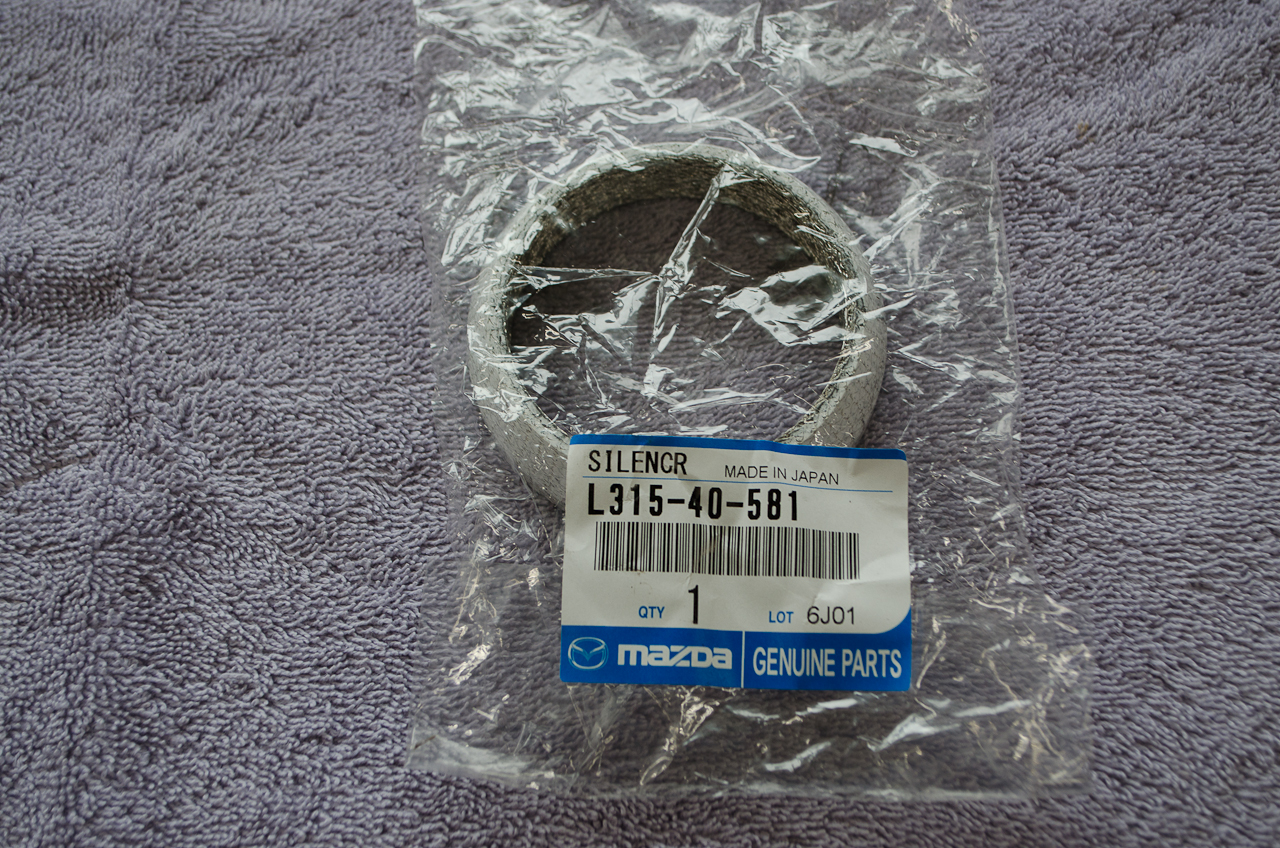
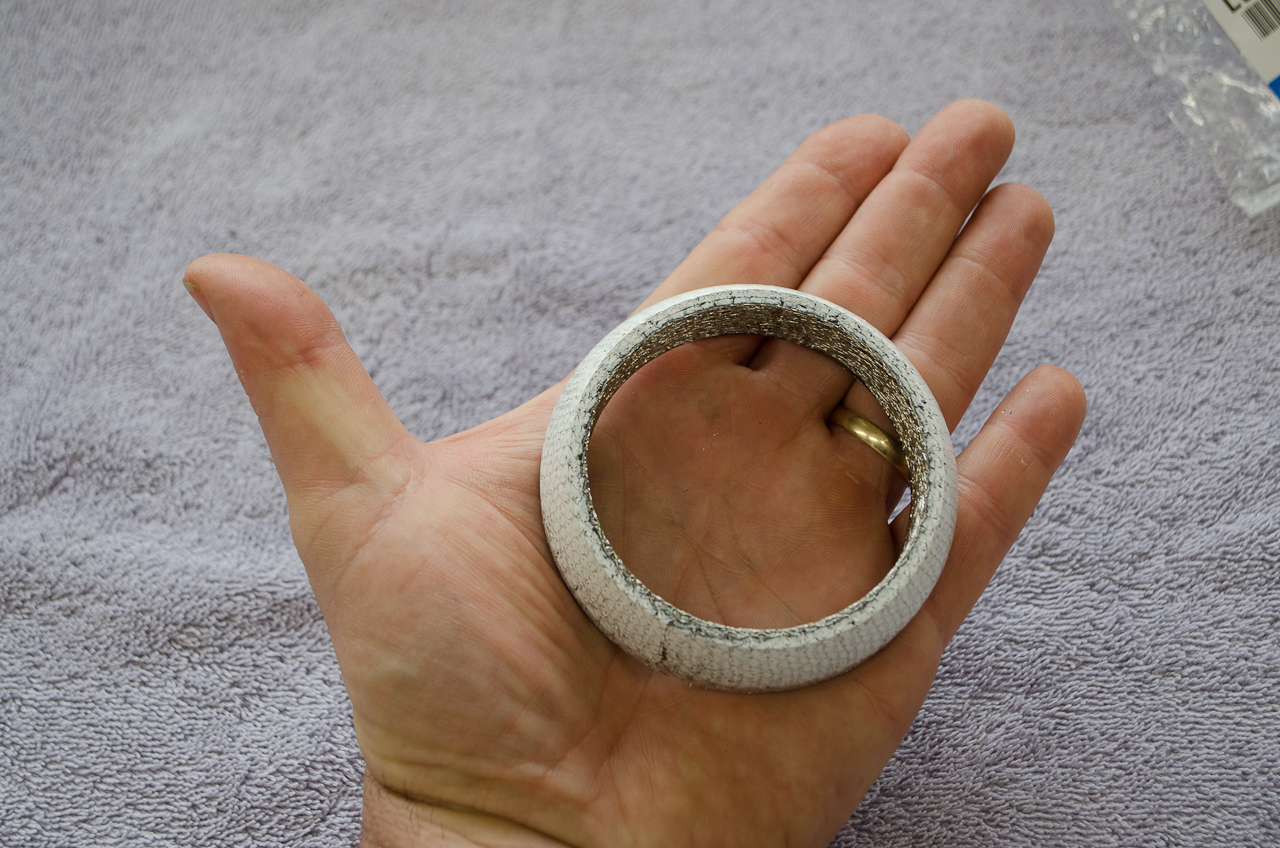
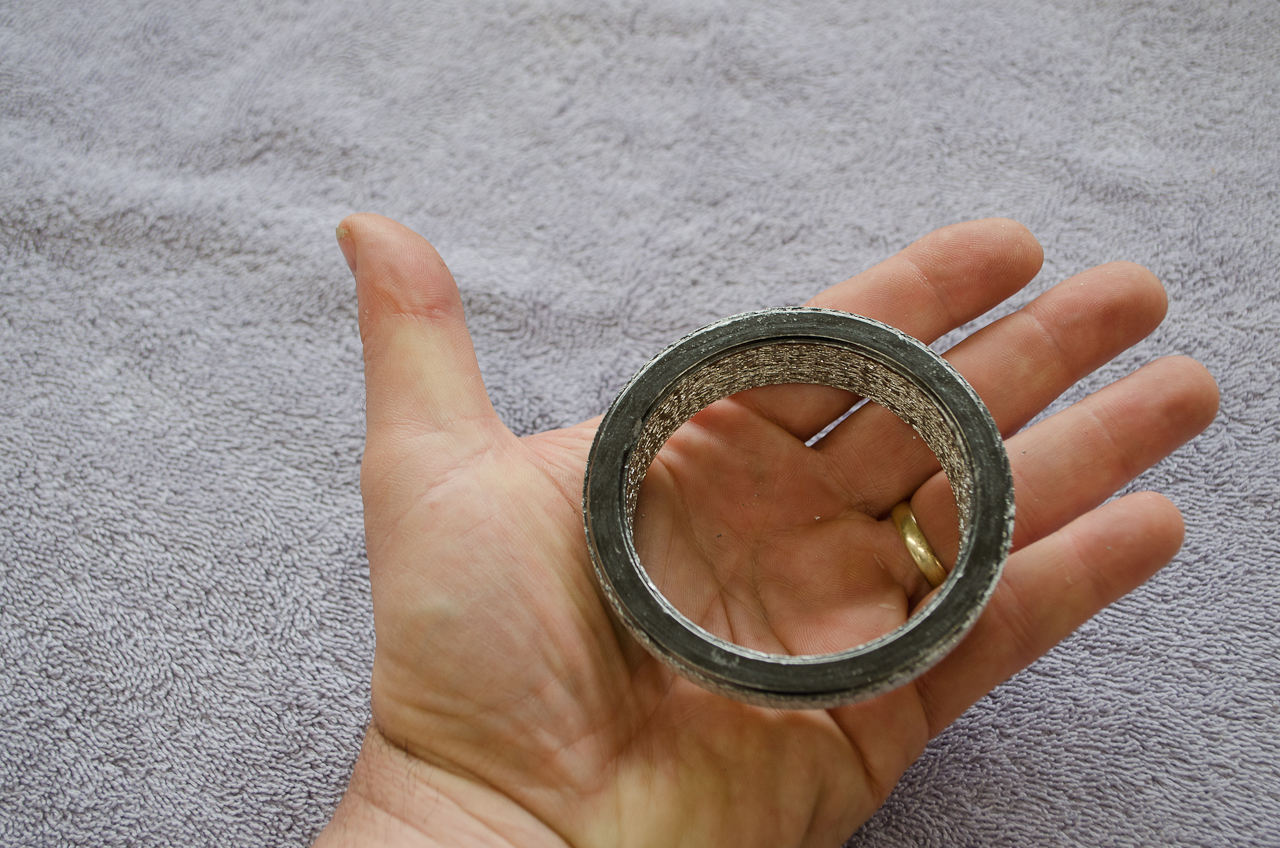
Comes with a gasket (for joining to the midpipe)...a Mazda part number. | |||||||||||||||||||||||||||||||||||||||||||||||||||||||||||||||||||||||||||||||||||||||||||||||||||||||||||||||||||||||||
 |
The midpipe unboxed - once again, plenty of padding. | |||||||||||||||||||||||||||||||||||||||||||||||||||||||||||||||||||||||||||||||||||||||||||||||||||||||||||||||||||||||||
 |
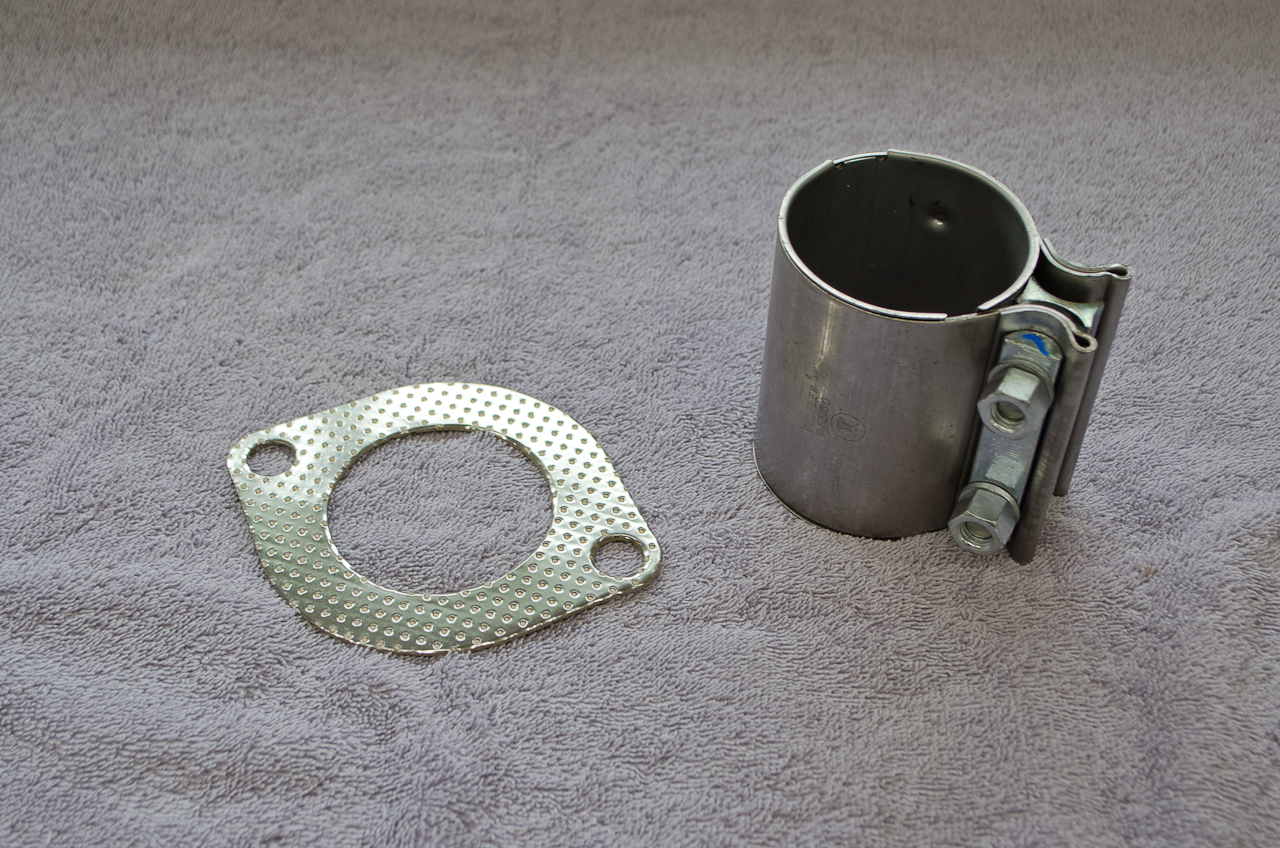
Comes with a hardware kit consisting of a clamp and a gasket. This is the same as the gasket that came with the quad exhaust - it's for the flange joint between the quad exhaust and the rear of the midpipe. If you order the whole kit as I did, you only need to use one of them (this was not mentioned in the instructions.) | |||||||||||||||||||||||||||||||||||||||||||||||||||||||||||||||||||||||||||||||||||||||||||||||||||||||||||||||||||||||||
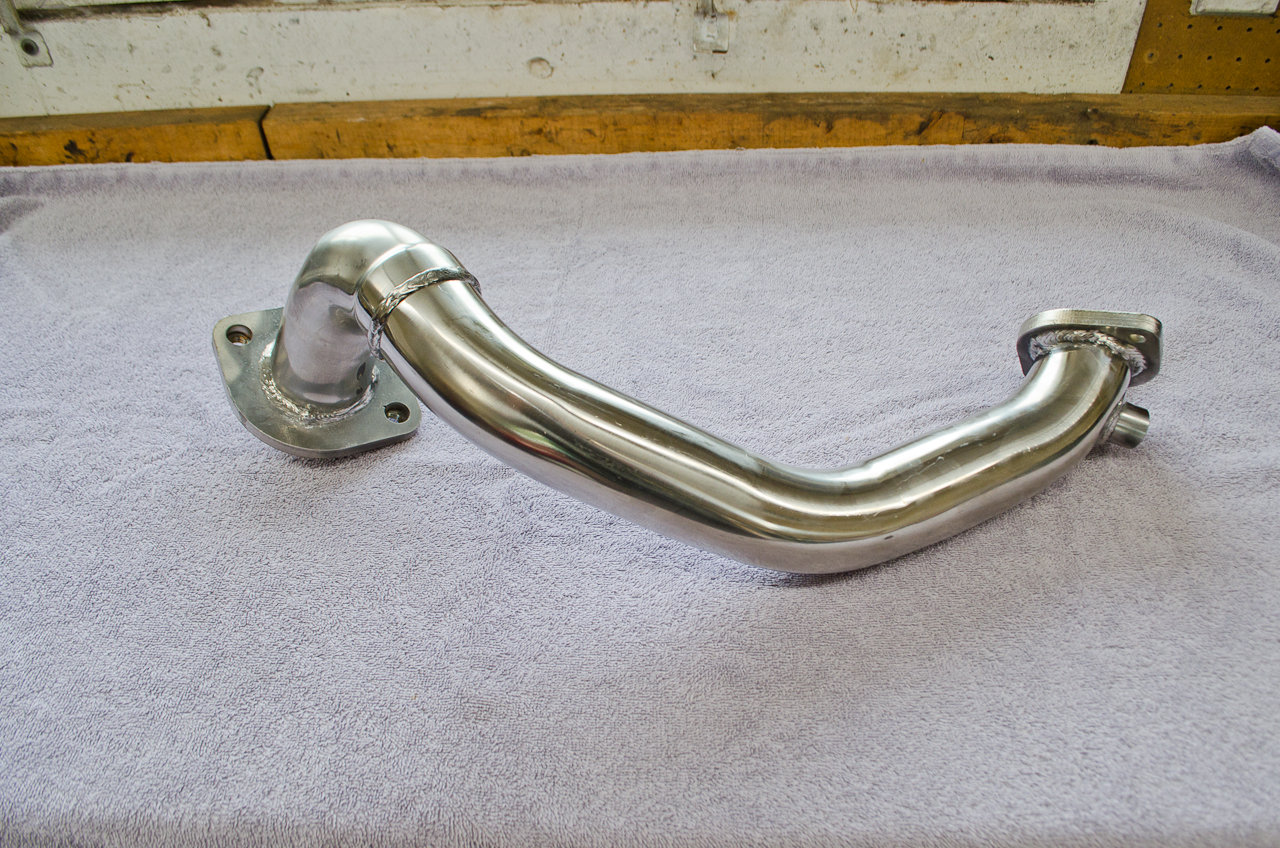
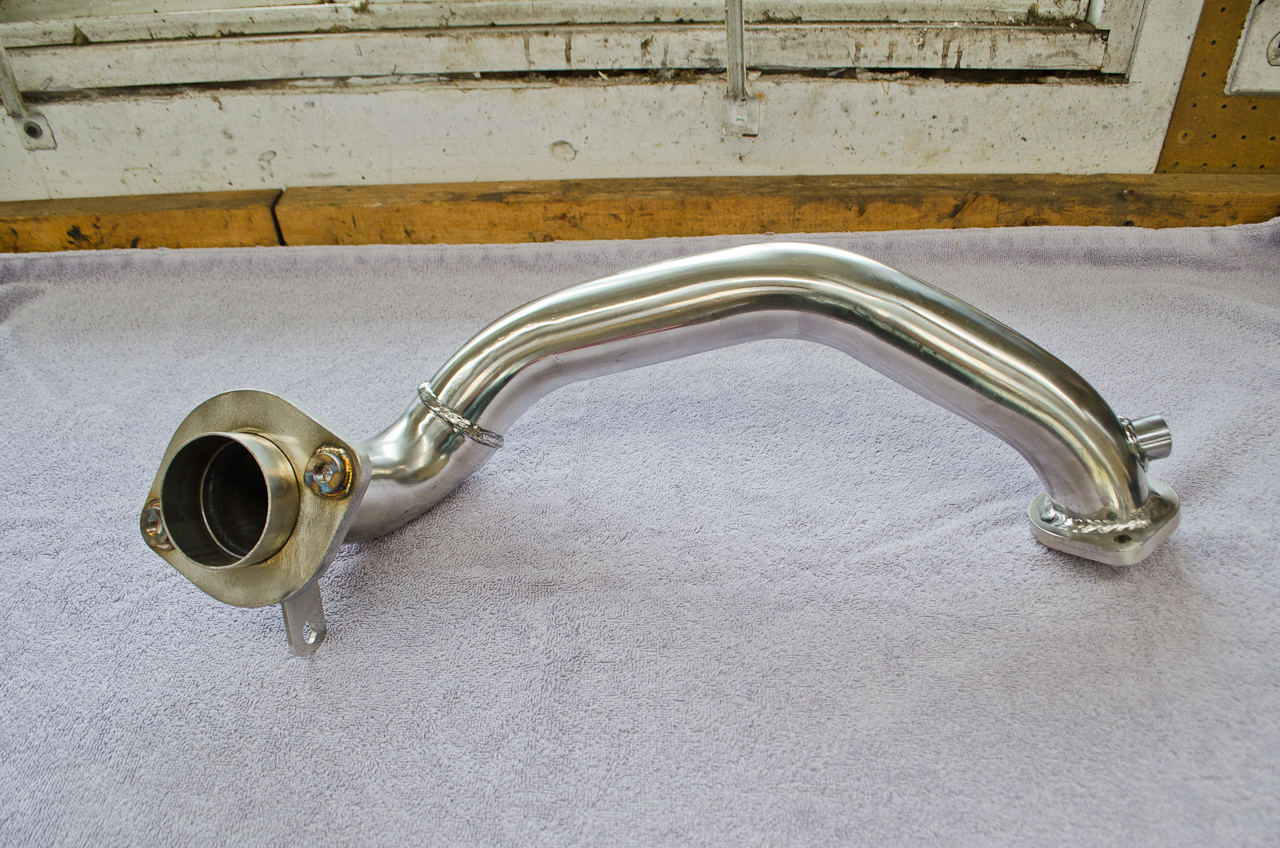
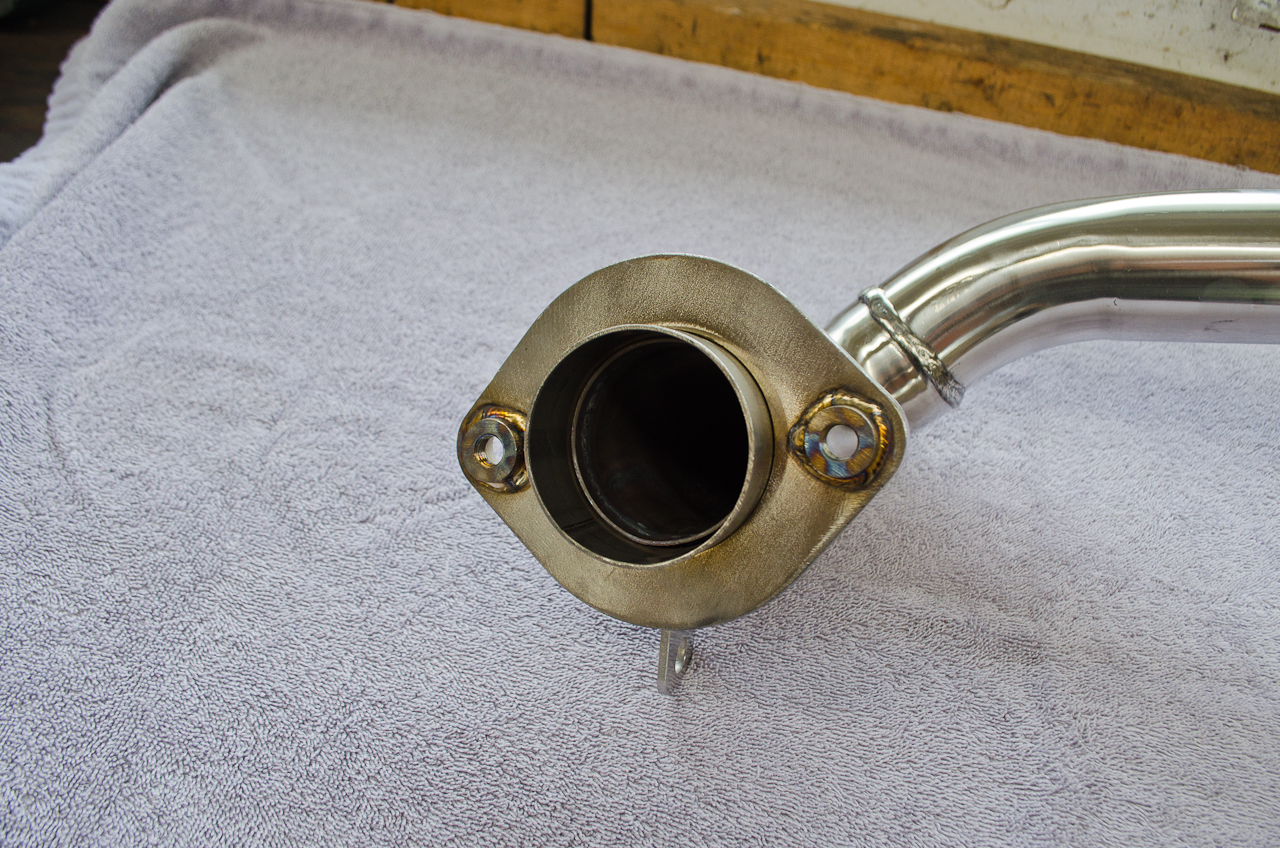
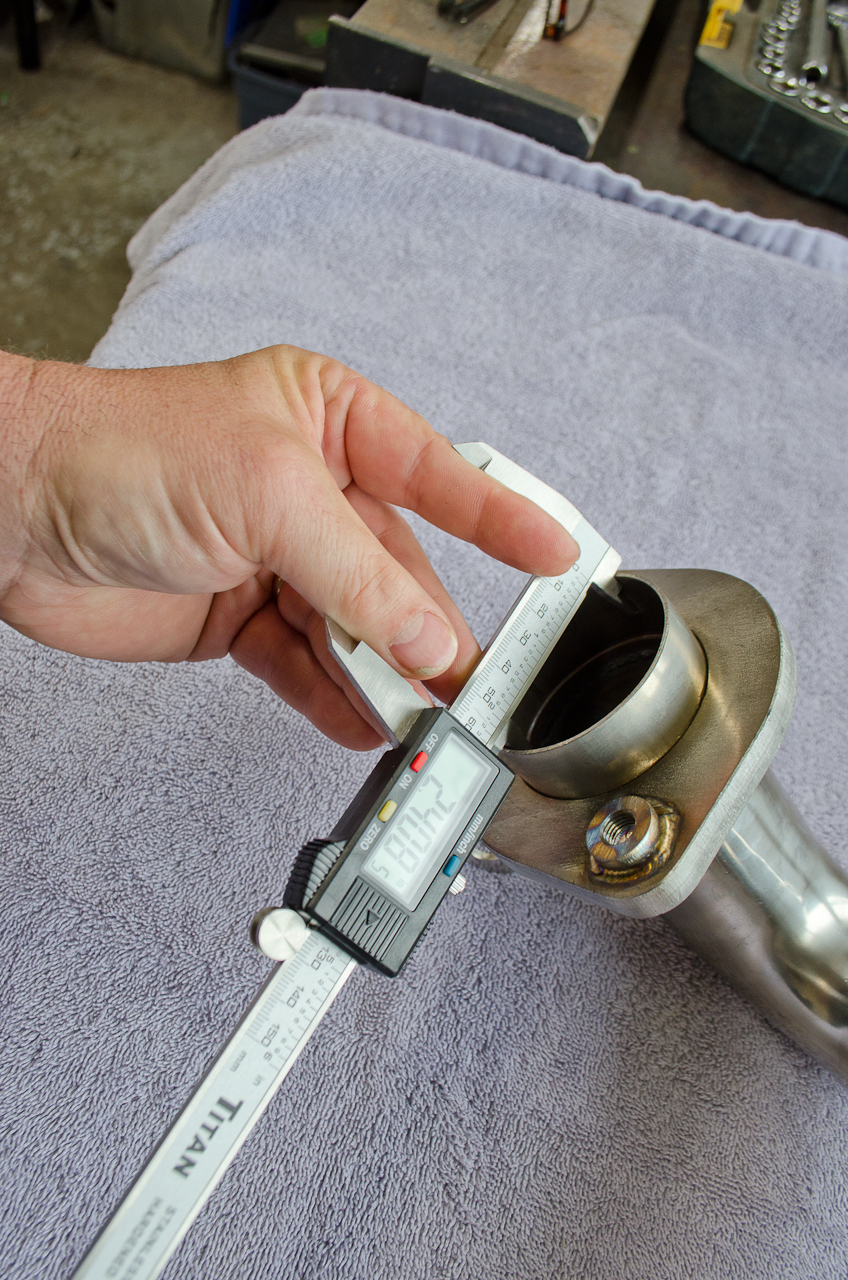
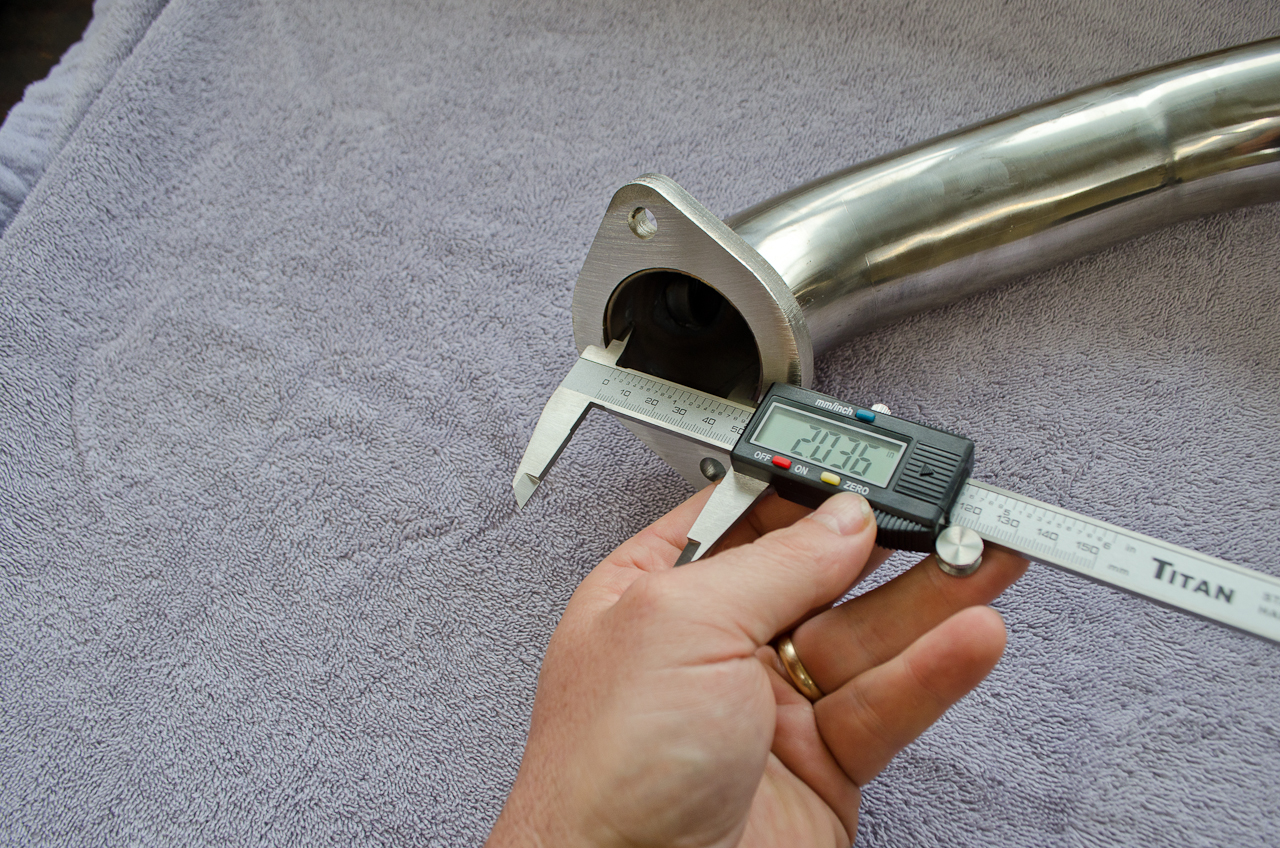
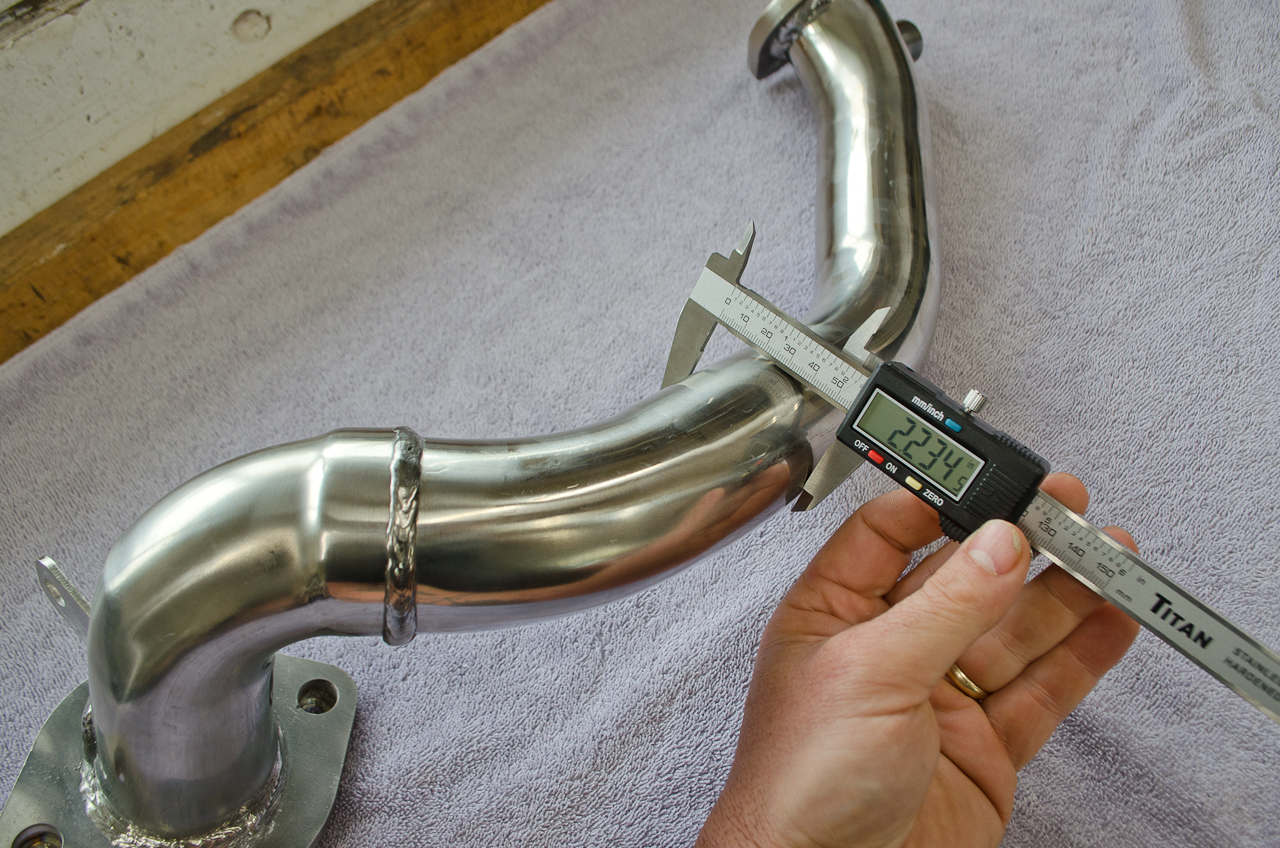
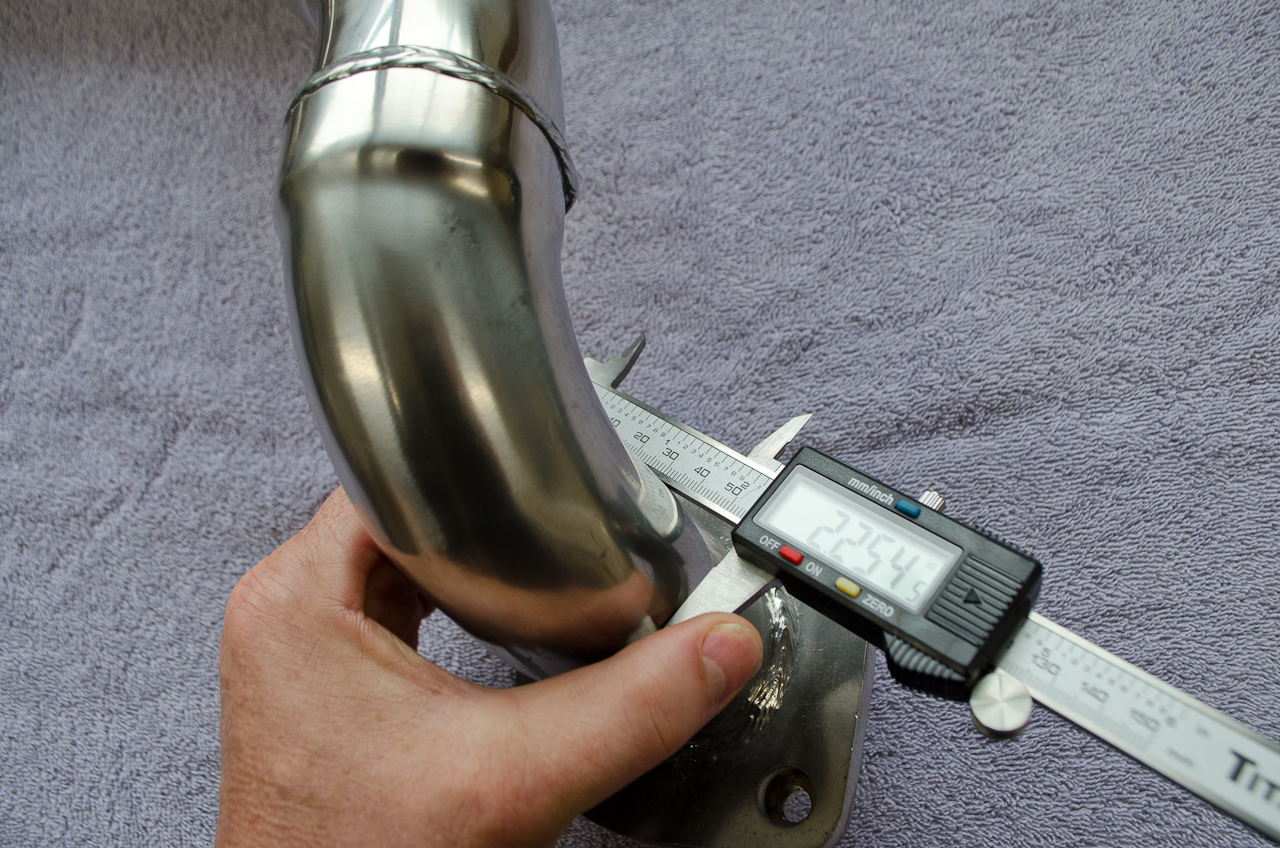
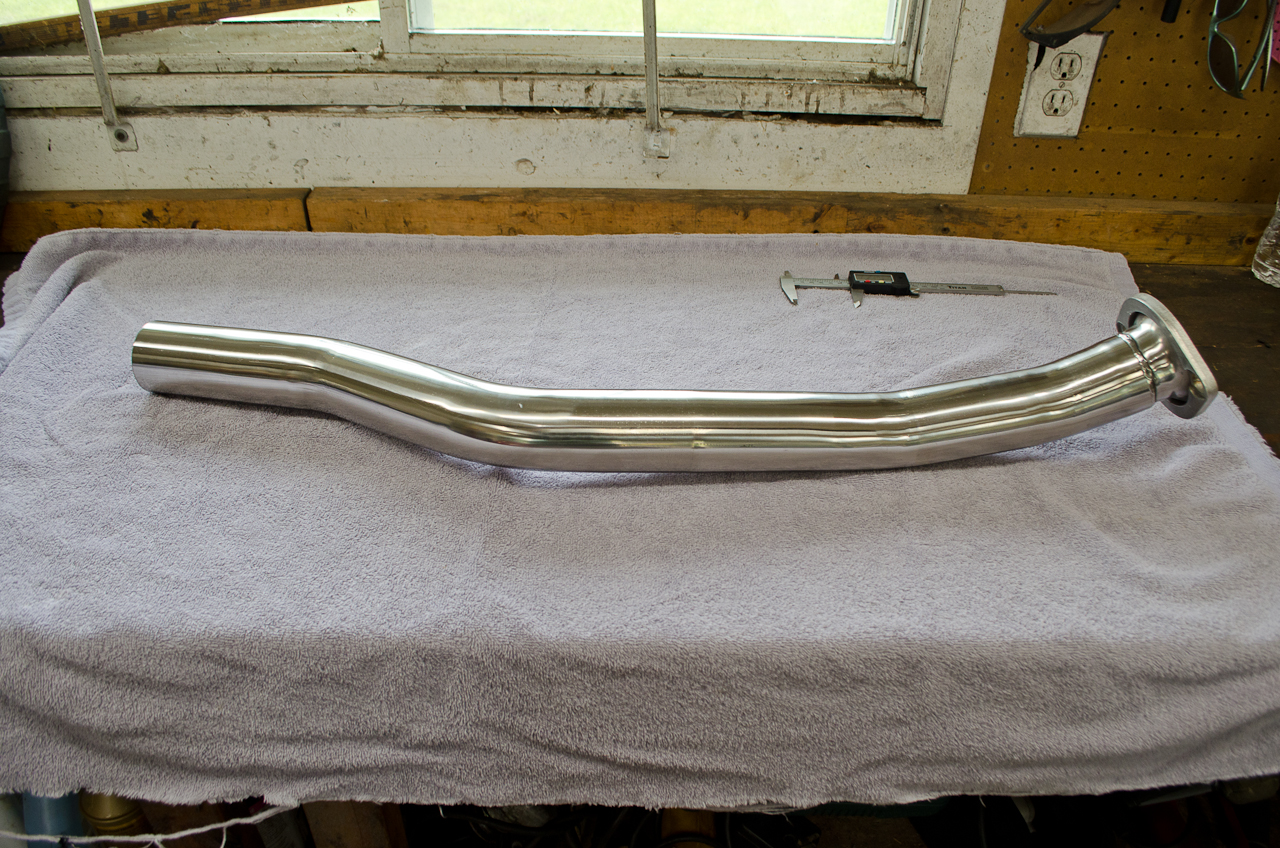
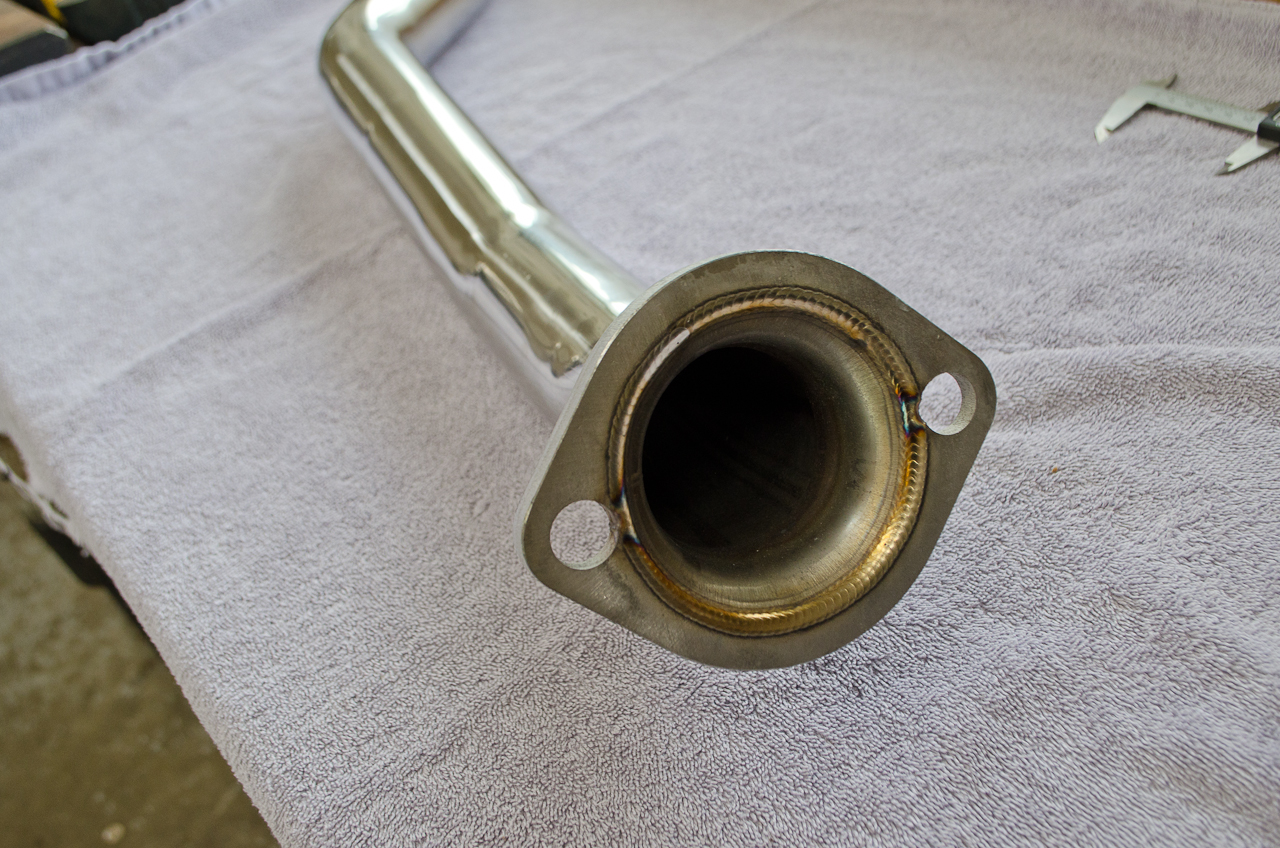
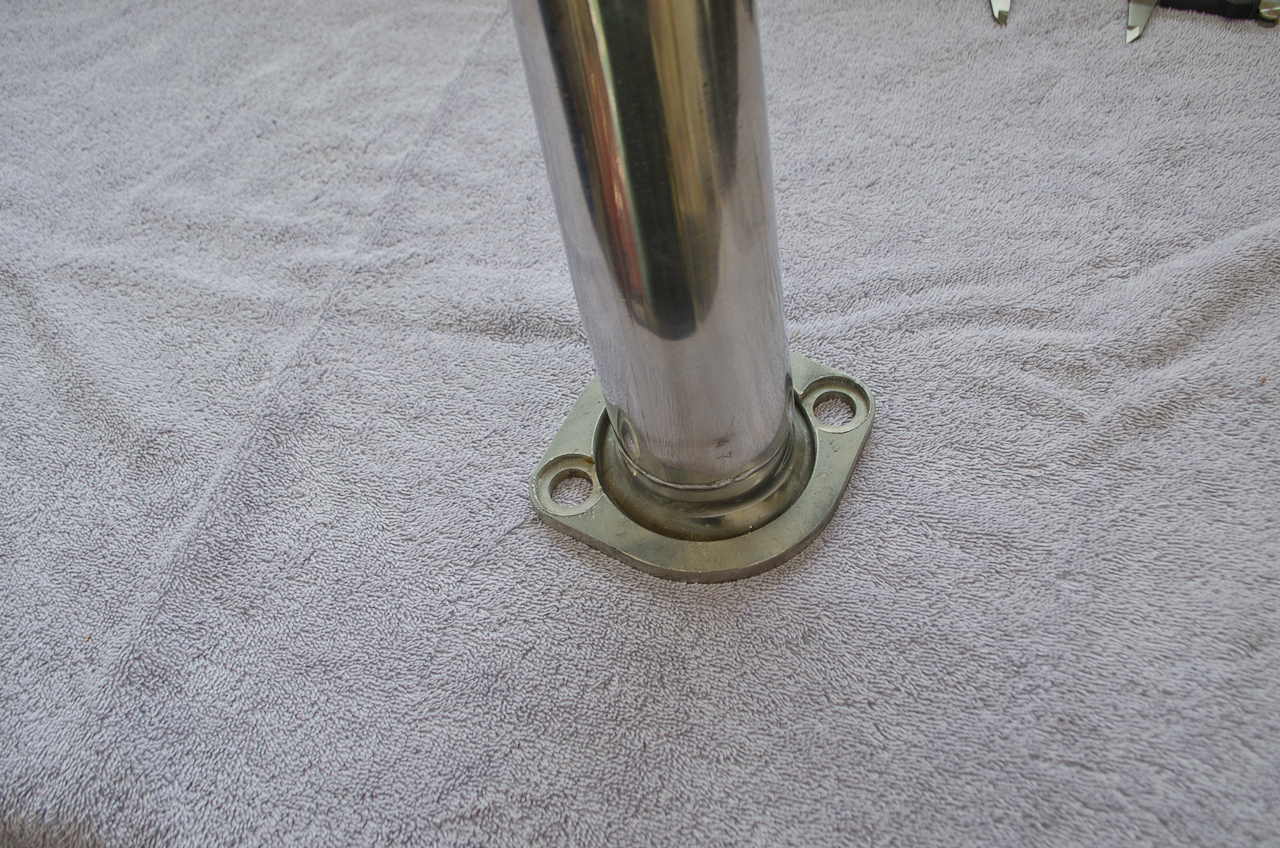
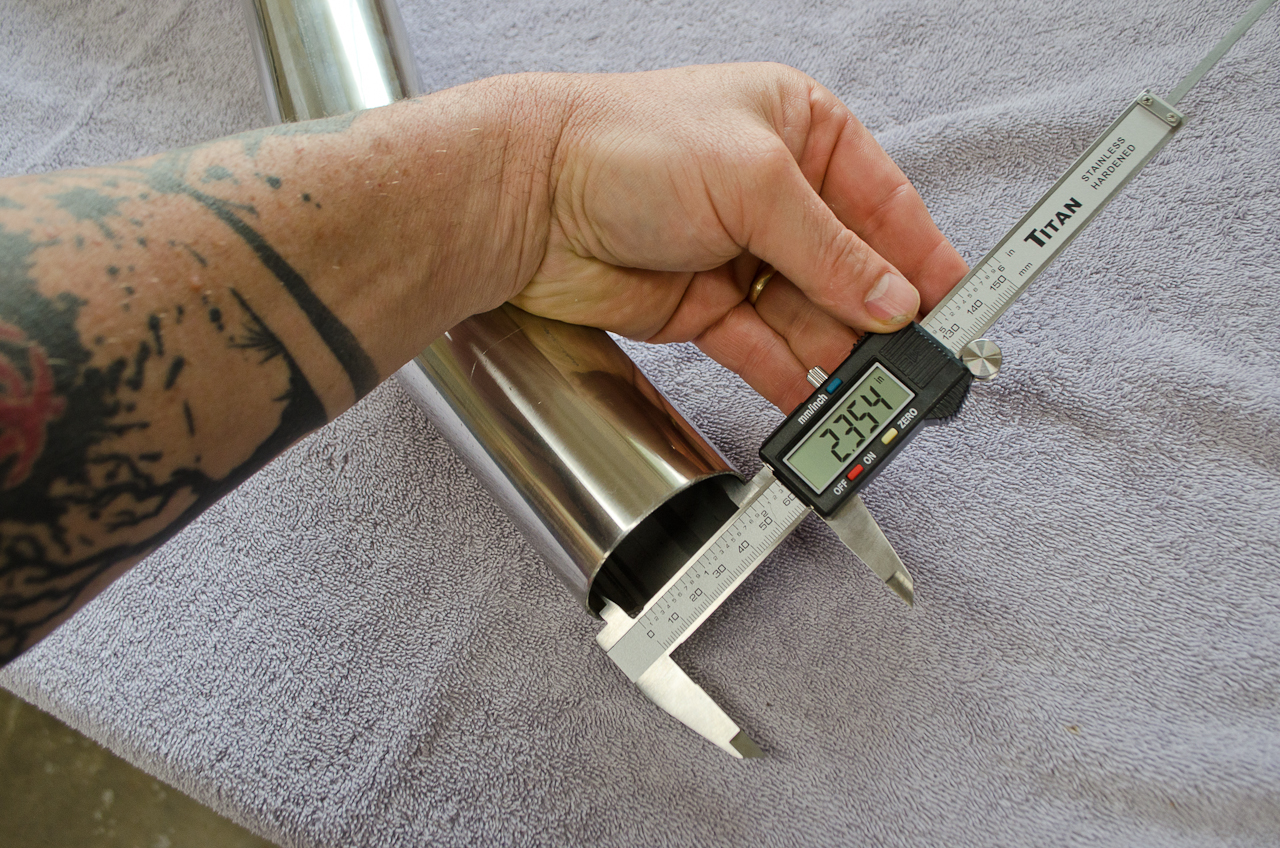
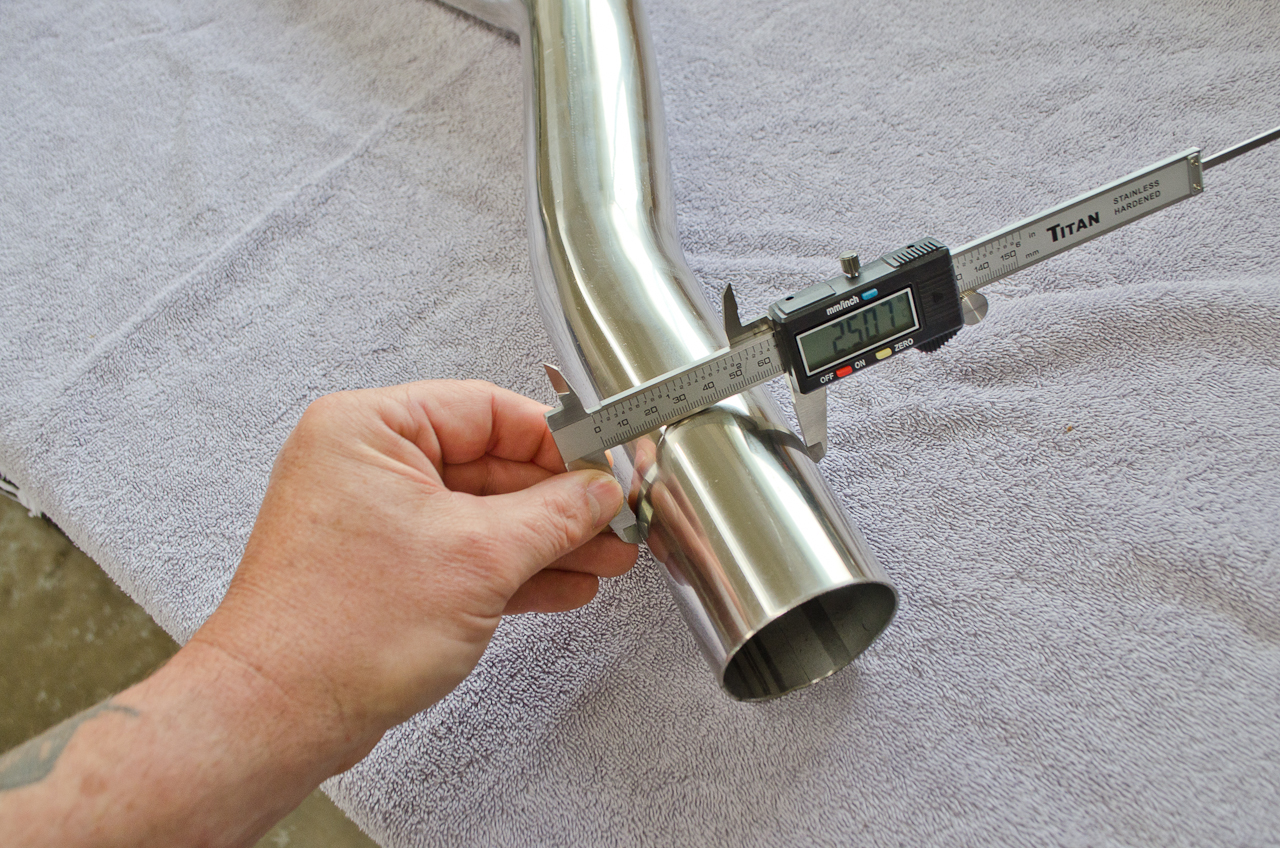
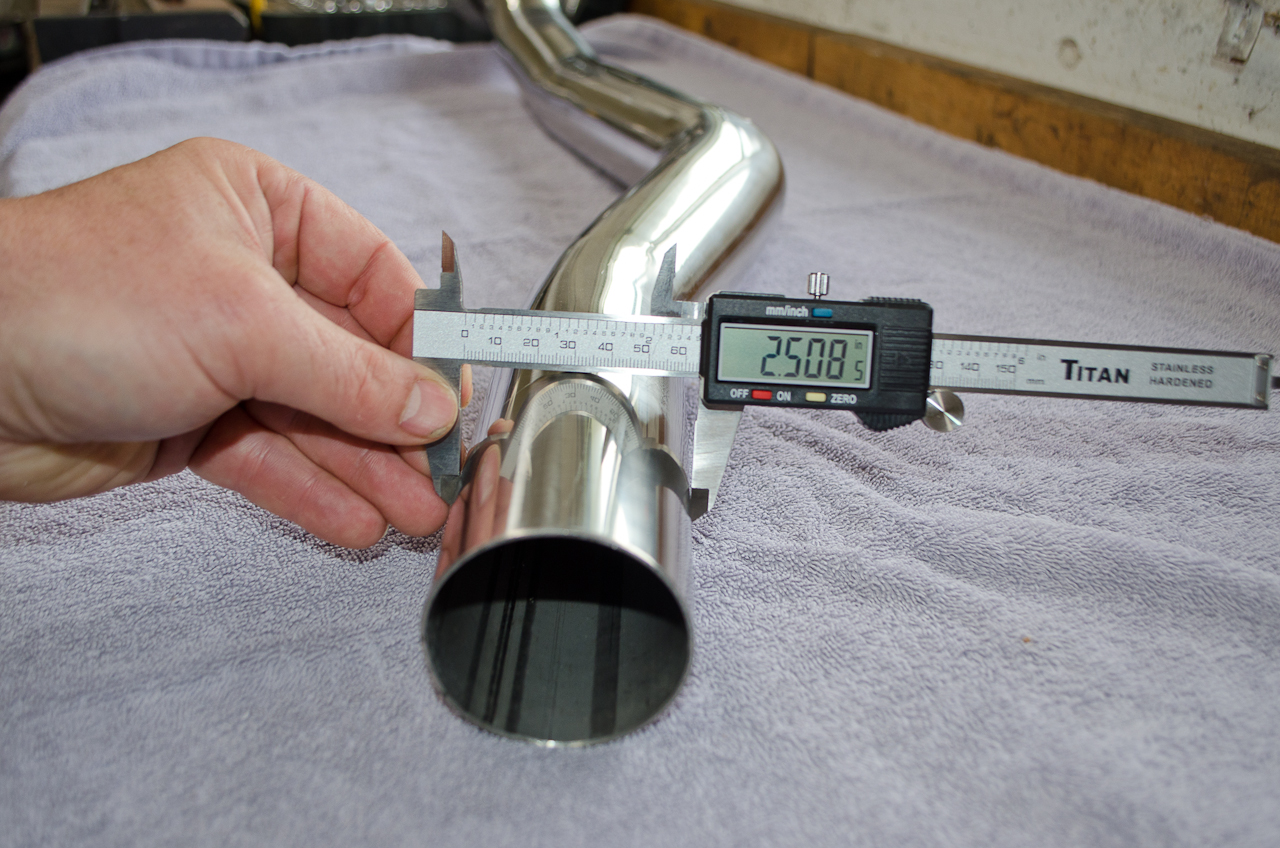
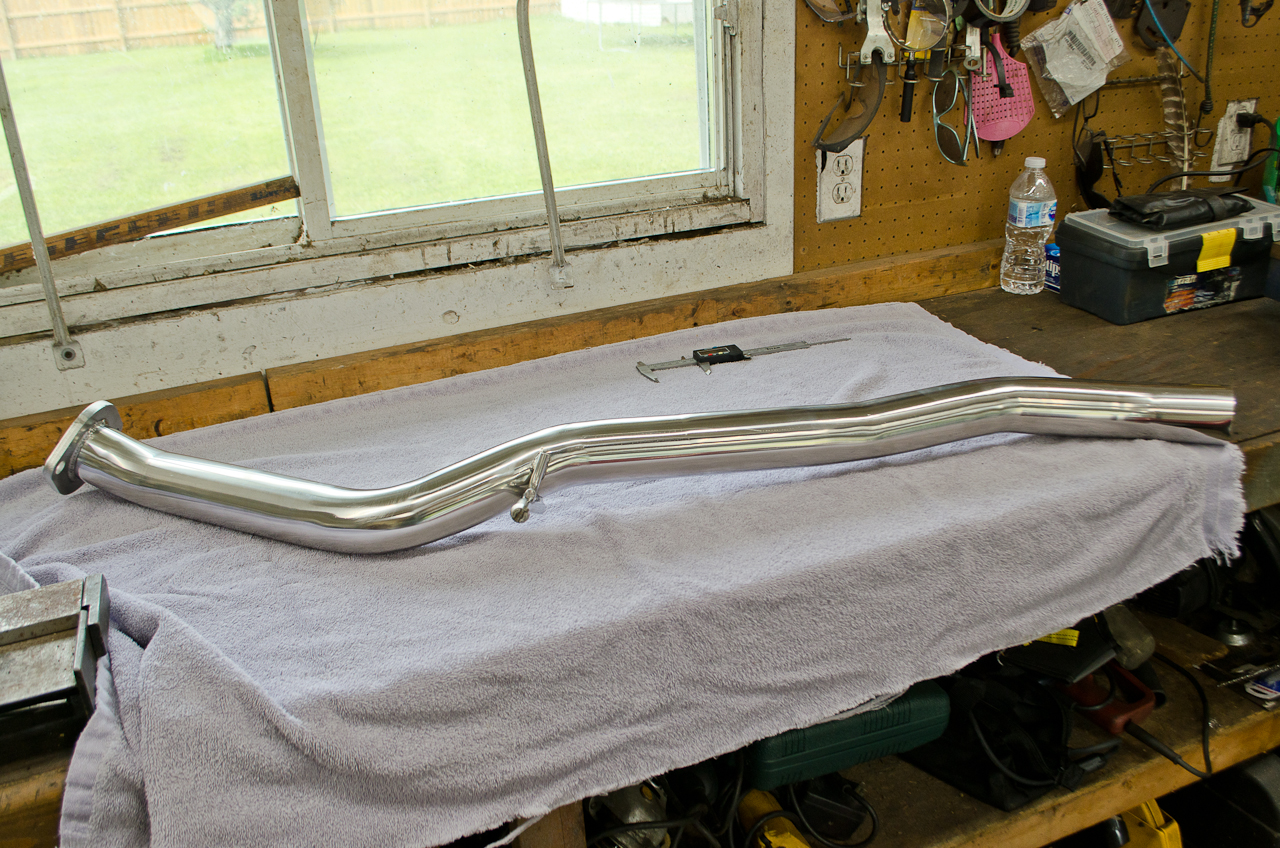
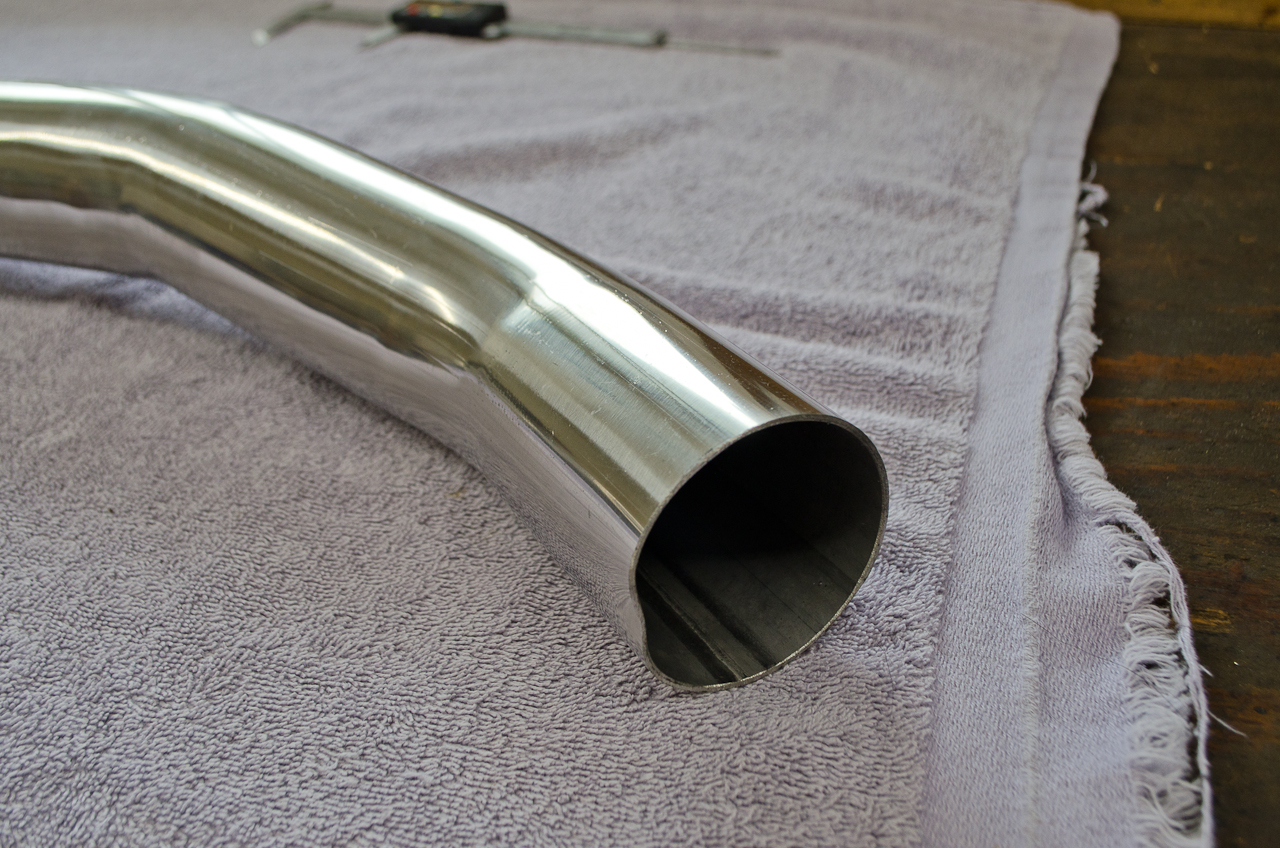
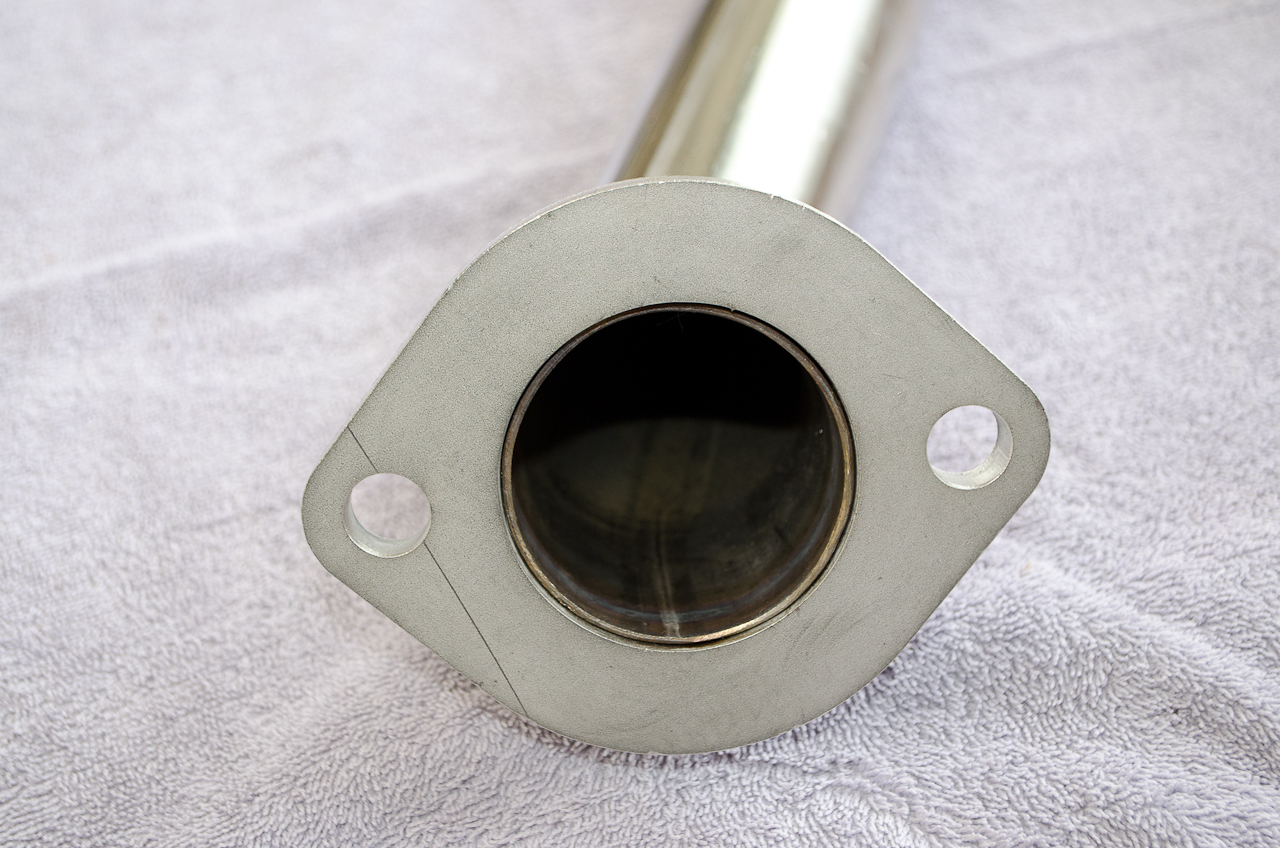
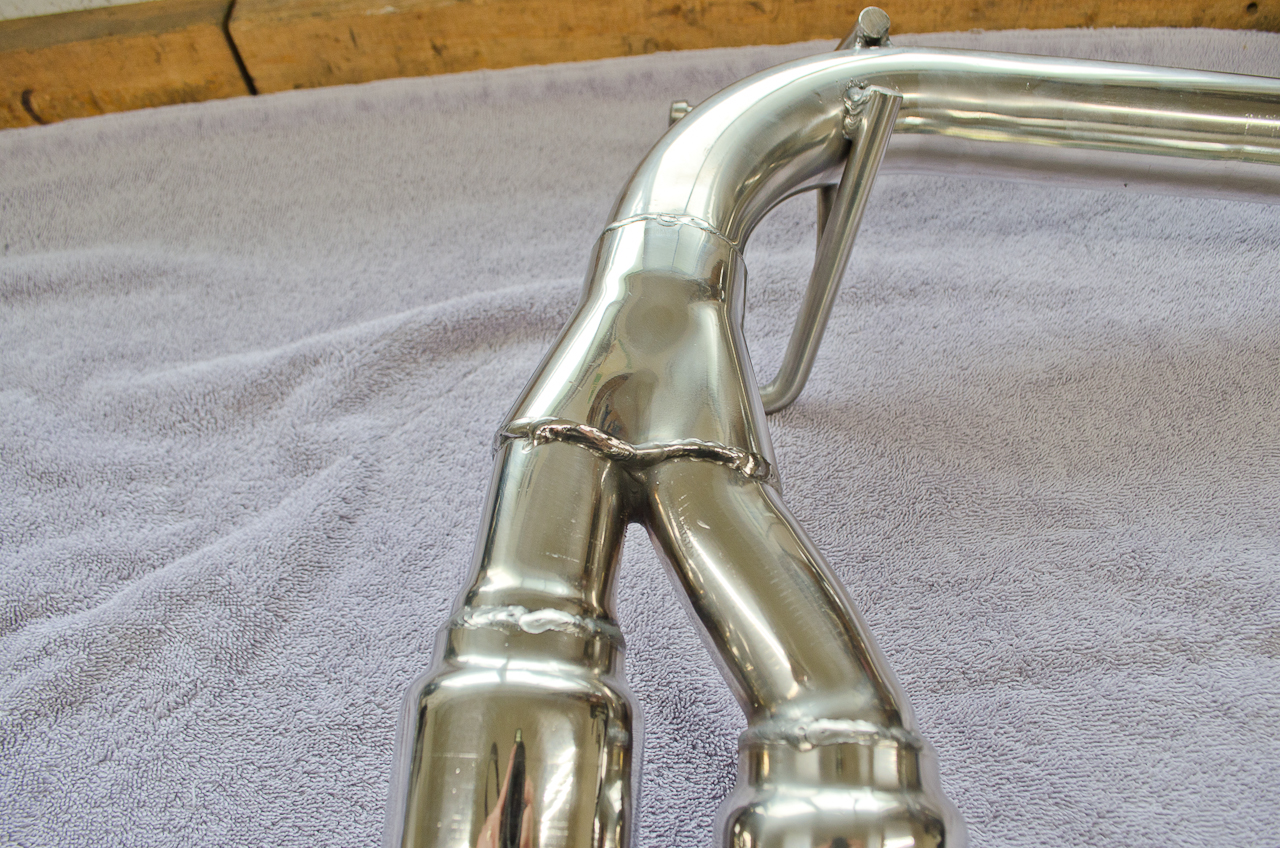
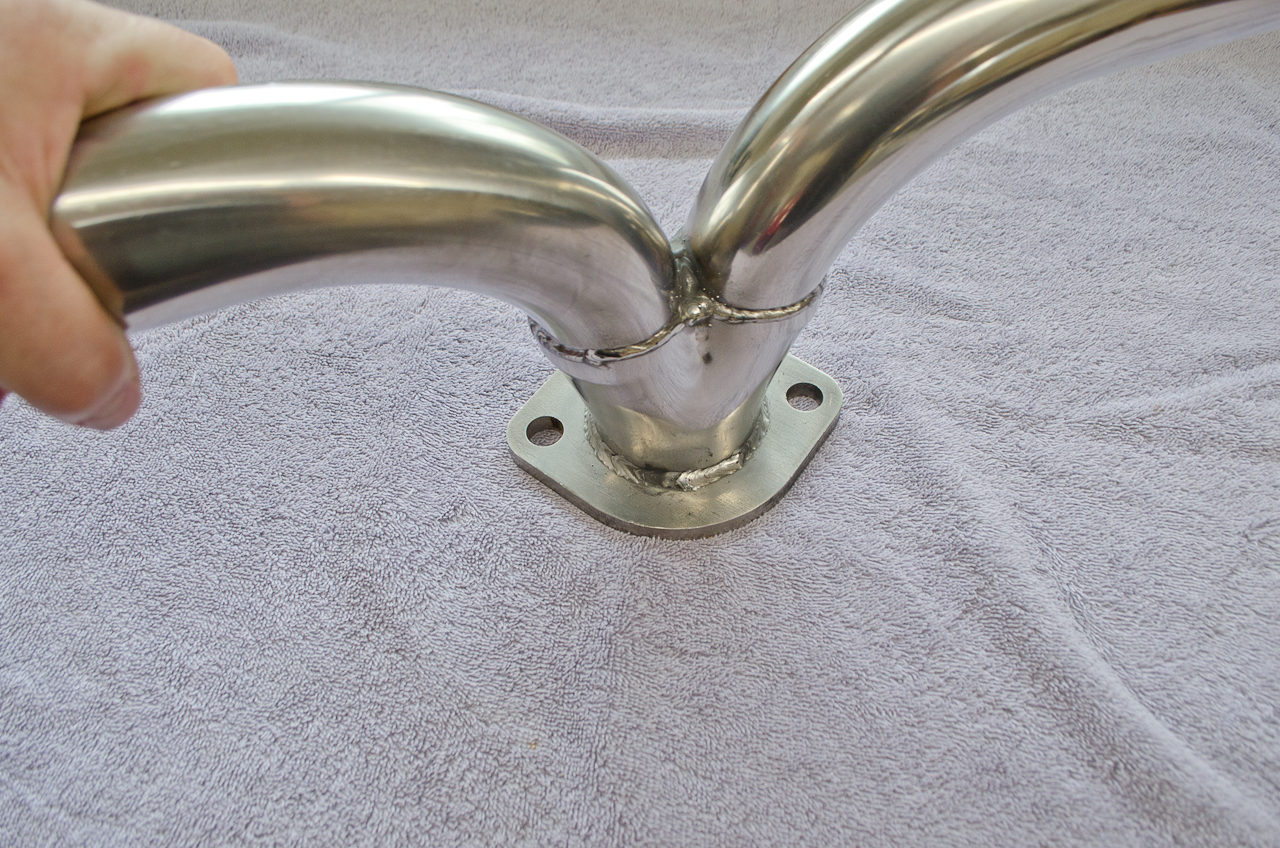
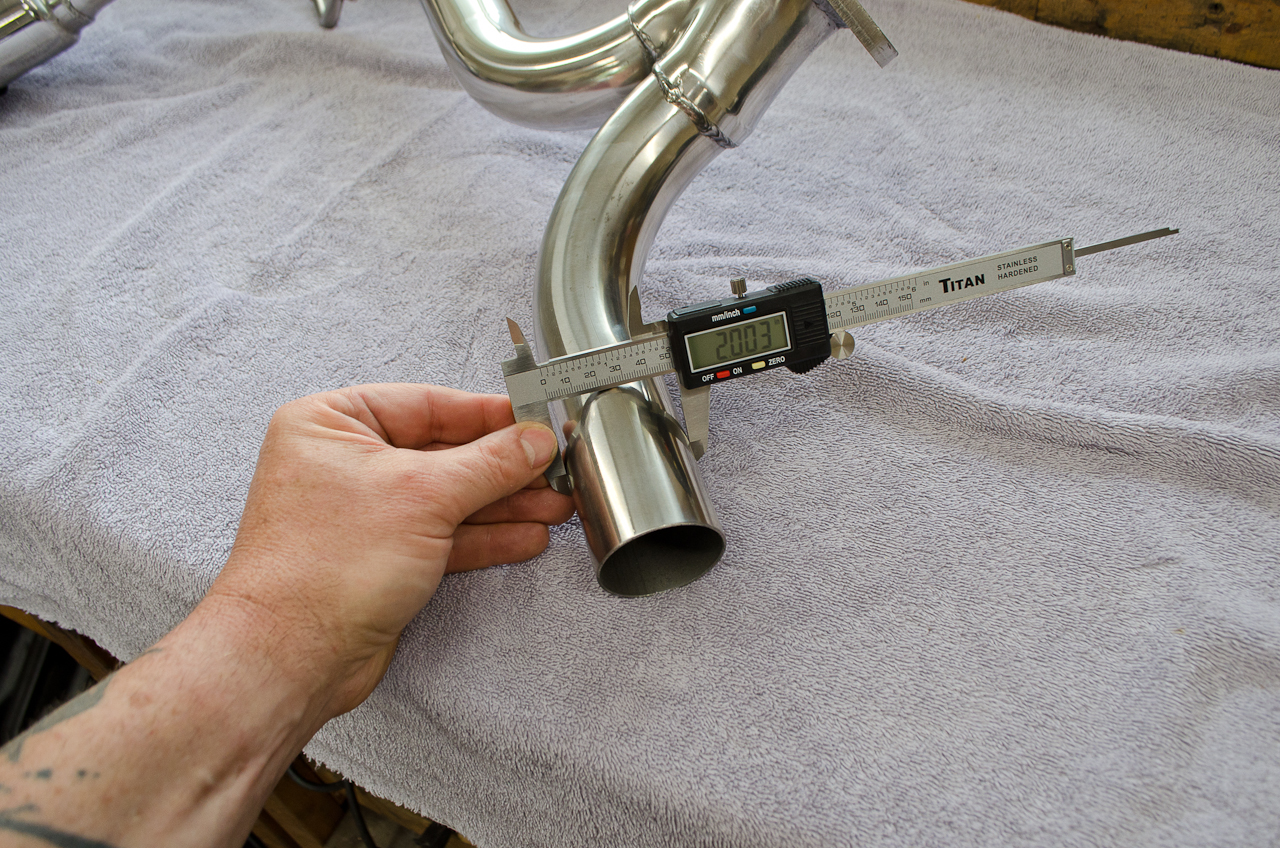
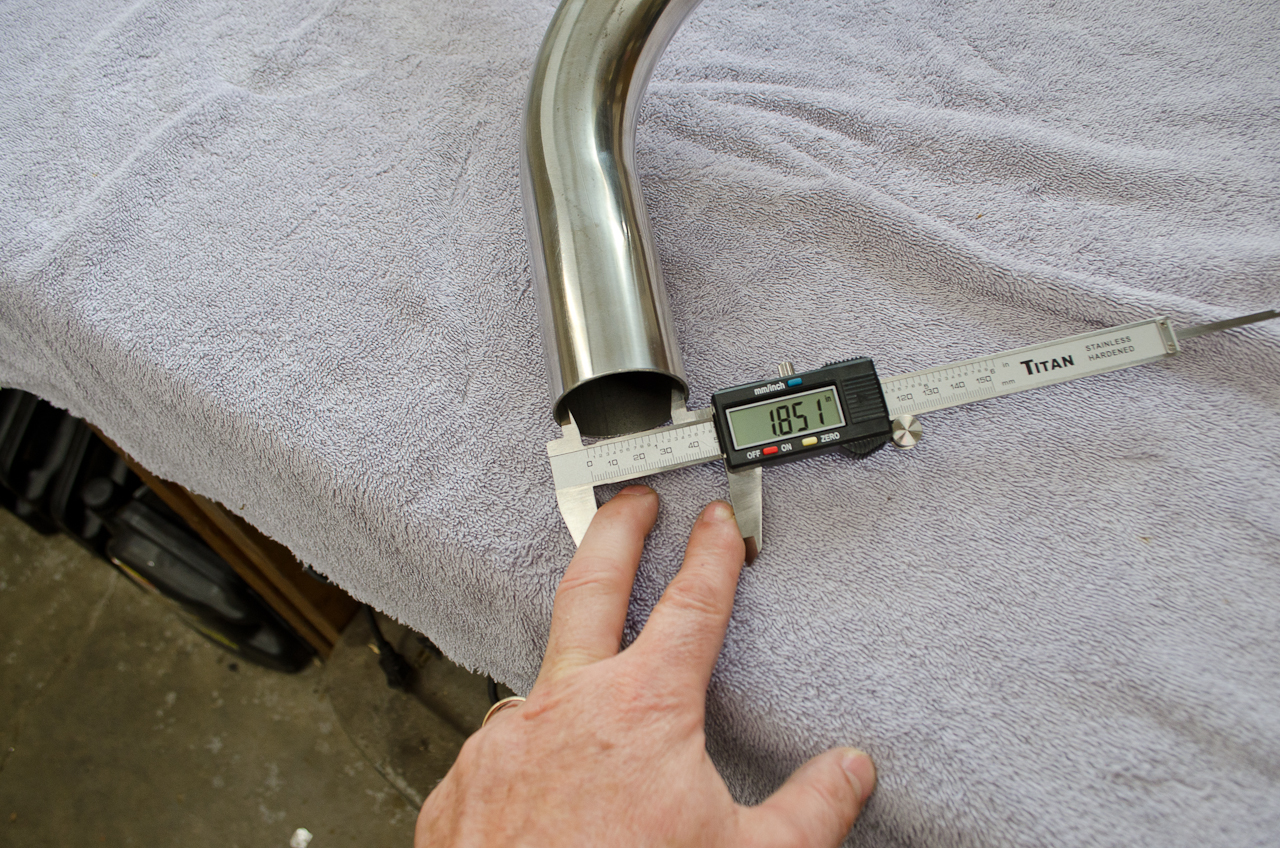
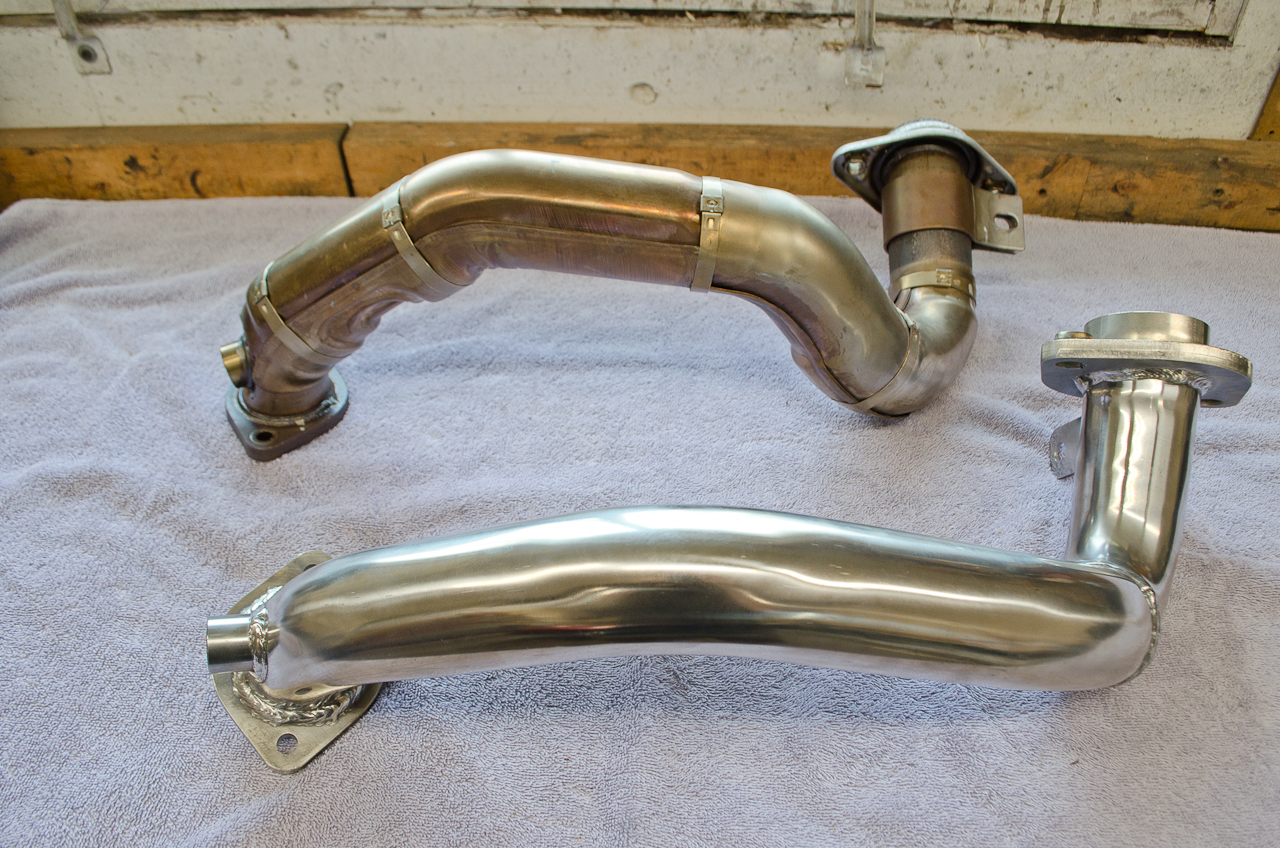
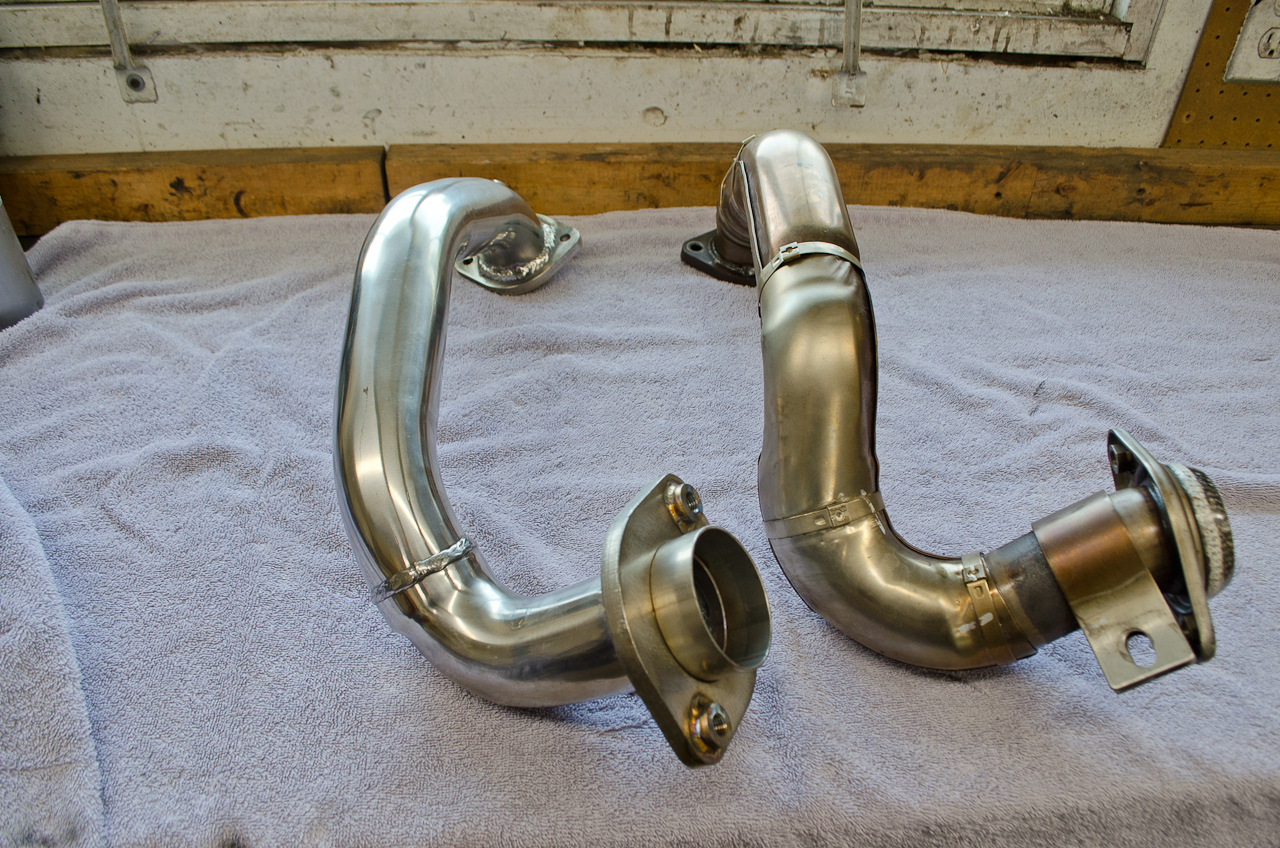
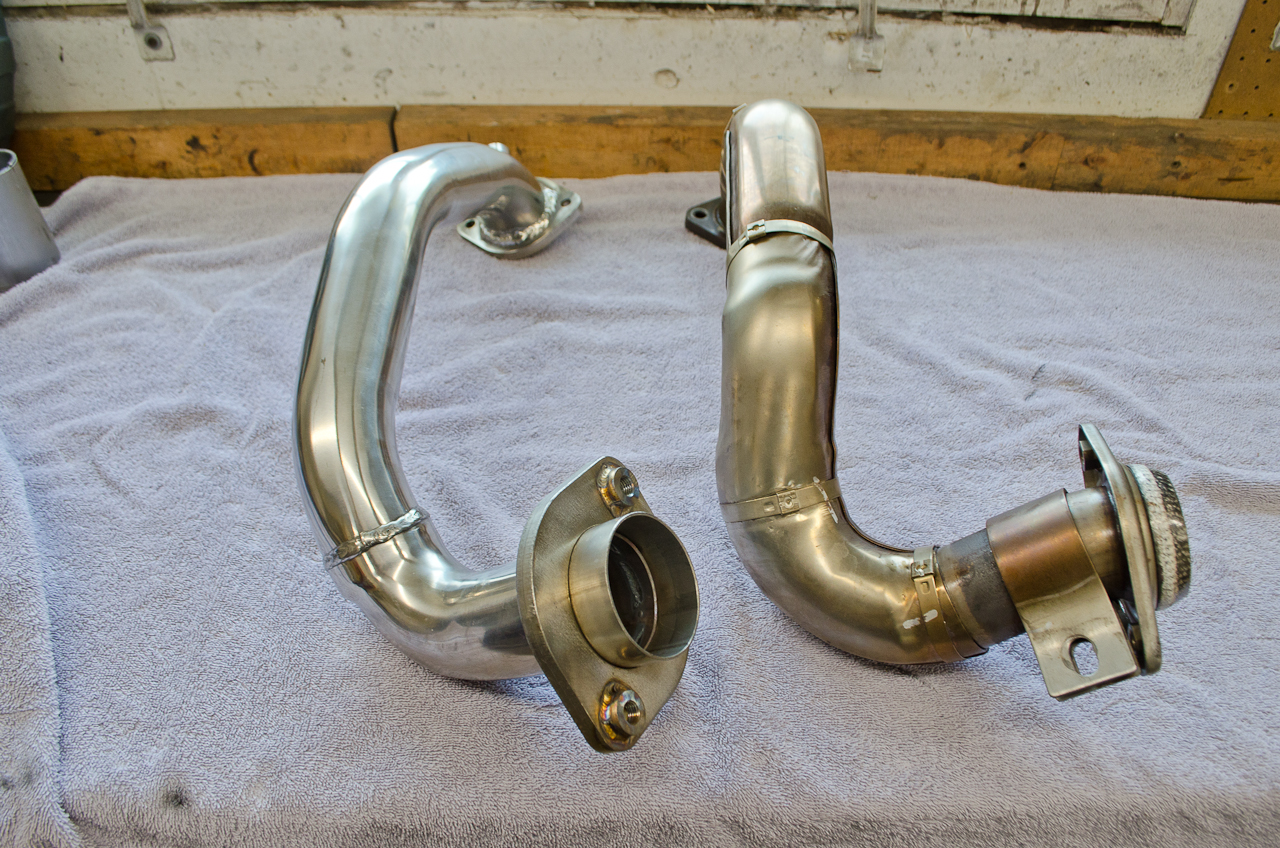
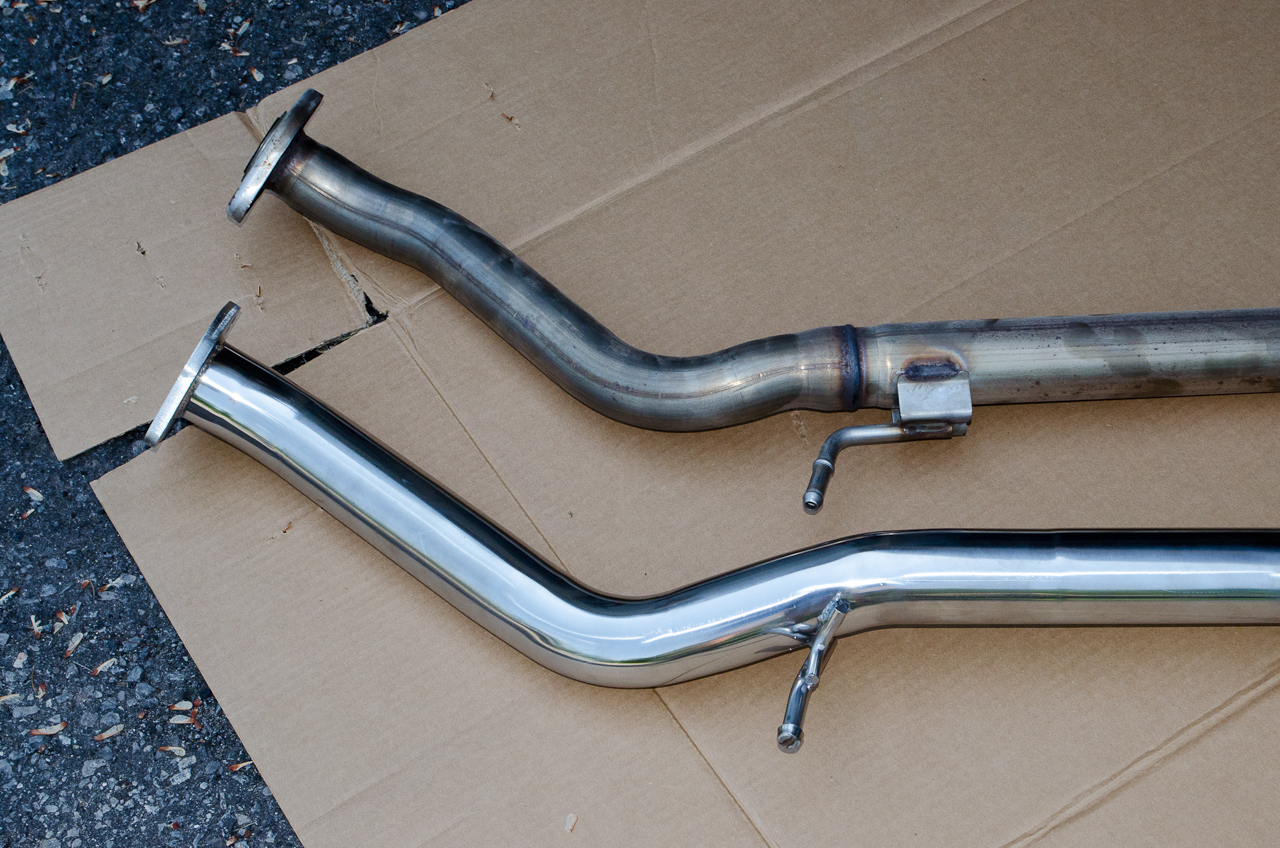
Let's take a good close look at each of the components. First, the crosspipe. Overall, it appears very well made. That said, some of the welds are not the very best I've ever seen, and they could do a bit better on the post-weld finishing - a little weld spatter and heat/smoke discoloration is still visible. Having said that, certainly no flaws that will affect the performance of the part. Regarding the measurements shown - keep in mind that I am using only a fairly cheap pair of digital callipers that have not been calibrated.
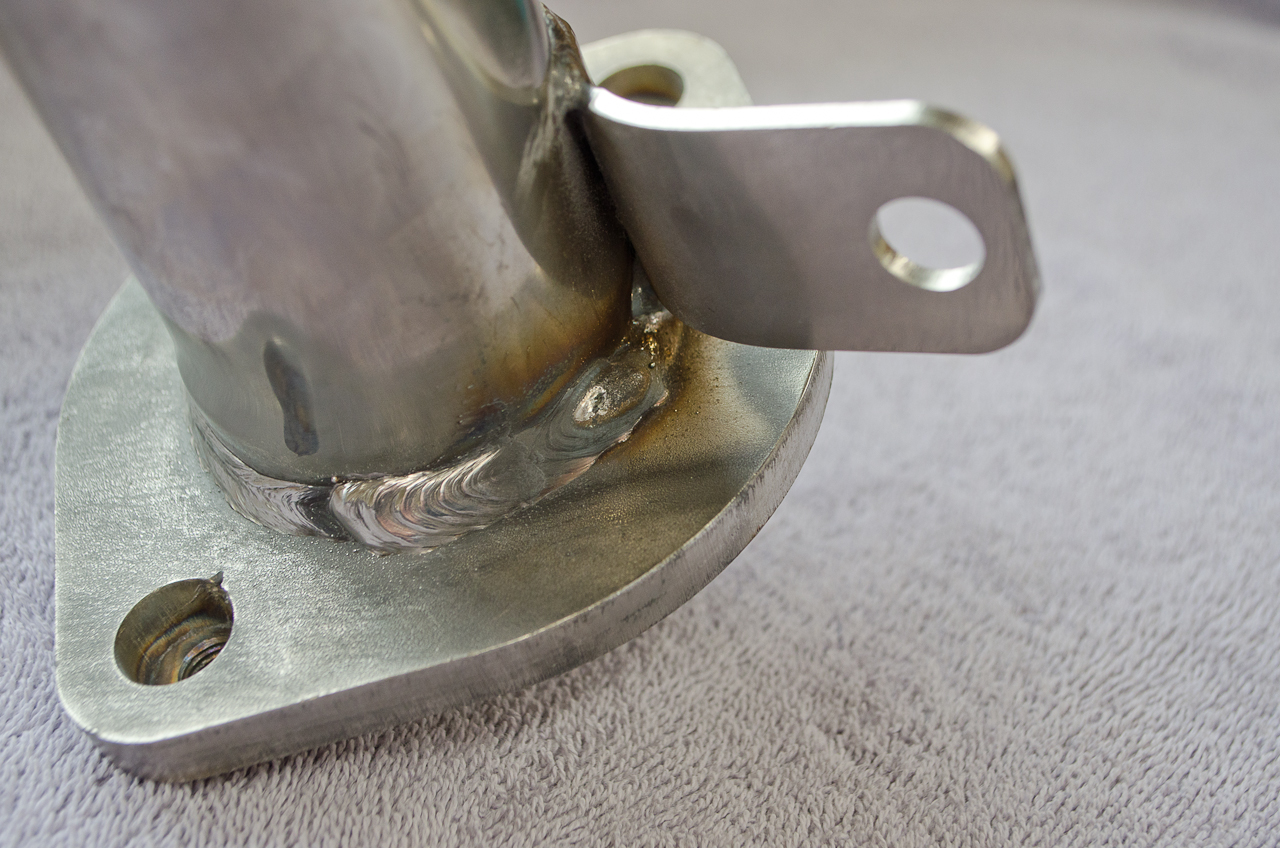
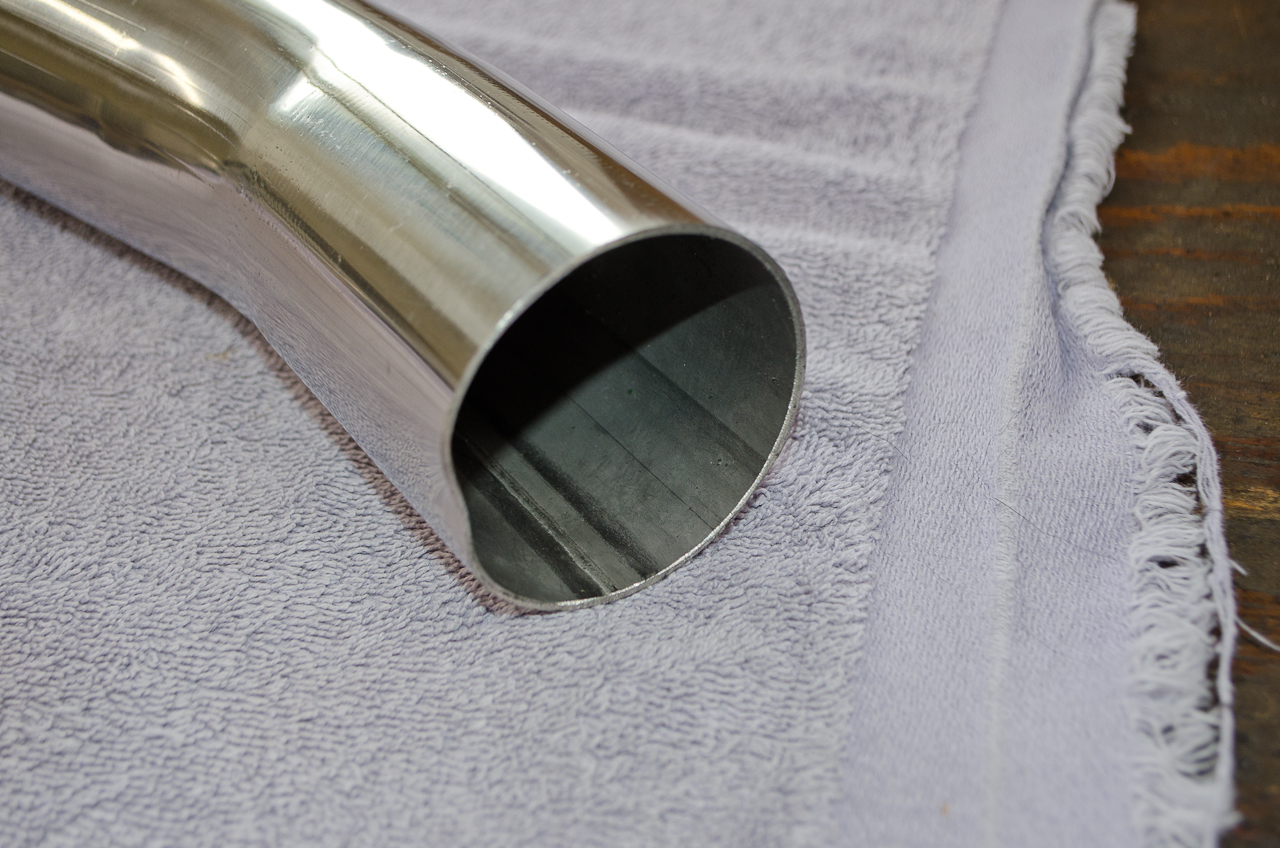
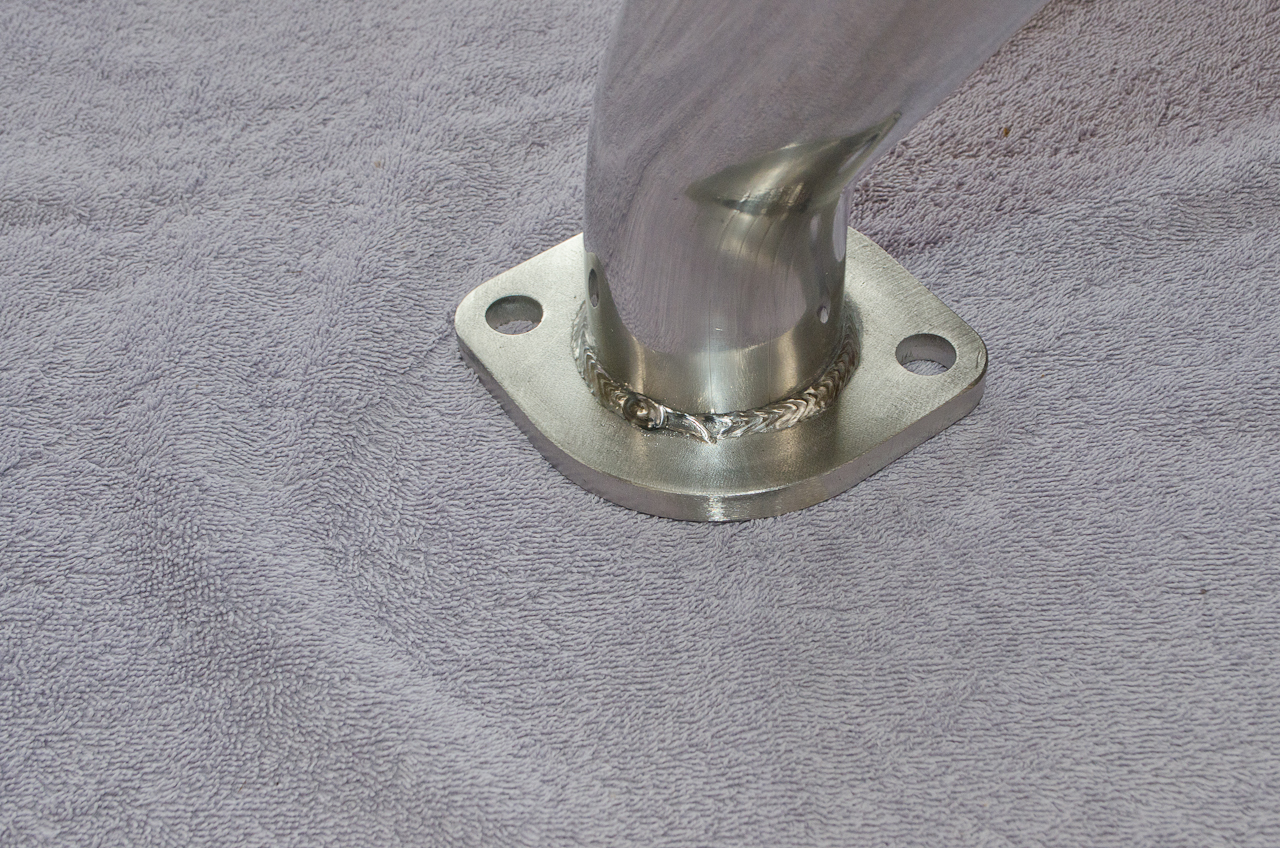
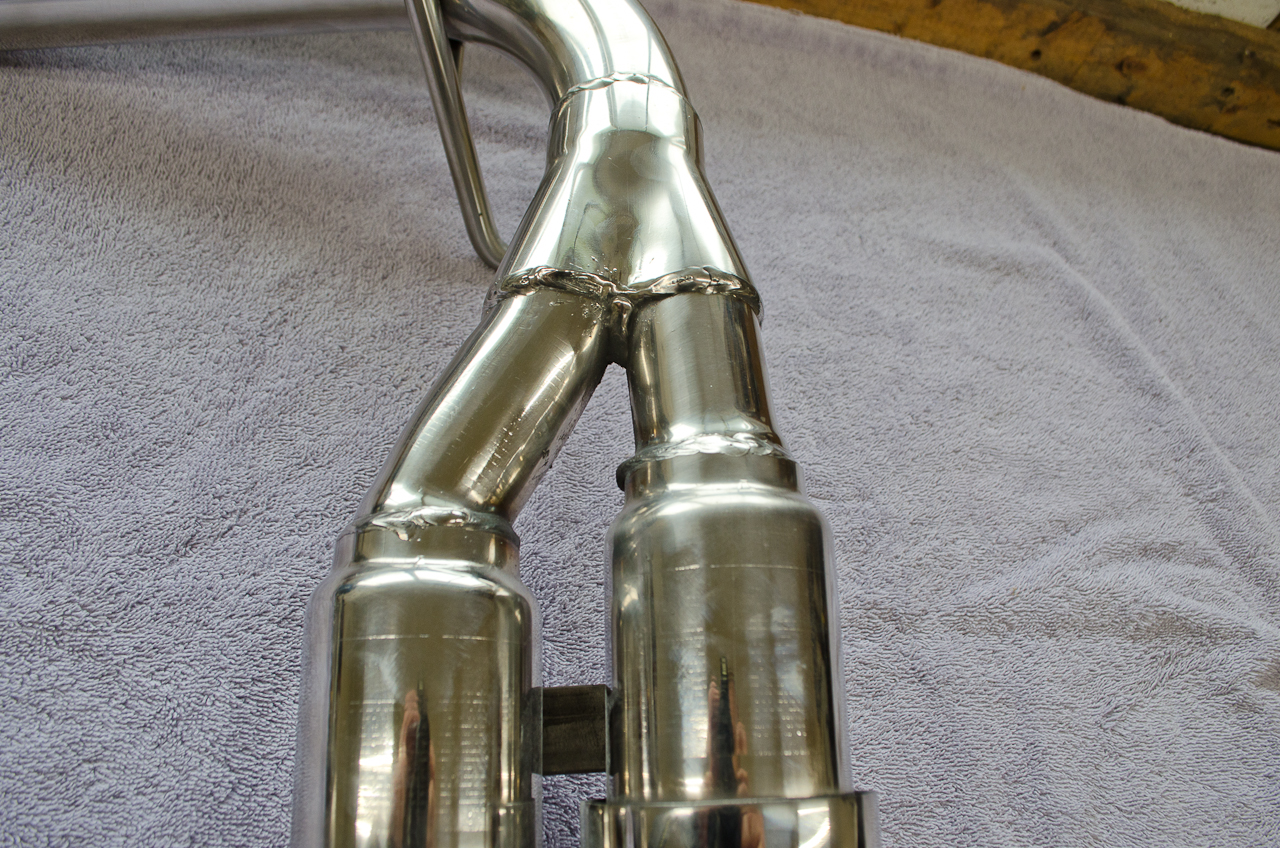
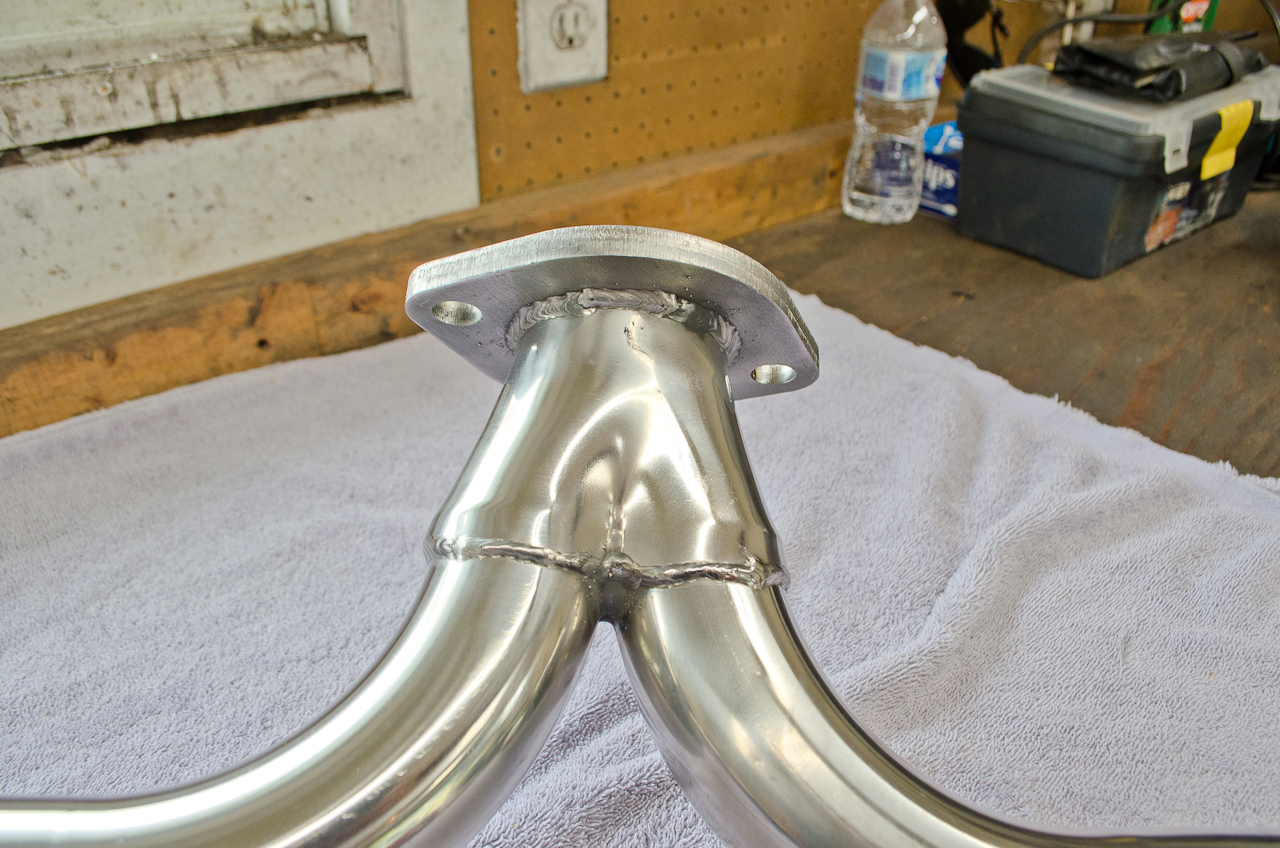
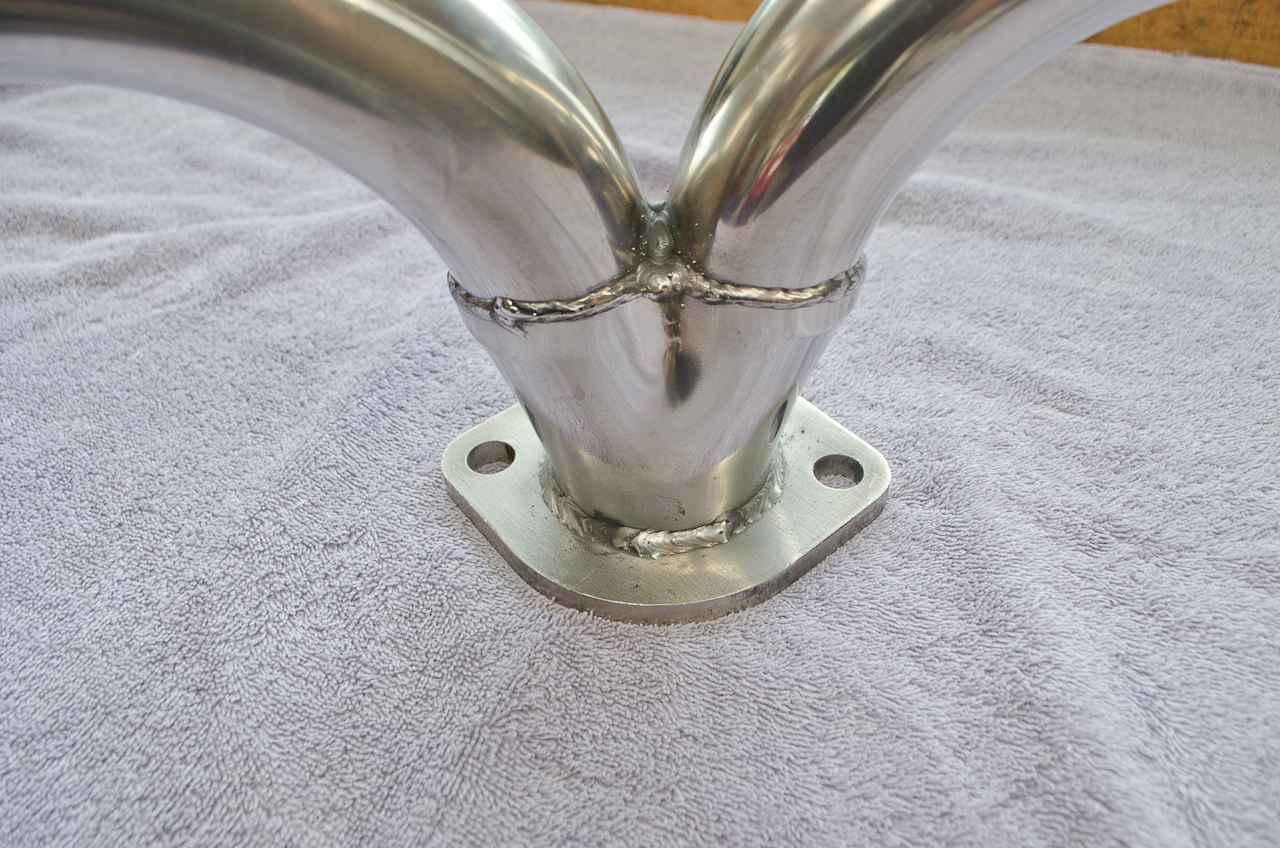
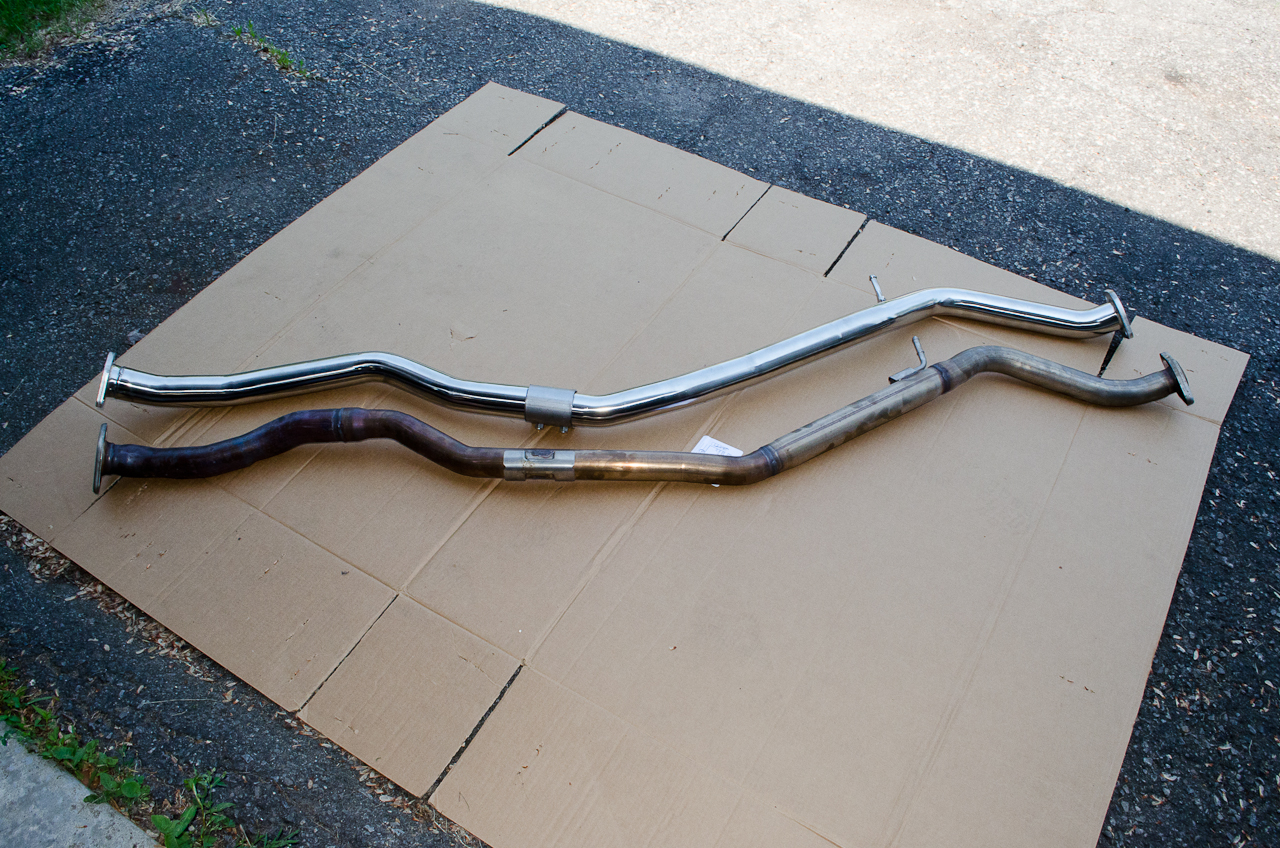
Next, the midpipe. The midpipe comes in two sections, with a slip-joint clamp supplied to join the two during installation. Note the beautiful TIG weld on the flange-to-pipe weld shown...oh how I would have loved if the whole system were welded this nicely! That would probably increase costs substantially, and it's not like most of it will ever be seen by most people, once installed. Still... The shorter, front section:
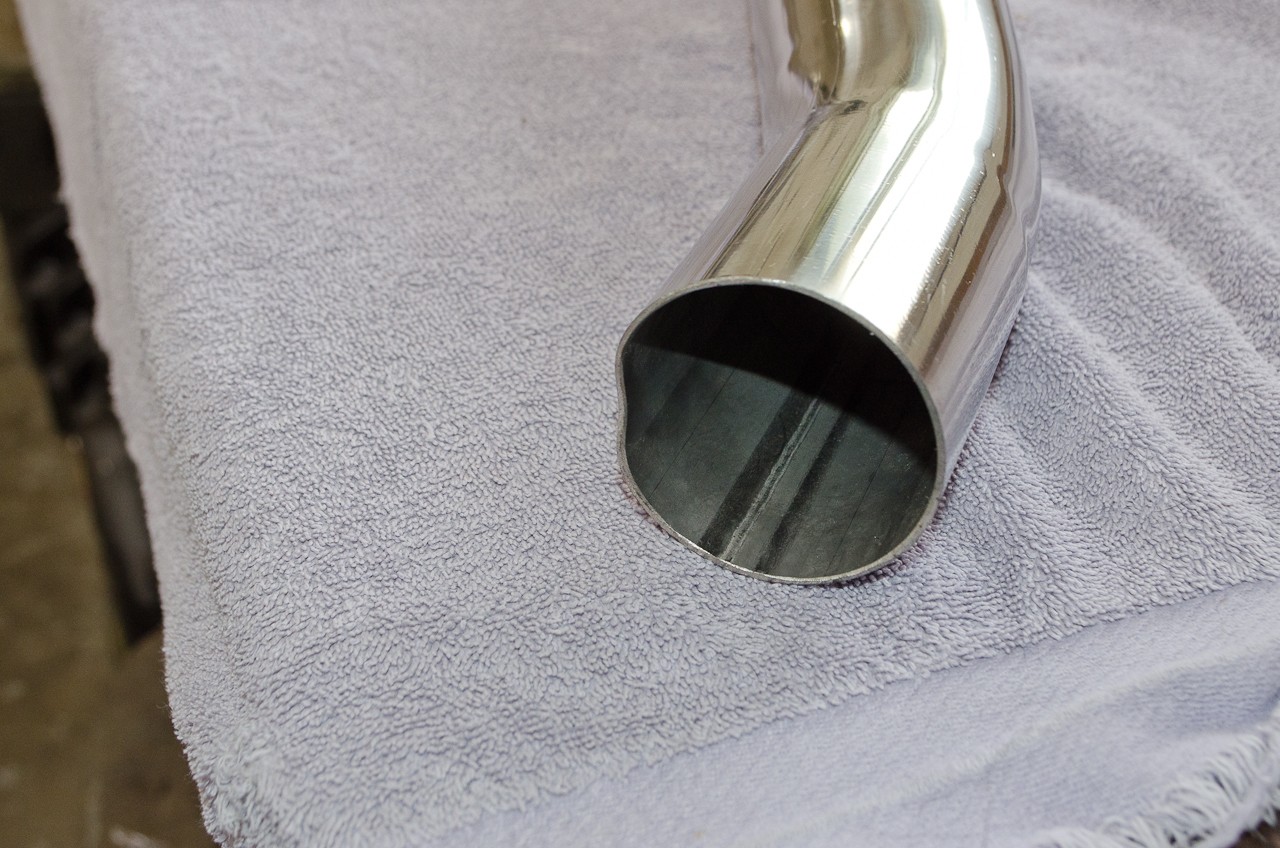
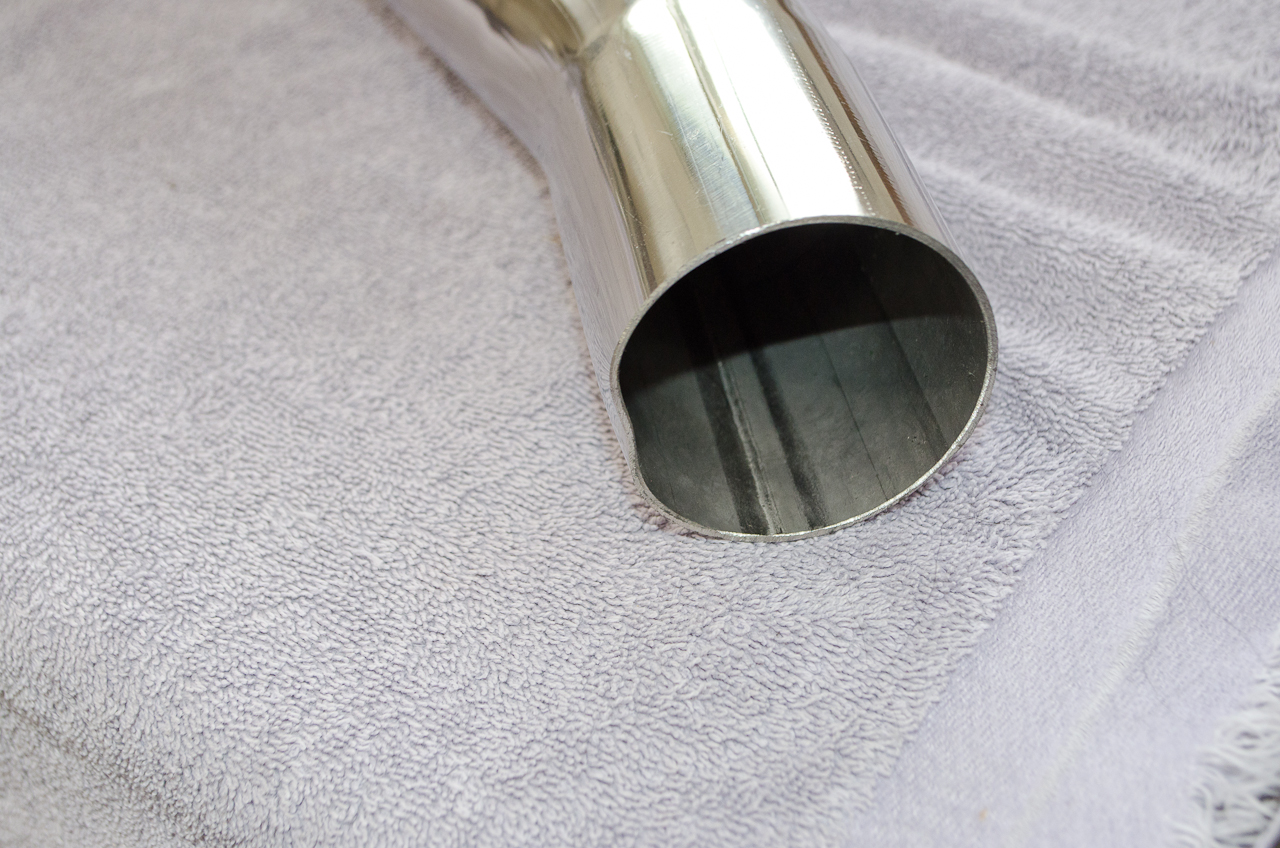
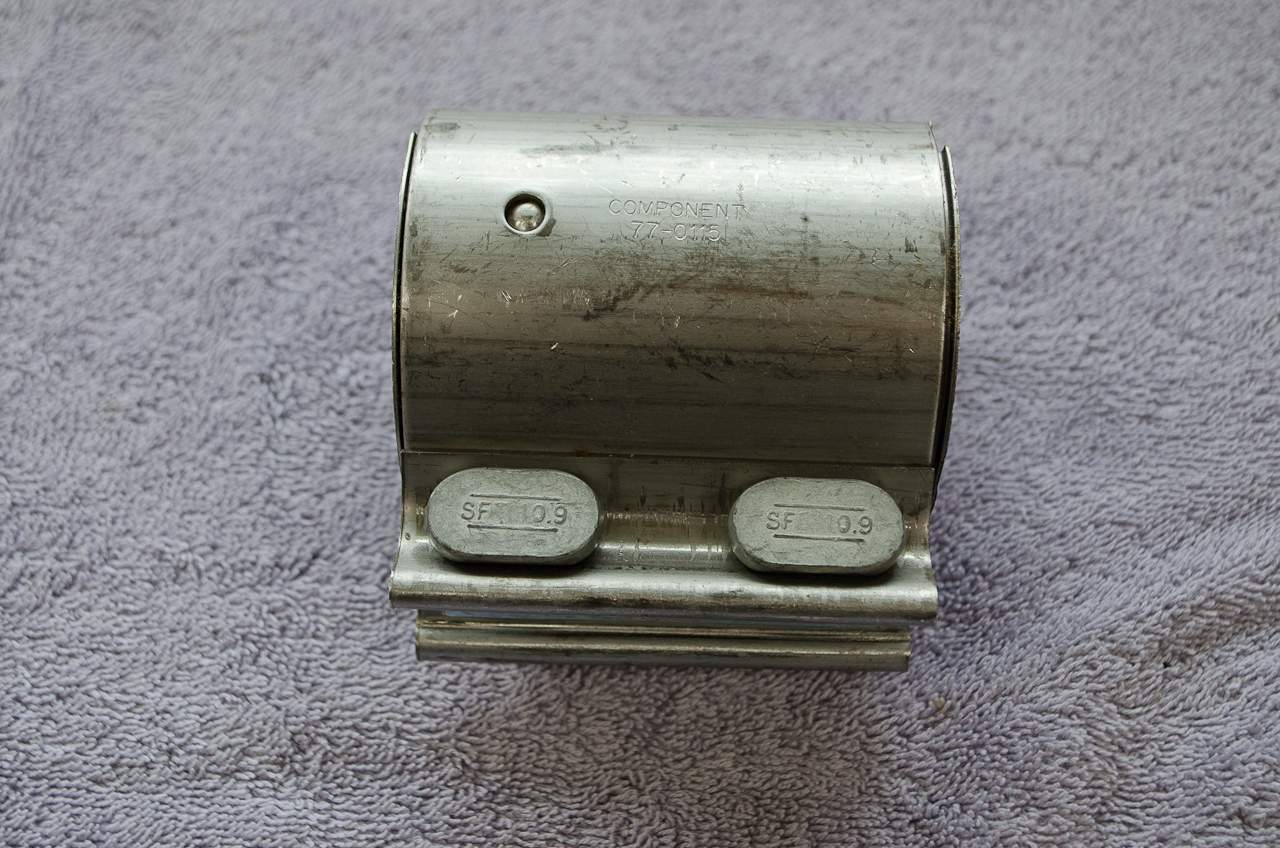
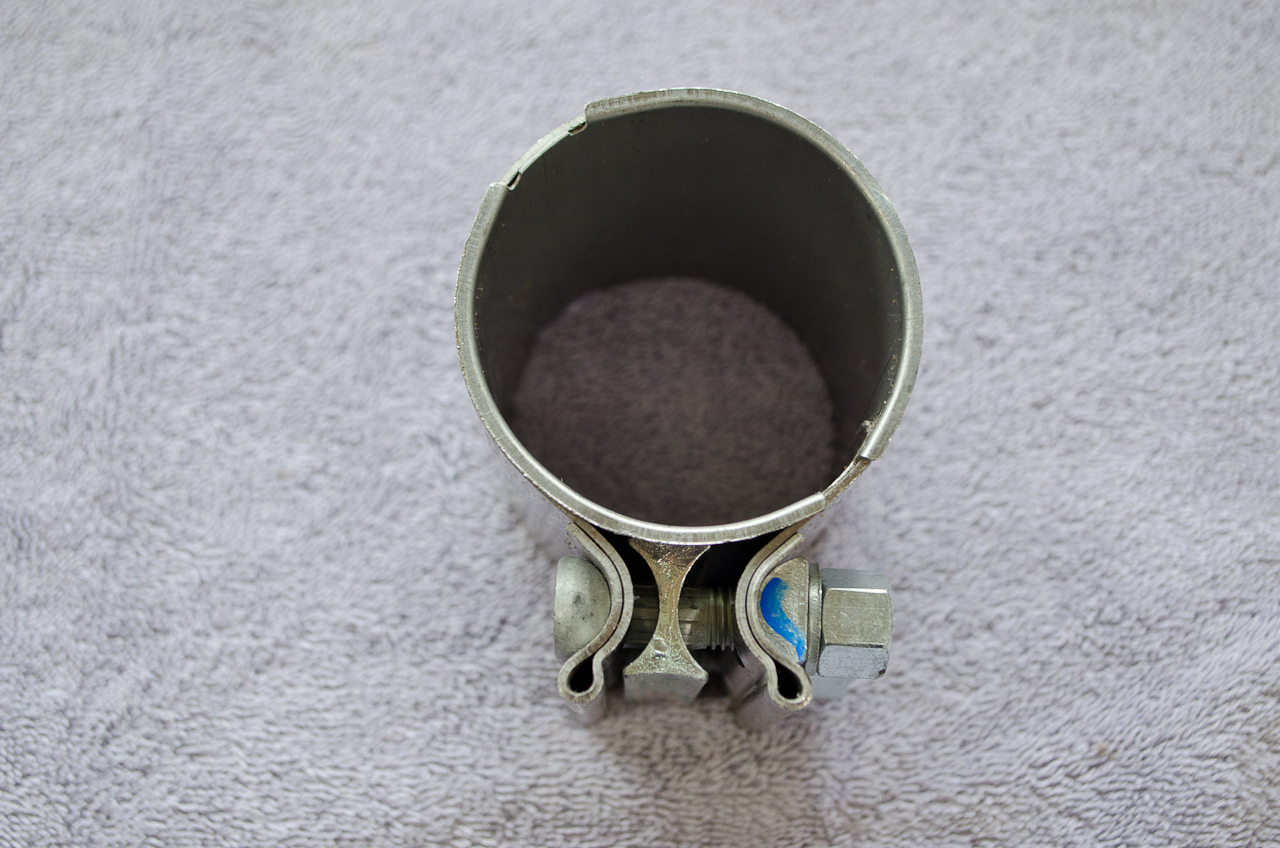
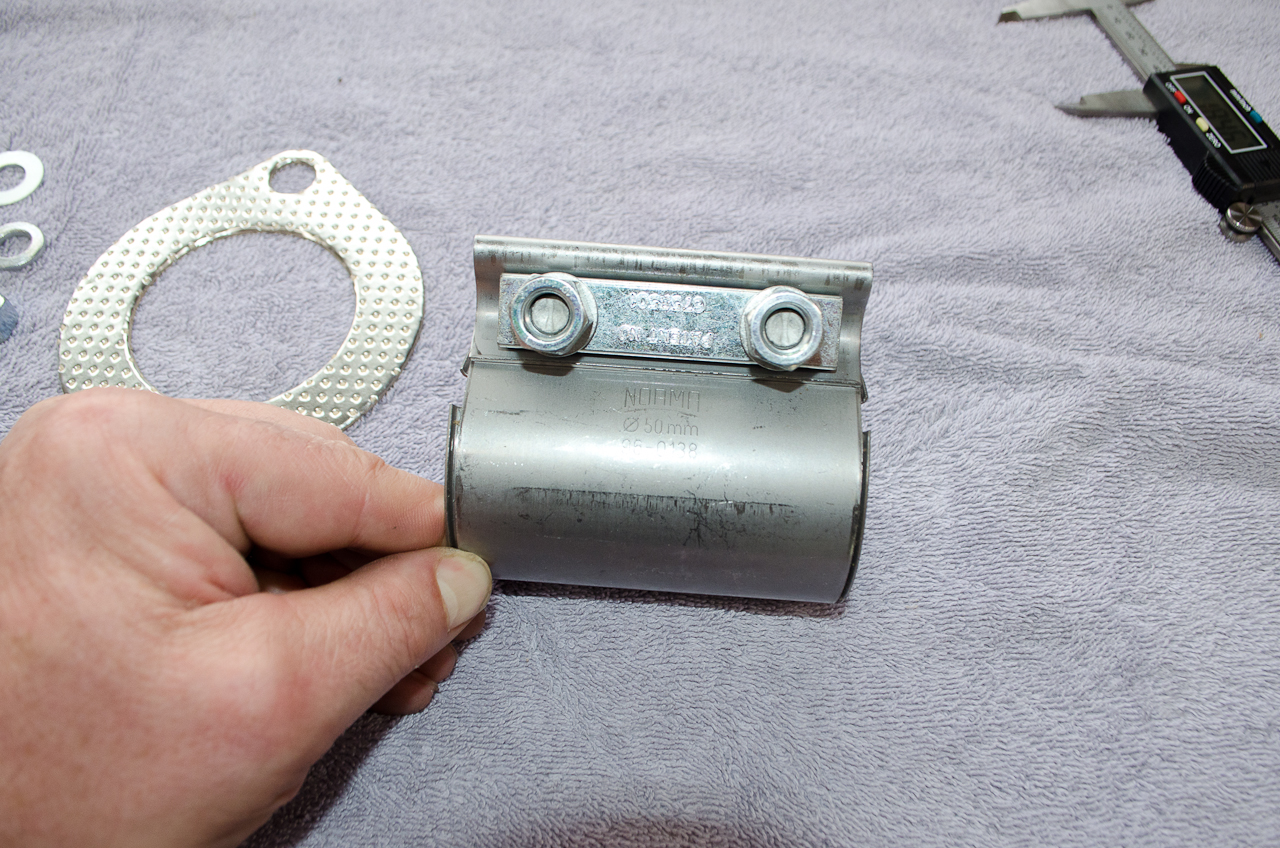
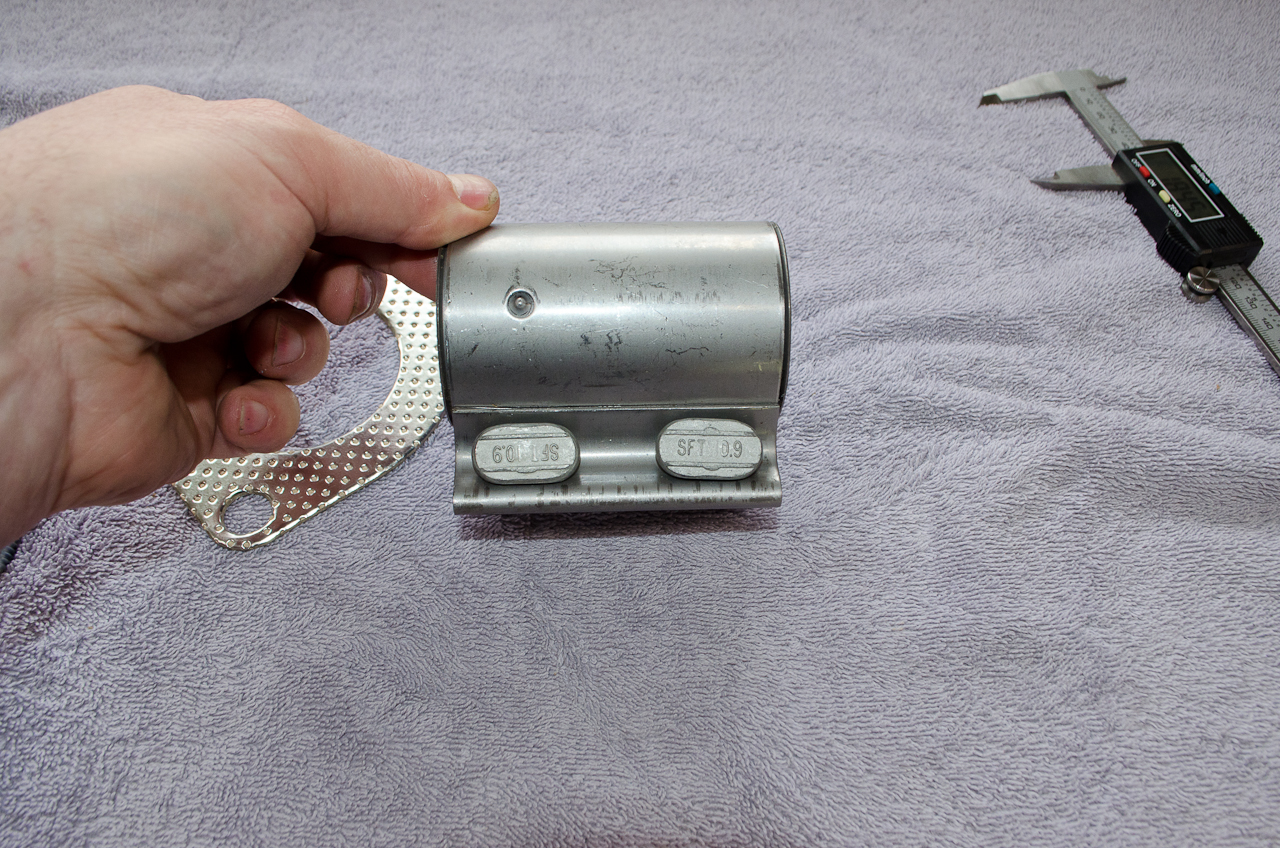
The longer, rear section of midpipe. Note that there is a slight dent in the slip-joint end of the longer piece of midpipe. Whether this was shipping damage or a quality-control issue, I cannot say. However, given that it was so slight and would be underneath the slip-joint clamp anyway, I ignored it with no ill affect that I can detect. Note also that the clamp for the midpipe is the larger of the two clamps supplied (if you buy the whole system).
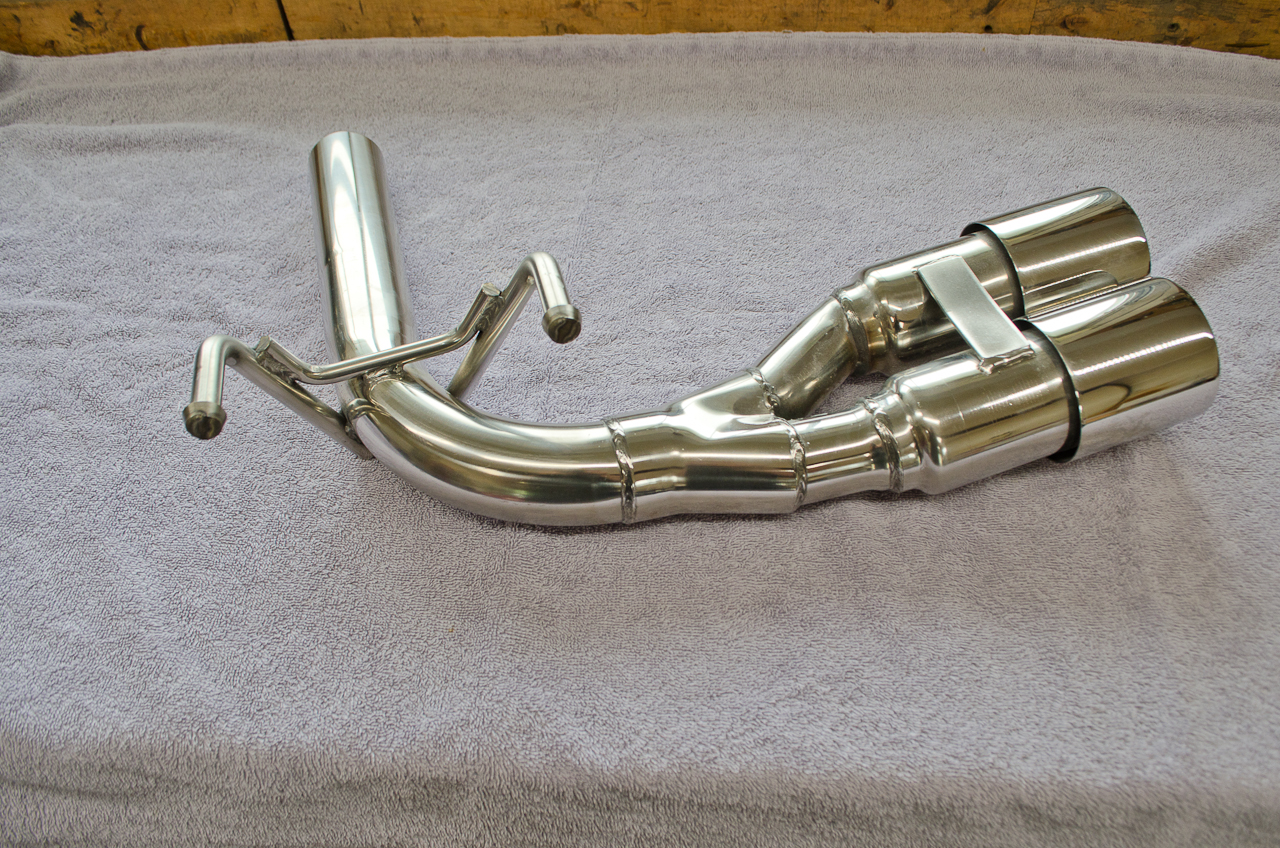
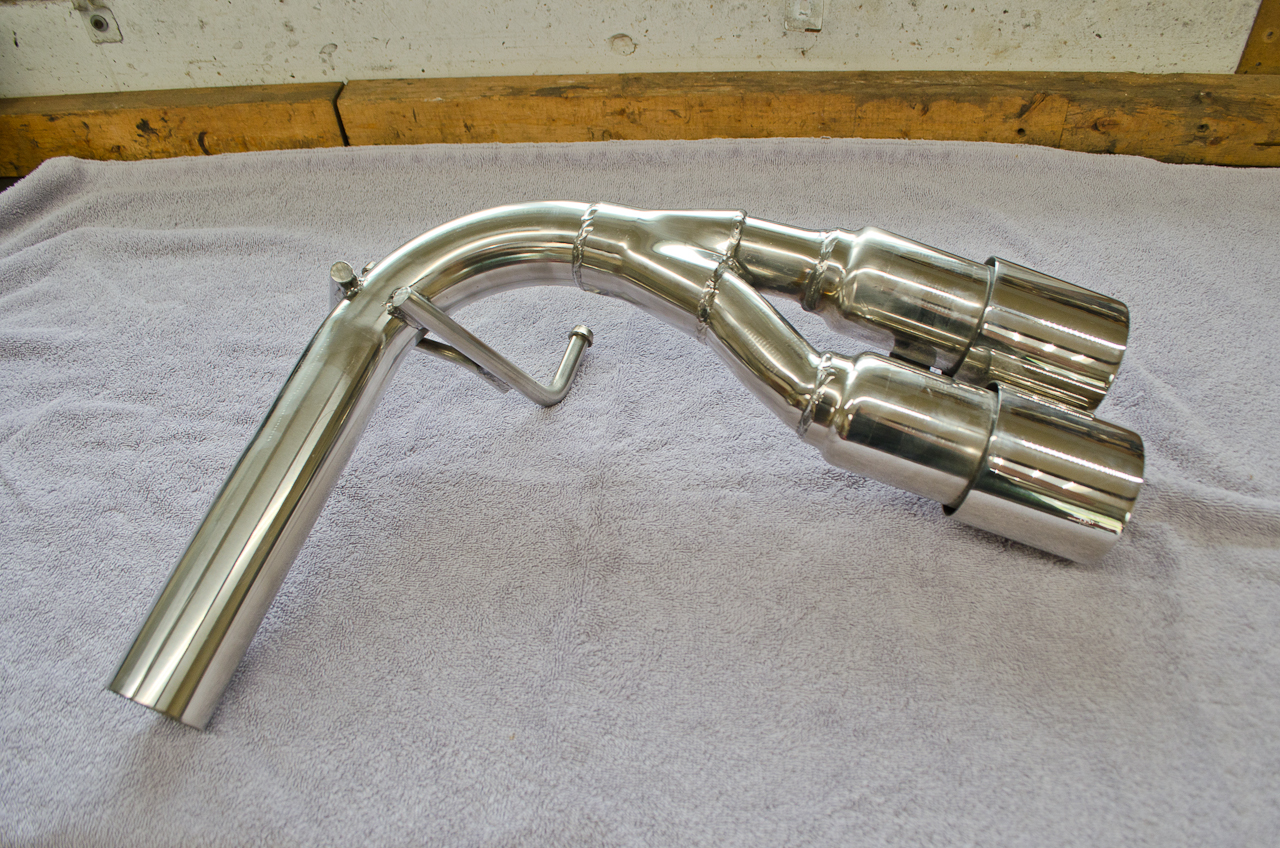
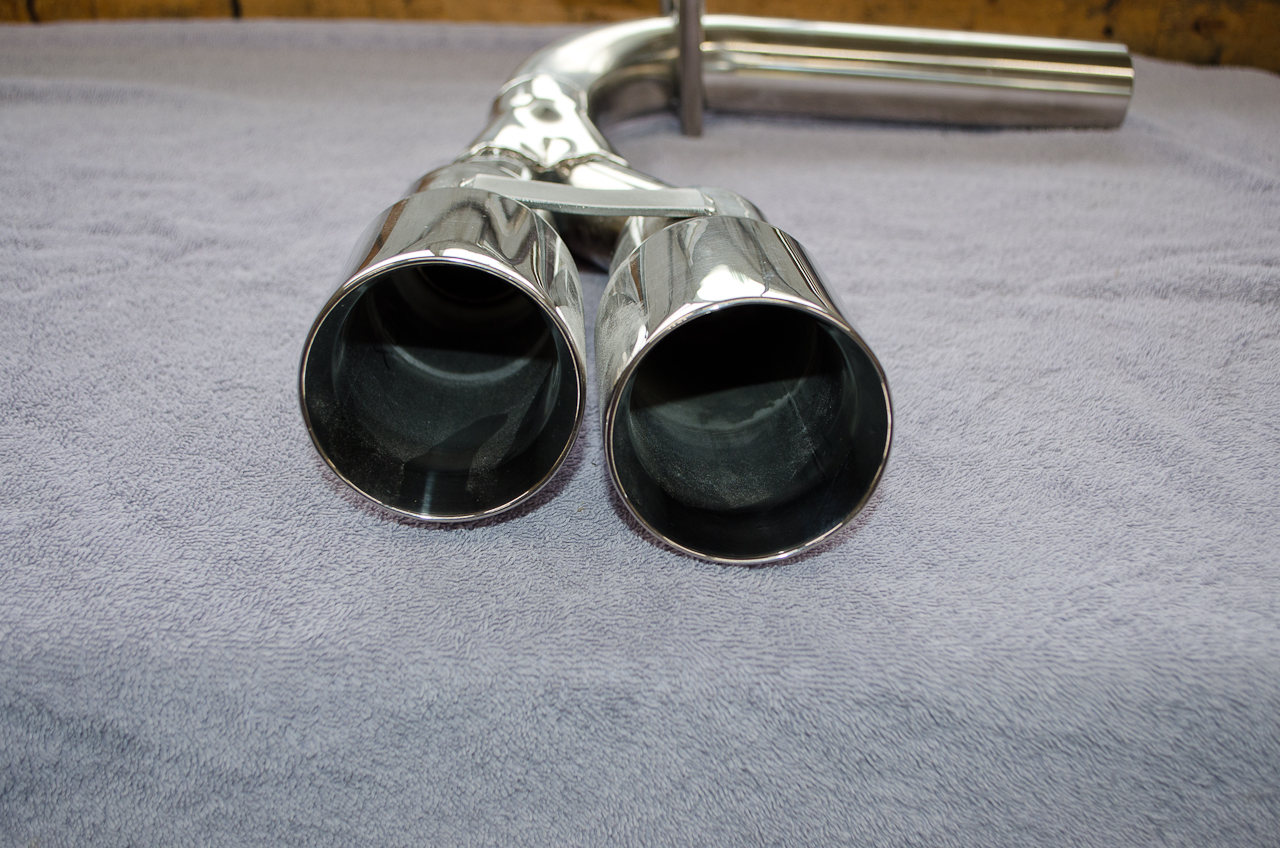
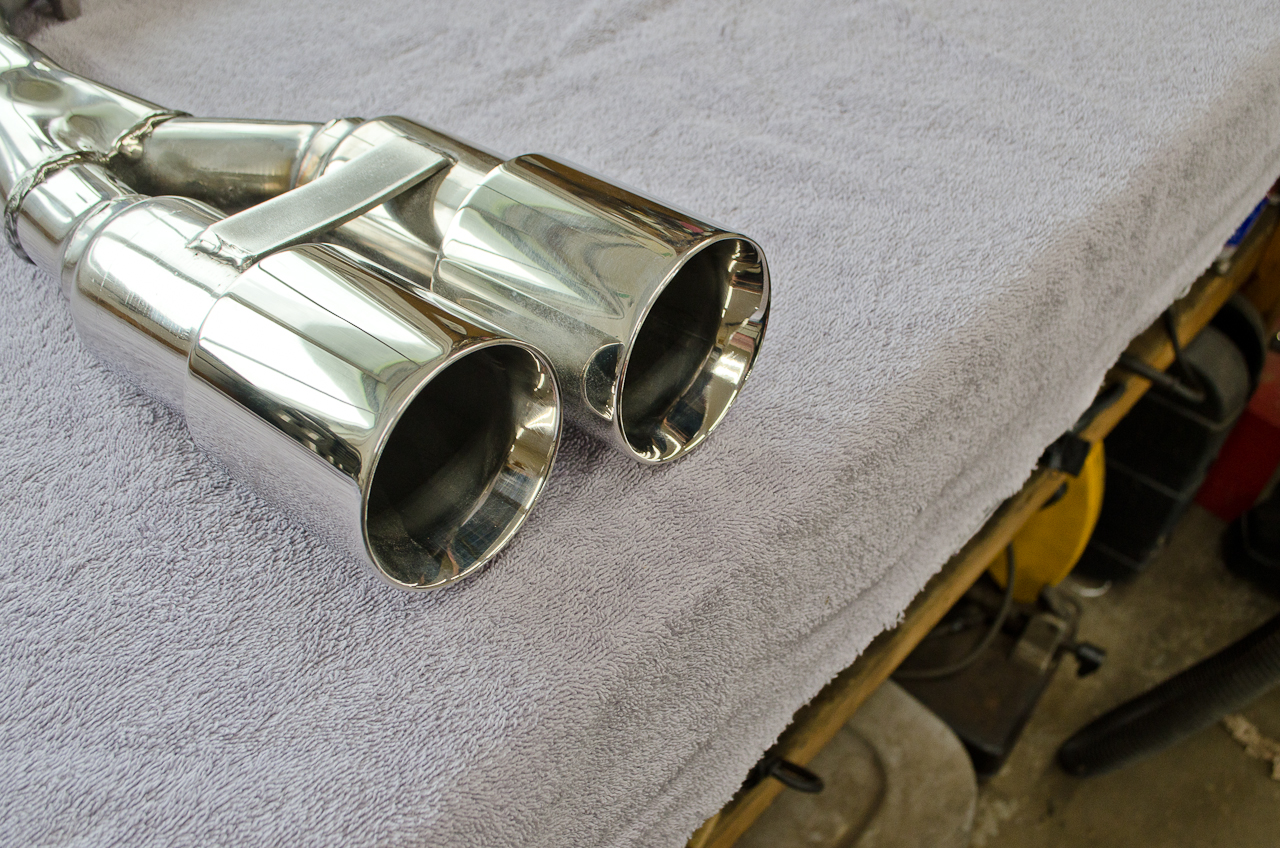
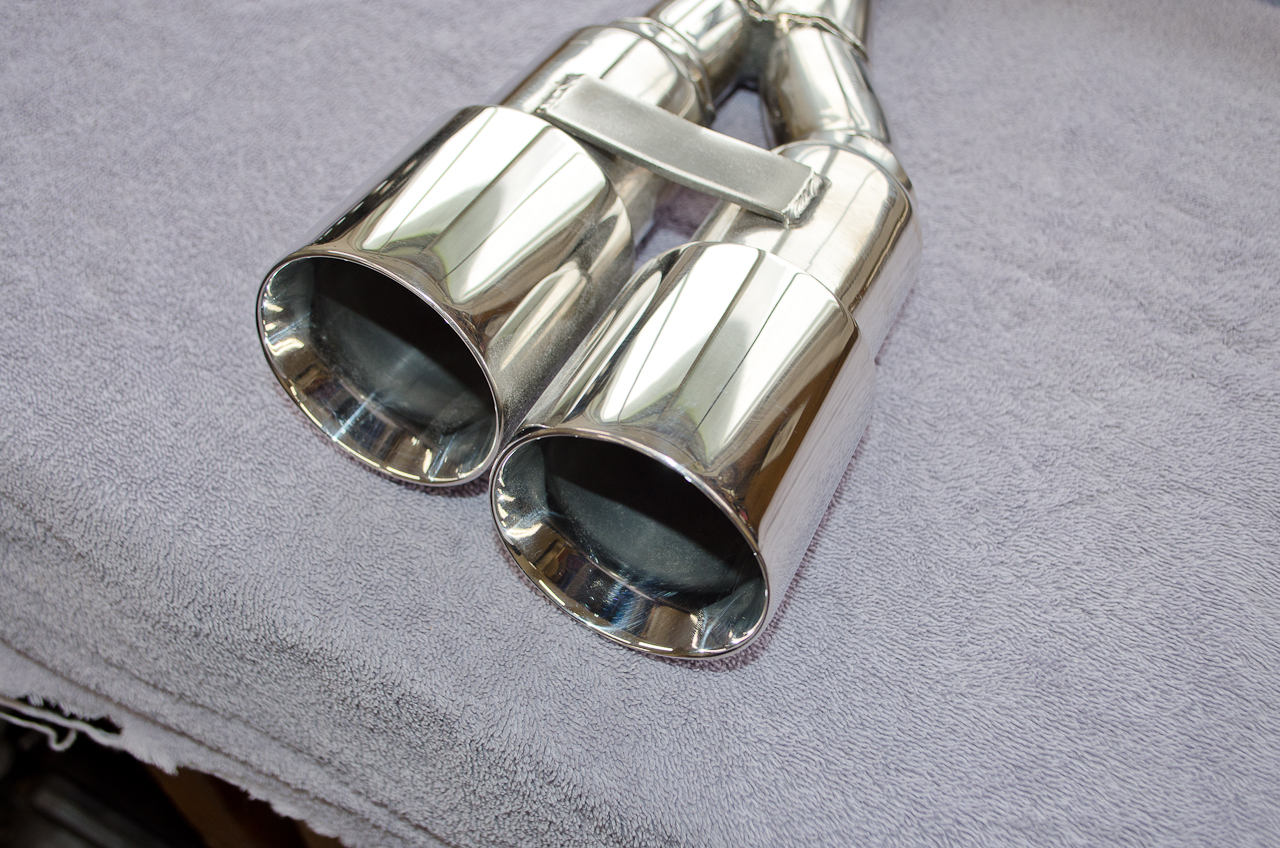
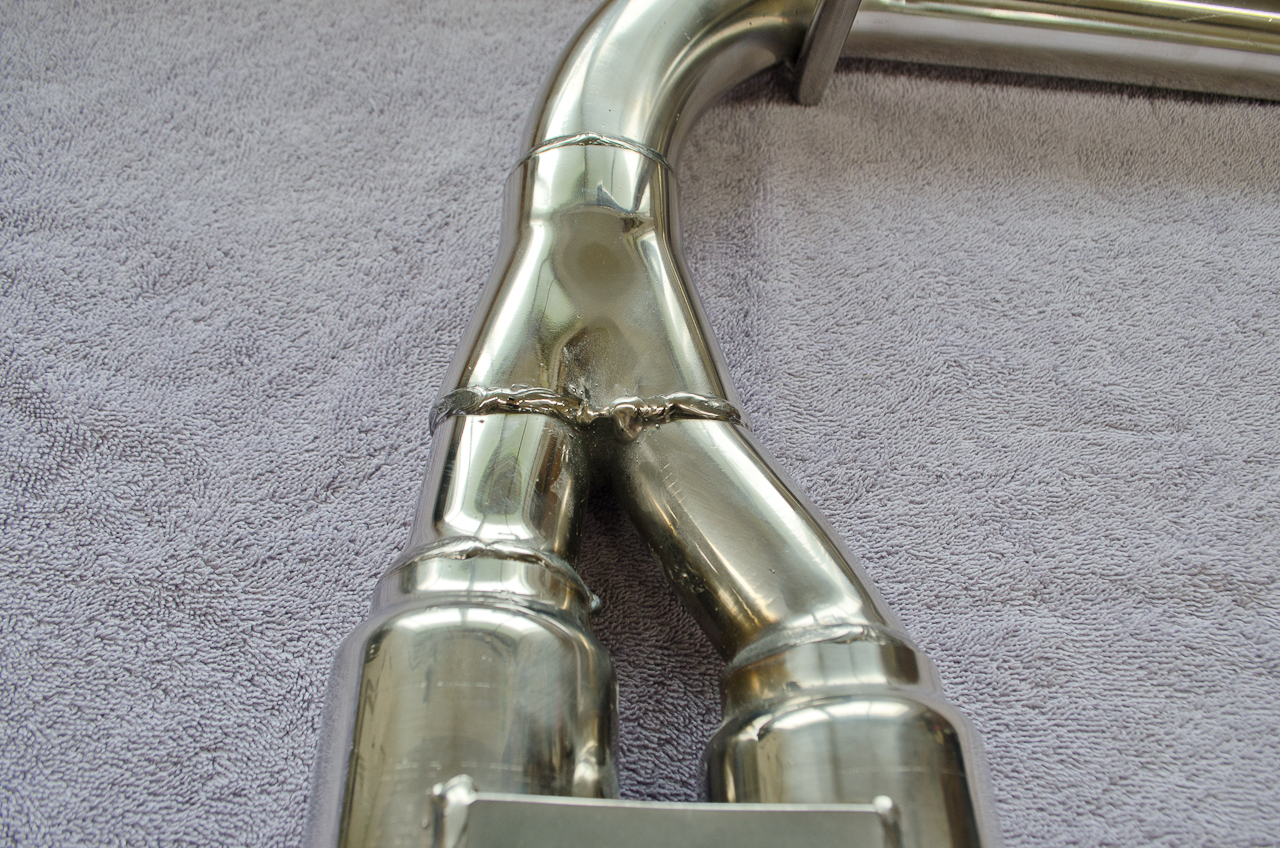
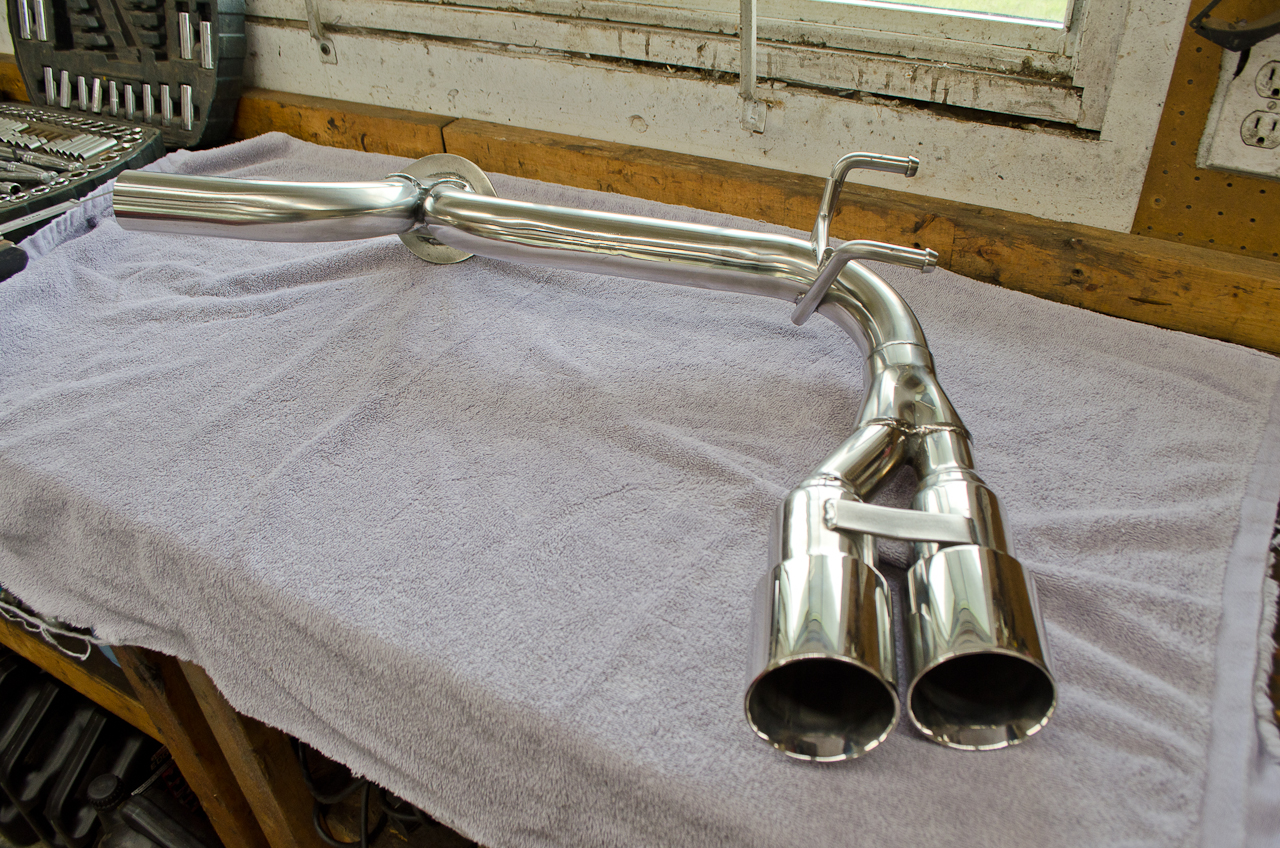
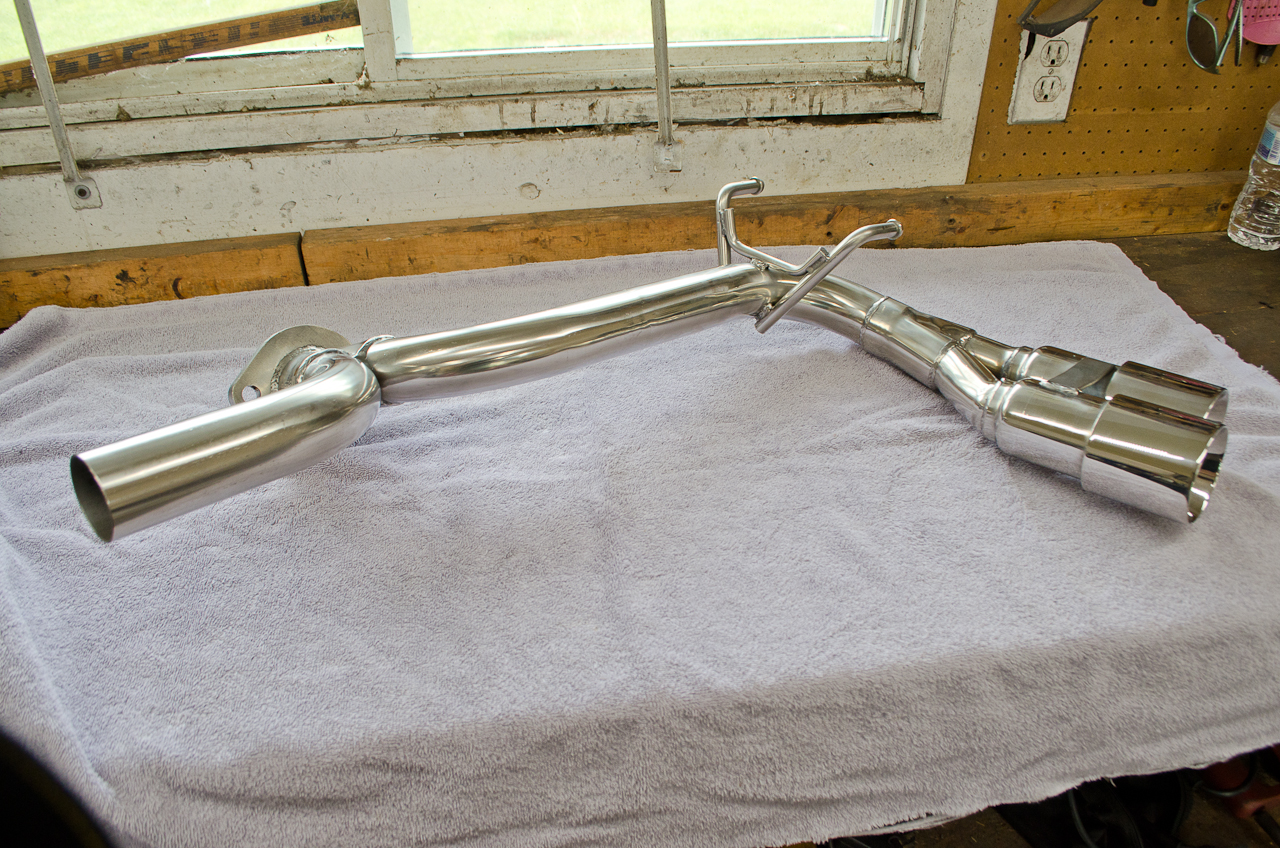
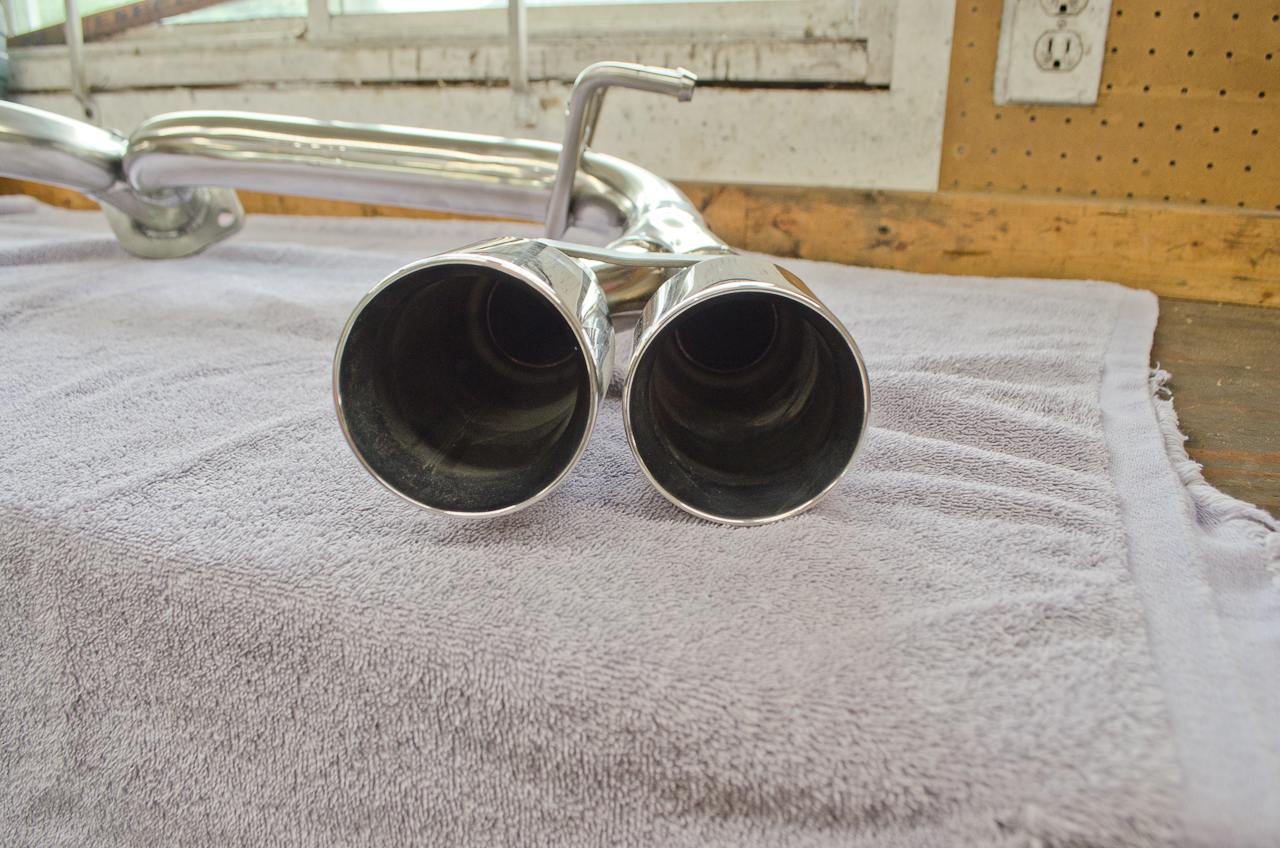
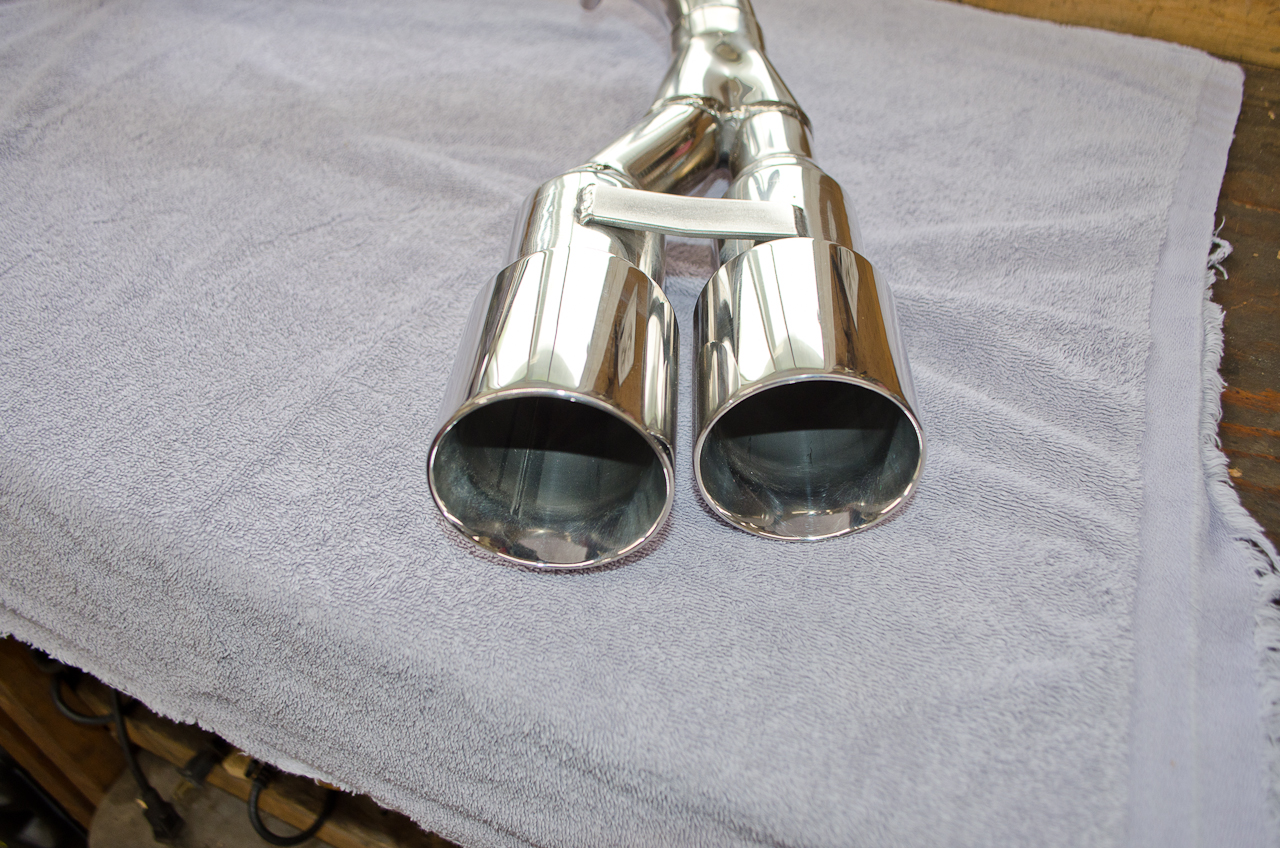
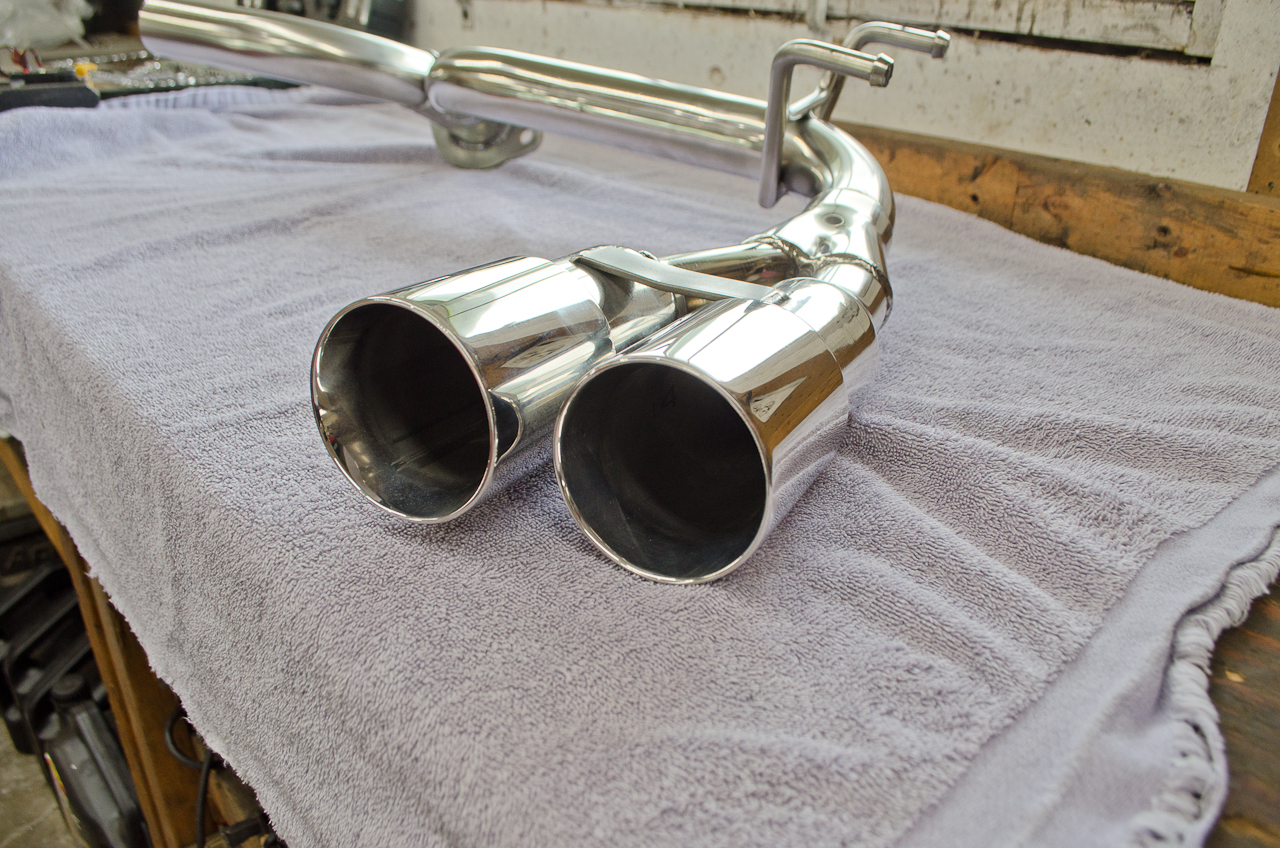
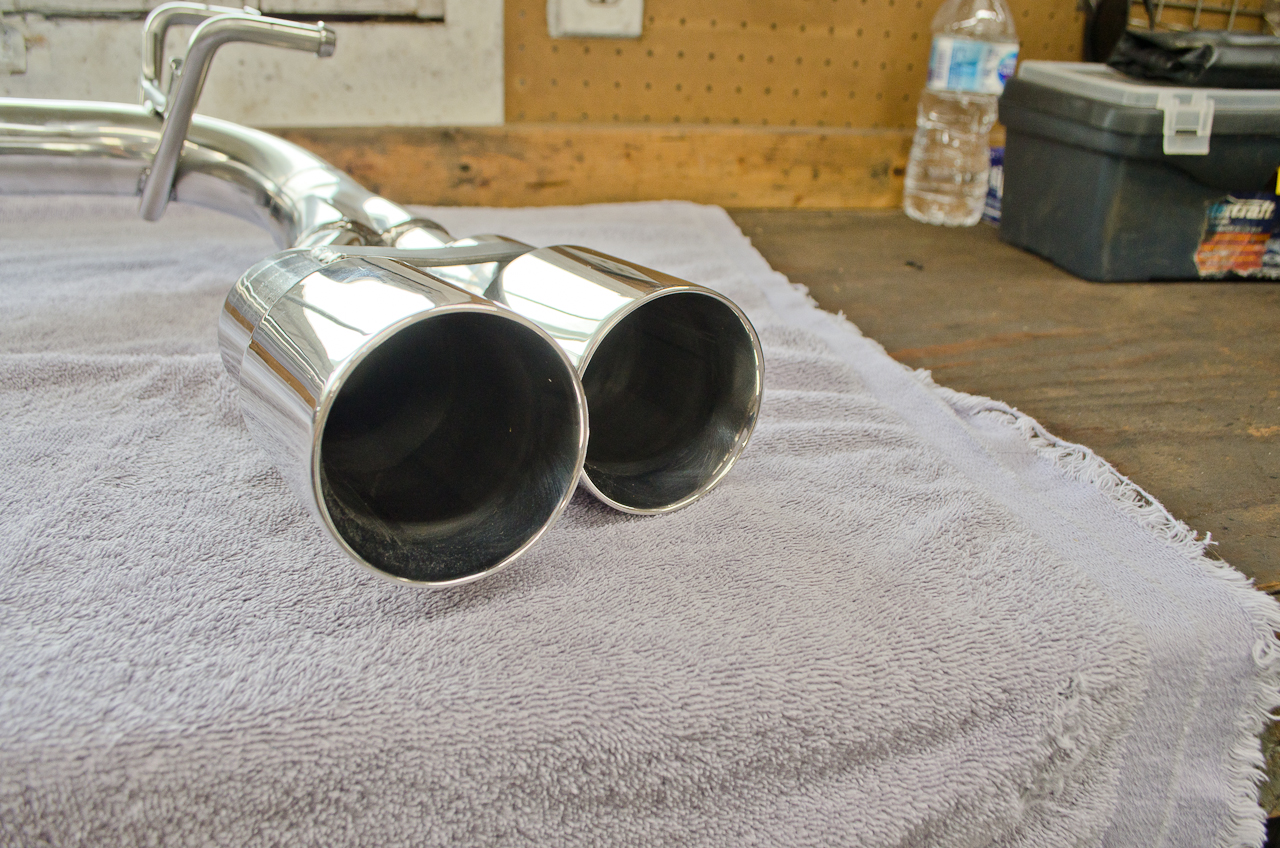
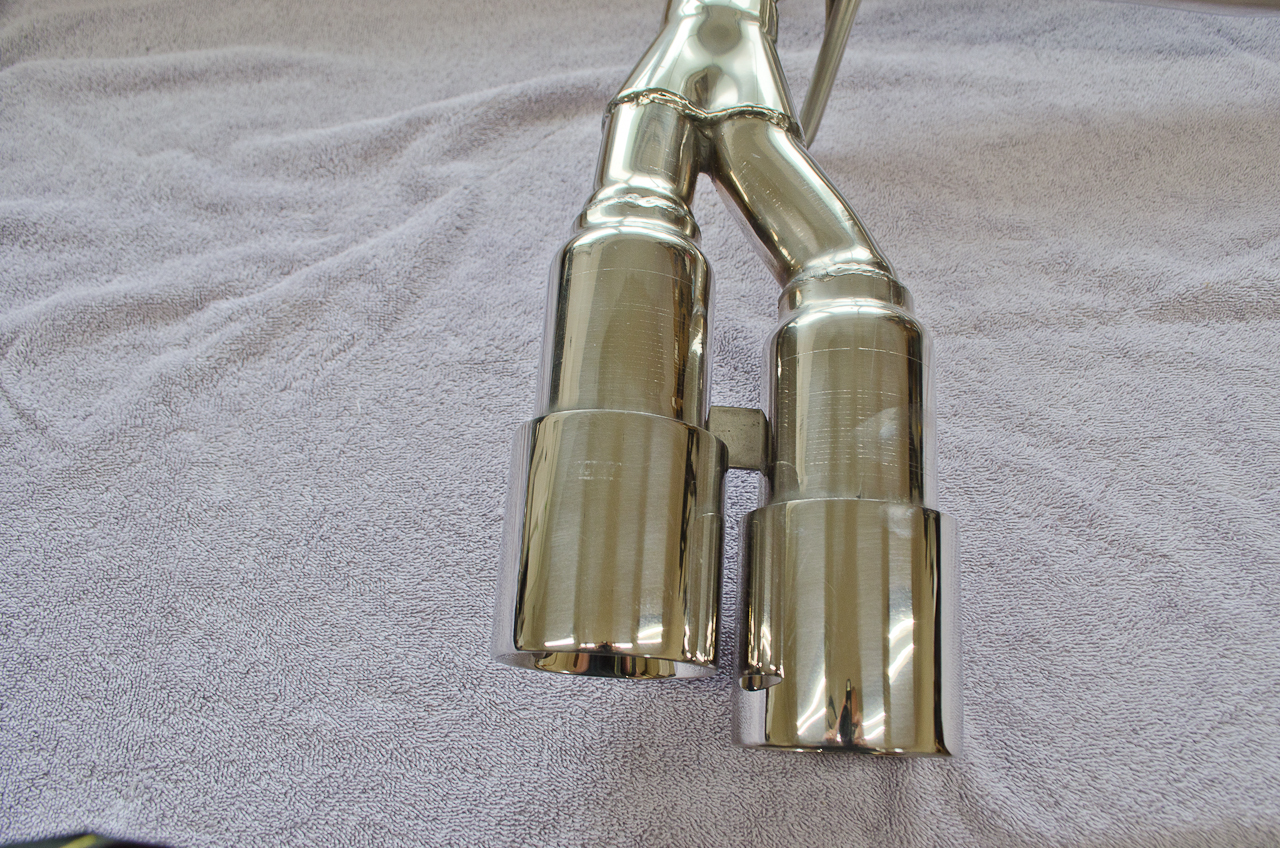
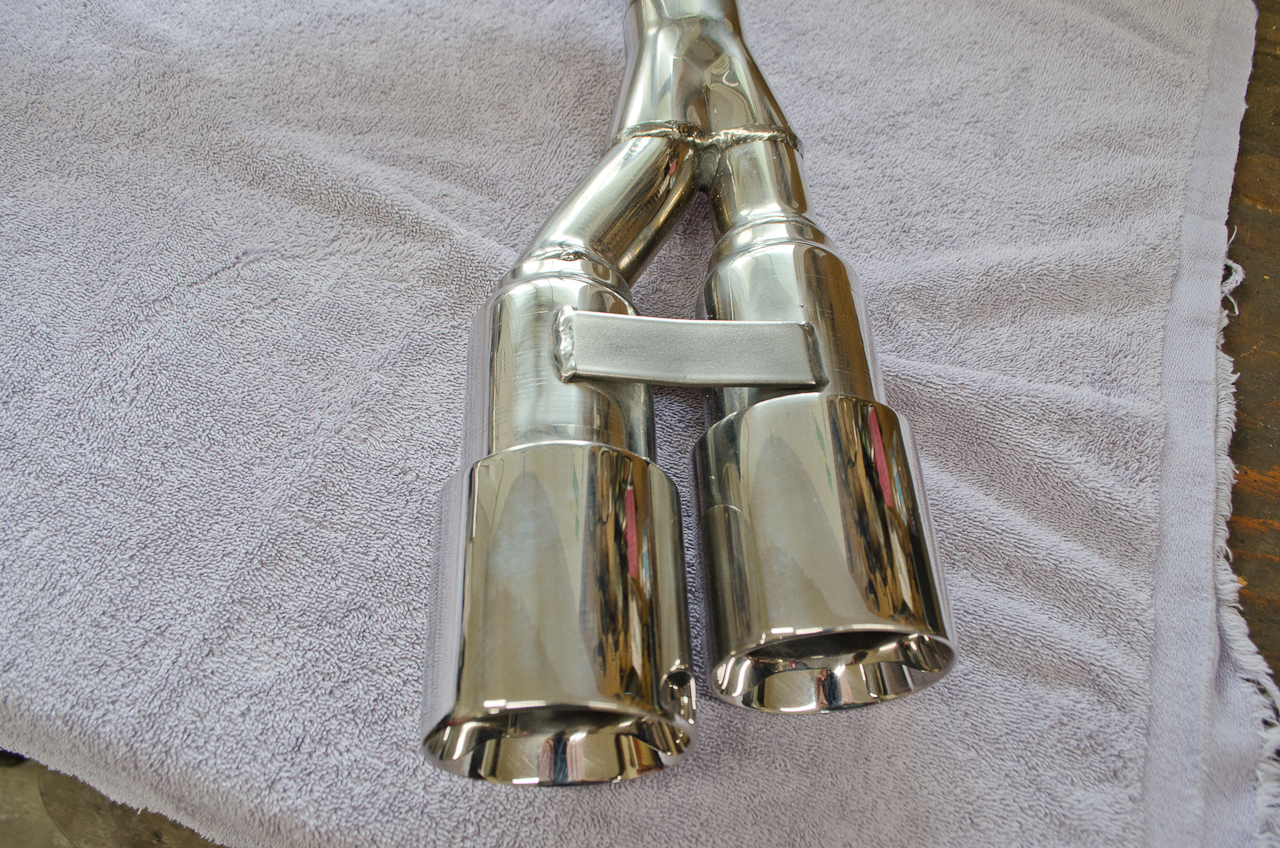
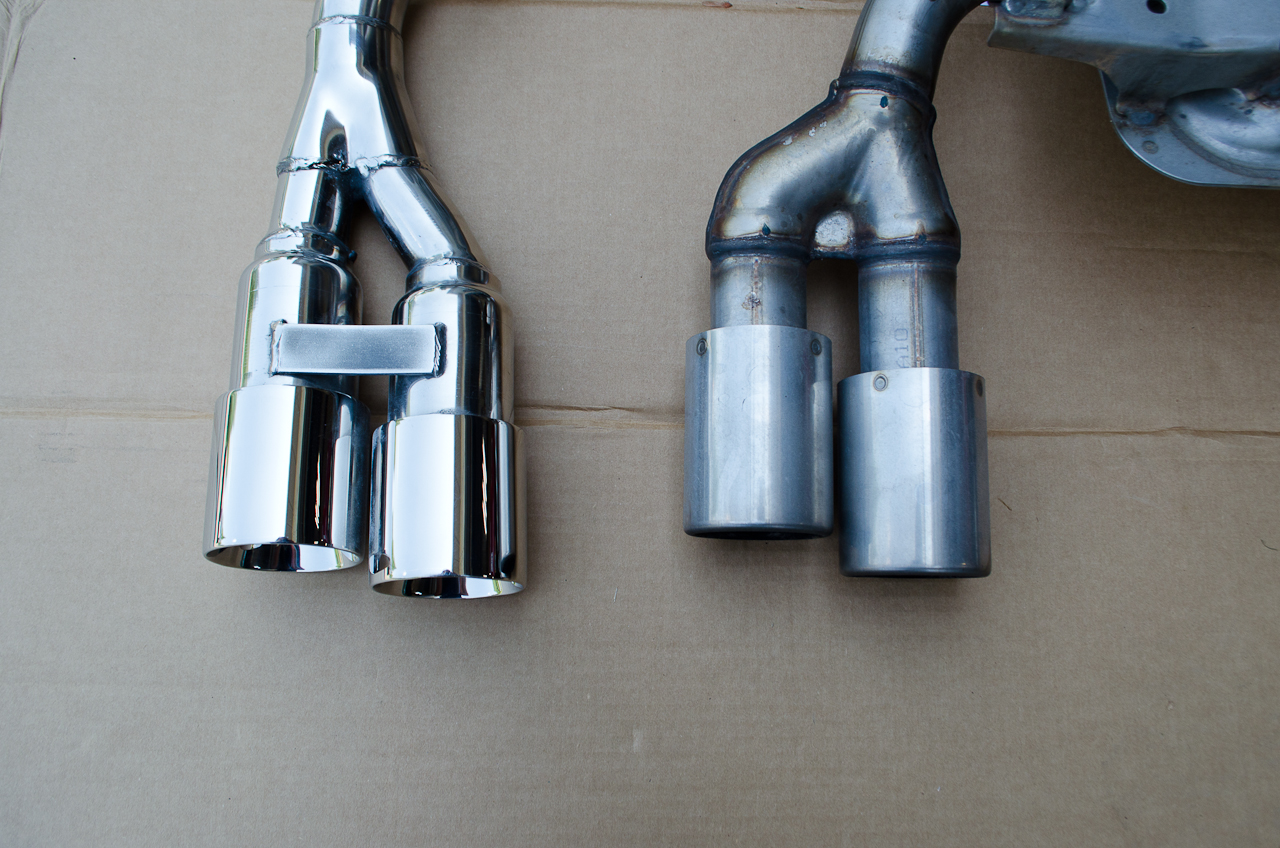
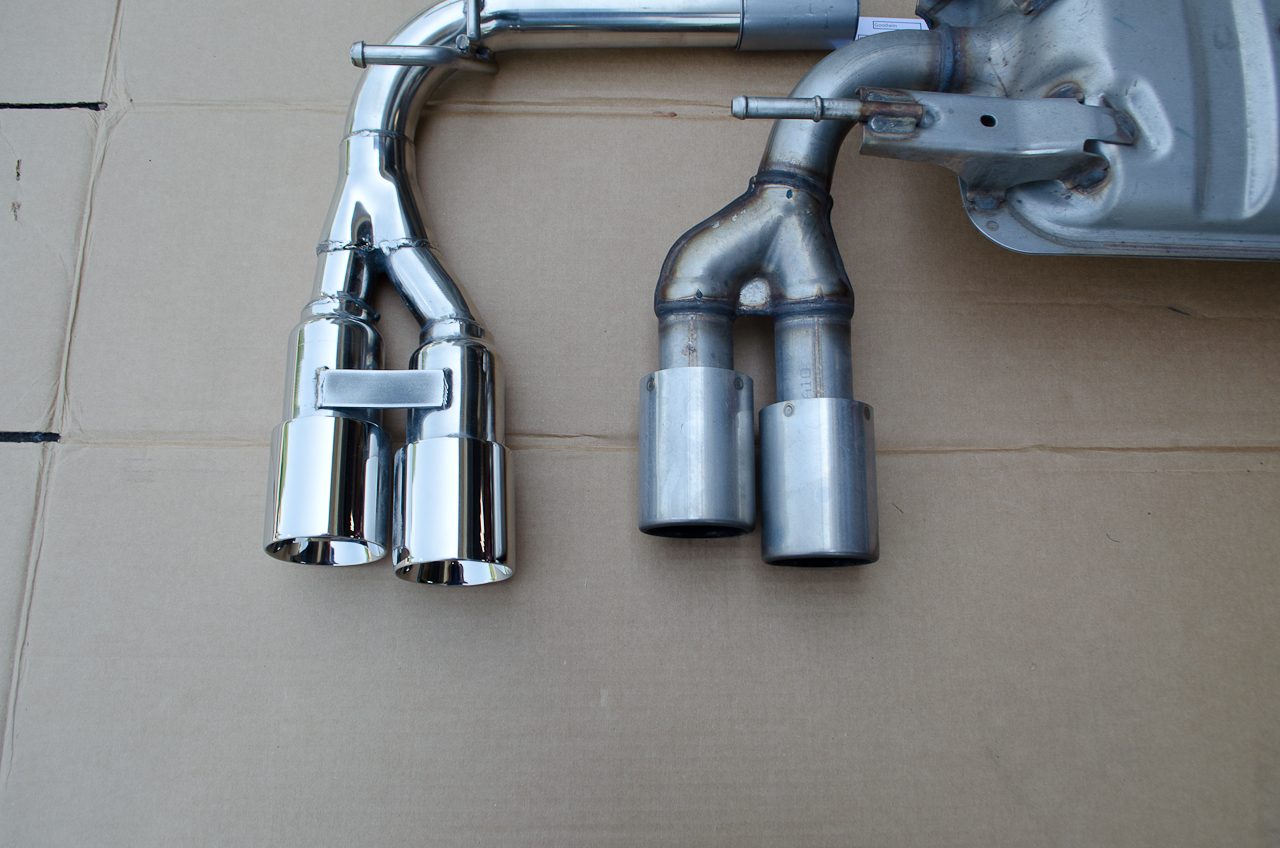
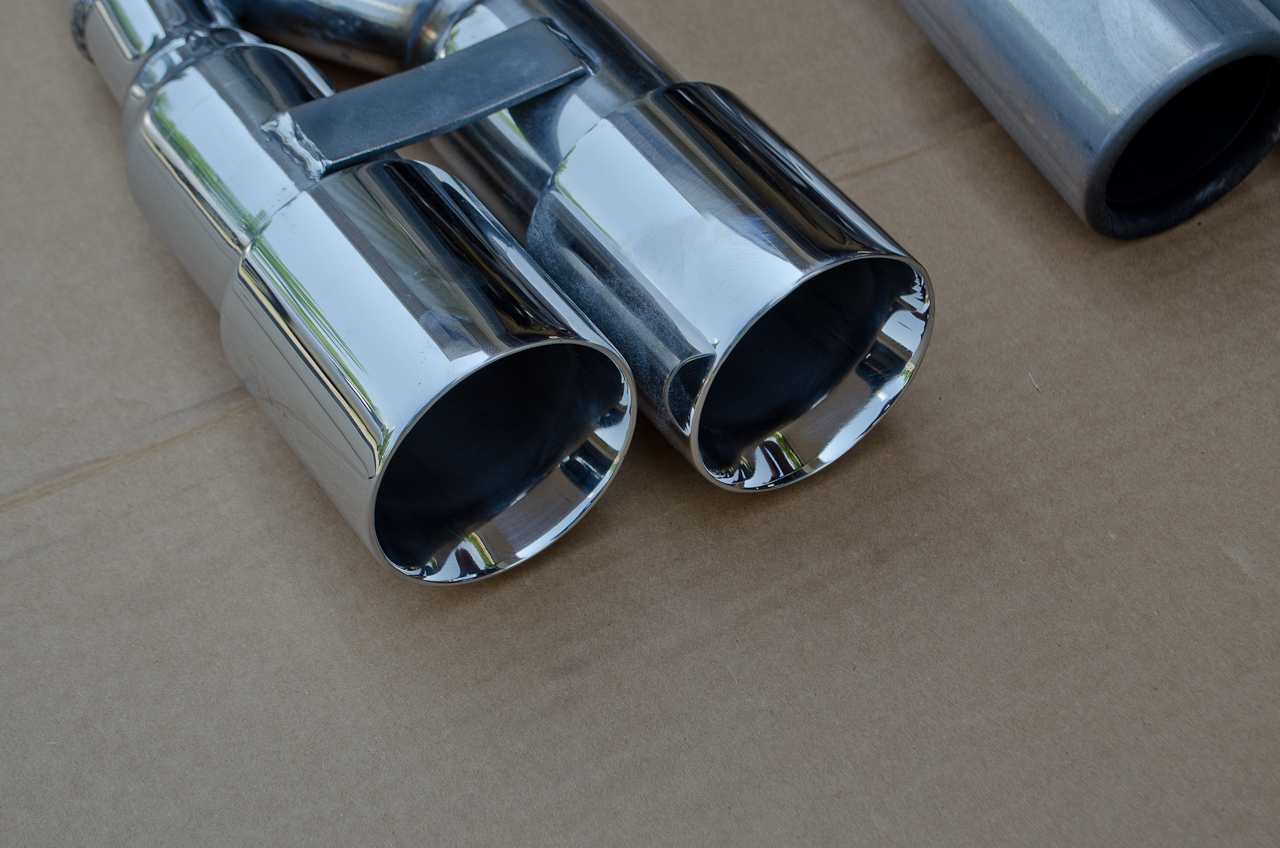
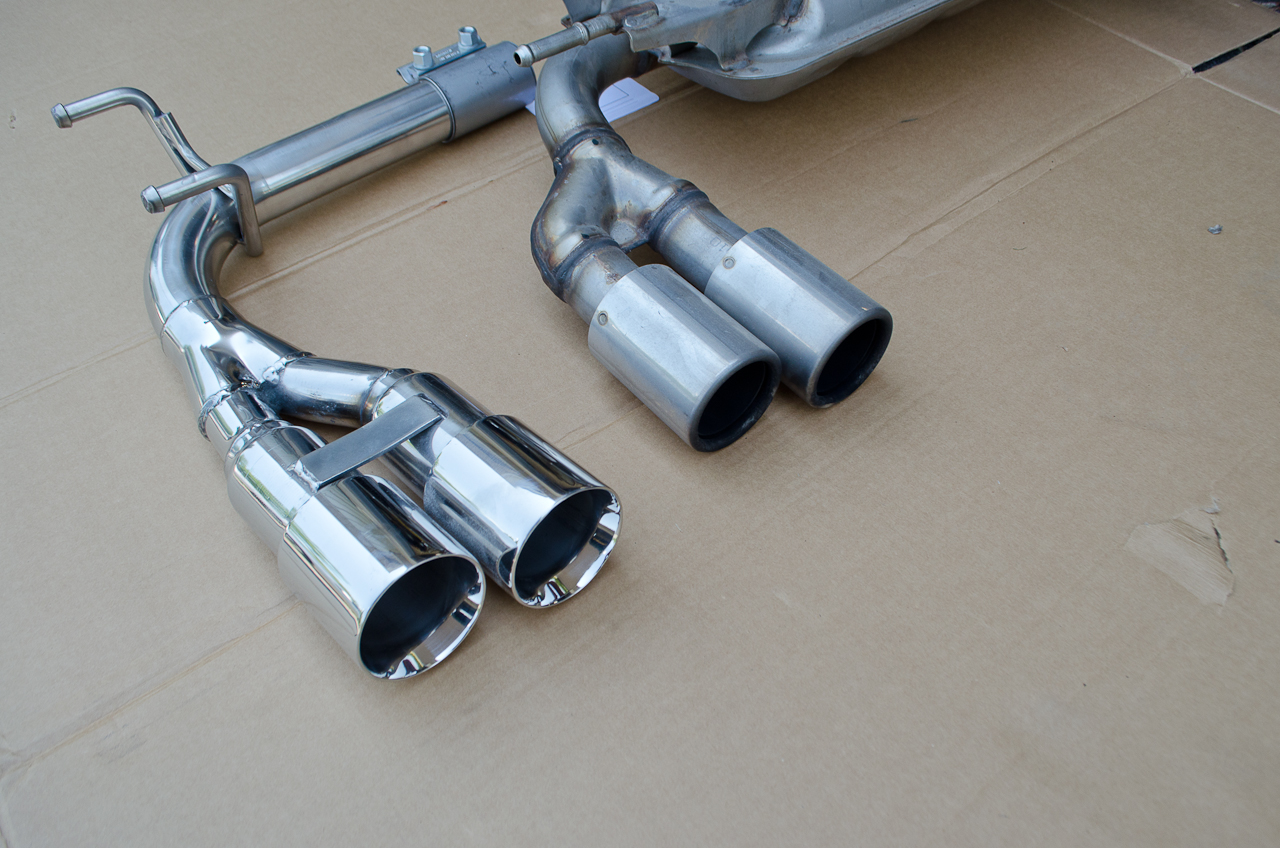
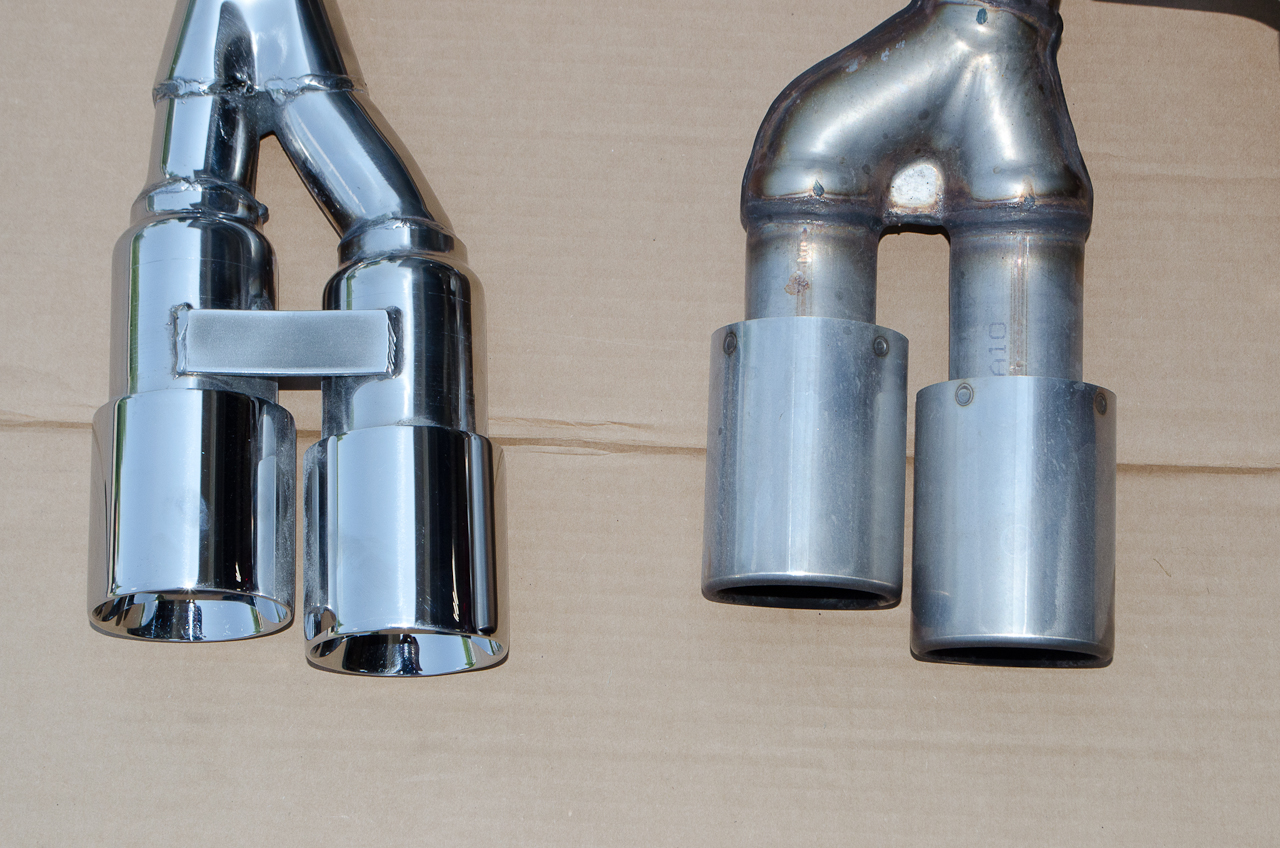
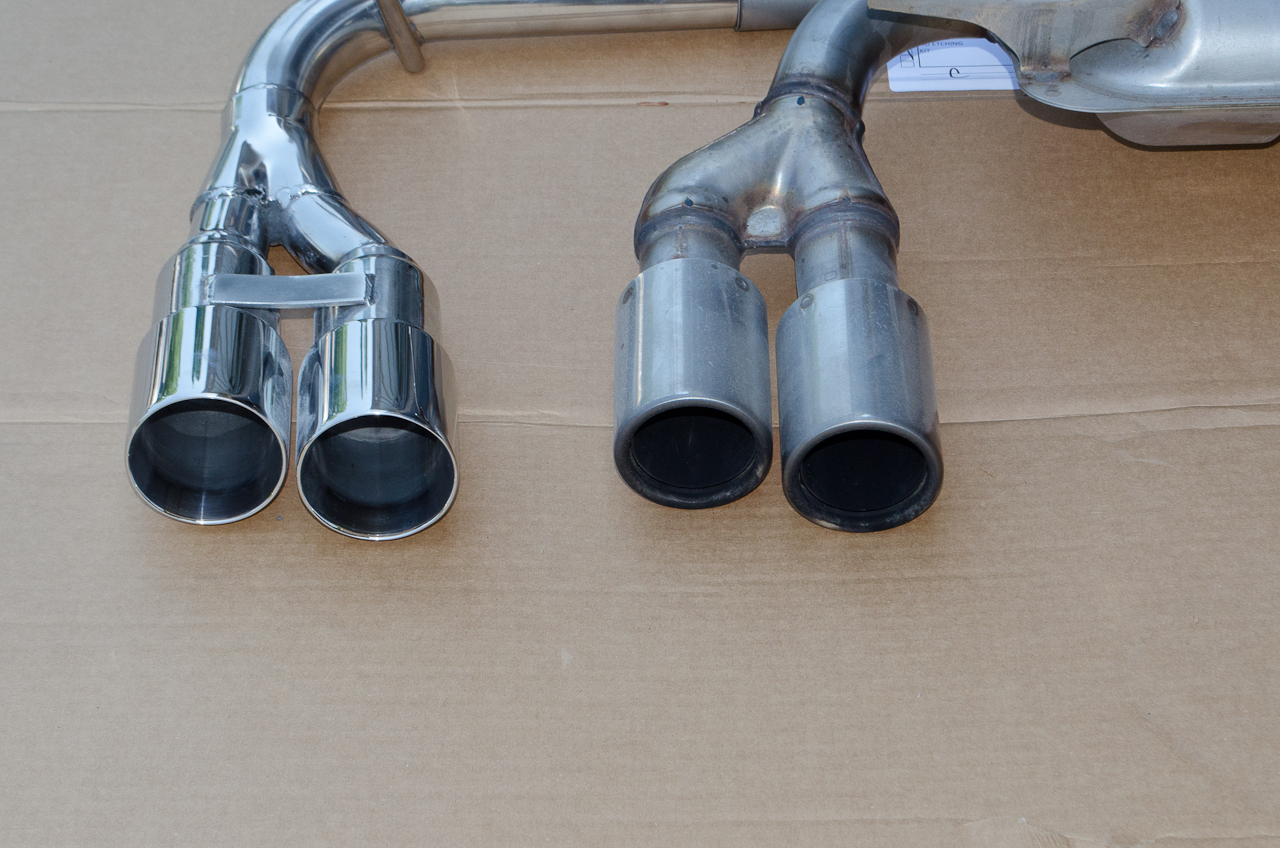
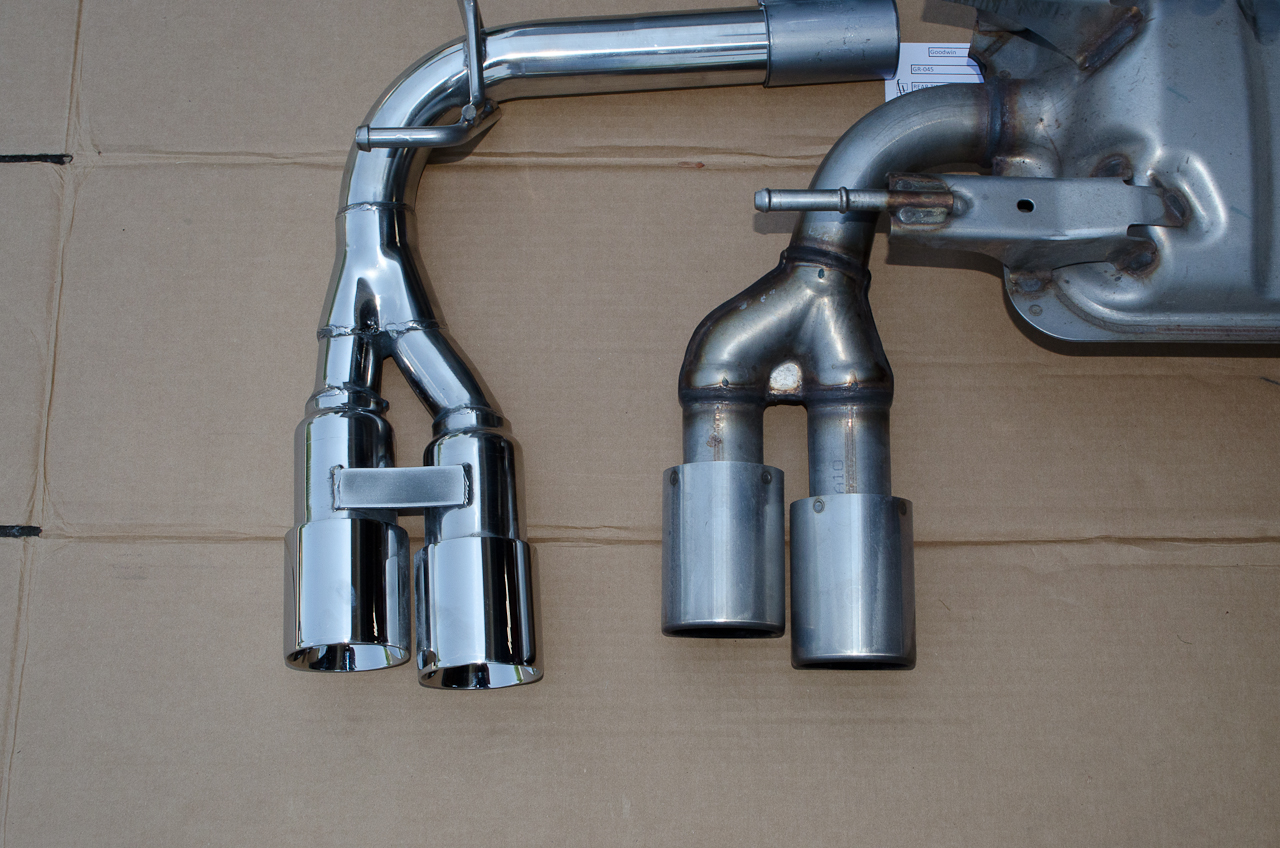
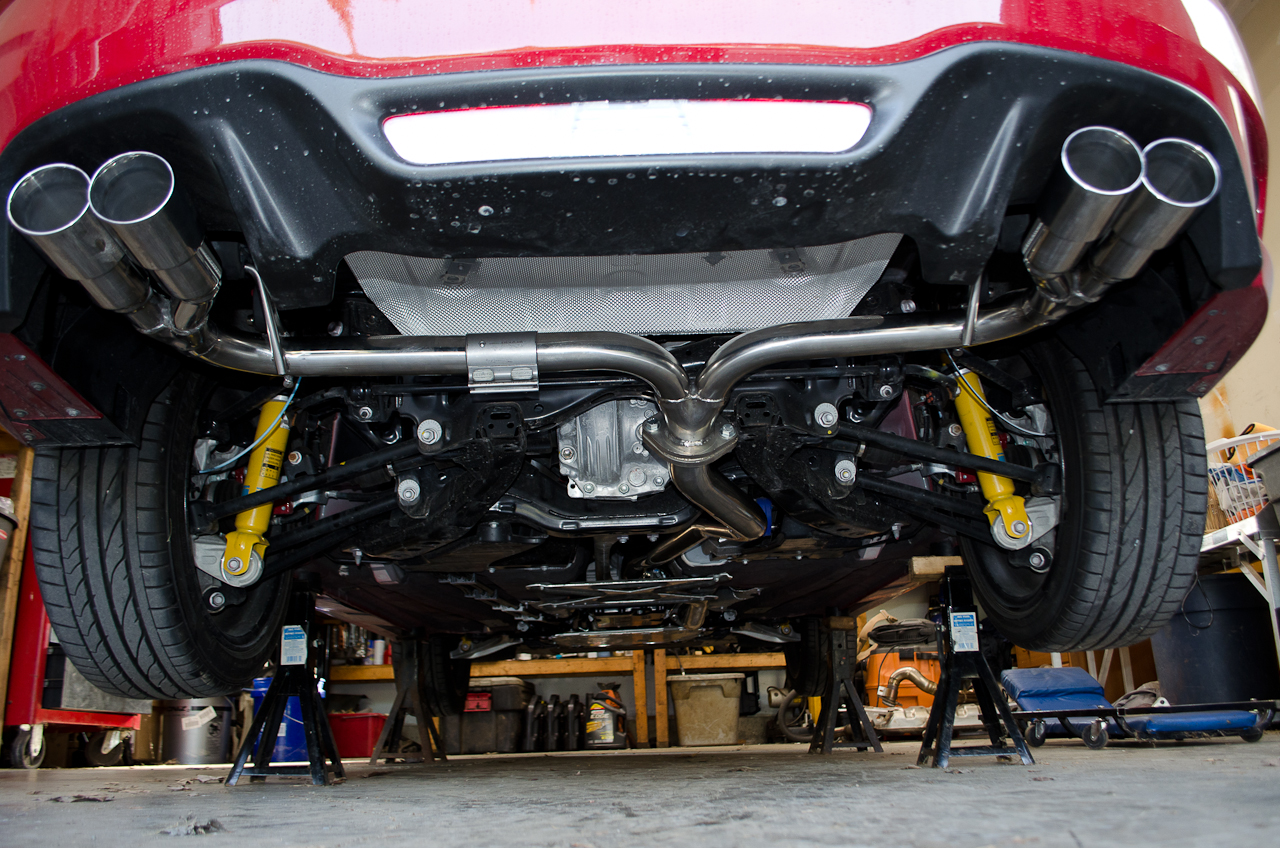
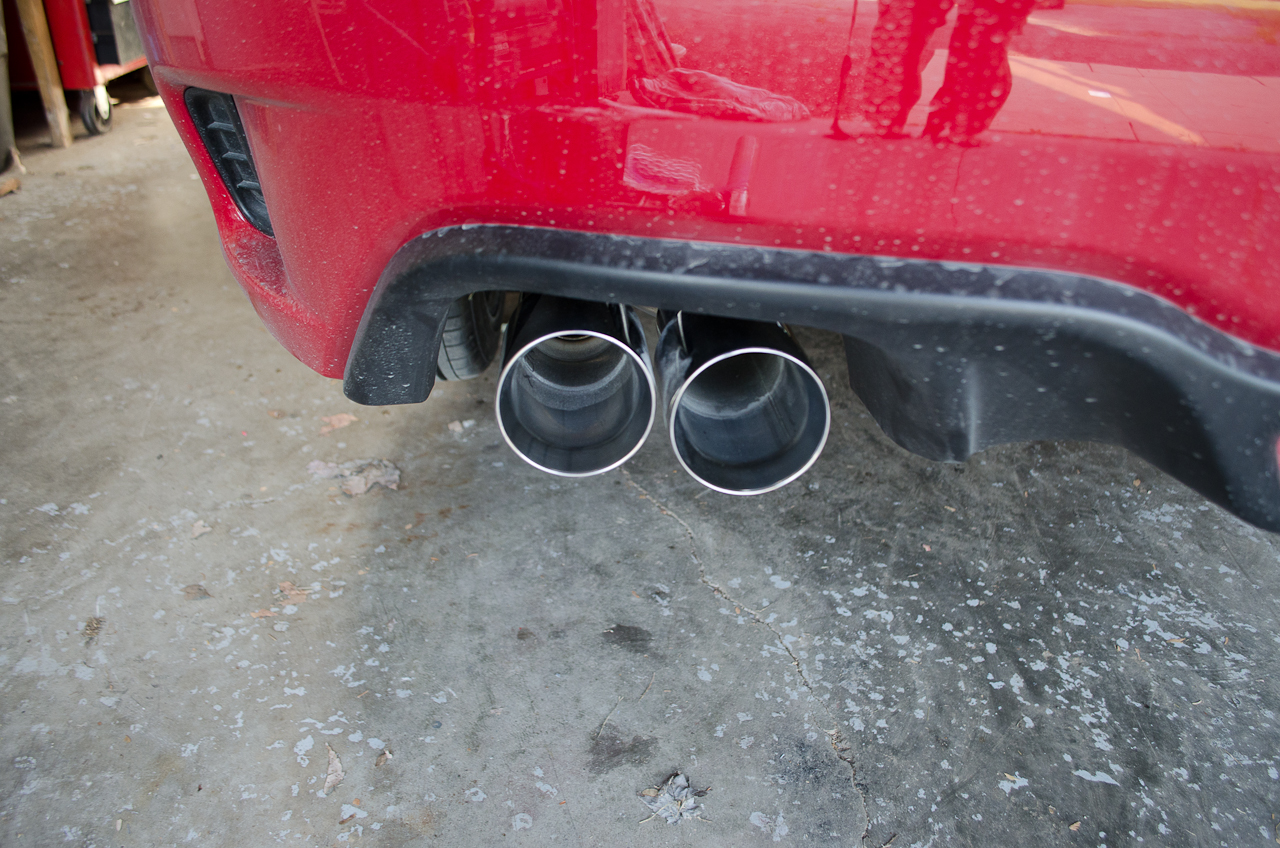
Finally, the quad exhaust which also comes in two pieces. The smaller piece is the driver's side tips. These two parts also connect with a slip-joint clamp that can be used to fine-tune the position of the tips so you can get them perfectly matched side to side - a very nice feature! As I mentioned - from internet research prior to ordering, I wasn't completely convinced I would love the tips. In person - they are gorgeous...and they haven't even been cleaned / polished in these pics. Goodwin hit a home run with these tips in my opinion - and that's SUPER important as they're the only part of the exhaust system most people will ever see!
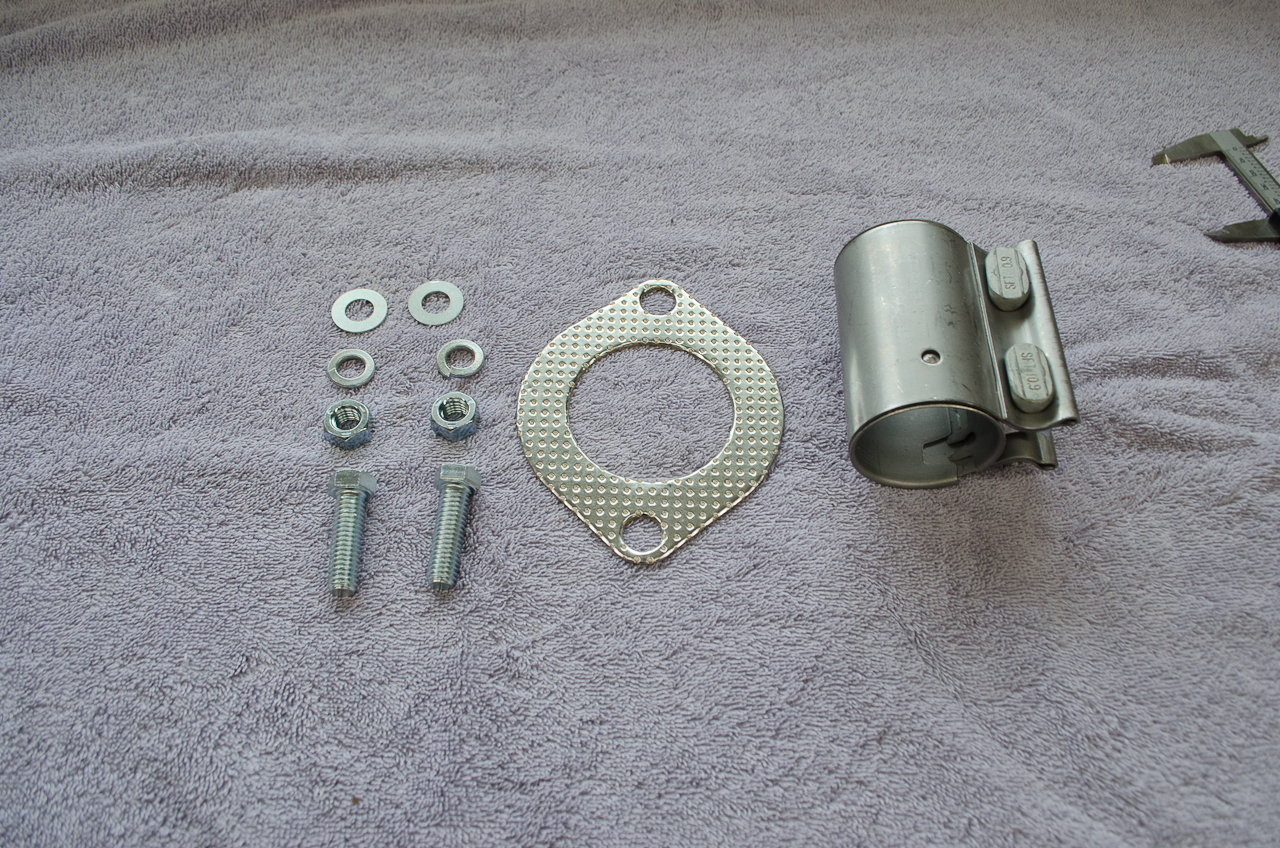
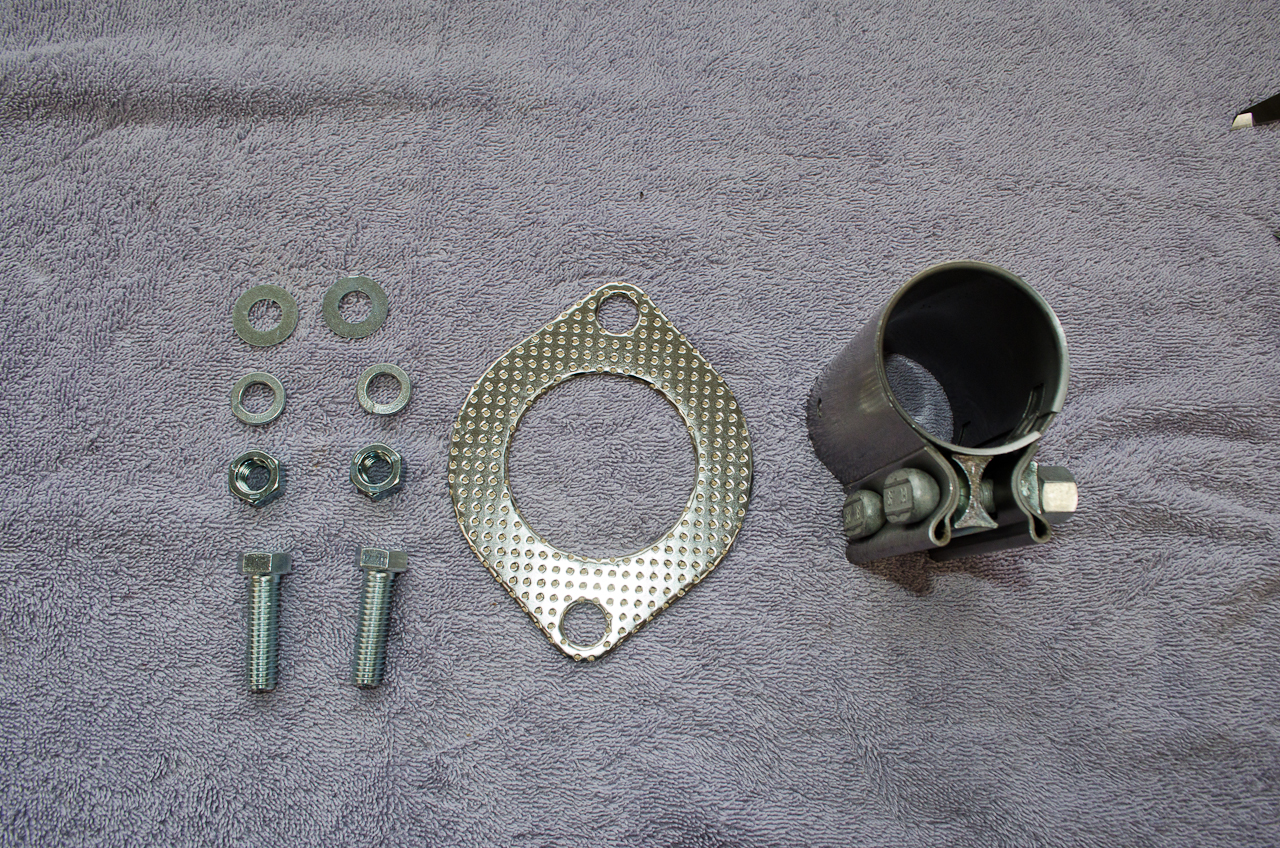
As for the quad exhaust hardware kit - this is my biggest gripe about the system...for two reasons. One: the nuts and bolts supplied to bolt the quad exhaust to the midpipe are standard (imperial) ...on a European / Japanese car?? No other fasteners on the car are going to be standard so this seems out of place and needlessly sends me looking for standard wrenches/sockets when metric work everywhere else. Why not include metric fasteners? Also, they supply those little spring "lock washers". I put that in quotes because, despite the commonality of their use, they are all but useless (minor rant here). The reason is this: The typical spring washer is made of slightly trapezoidal wire formed into a helix of one coil. It is supposed to work by acting as a compressed spring – presumably to add to bolt pre-load and prevent loosening. However, because the split washer is always compressed completely flat under any properly tightened bolt, we can see that the idea that this thing would effectively contribute to bolt pre-load is ridiculous. The only other way it could possibly help is that the sharp trapezoidal ends dig in slightly to the bolt's bearing surface and the face of the joint (but only if the washer were harder than the bolt's bearing surface, which is extremely unlikely). However, when we consider the pitfalls of inaccurate pre-load caused by excessive/unpredictable friction under the bolt head/nut face consuming too much of the tightening torque, we can see that this is hardly a good idea. Not only that, but experience teaches us that the damn things invariably squish and splay out under any decent amount of torque anyway. I think they are useless junk that should be avoided. You can read more of my thoughts on fasteners, torque, preload and locking threads in this article. In any case, my preference would have been for metric fasteners supplied with a decent deformed-thread (all metal) locking nut and a bolt with a nice flange. Still - in the overall system of things, I guess this is a pretty minor gripe. If you do use the supplied hardware, I would suggest this order (not mentioned in the instructions anywhere) > From rear to front: bolt, flat washer, flange, gasket, flange, lock washer, nut.
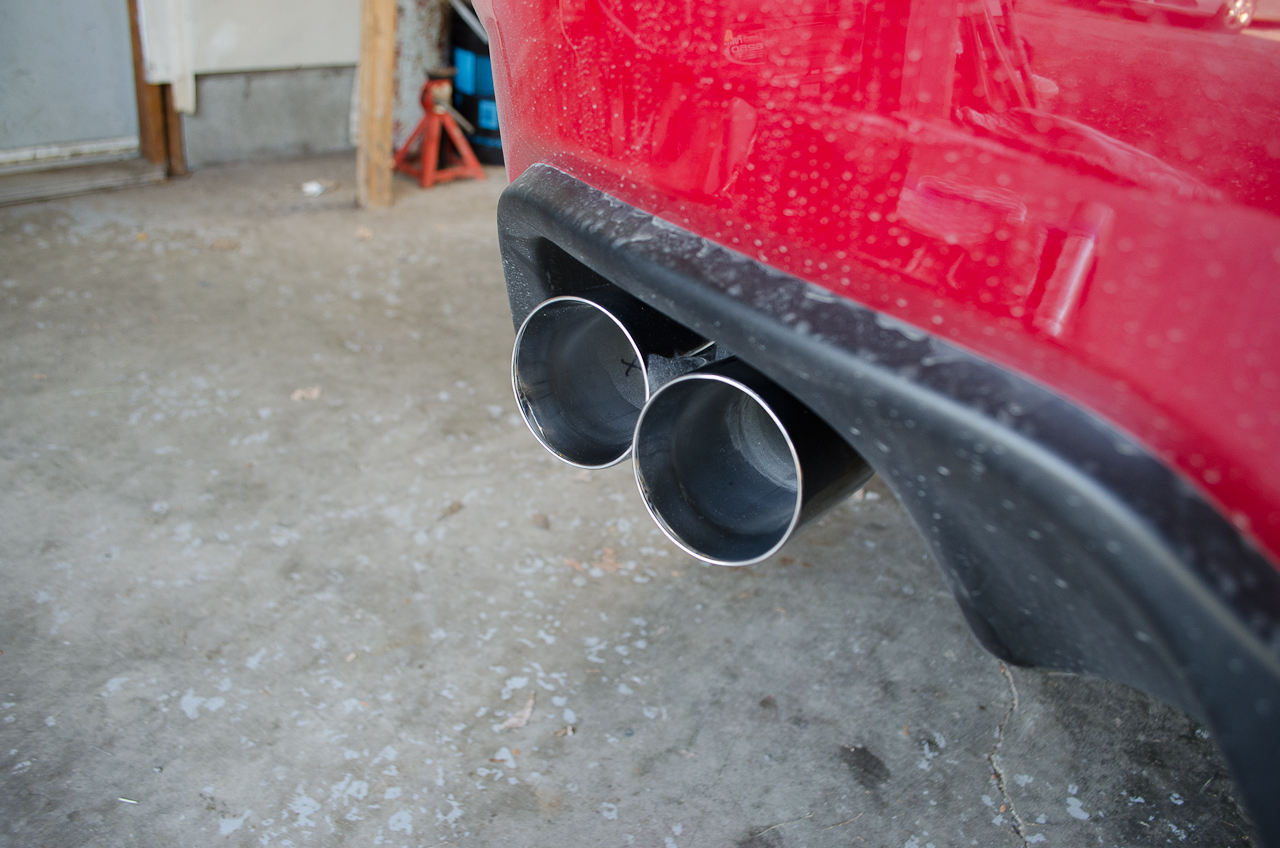
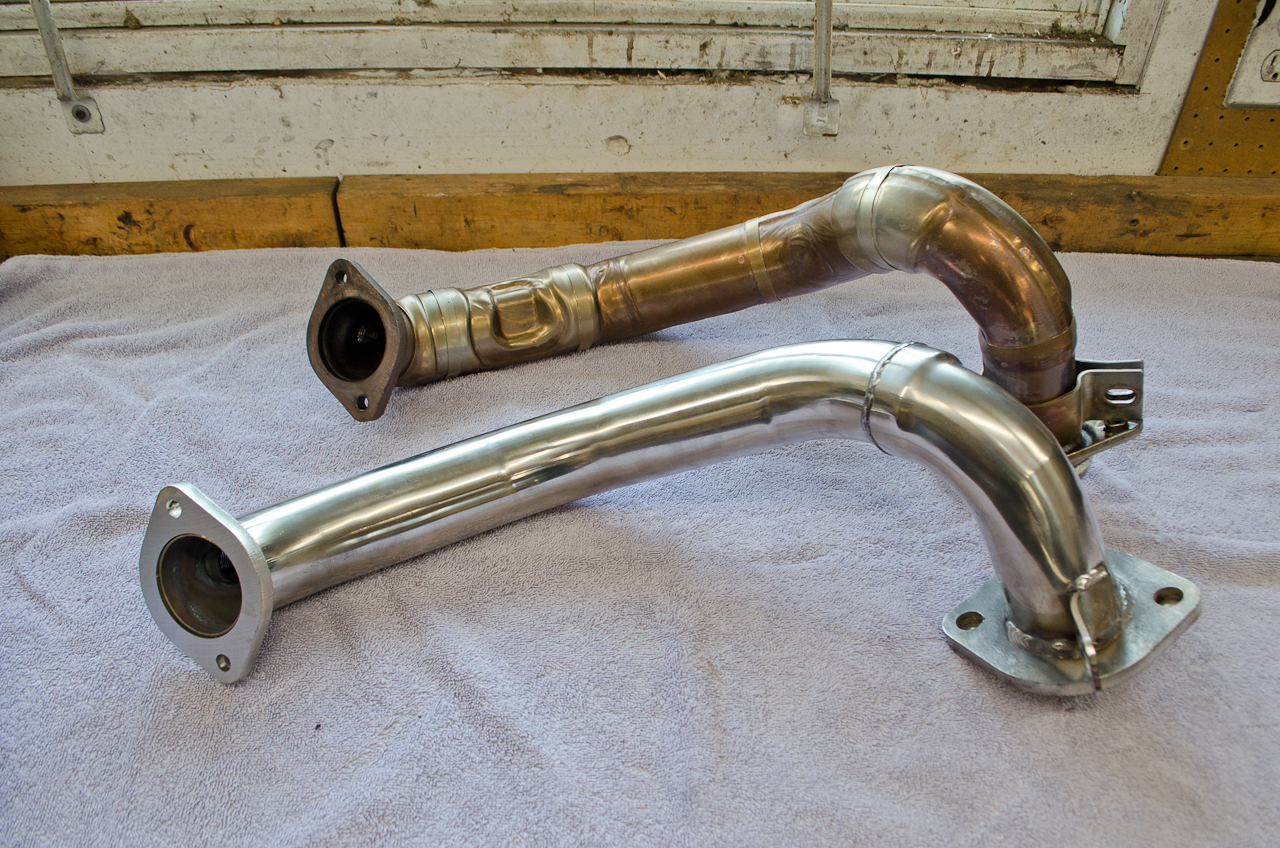
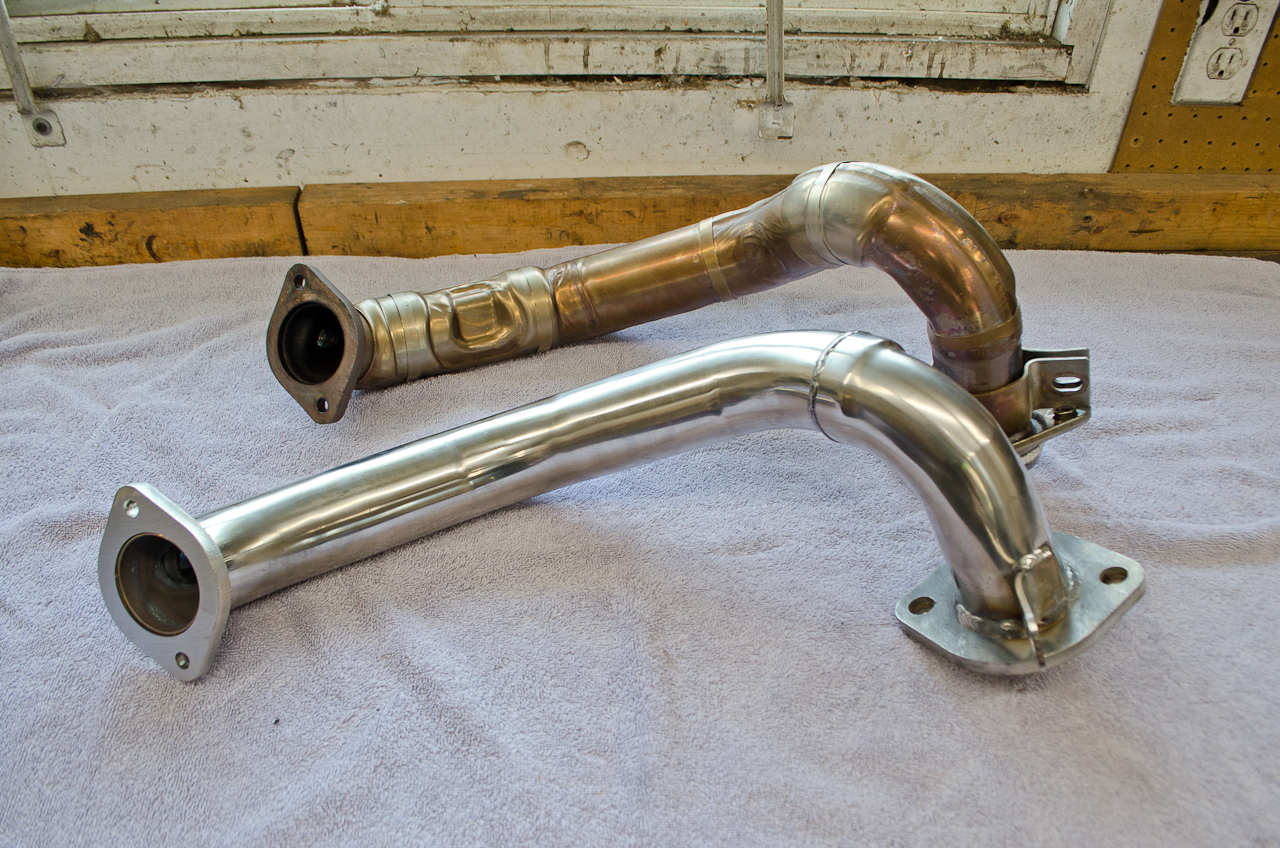
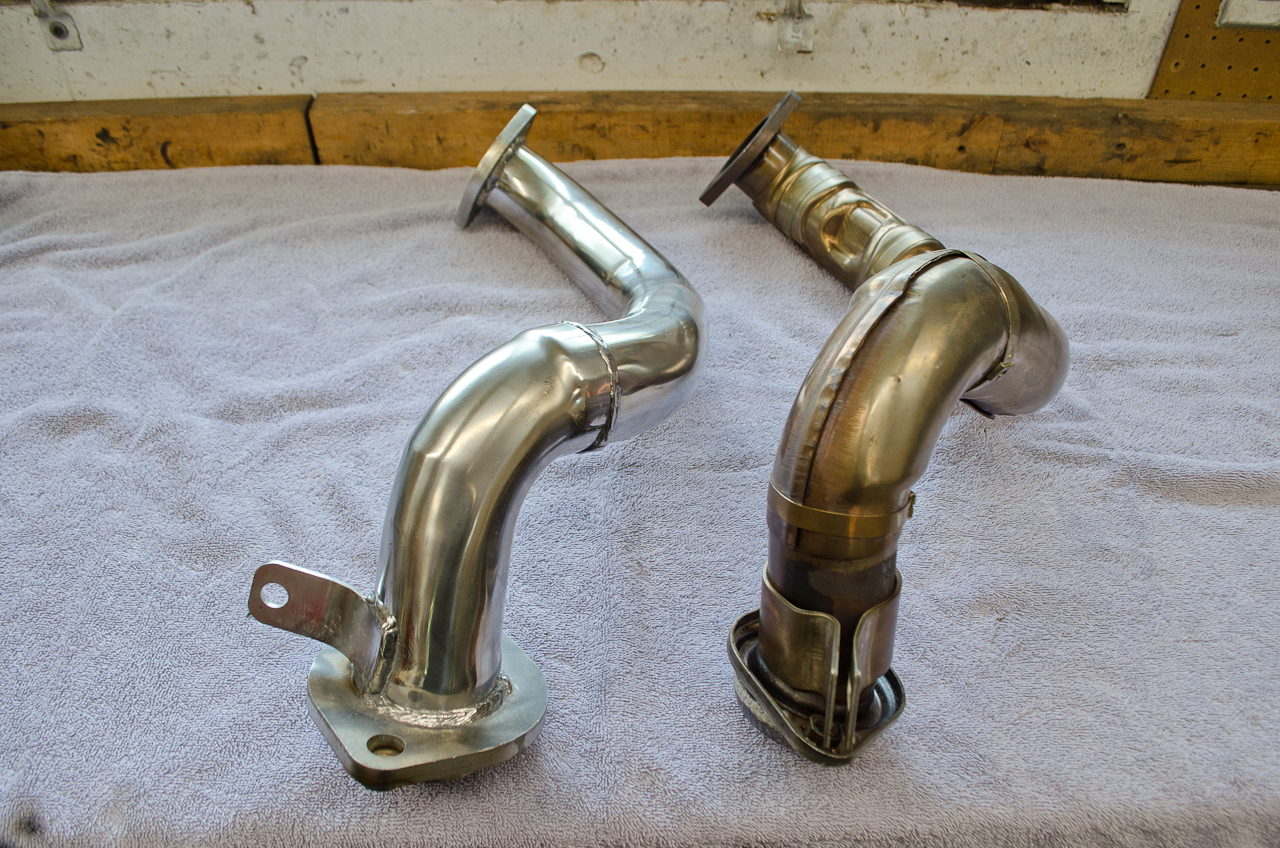
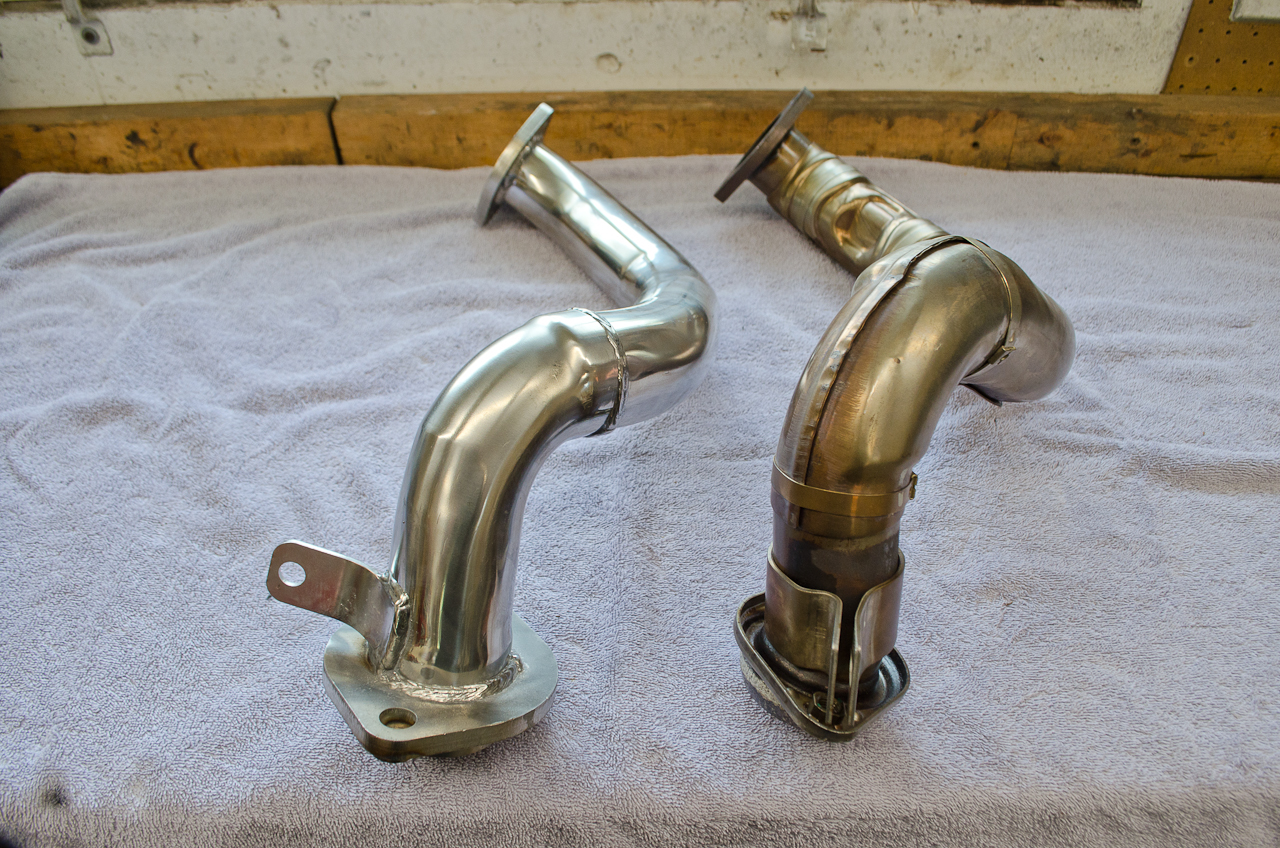
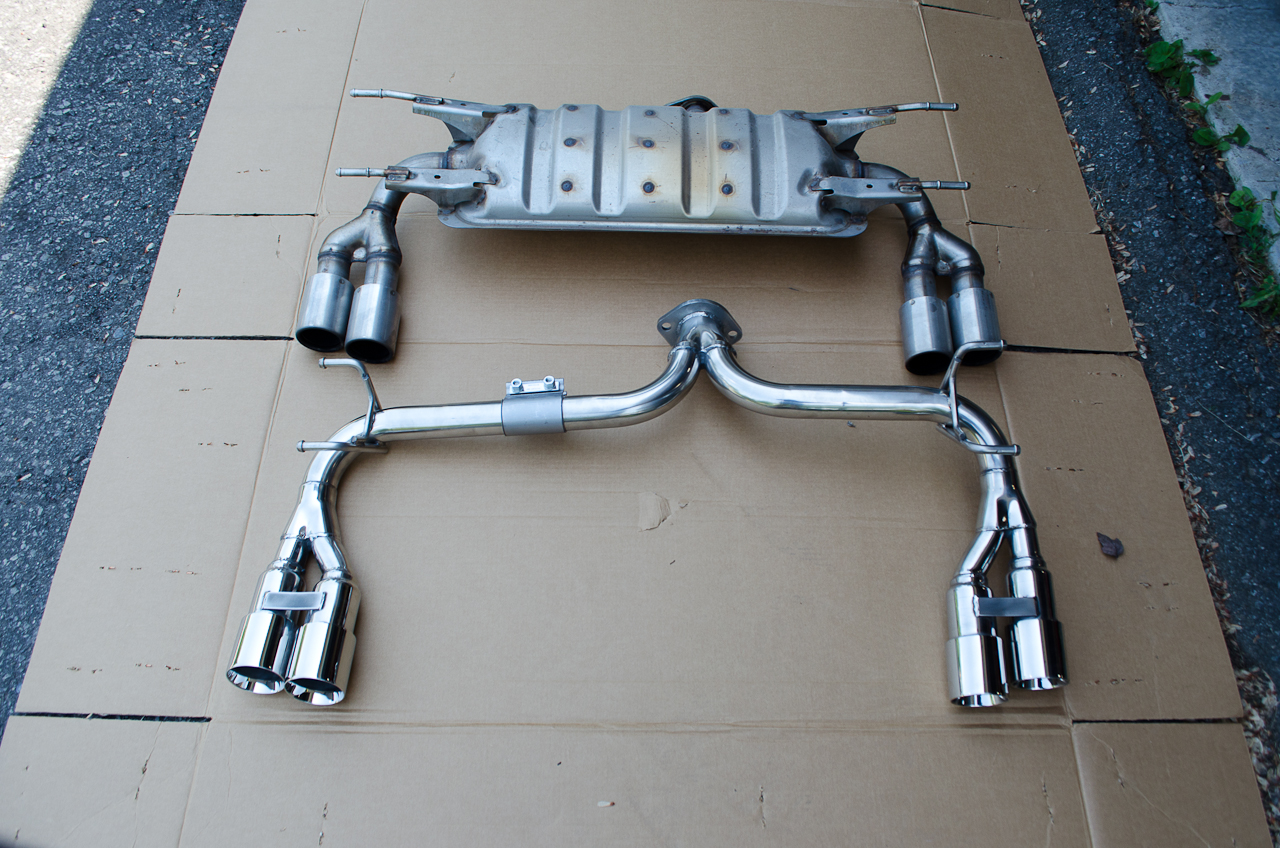
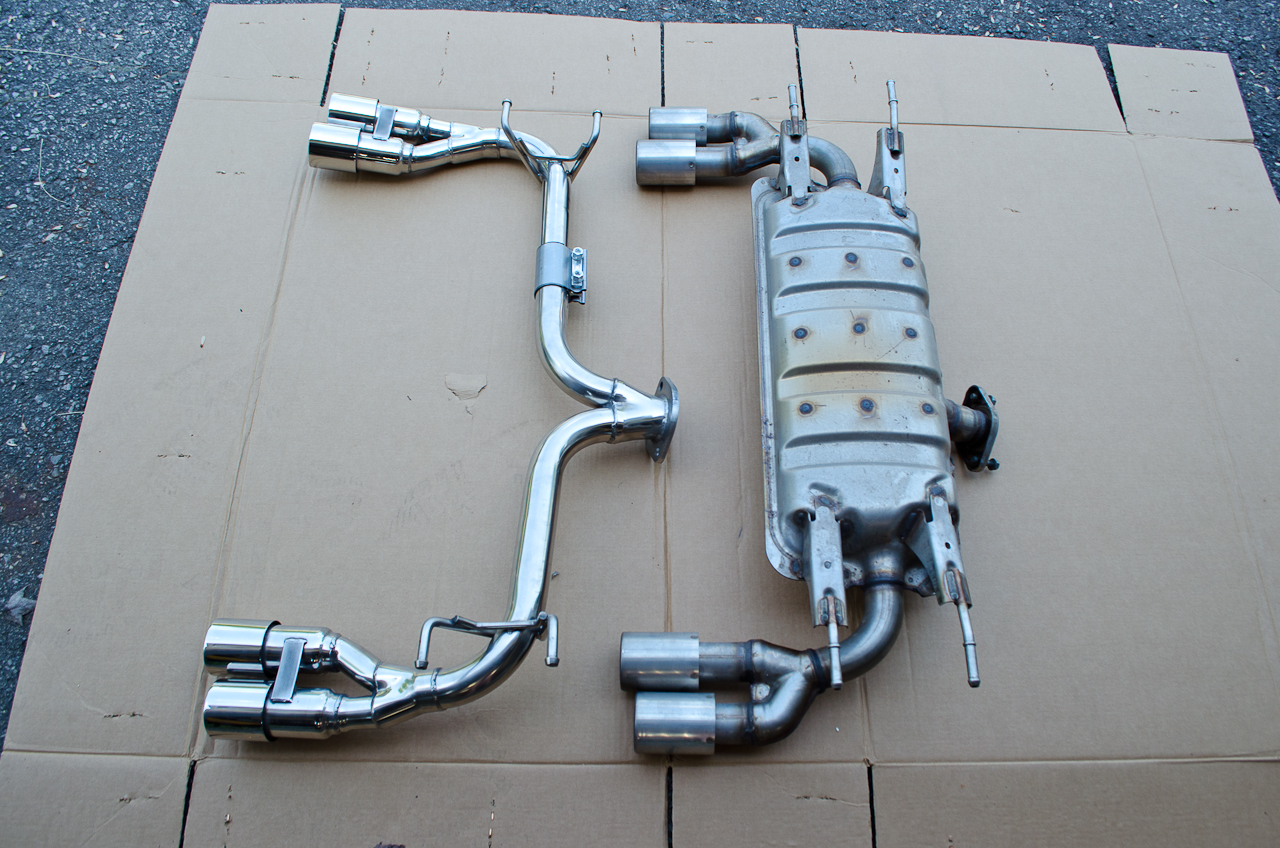
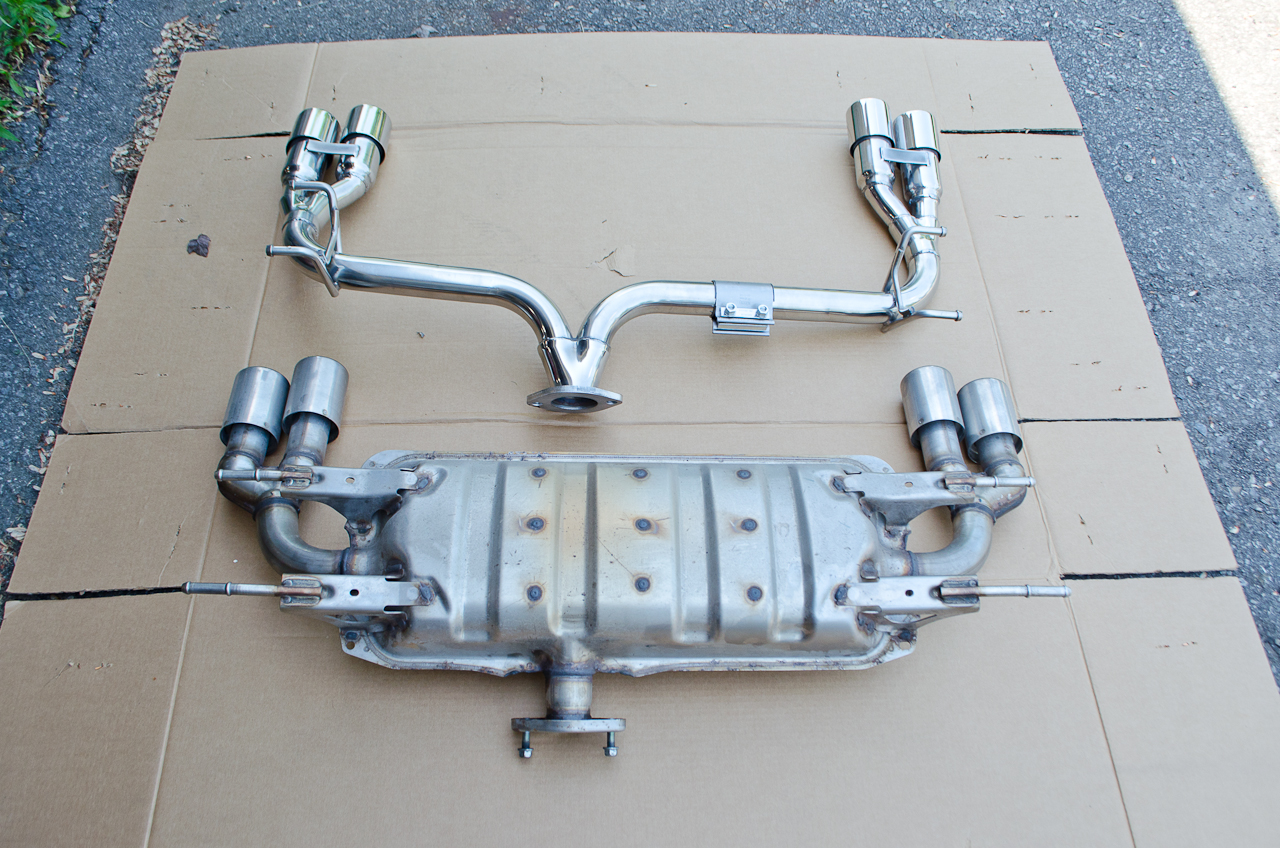
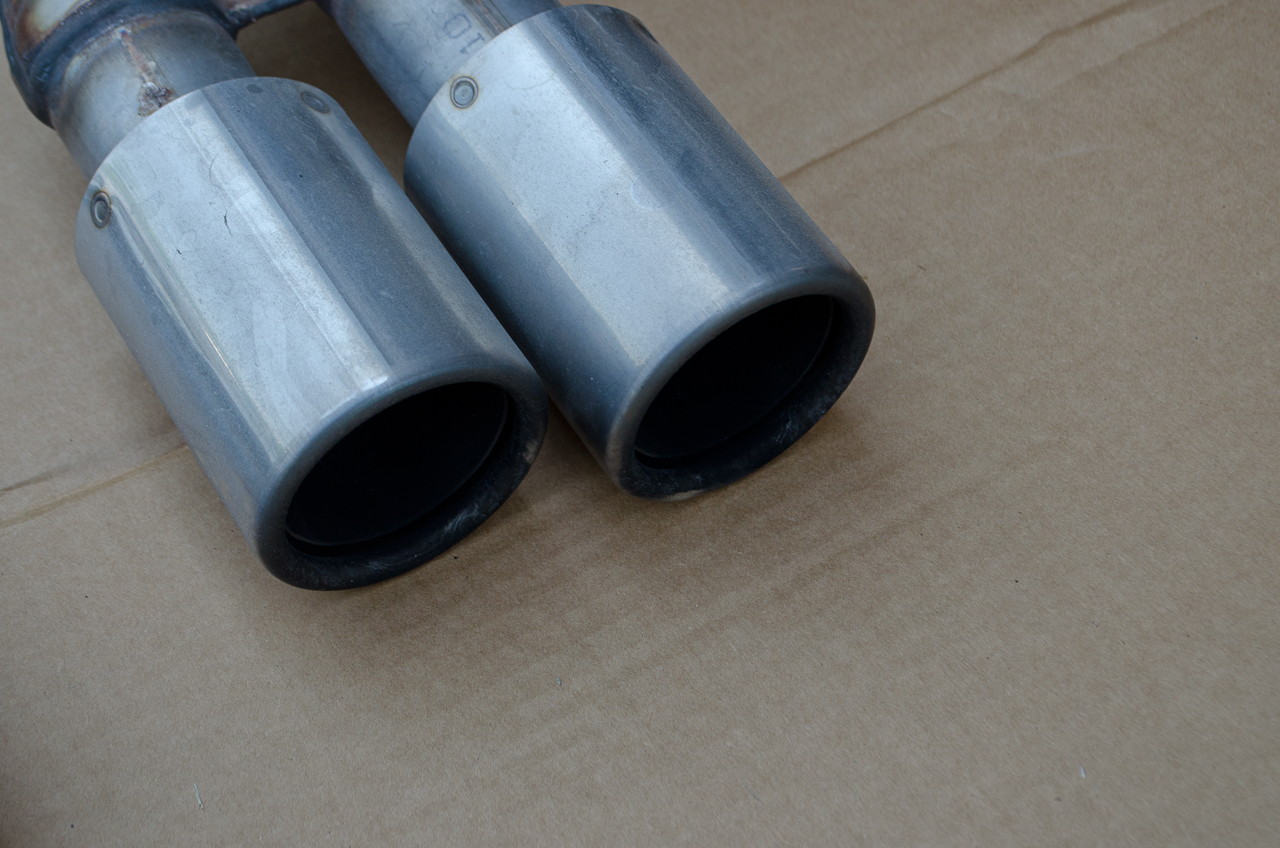
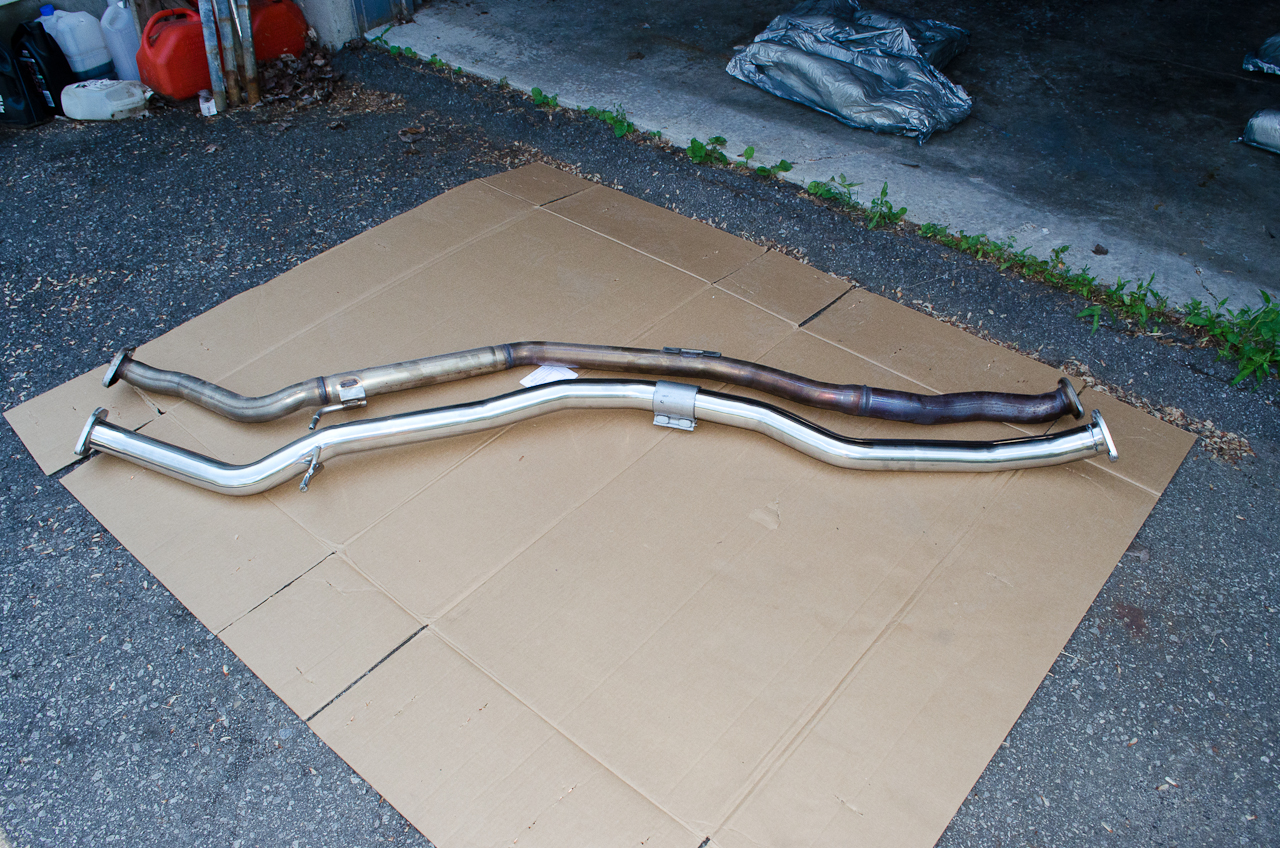
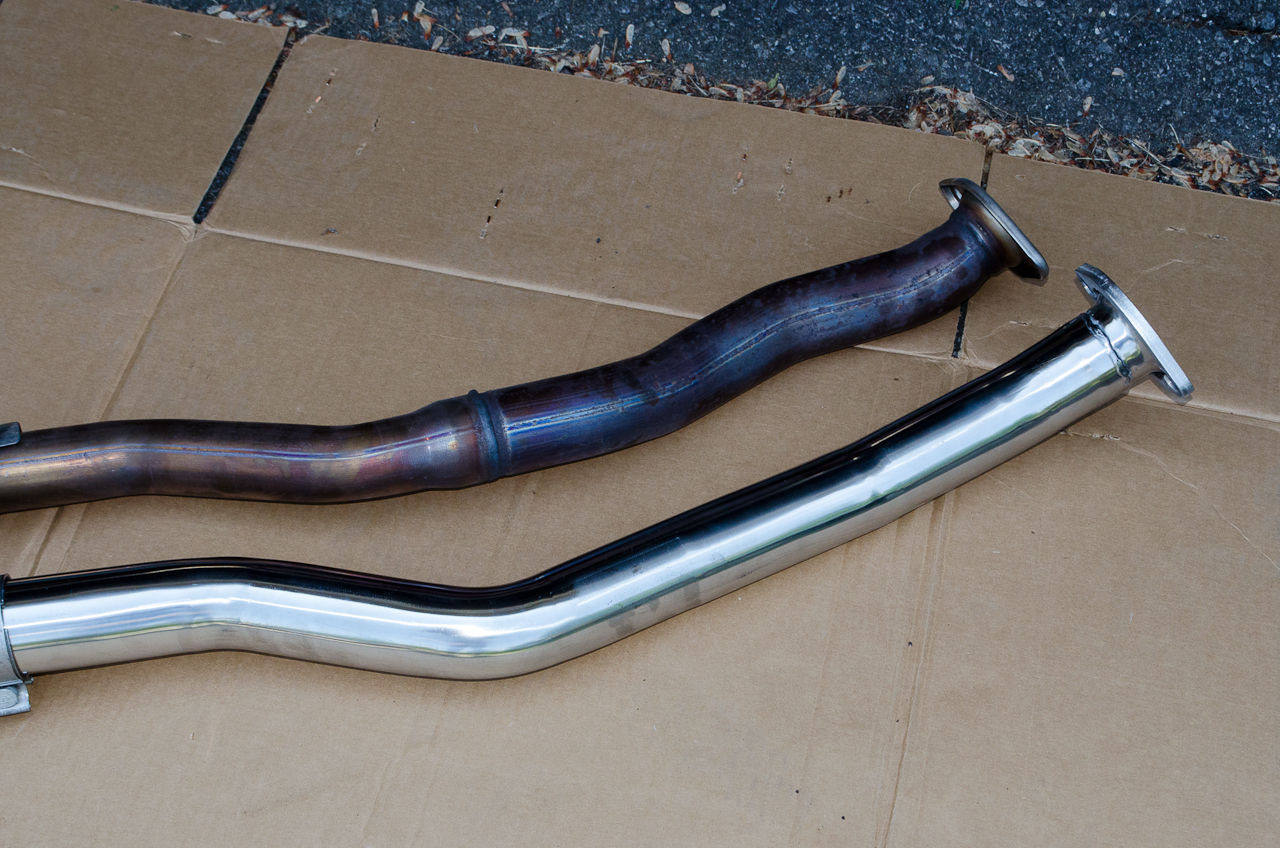
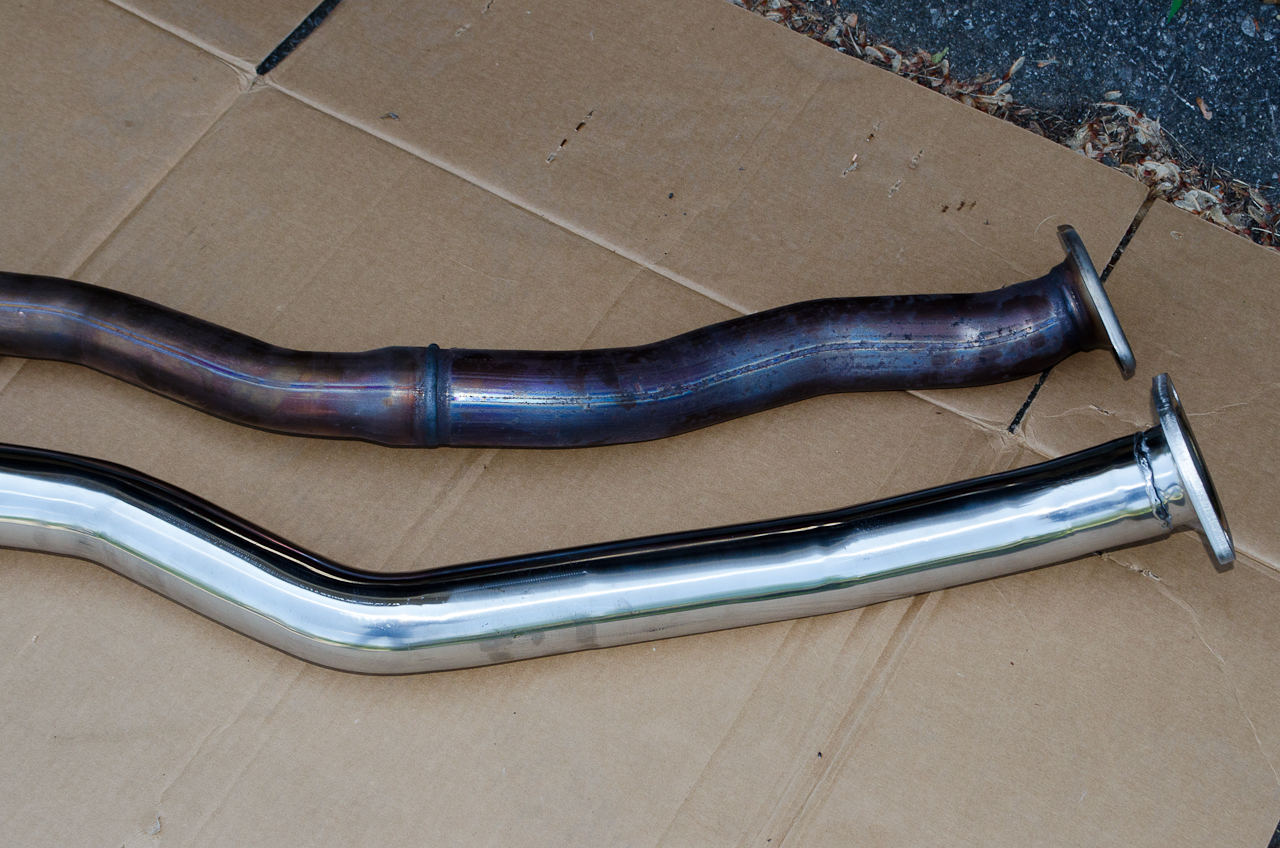
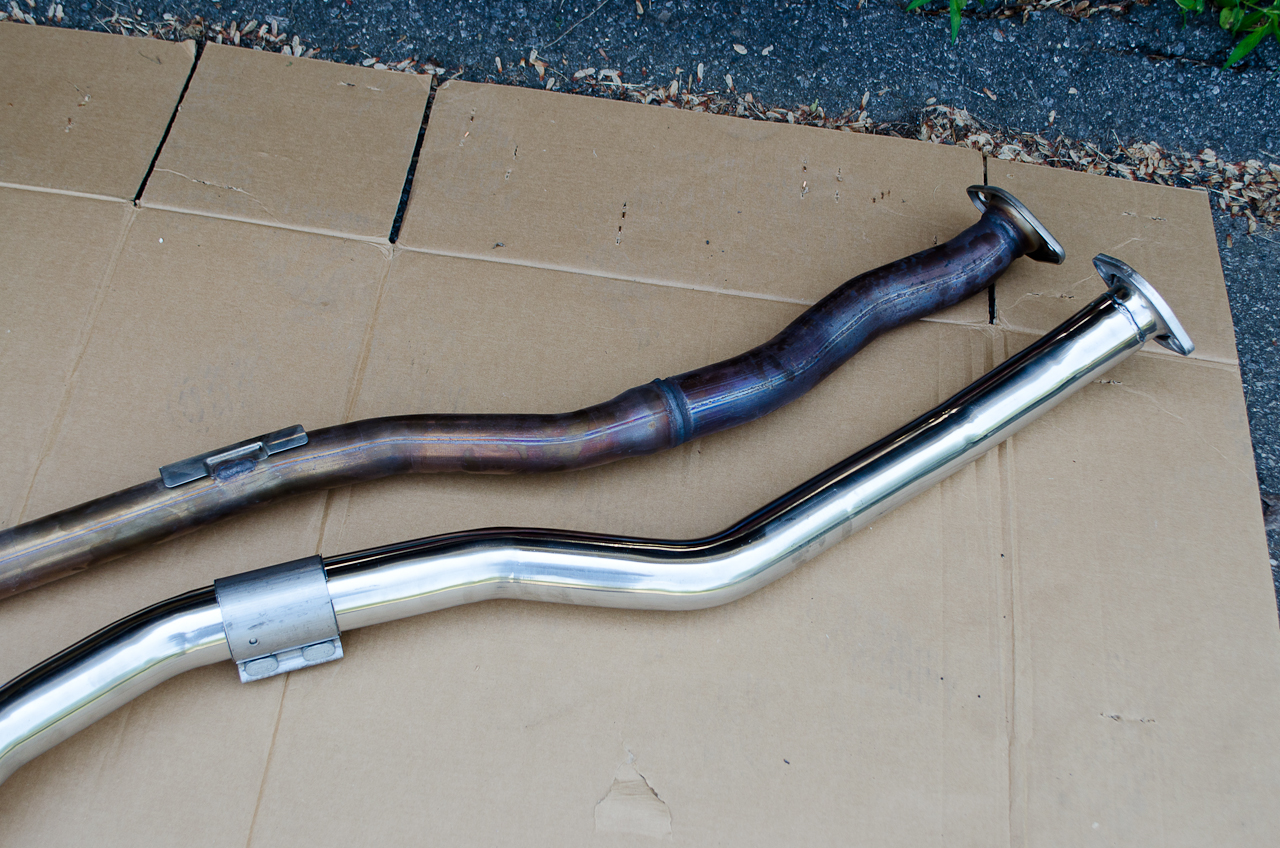
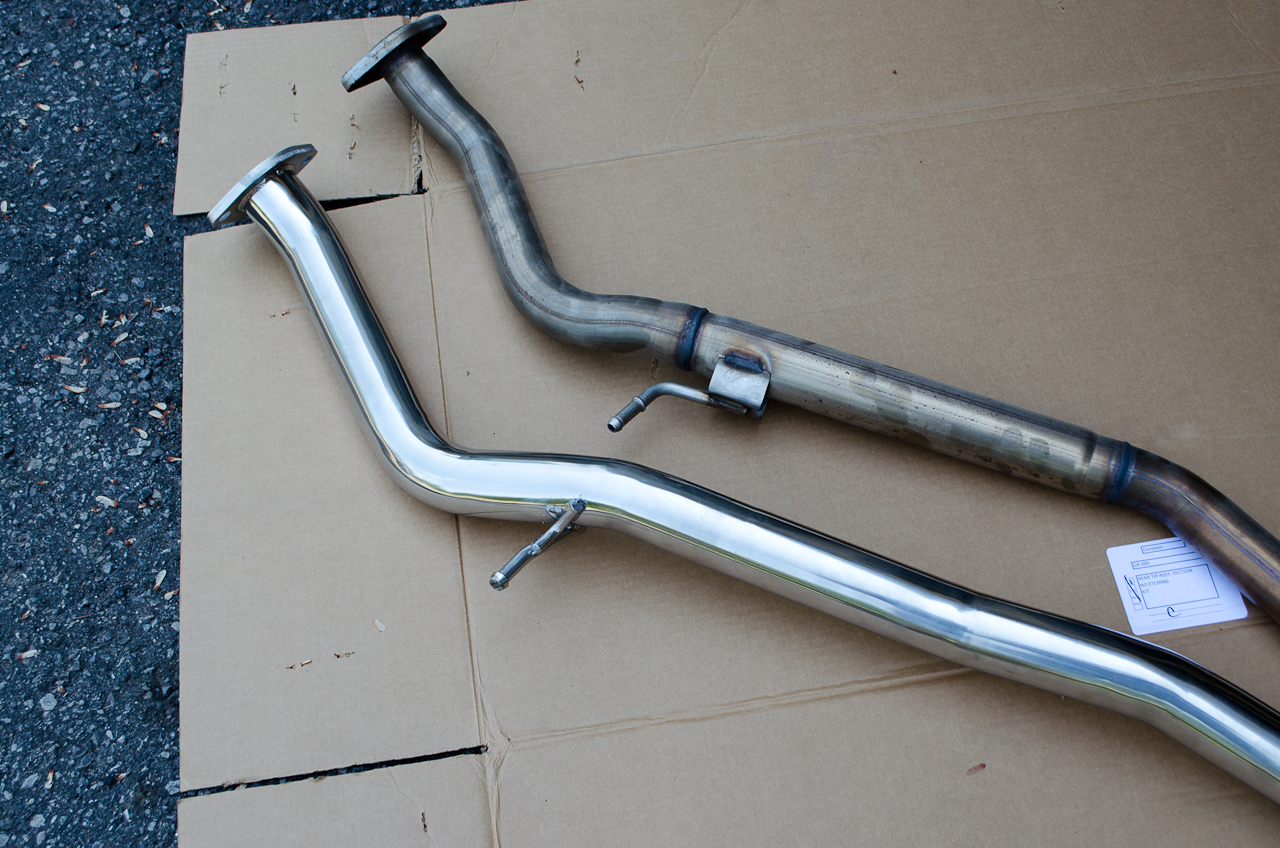
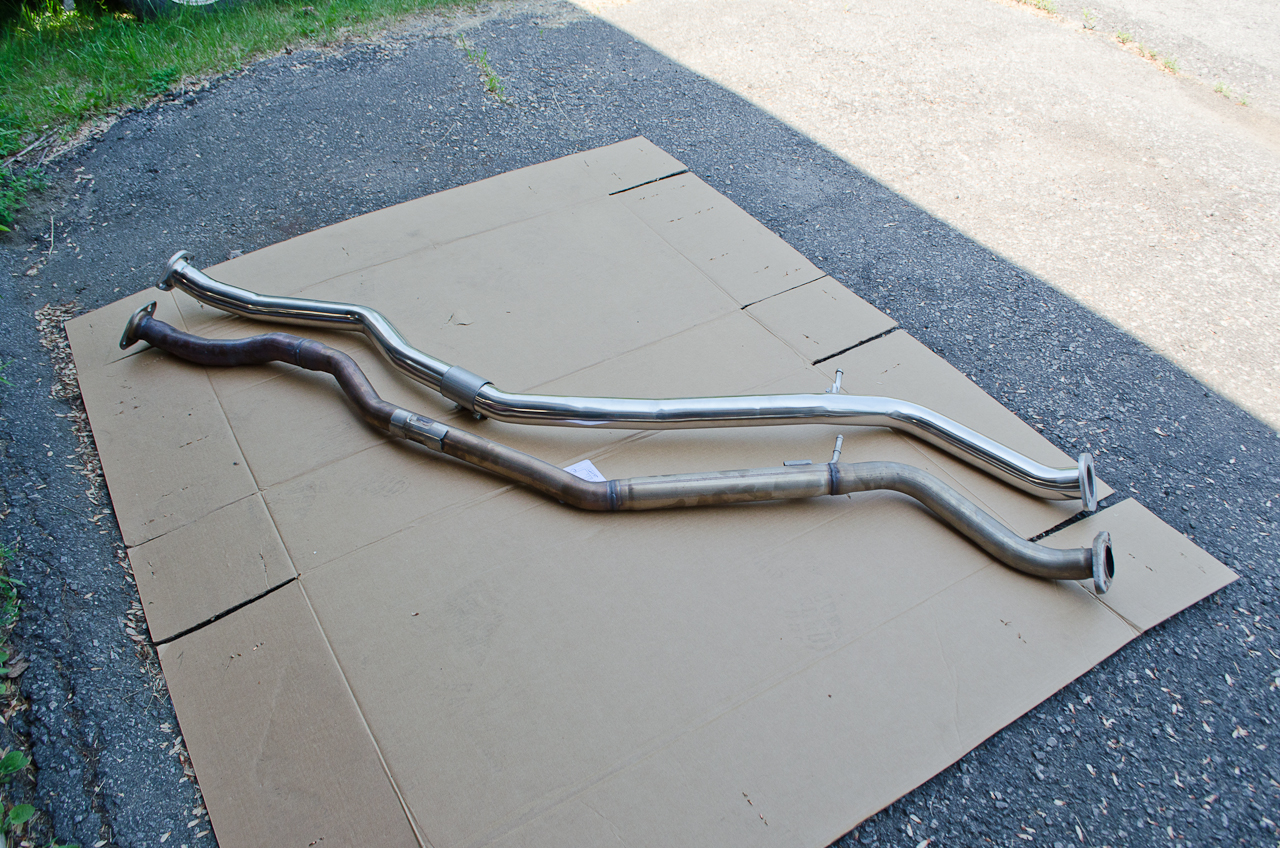
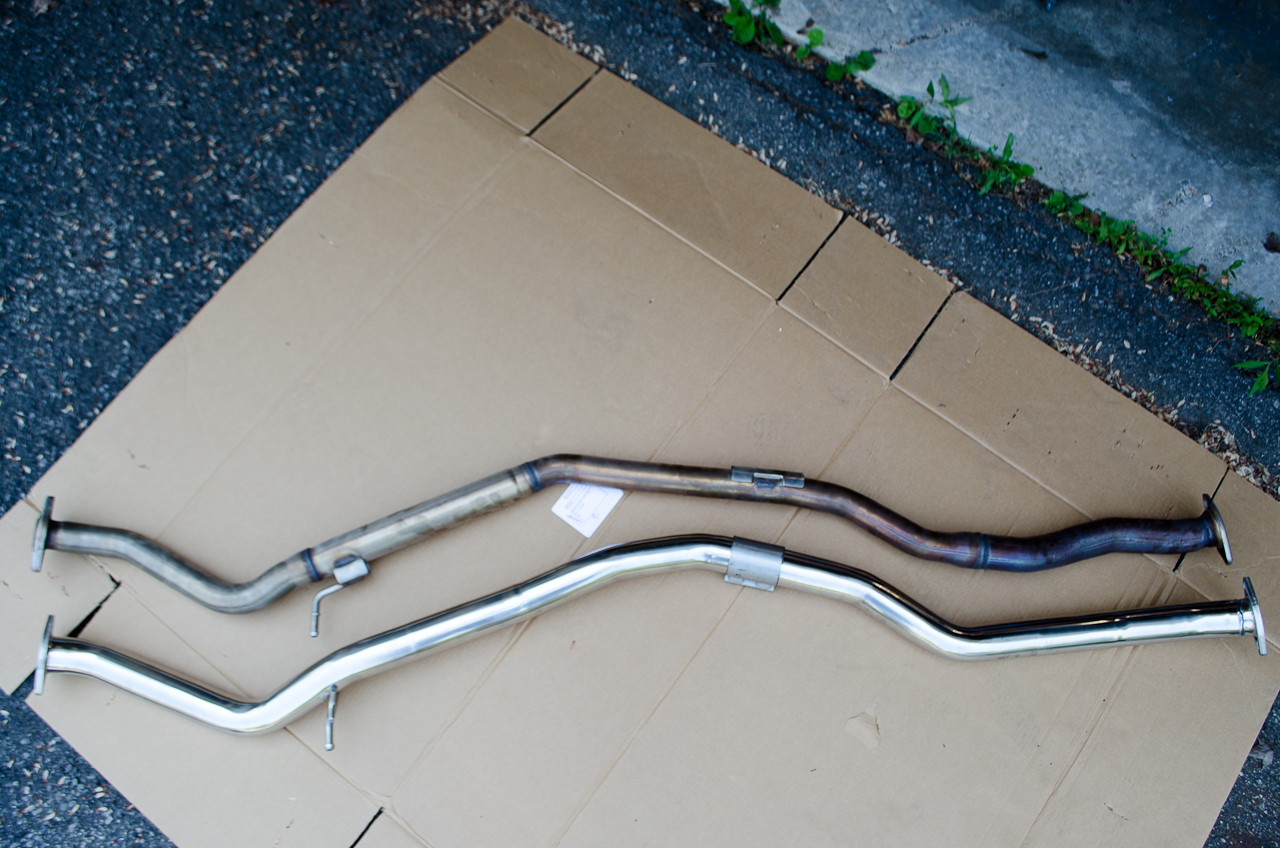
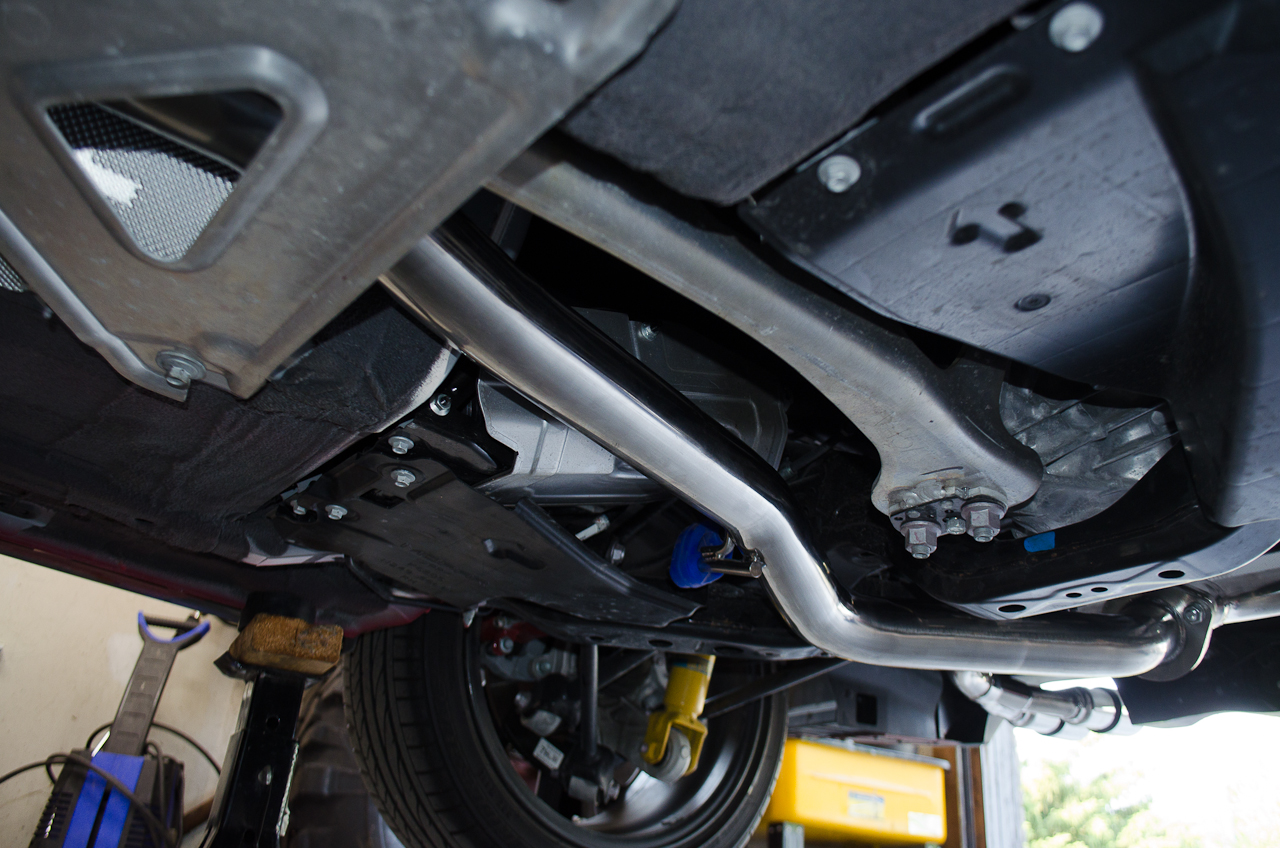
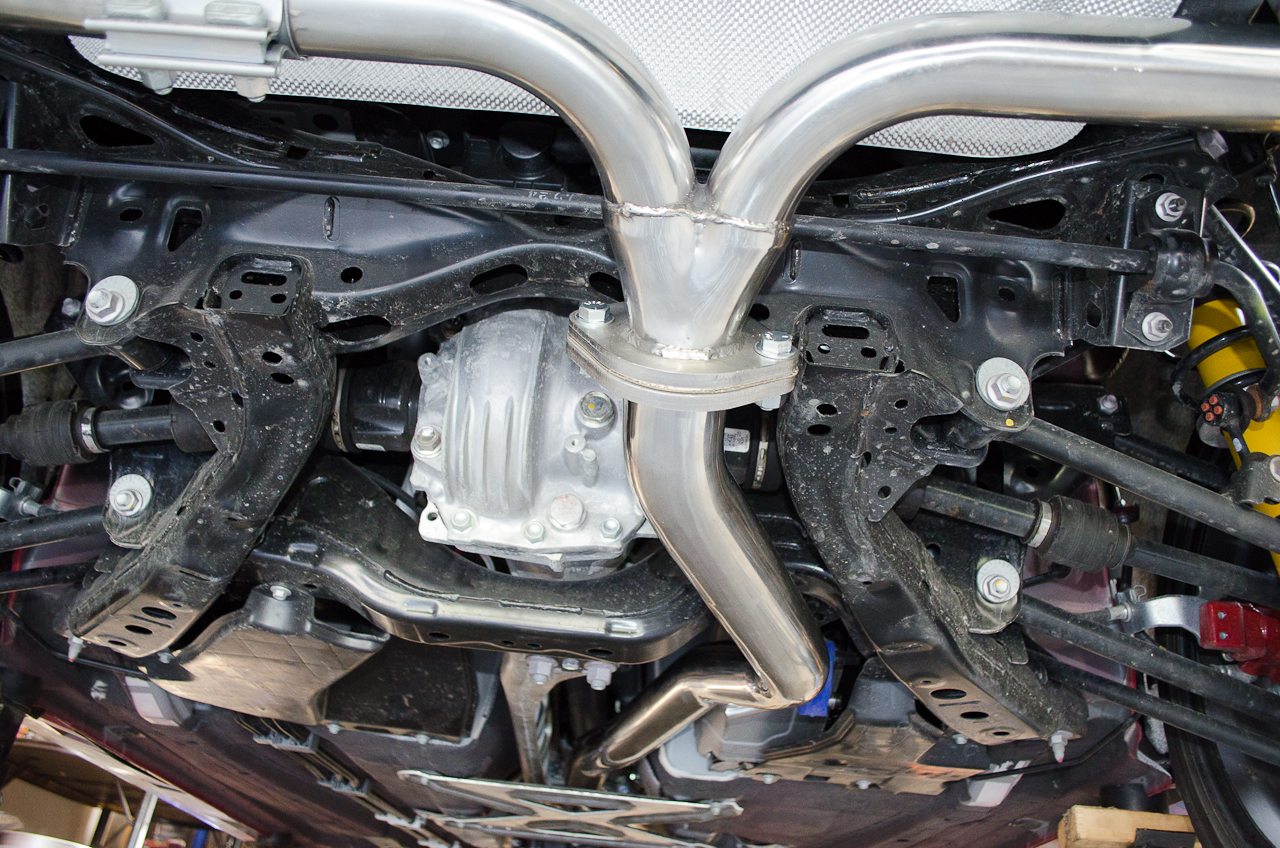
Now, time for some comparison pics. I have only one concern here. Looking at the stock crosspipe from my AUTO Abarth, I'm left wondering about the purpose of the extra shielding clamped on the crosspipe. I'm hoping that isn't necessary to protect the auto transmission / lines from heat and therefore something I need to be concerned is absent from the Goodwin piece. Mind you, given that there is no air gap - it doesn't seem as if it would be particularly effective as a heat shield. Perhaps it is instead only a rock/chip shield installed in auto versions since they are missing some of the underside covers found on the manual versions (because they won't clear the larger auto transmission)? Incidentally, if you have an auto, you will need to unbolt two small clamps on the left side of the transmission to give yourself freedom to pull the transmission oil lines away from the transmission enough to work the stock crosspipe out and the Goodwin crosspipe back in (also not mentioned in the instructions). Anyway - on to the pics...they really speak for themselves and I think showcase the beauty of the Goodwin system. Especially the tips. I mean...I thought the stock tips were pretty cool...but they look like ugly step-sisters next to the Goodwin pieces.
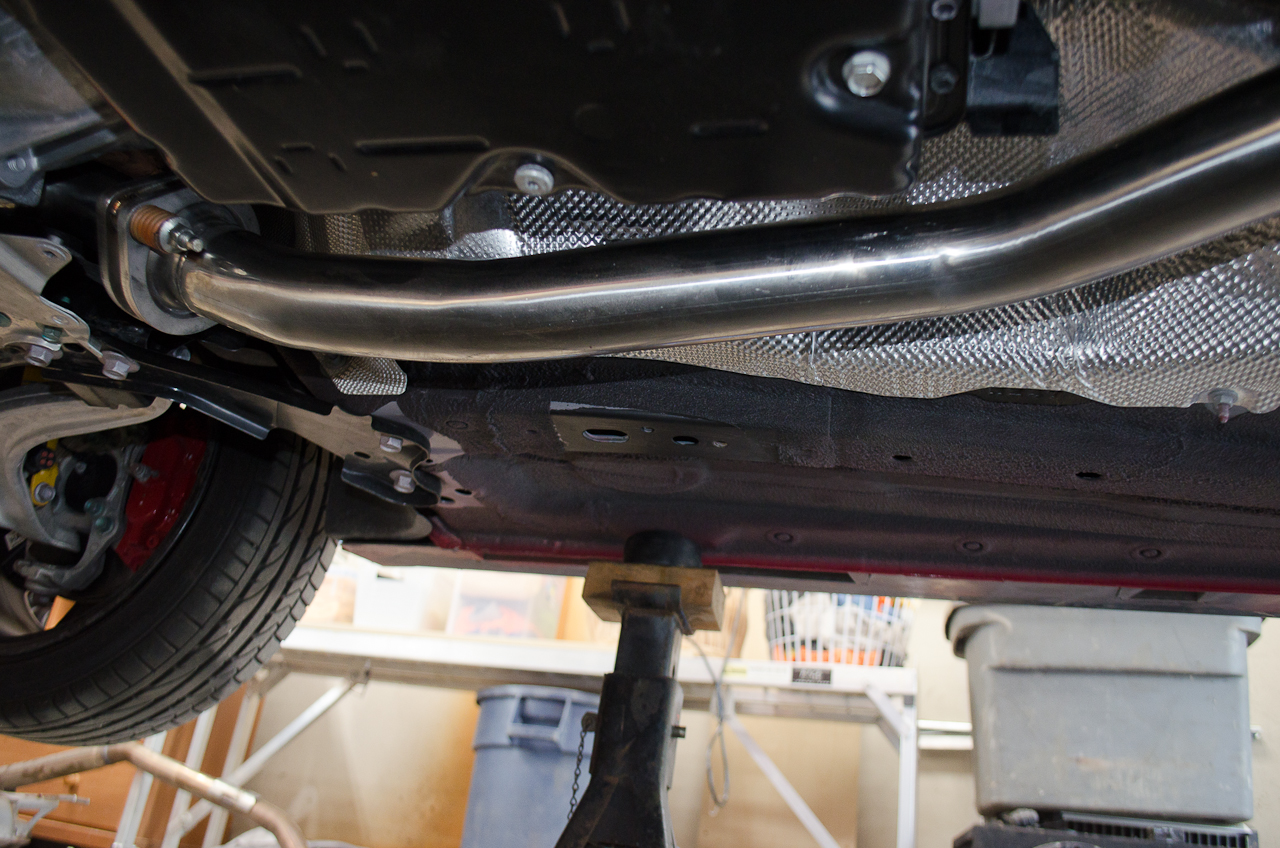
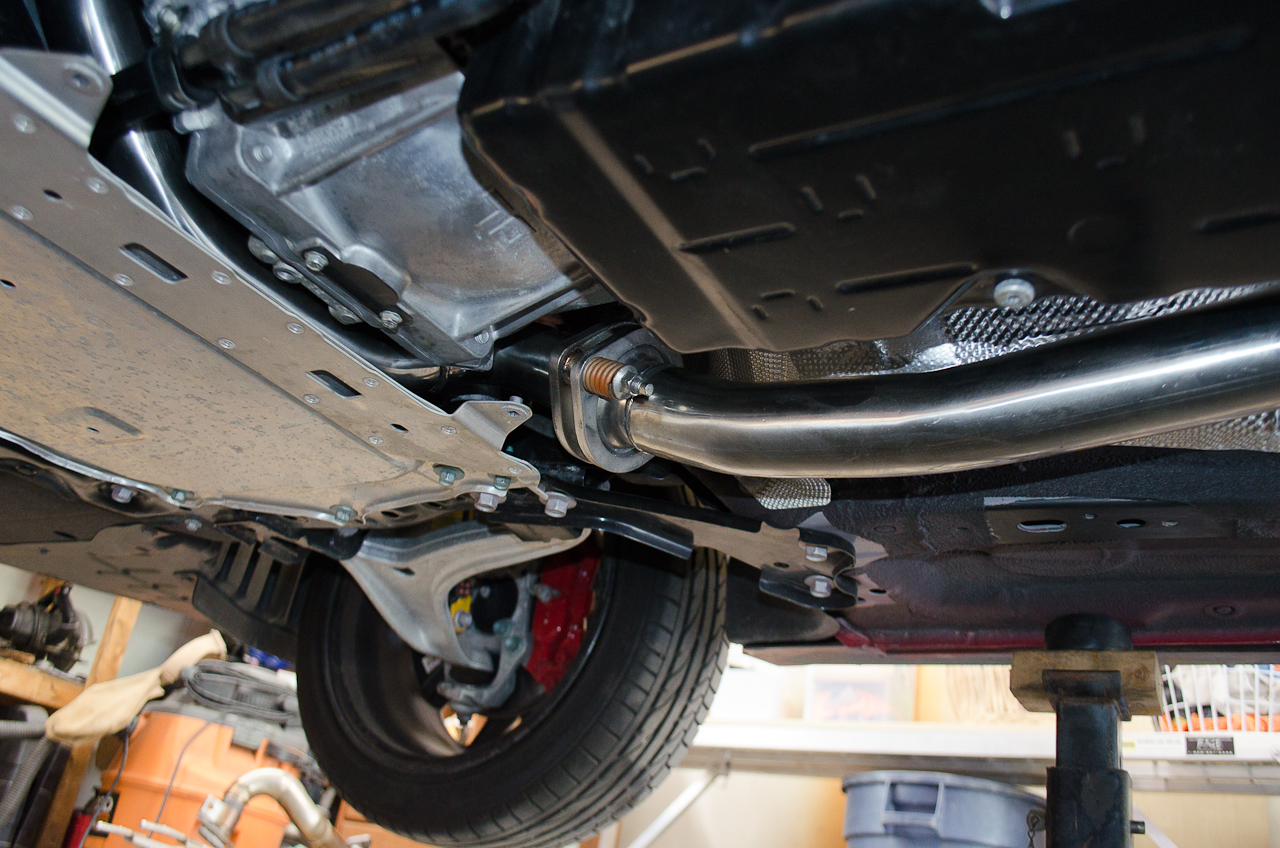
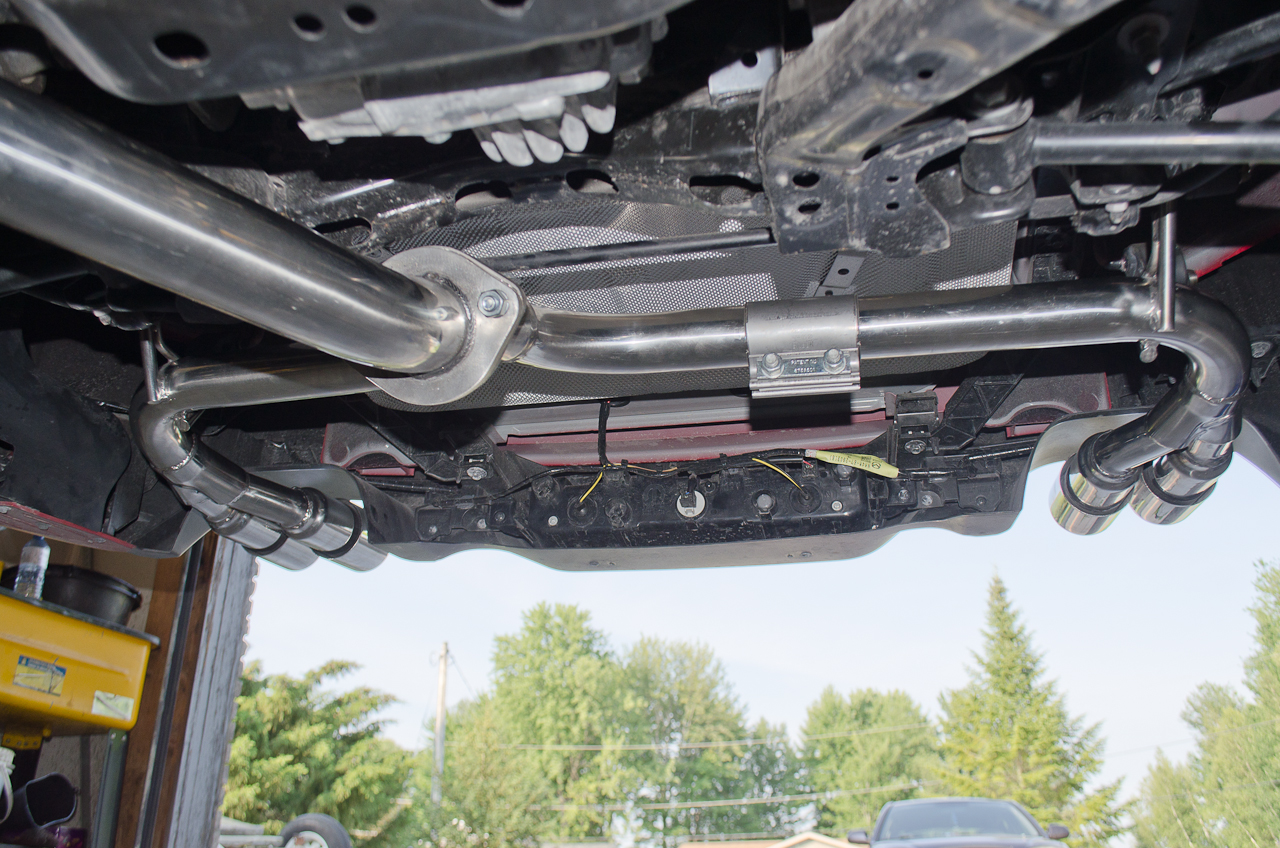
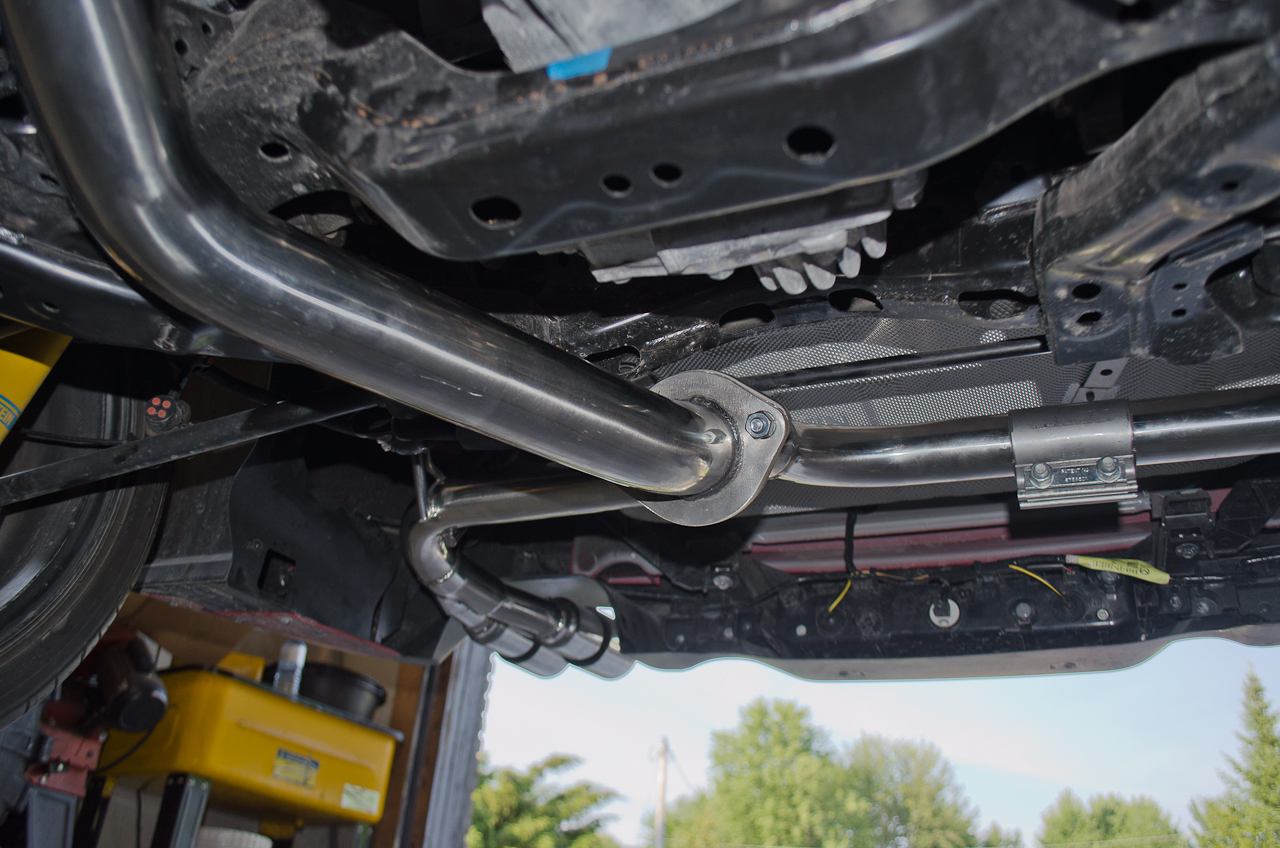
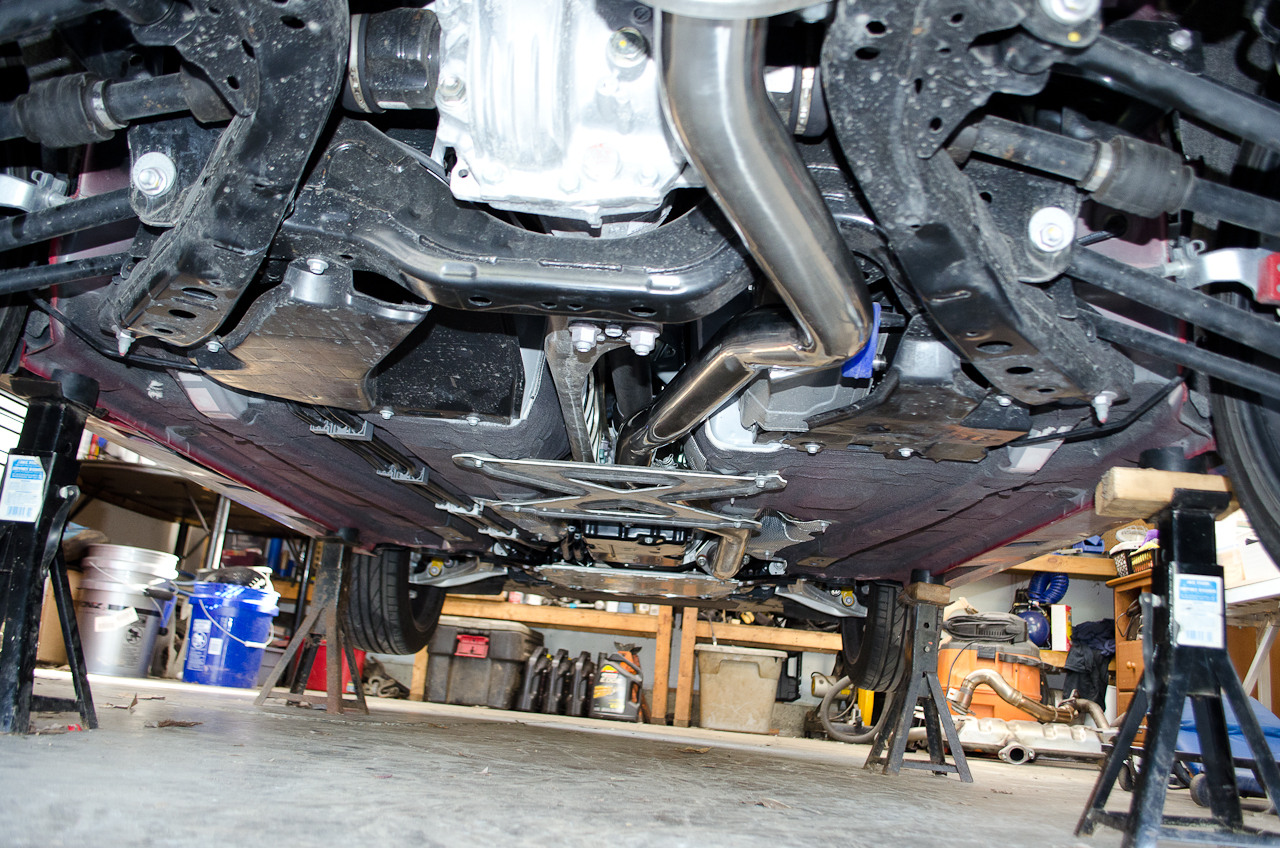
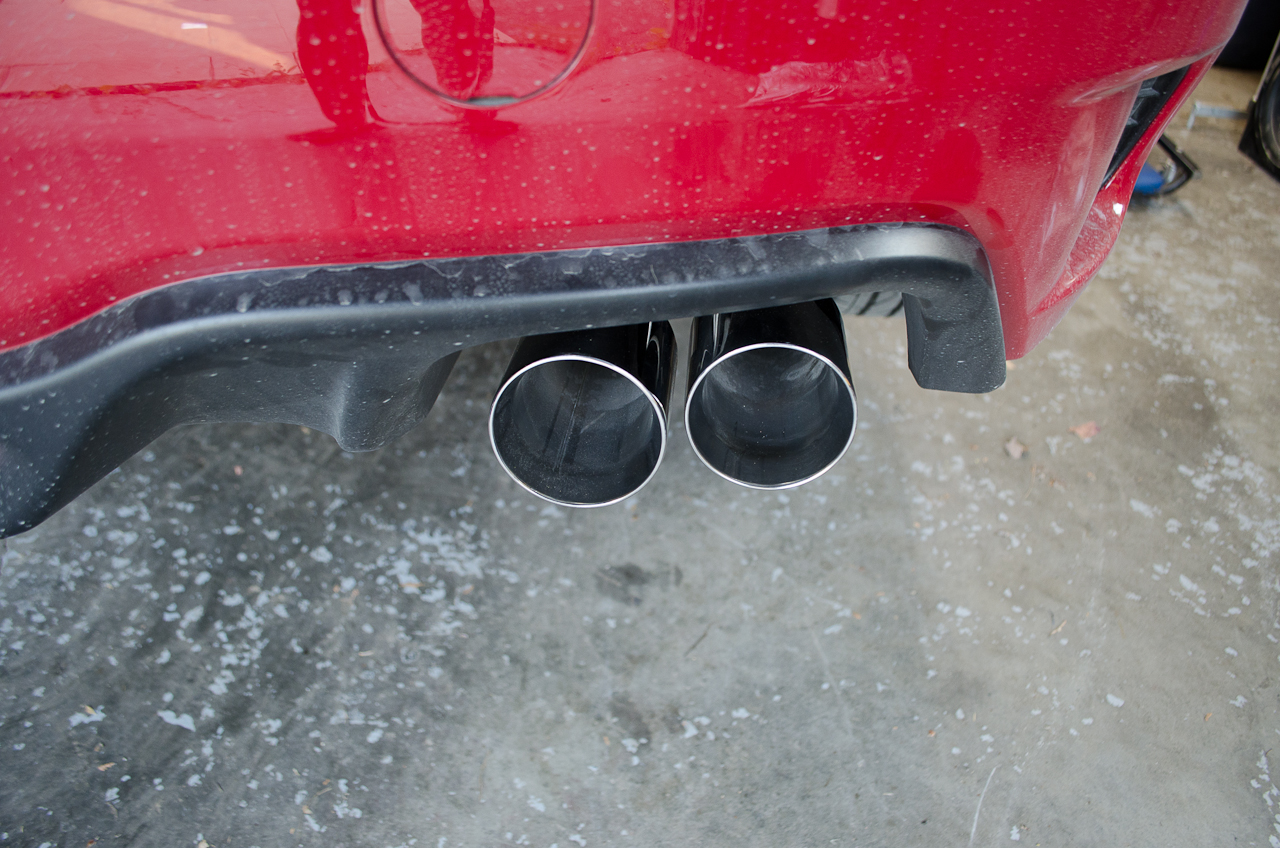
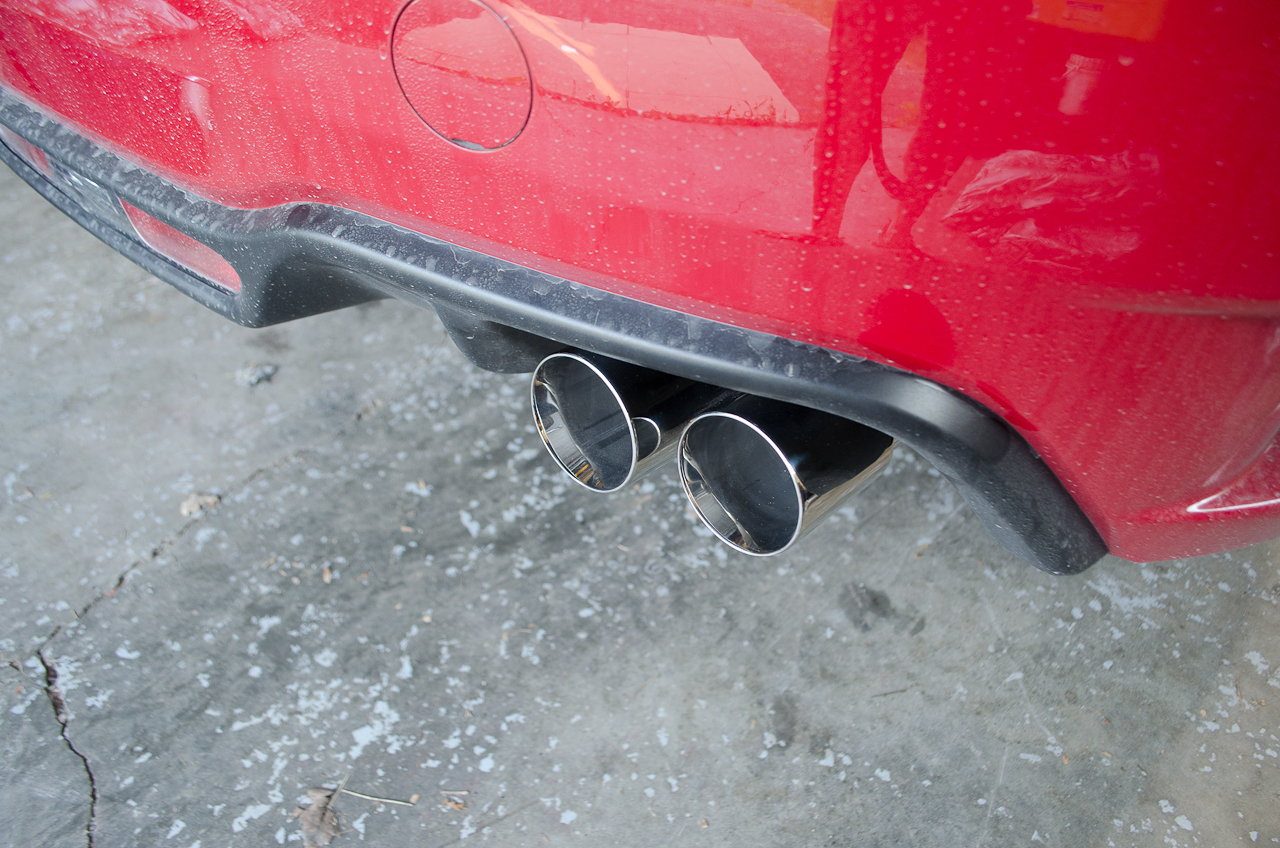
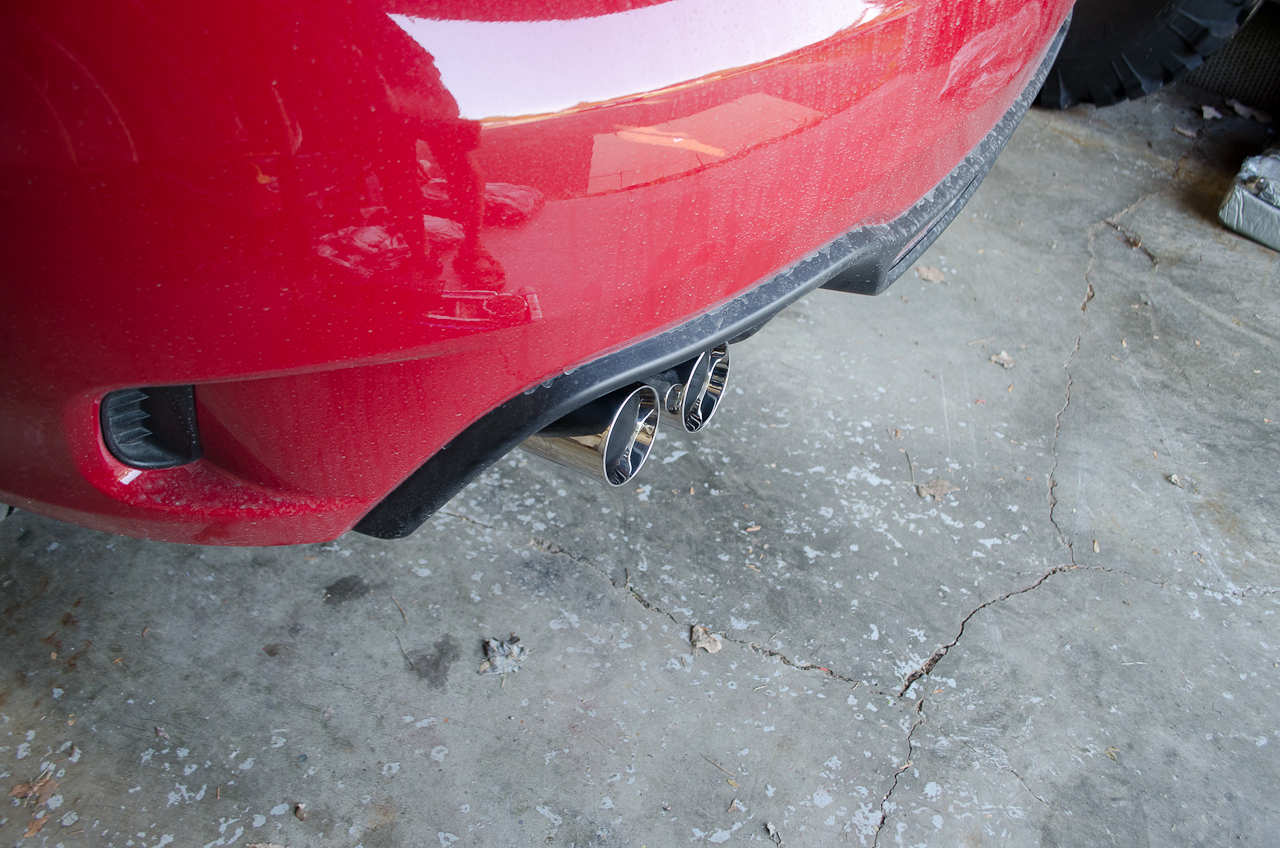
And finally, a couple of installed pics I did manage to get before heat exhaustion set in!
A few notes on the installation:
Torque values are as follows:
Here's a PDF file of all the related service manual pages to help you. Be advised that if you have a manual transmission car you will have three more shields / braces to remove than auto owners. Namely the:
How does it sound?This is the 64 million dollar question, isn't it? The problem is, the answer is just so subjective. Not only that, but even posting audio clips is not a good demonstration - there are too many uncontrolled variables - the position and quality of the microphone, the compression of the clip, the device and volume level you use to play it back. Check out the two clips posted below - shot at the same time but with different devices (a phone and a DSLR Nikon - neither are high quality audio recording devices) - notice how the different microphones pick up different sounds and neither clip sounds just like it did to my ears standing there. But...in a word...it's LOUD, nasty, wonderful! That's 3 words! See how hard this is? But seriously, it is quite loud and aggressive - I love it, but I can see how many might find it too loud. For *most* people I would expect that the resonated version would be preferrable. But for those others of us - it's just wonderful. Great tone, great volume - it gives me smiles to listen to it and turns heads when I drive! Check it out:
|
||||||||||||||||||||||||||||||||||||||||||||||||||||||||||||||||||||||||||||||||||||||||||||||||||||||||||||||||||||||||||


|