 |
Sokie Tech Hood Struts
By Bill "BillaVista" Ansell |
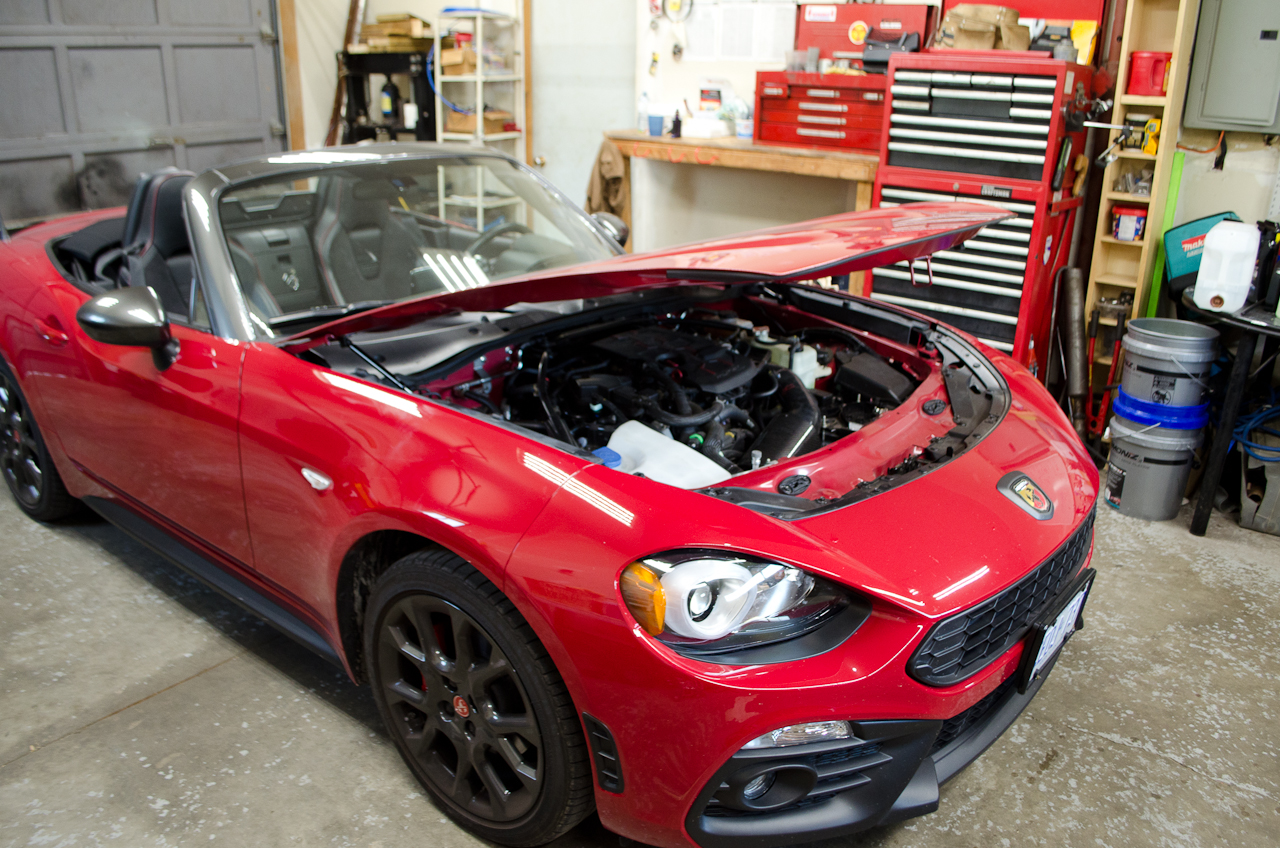
IntroductionRemoving the factory prop rod and replacing it with a set of hood struts is a quick and easy modification that returns benefits of an easier-opening hood as well as more room under the hood when fully opened.
|
 |
It's a very simple job that requires only a 12mm wrench or socket to complete There are a number of products on the market that will fit the 124 Spider. I chose the set offered by Sokie Tech after reading several favourable reviews at https://www.124spider.org/ I ordered mine from E-bay from a supplier in Taiwan (alvoturk9000) that ships internationally. Here is the link to the listing I used: https://www.ebay.com/itm/223972289872 |
|
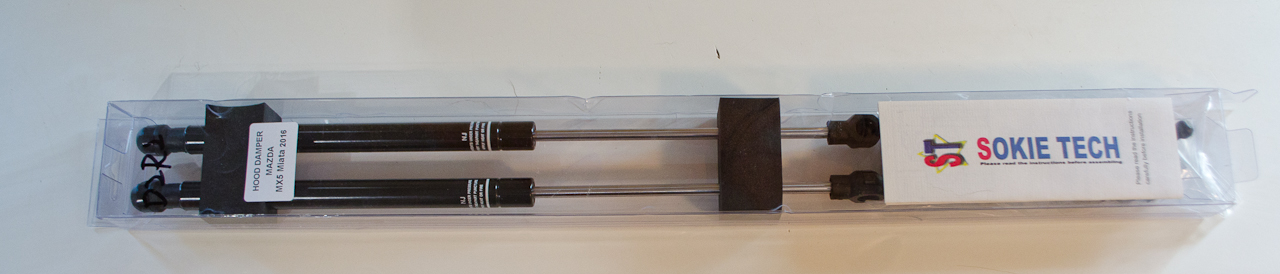 |
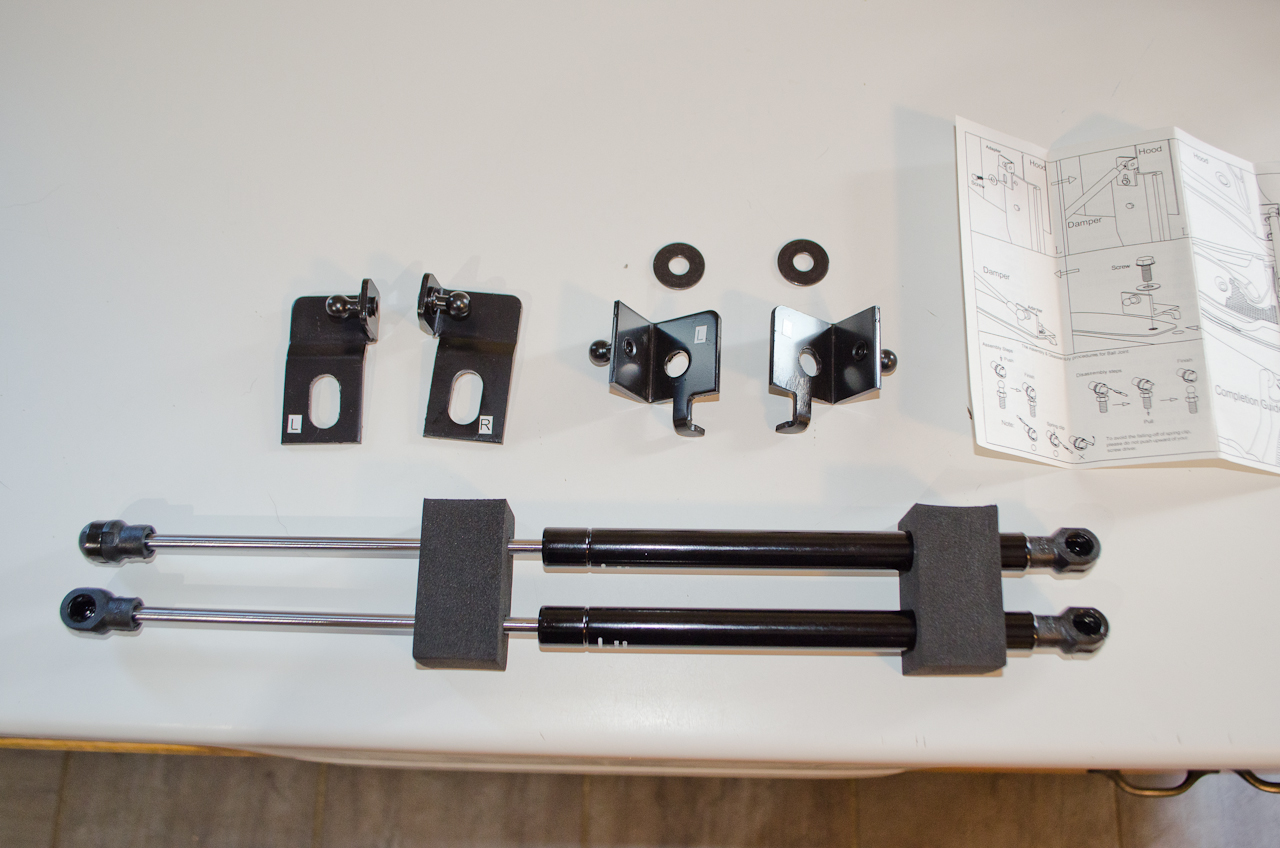
The complete kit as shipped. They arrived 6 days after I ordered them. | ||||||
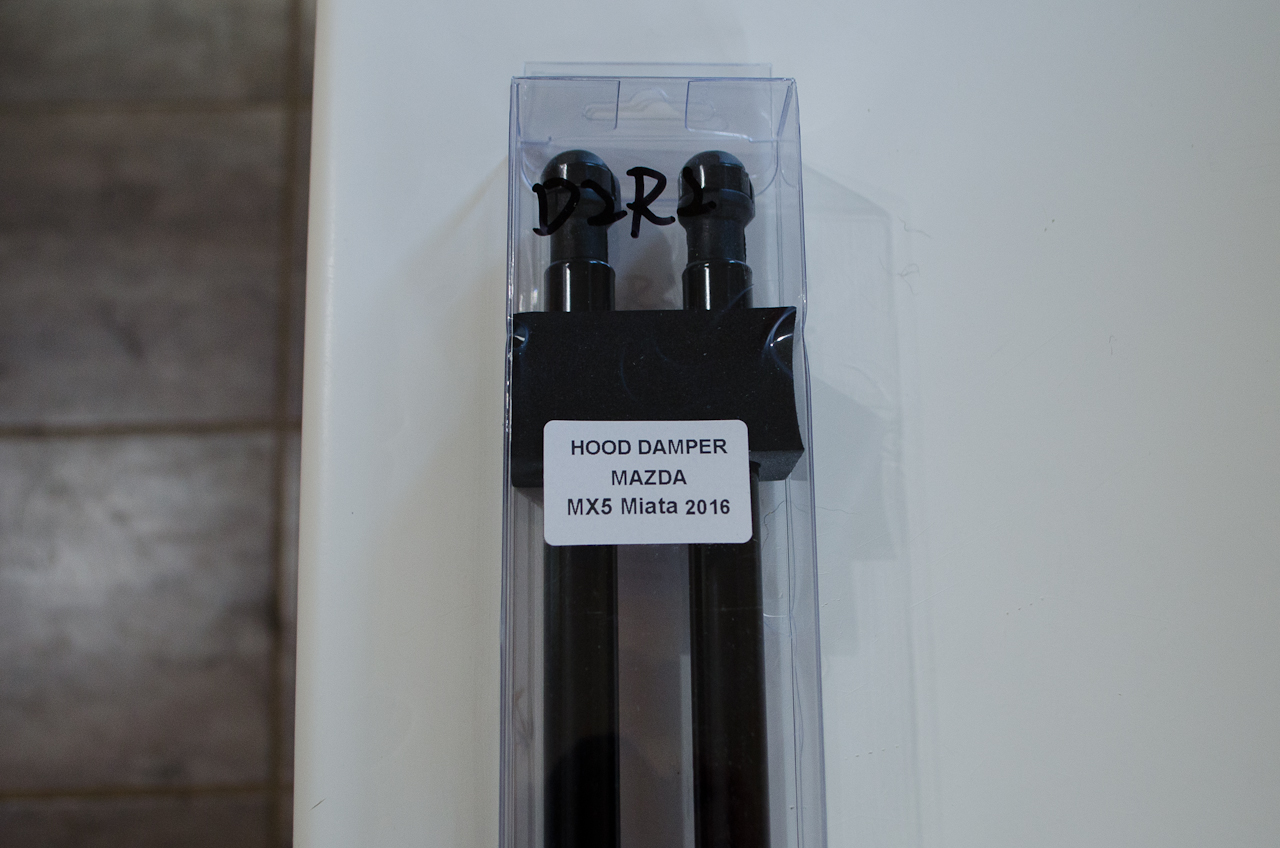 |
Product is listed and marked for 2016 Mazda MX5 Miata. It fits the FIAT 124 Spider perfectly. |
||||||
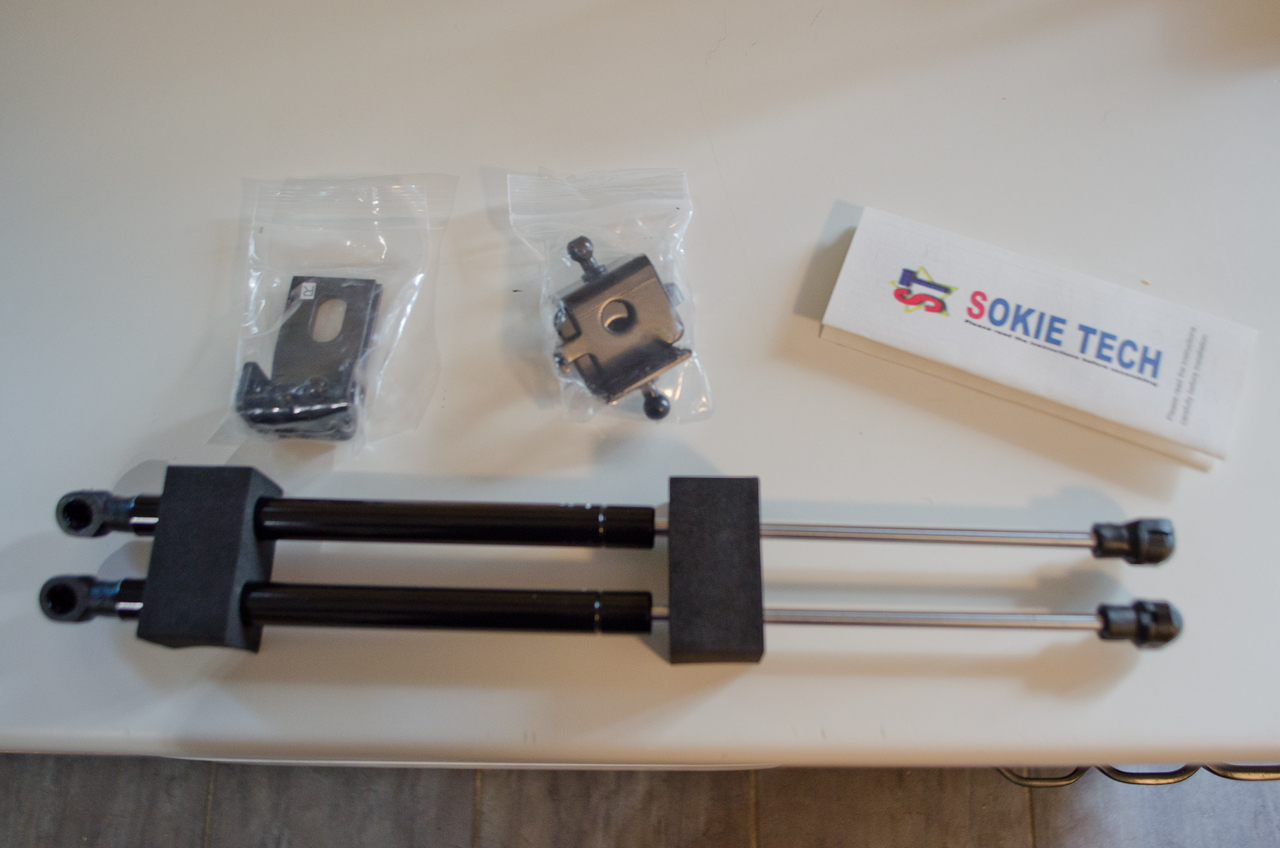 |
The kit includes two struts, two hood brackets with washers, two fender brackets, and a small instruction sheet. | ||||||
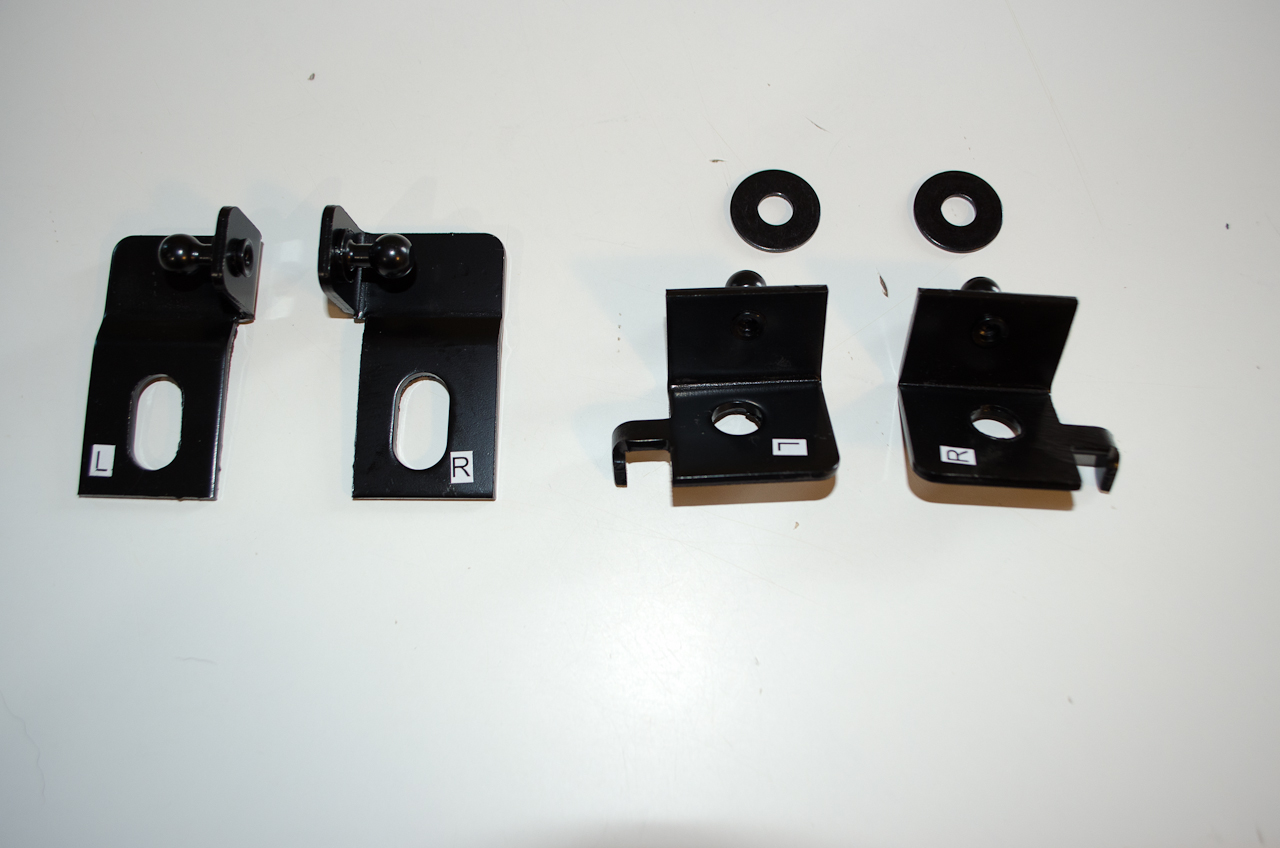 |
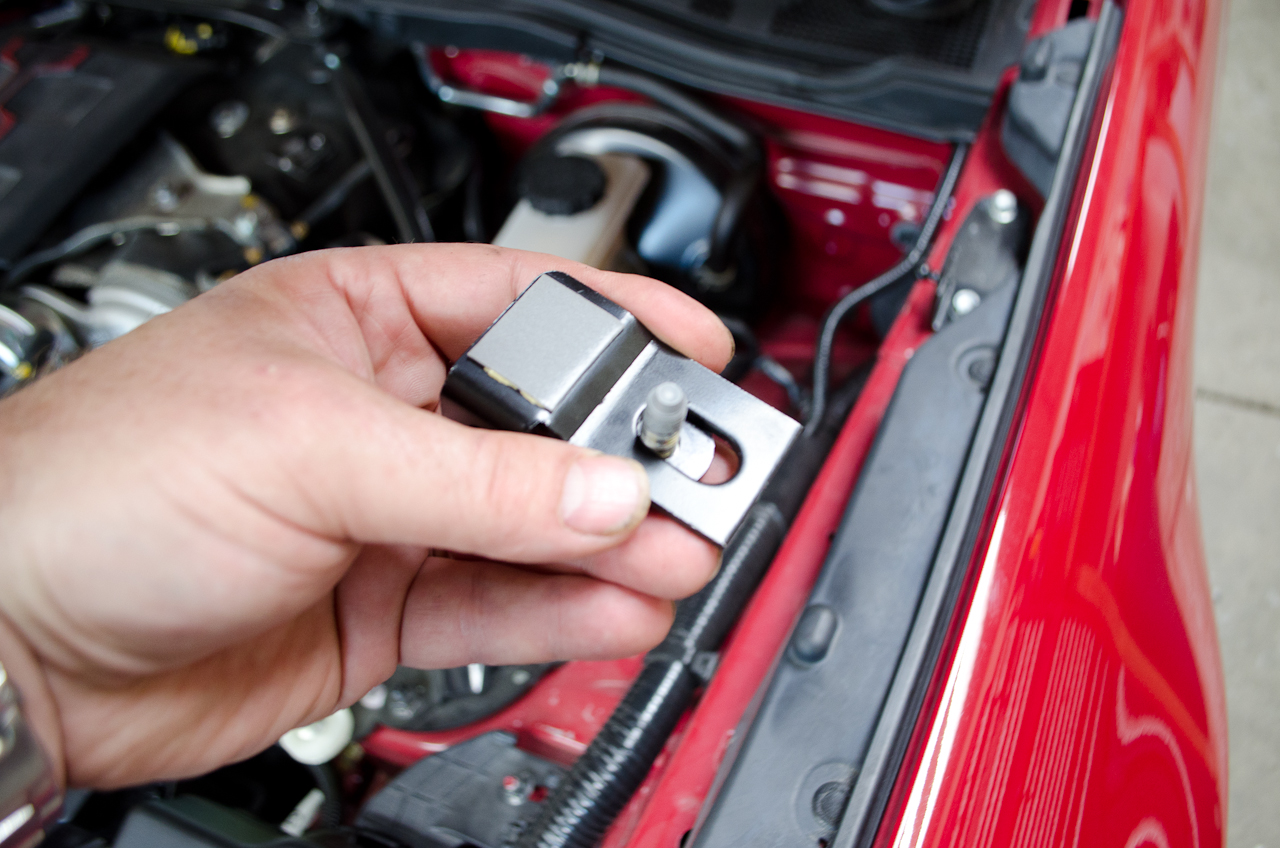
In this picture the hood brackets are on the left and the fender brackets are on the right. Misleadingly I placed the washers above the fender brackets in this pic, but they go with the hood brackets. Each bracket is marked L or R for Left and Right. Left and Right are determined from the driver's position in the car facing forward. In North America that means the driver's side is the Left and the passenger side is the Right side. |
||||||
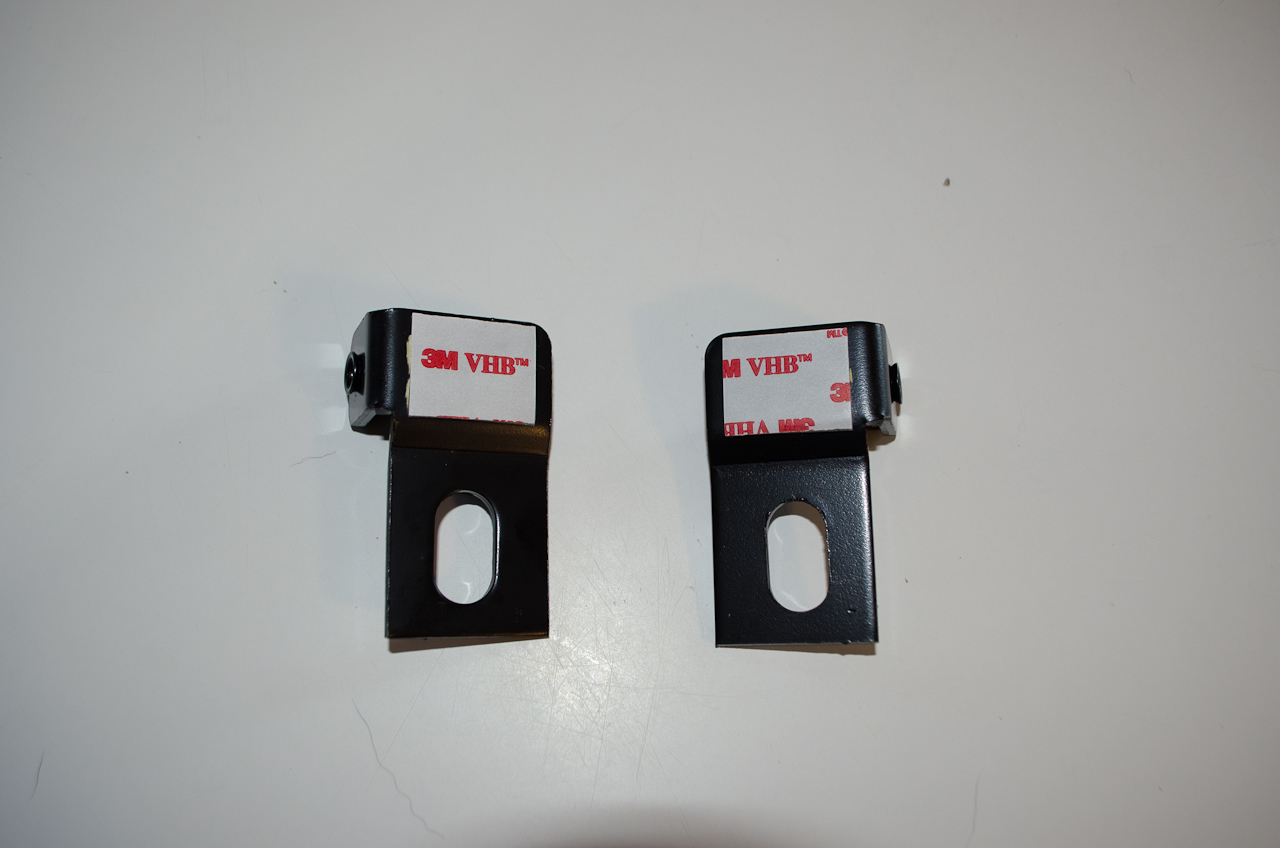 |
The hood brackets have a small rectangle of 3M double-sided tape attached on the back side. | ||||||
 |
Instruction sheet side 1. | ||||||
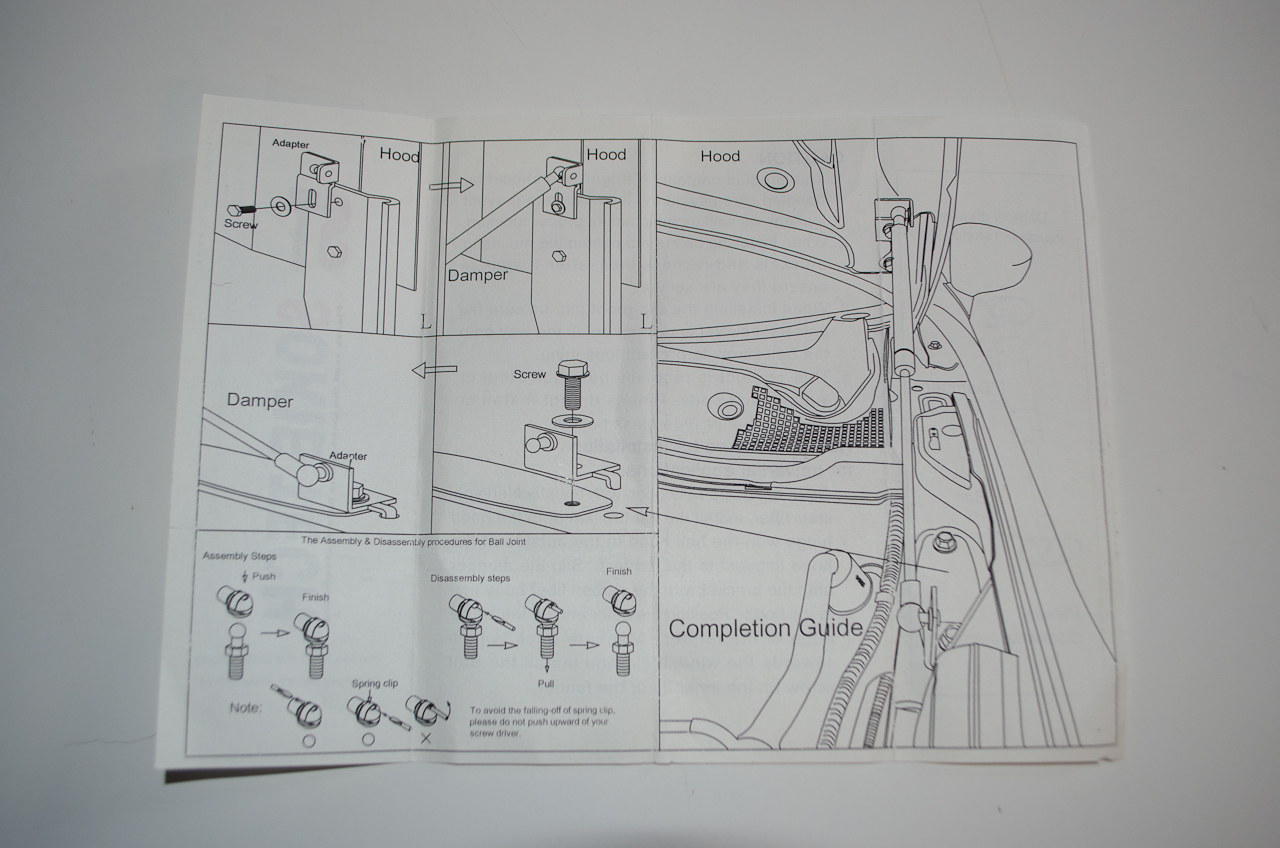 |
Instruction sheet side 2. | ||||||
 |
The complete kit laid out ready to go. Note that you have to cut the foam blocks off the struts. To avoid nicking or scratching the struts I used a sharp utility knife to cut about 3/4 of the way through the rubber then tore it away from the struts with my thumbs. That way the knife blade never touches the struts. |
||||||
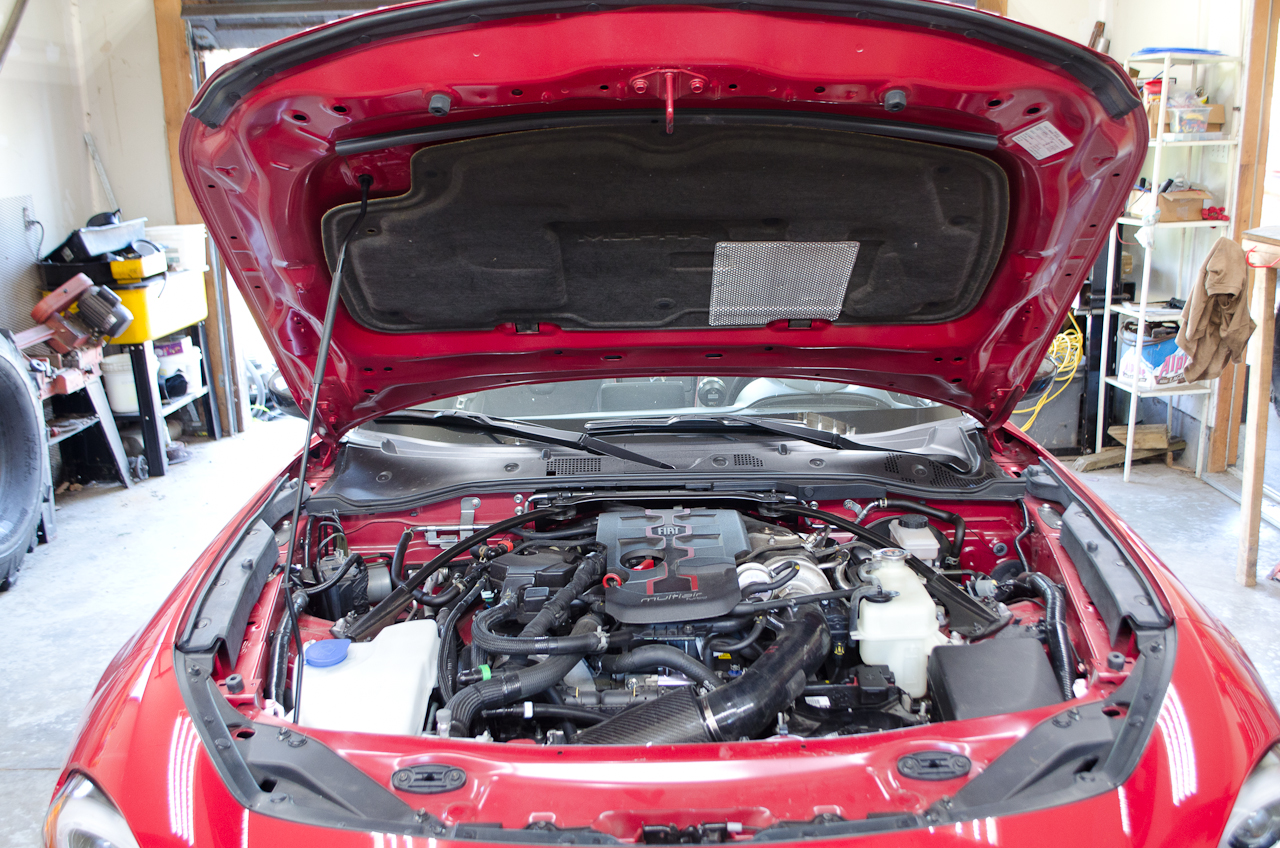 |
The installation is extremely easy. Begin by opening the hood as usual. |
||||||
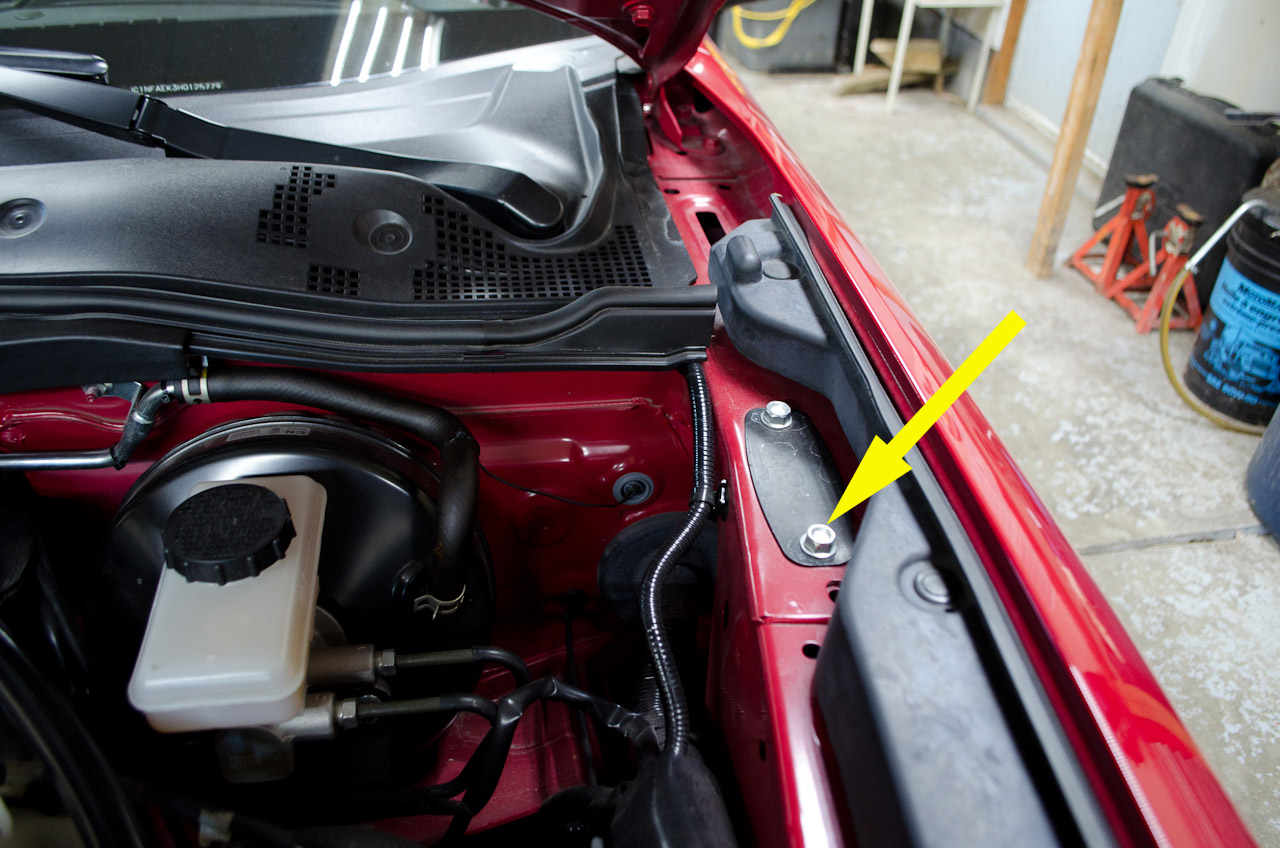 |
We are gong to remove one bolt from the fender on each side... | ||||||
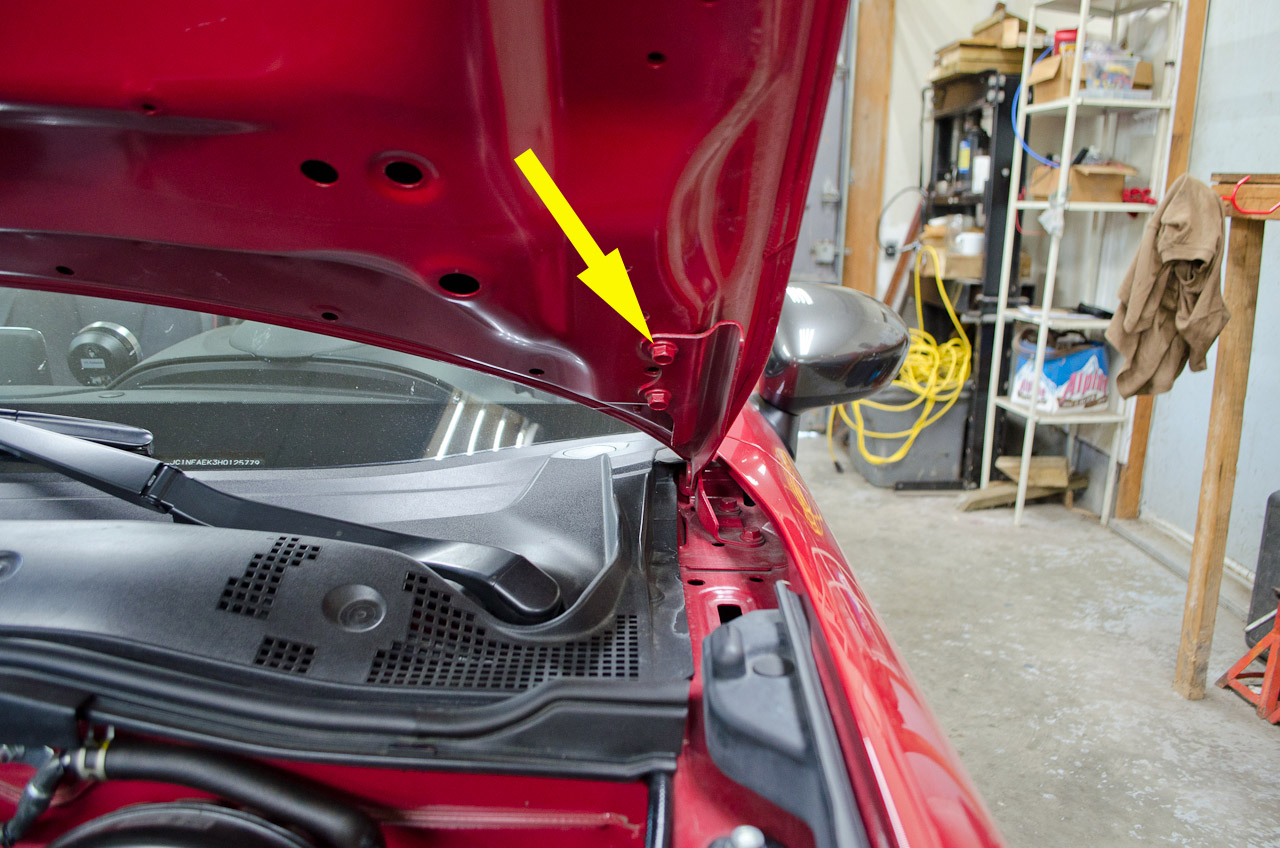 |
...and one from the hood on each side. Set them aside as they will be re-used. |
||||||
 |
Remove the fender bolt with a 12mm socket. | ||||||
 |
The hood bolt also takes a 12mm socket. | ||||||
 |
Bolts removed. | ||||||
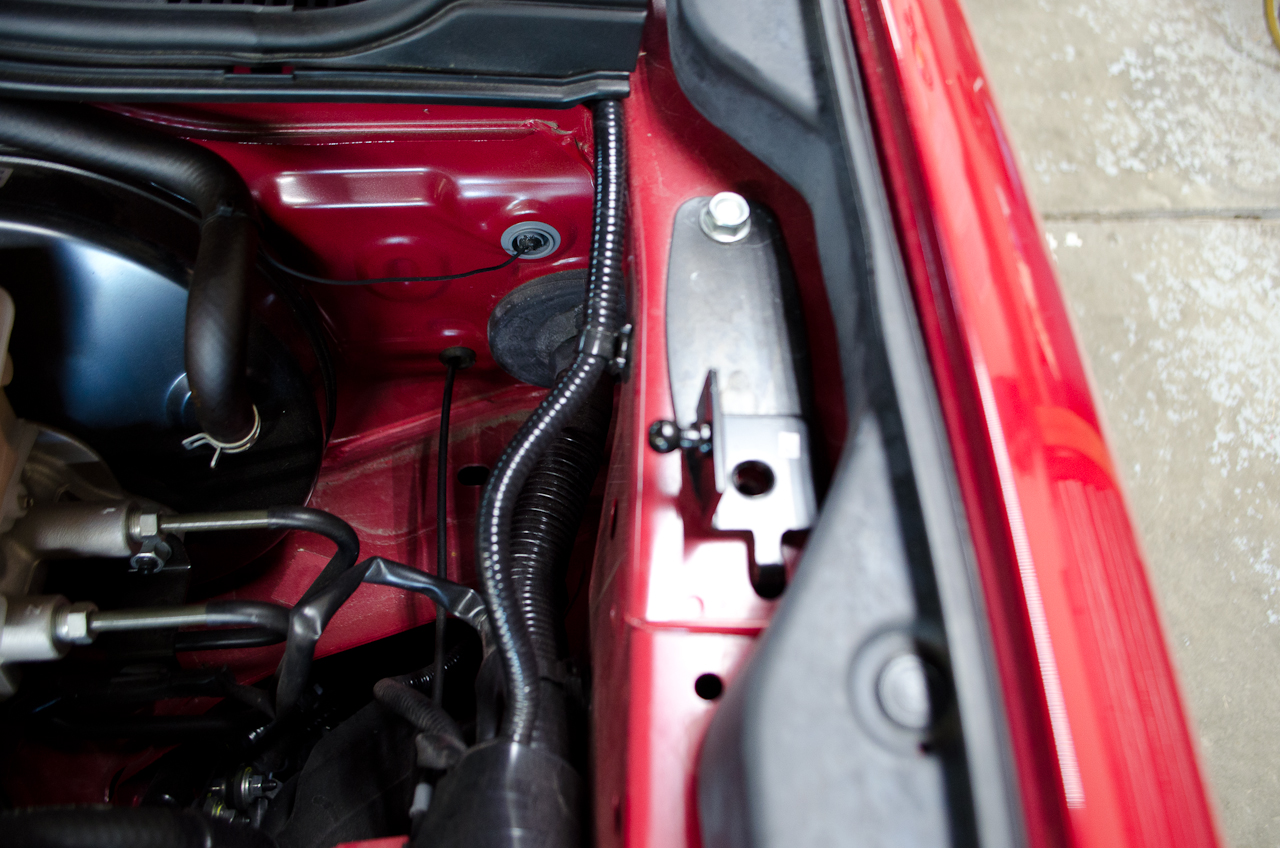 |
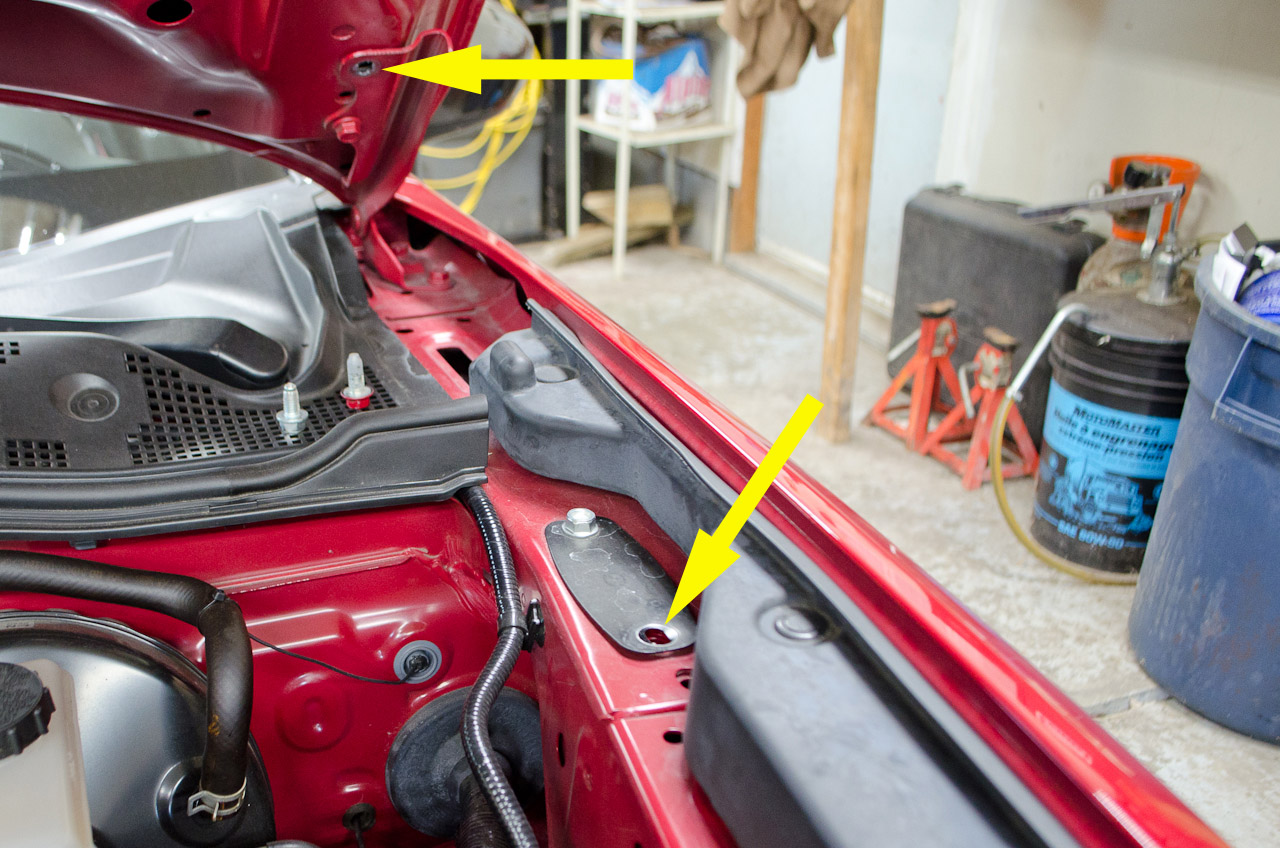
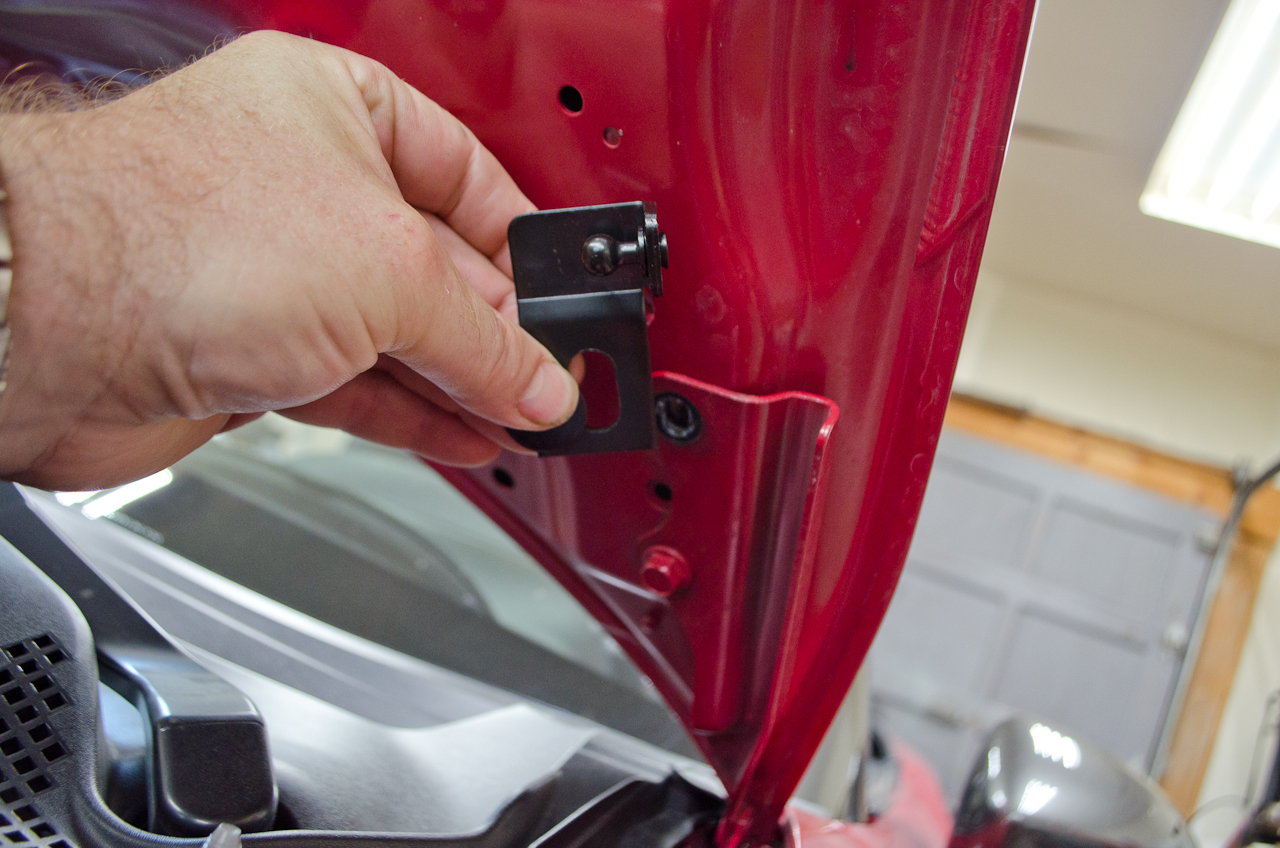
Place the correct bracket on the fender, making sure the little indexing tab engages the small hole just in front of the bolt hole.
|
||||||
 |
Re-install and tighten the bolt. | ||||||
 |
Prepare the hood bracket by removing the covering from the double-sided tape and inserting the bolt you removed with one of the supplied washers under the bolt head. | ||||||
 |
Line up the bracket, press the double-sided tape down... | ||||||
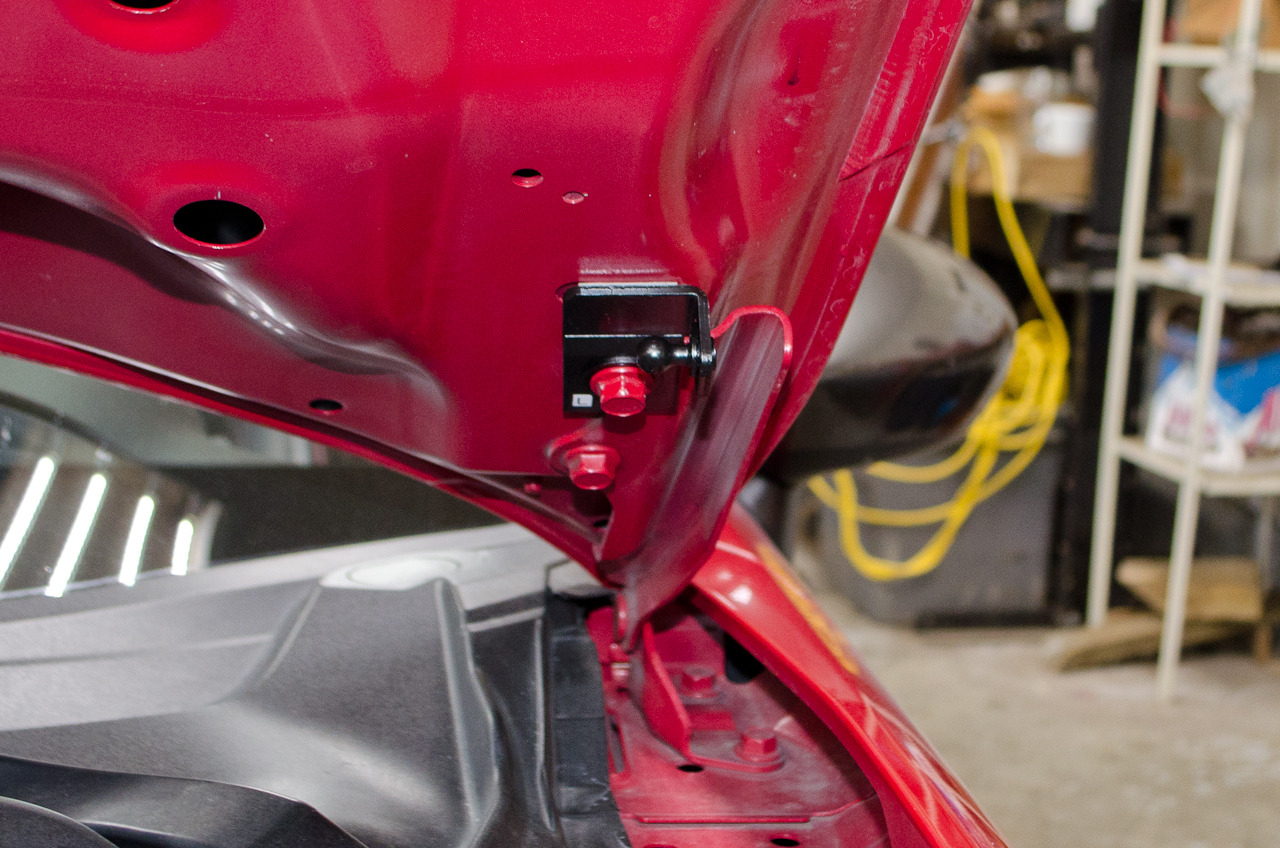 |
..and tighten the bolt. Repeat the procedure on the other side of the car. |
||||||
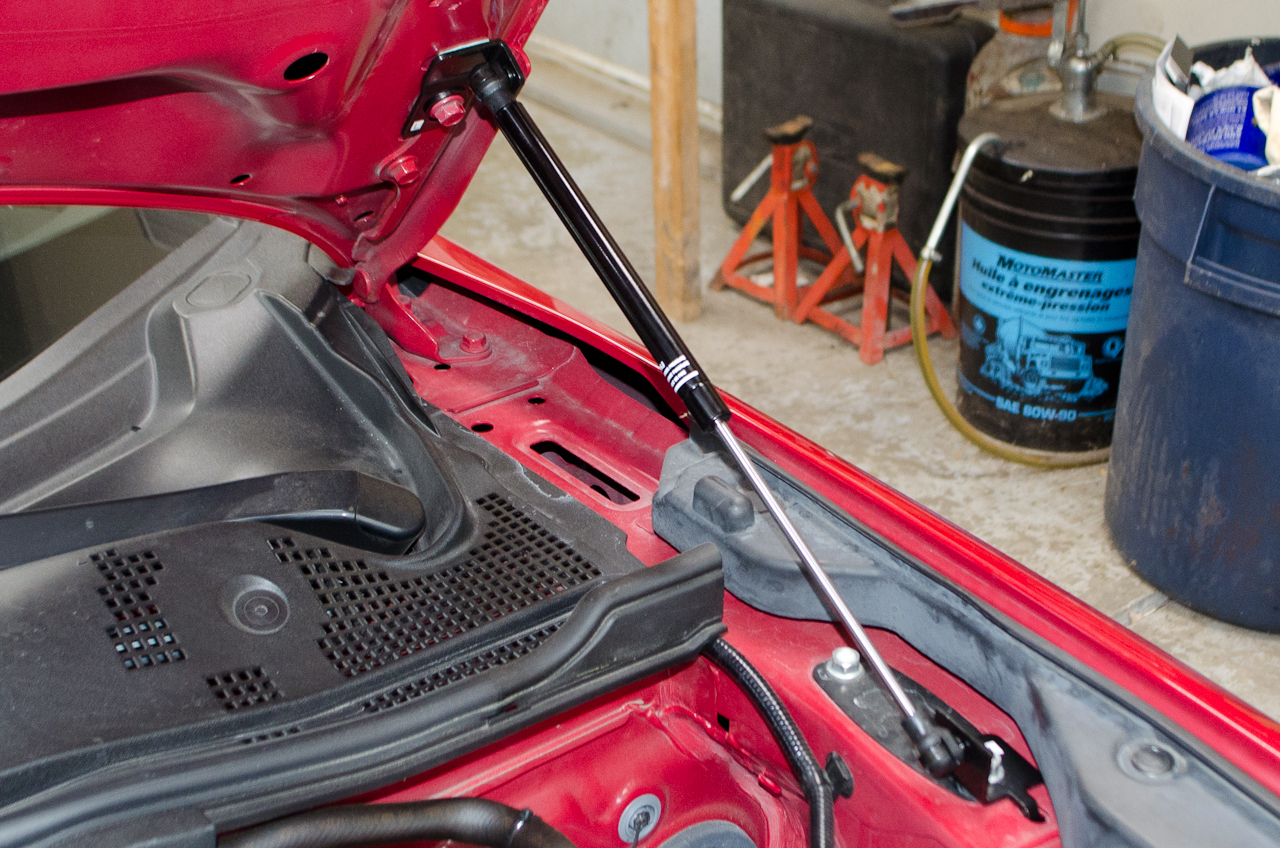 |
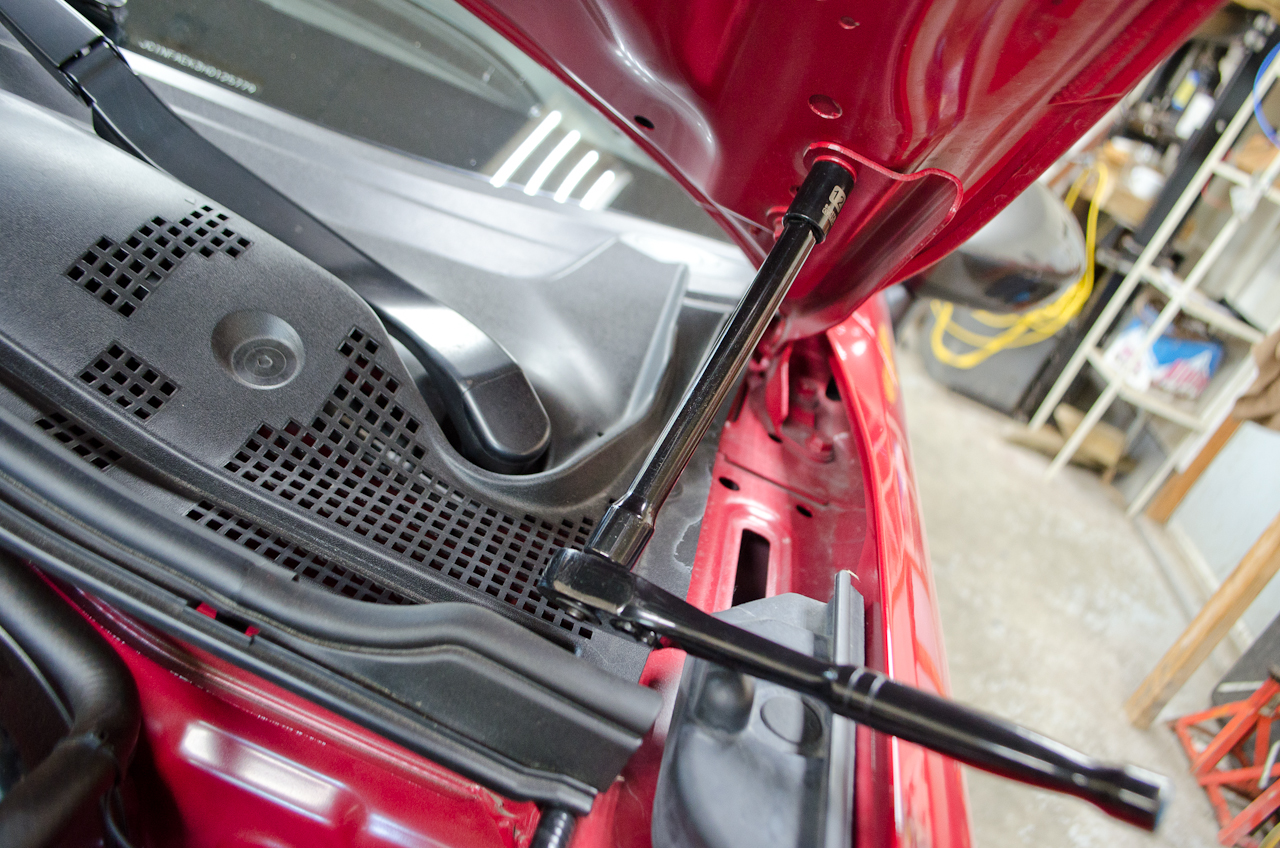
With all 4 brackets installed, the struts simply snap on the ball joints on the brackets. | ||||||
 |
The cylinder body is positioned towards the hood side... | ||||||
 |
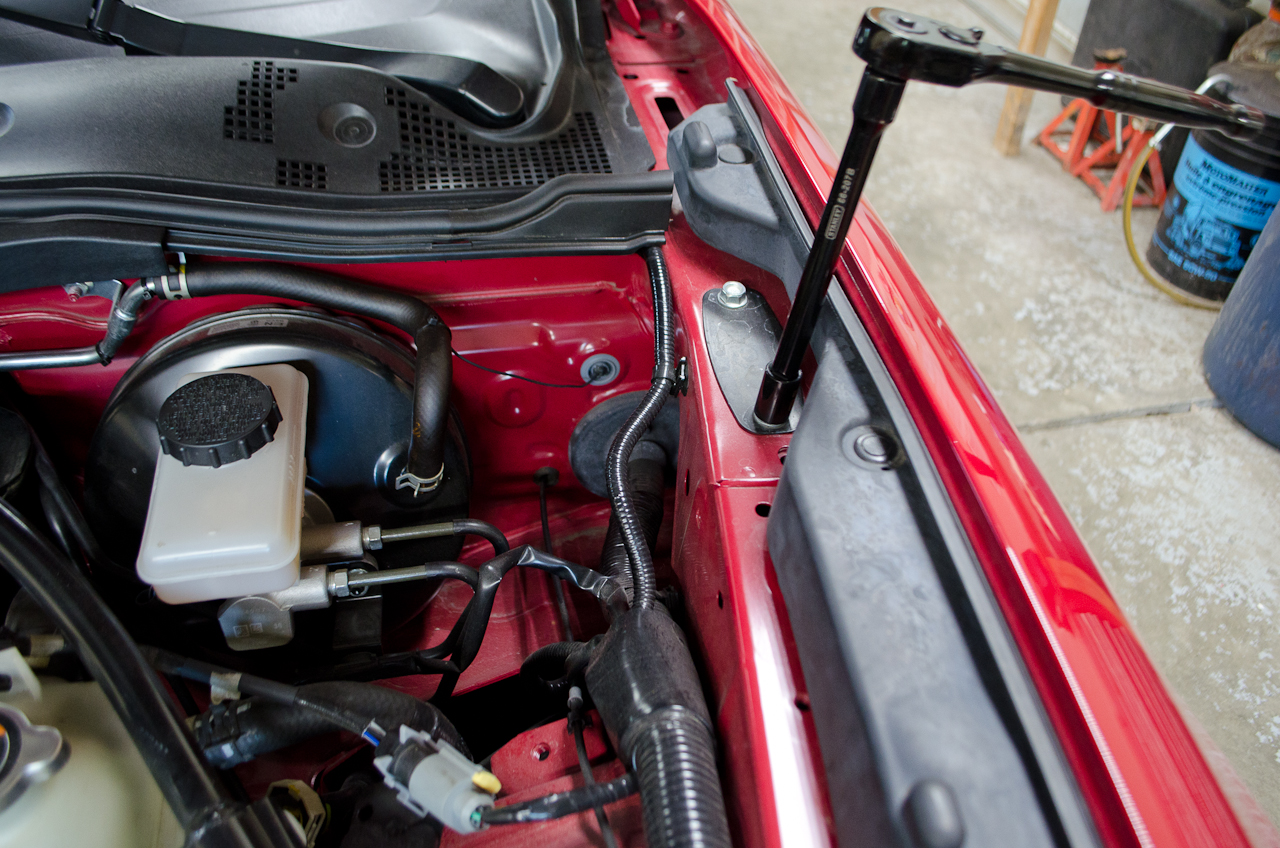
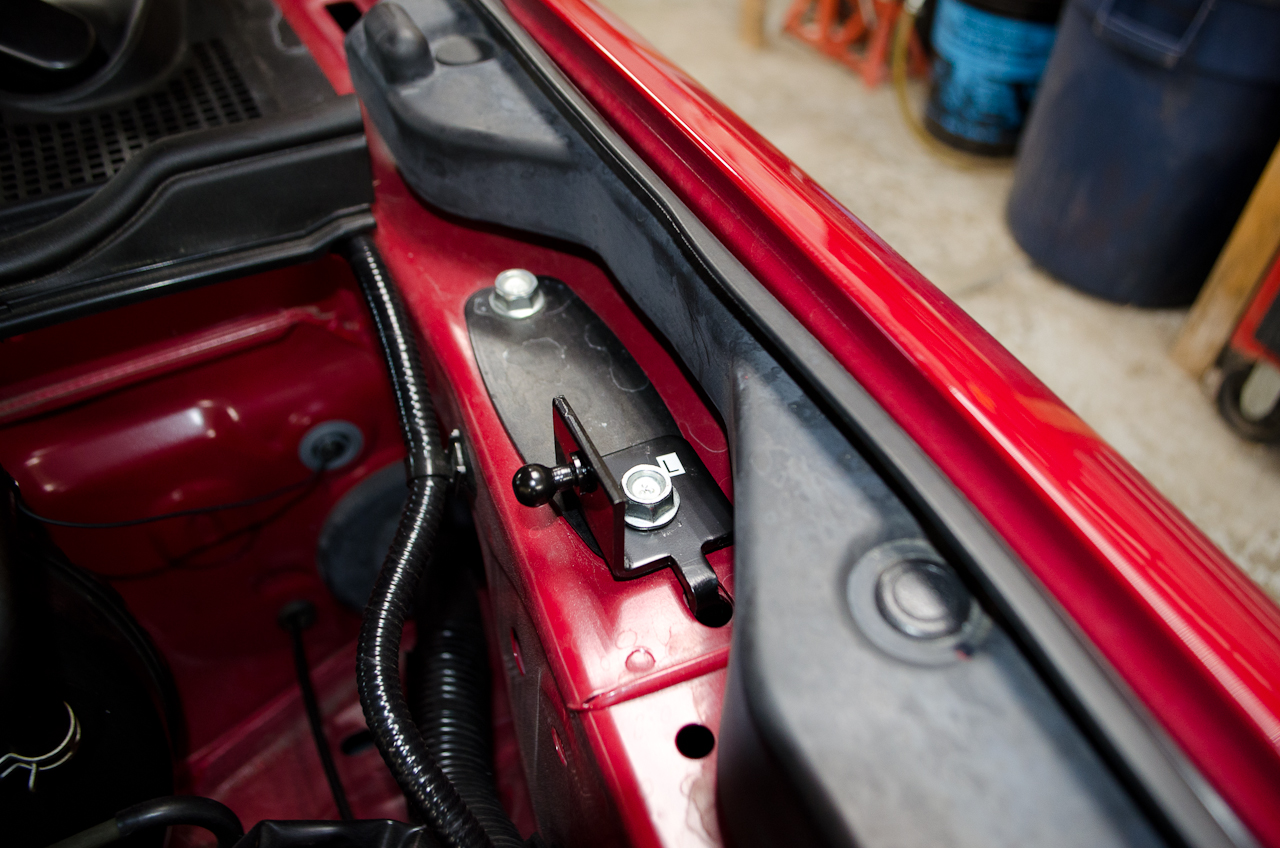
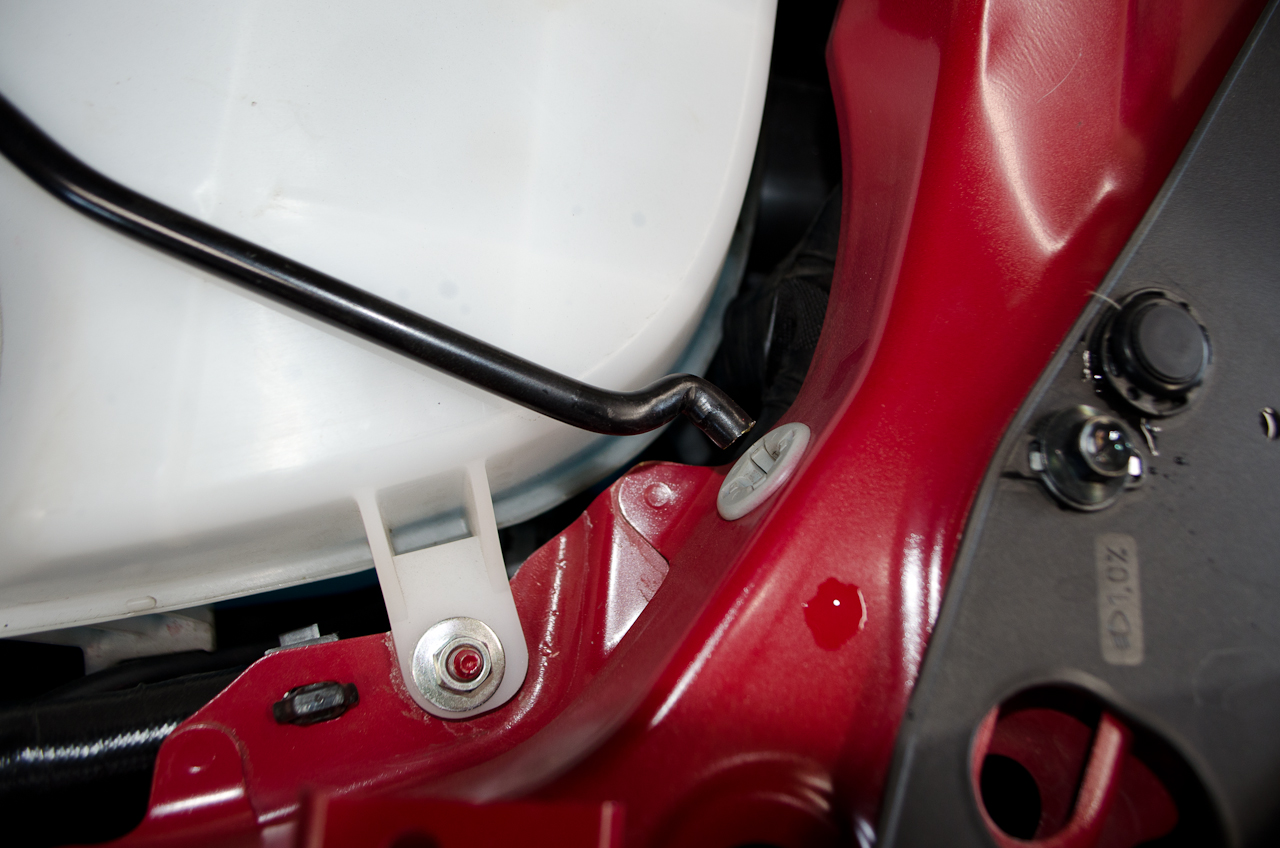
...and the other end is fixed to the fender bracket. | ||||||
 |
I snapped both struts onto the hood side first, with the factory hood rod still holding the hood up. Starting on the right side of the car I then held the hood, laid down the factory rod, and then while still holding the hood opened it a bit further to align the end of the strut with the fender bracket and snapped the strut in place. Maintaining my grip on the hood I held is supported as I shuffled to my right and snapped on the left side. This way, at no time did I leave just one strut to hold up the hood. |
||||||
 |
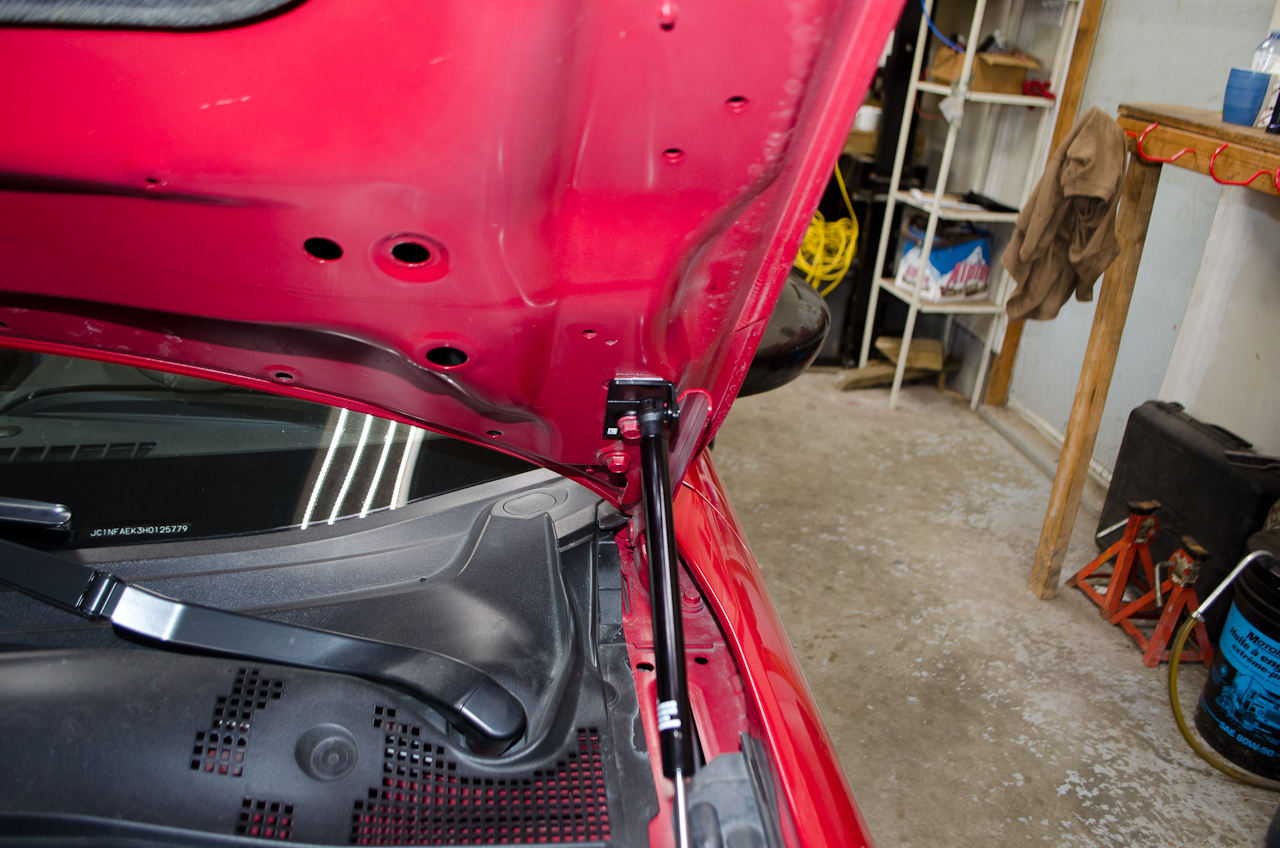
Completed left side. | ||||||
 |
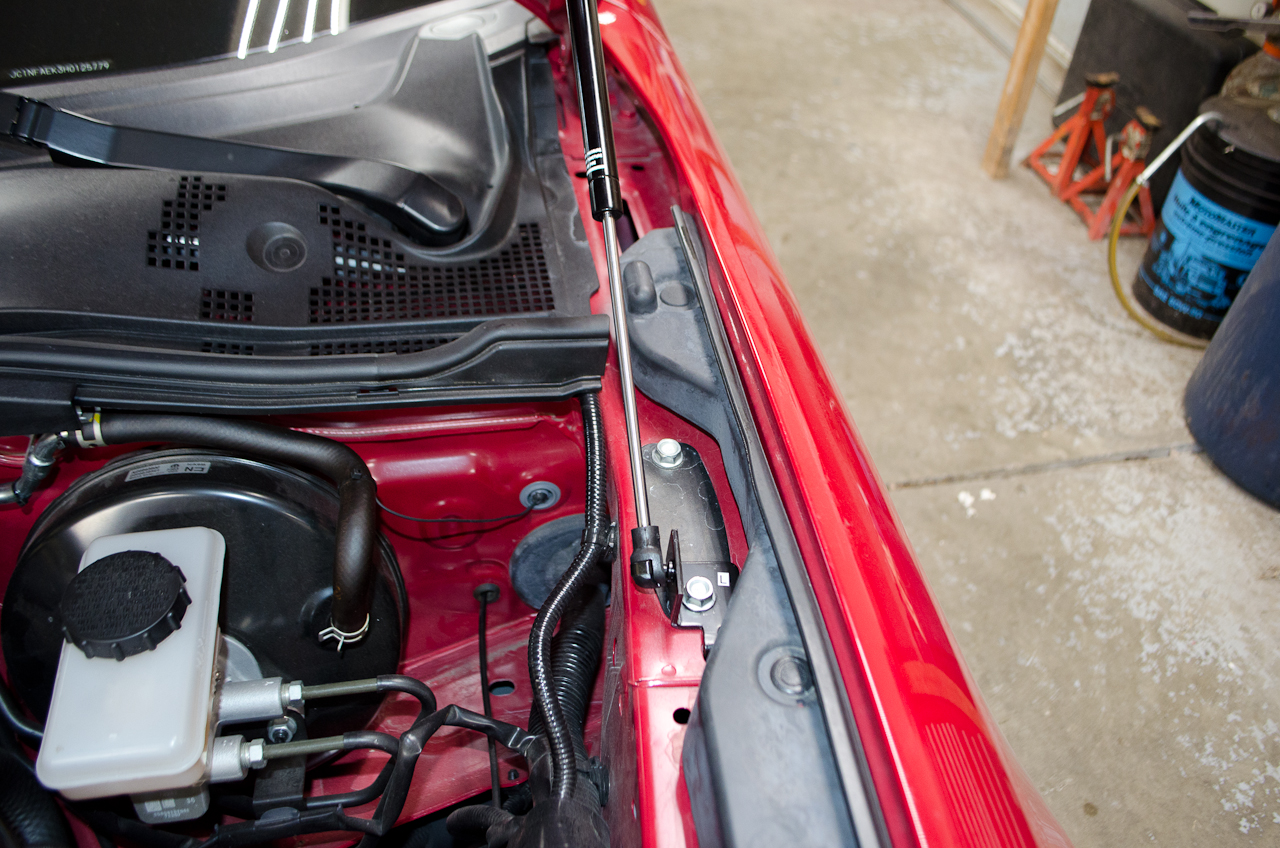
Completed right side. | ||||||
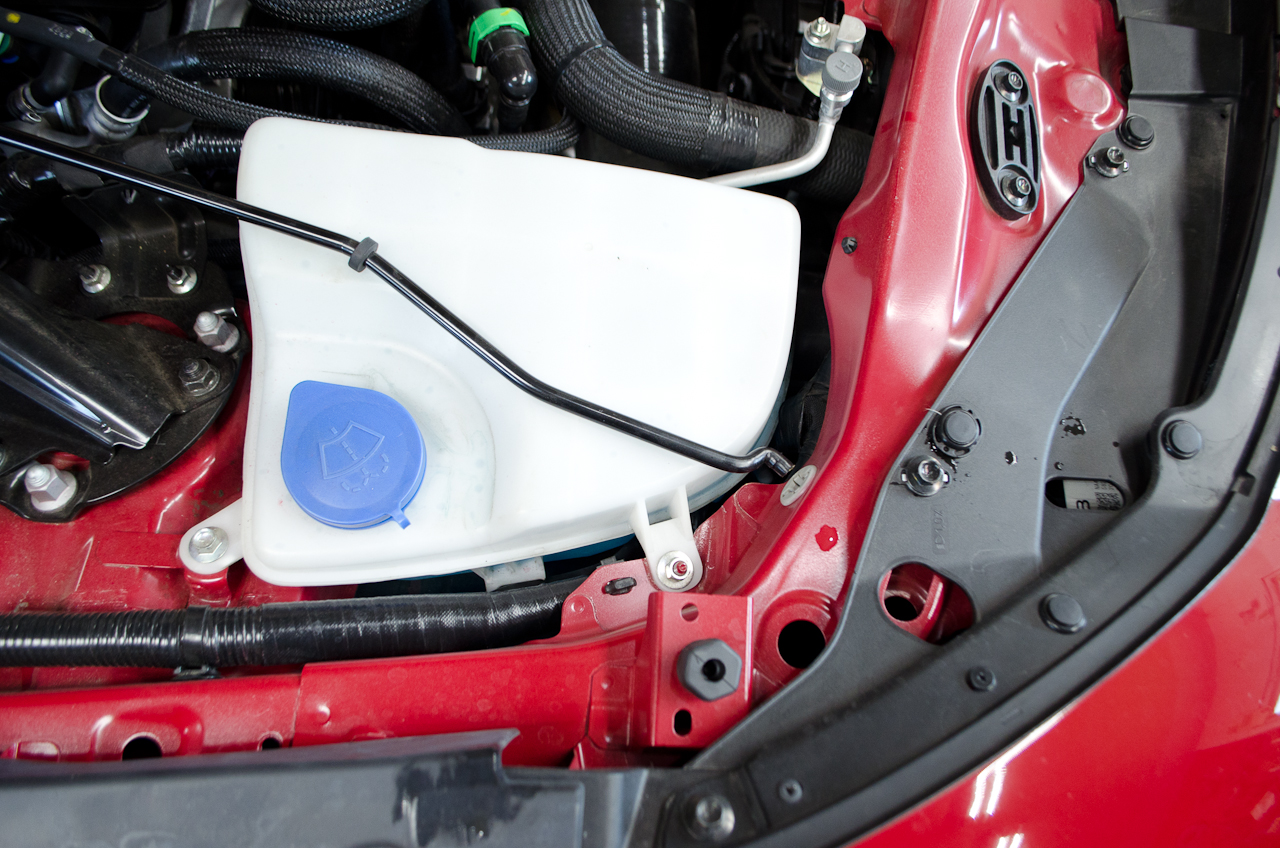 |
If desired, you can now remove the factory prop rod by twisting and pulling it out of its grommet. | ||||||
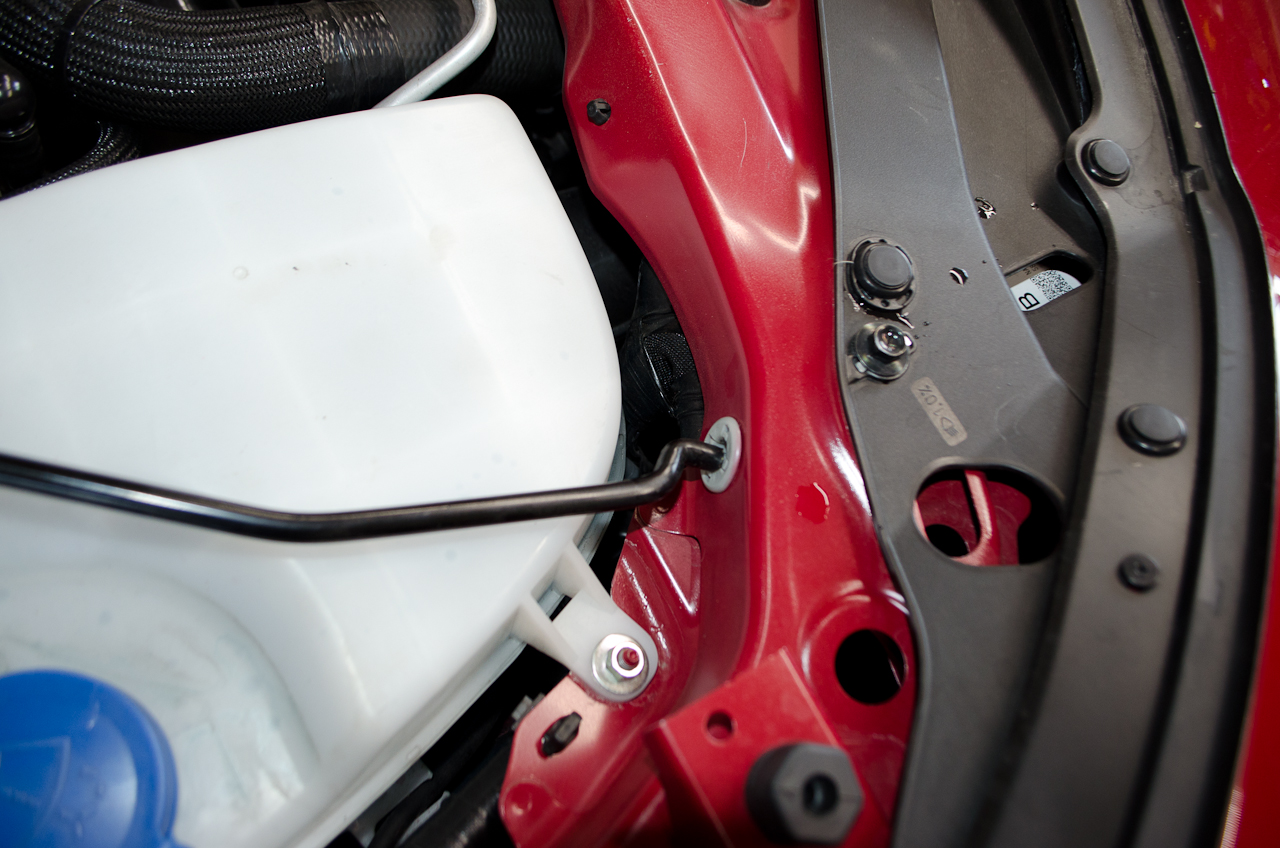 |
You can see the Z bend that you twist out in this pic. | ||||||
 |
Prop rod removed. | ||||||
 |
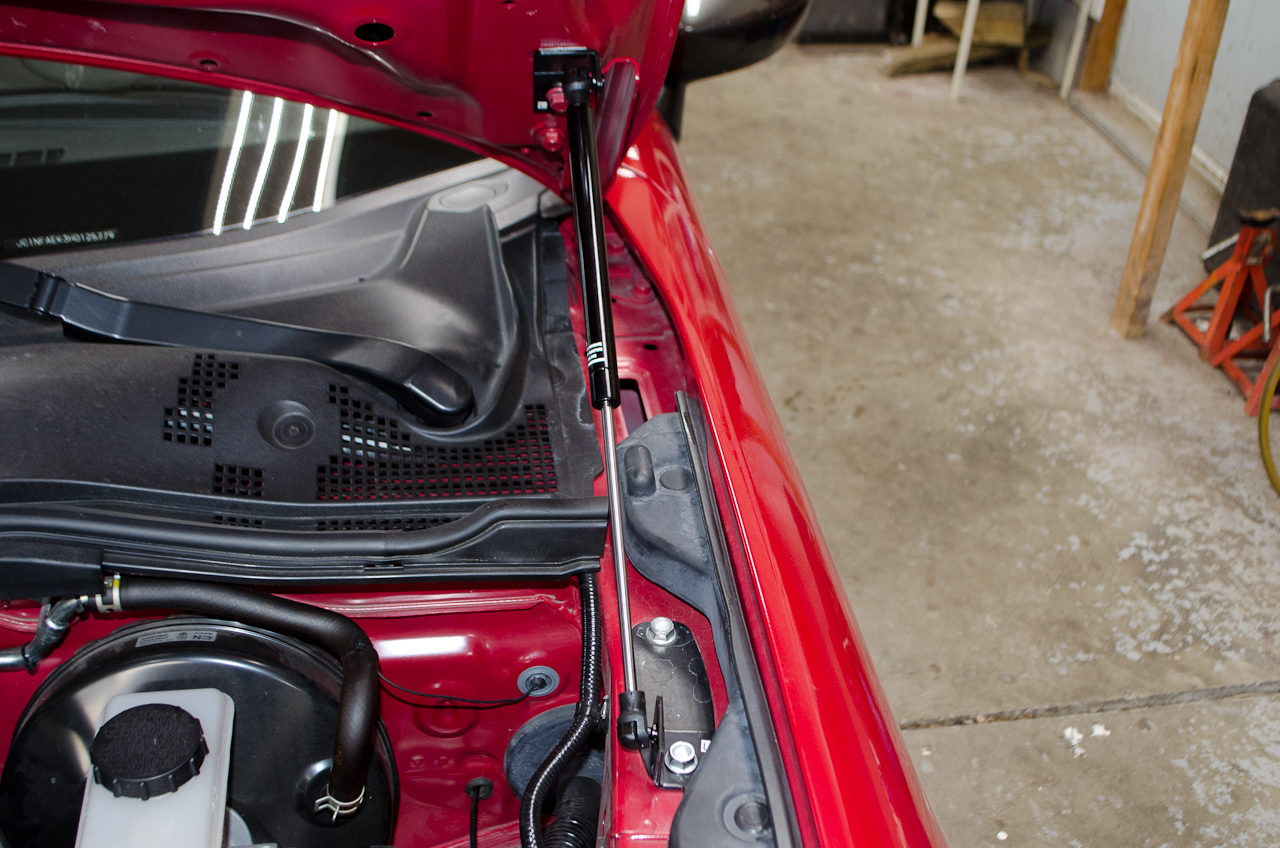
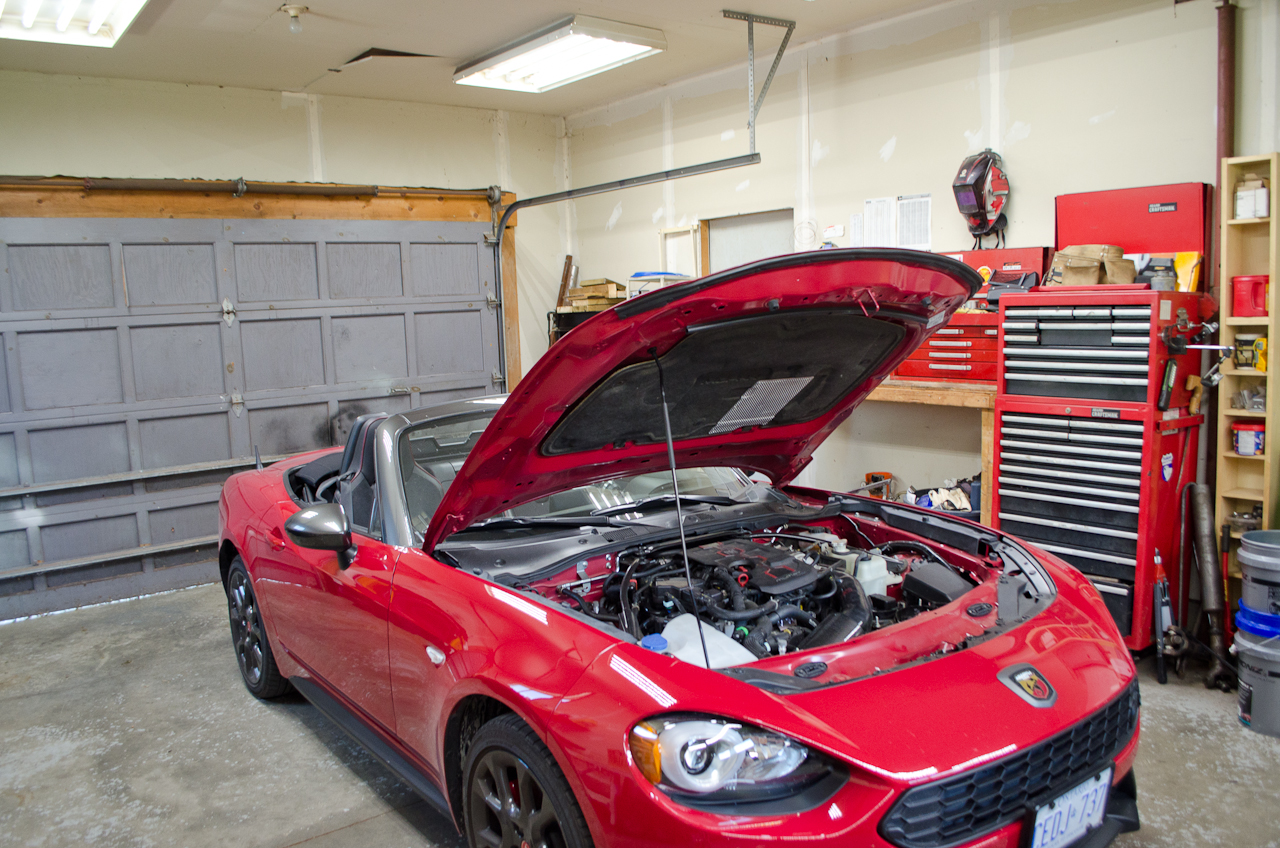
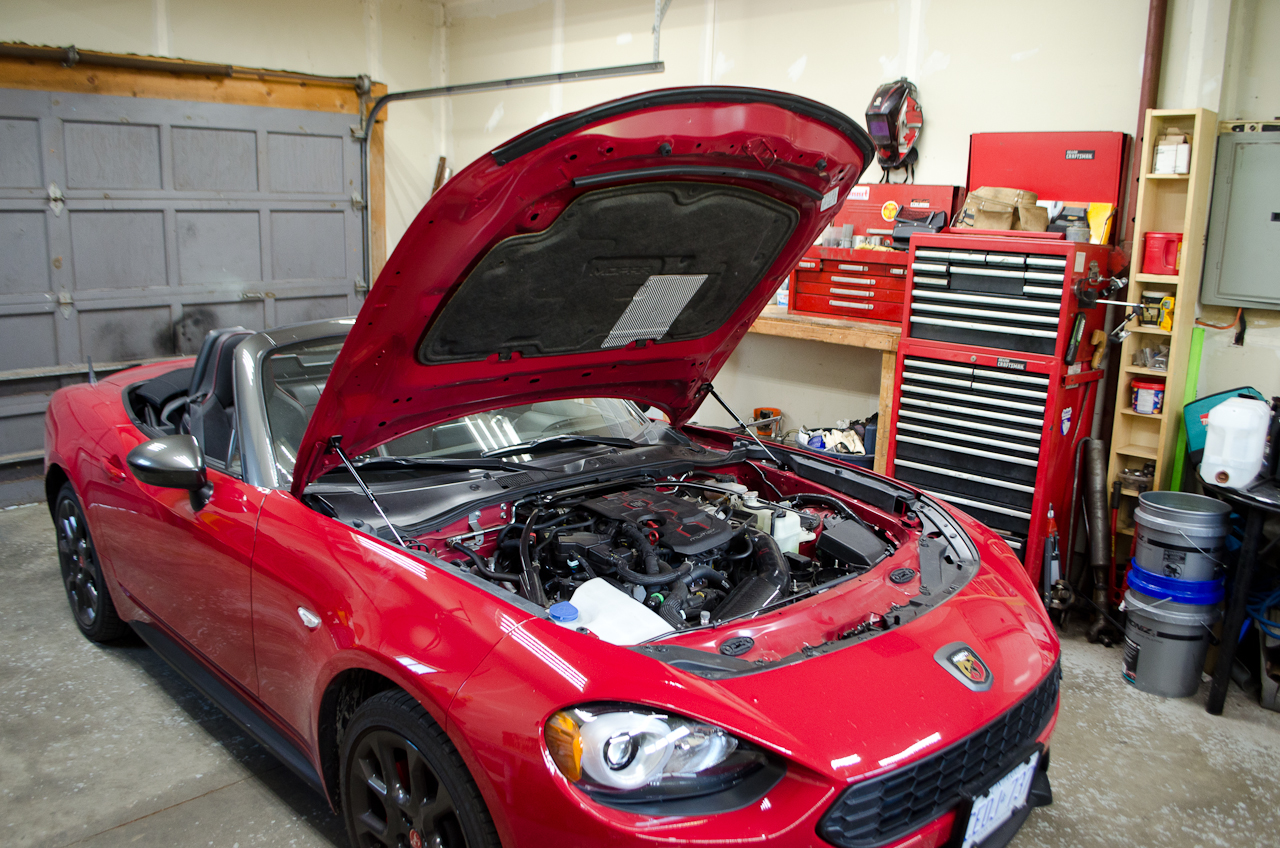
Operation: Once you release the safety latch you have to raise the hood by lifting until you get to about this position. That is, the hood does not fly open when you release the safety latch - you have to lift it but it is very light as the struts are assisting with the weight. |
||||||
 |
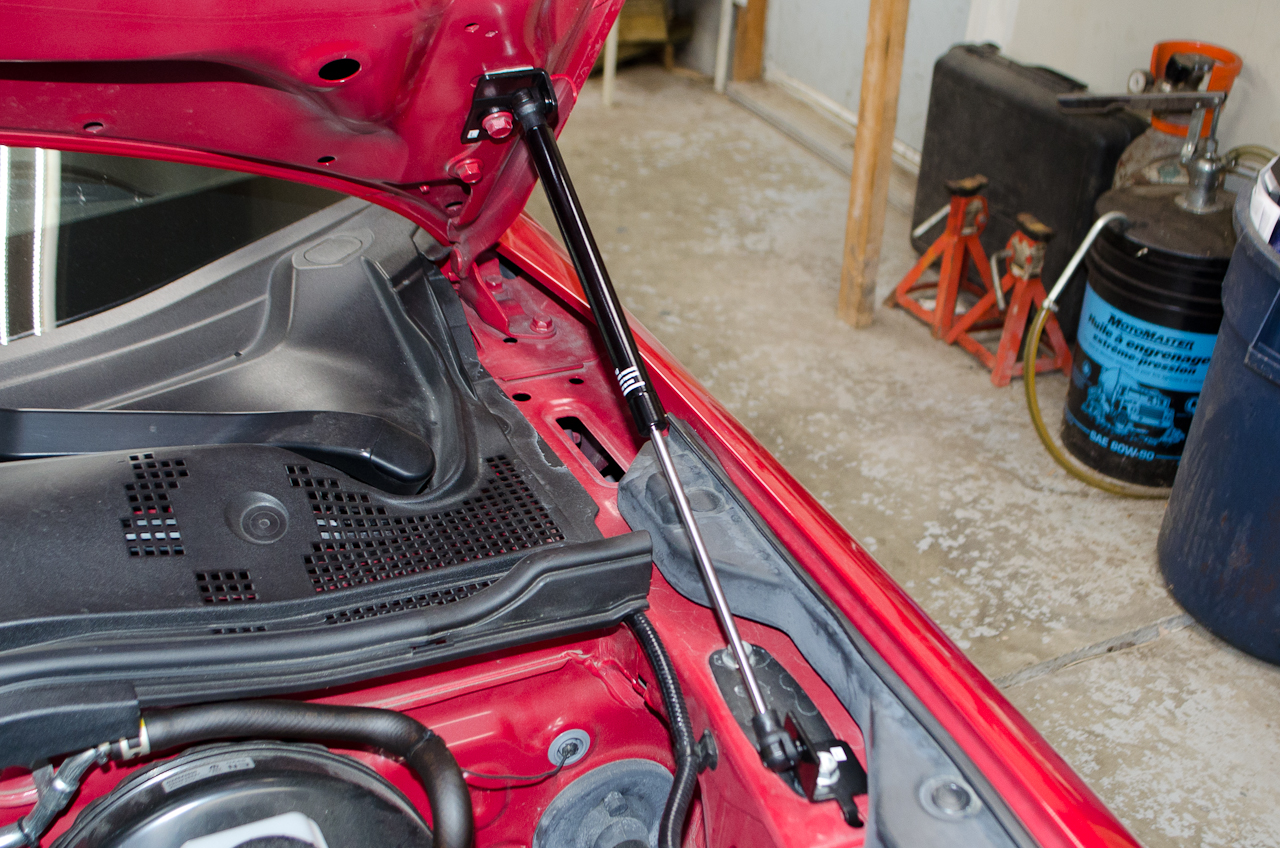
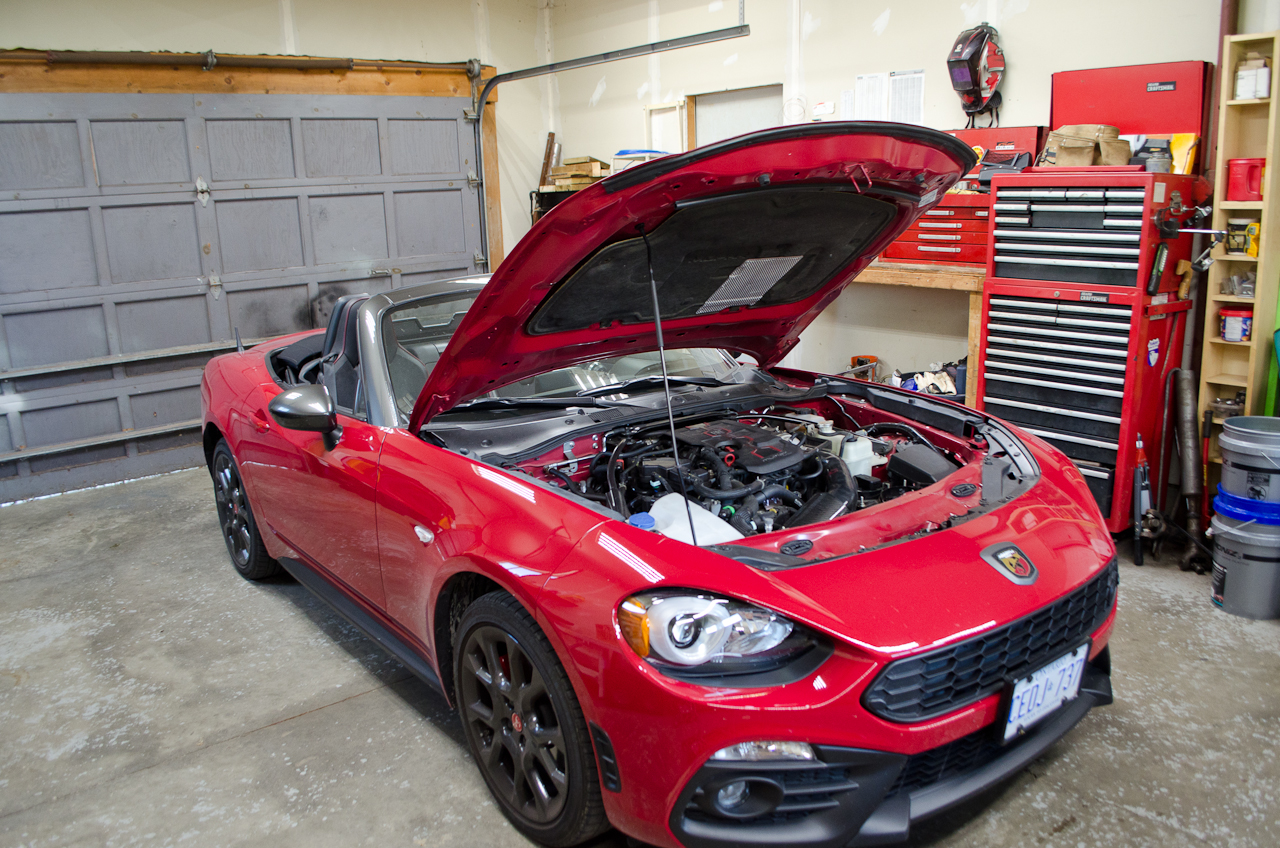
This position, which I dubbed the "break point" is the partially open position where the hood will remain stationary. Below this point the hood will fall and close if let go. Above this position the struts take over and open the hood completely. |
||||||
 |
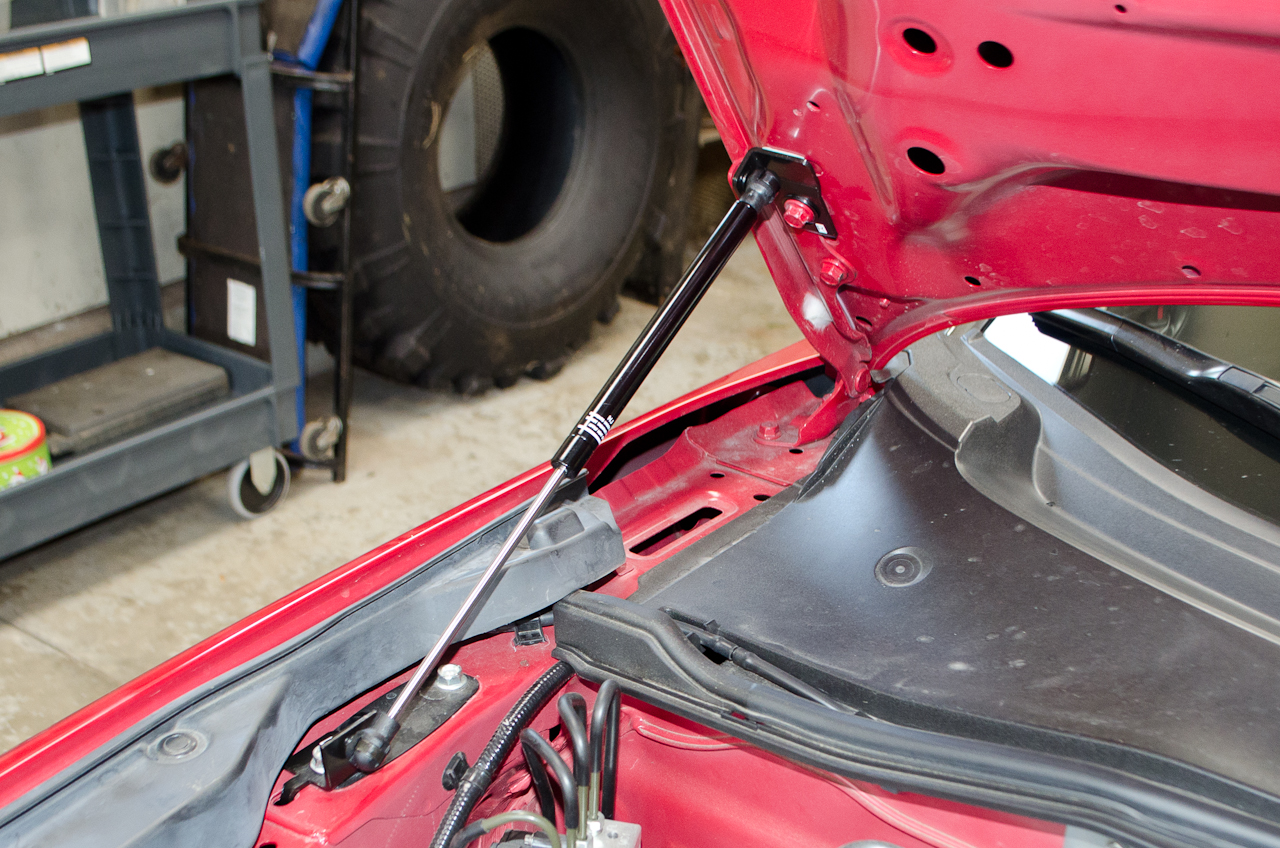
This partially open position may be useful for cooling the engine bay after spirited use. | ||||||
 |
Note that above the break point, when the struts take over, they lift the hood by themselves but have a "soft finish" where the struts damp the opening speed for the last inch or so such that the hood doesn't jar open aggressively. It's a very nice feature. | ||||||
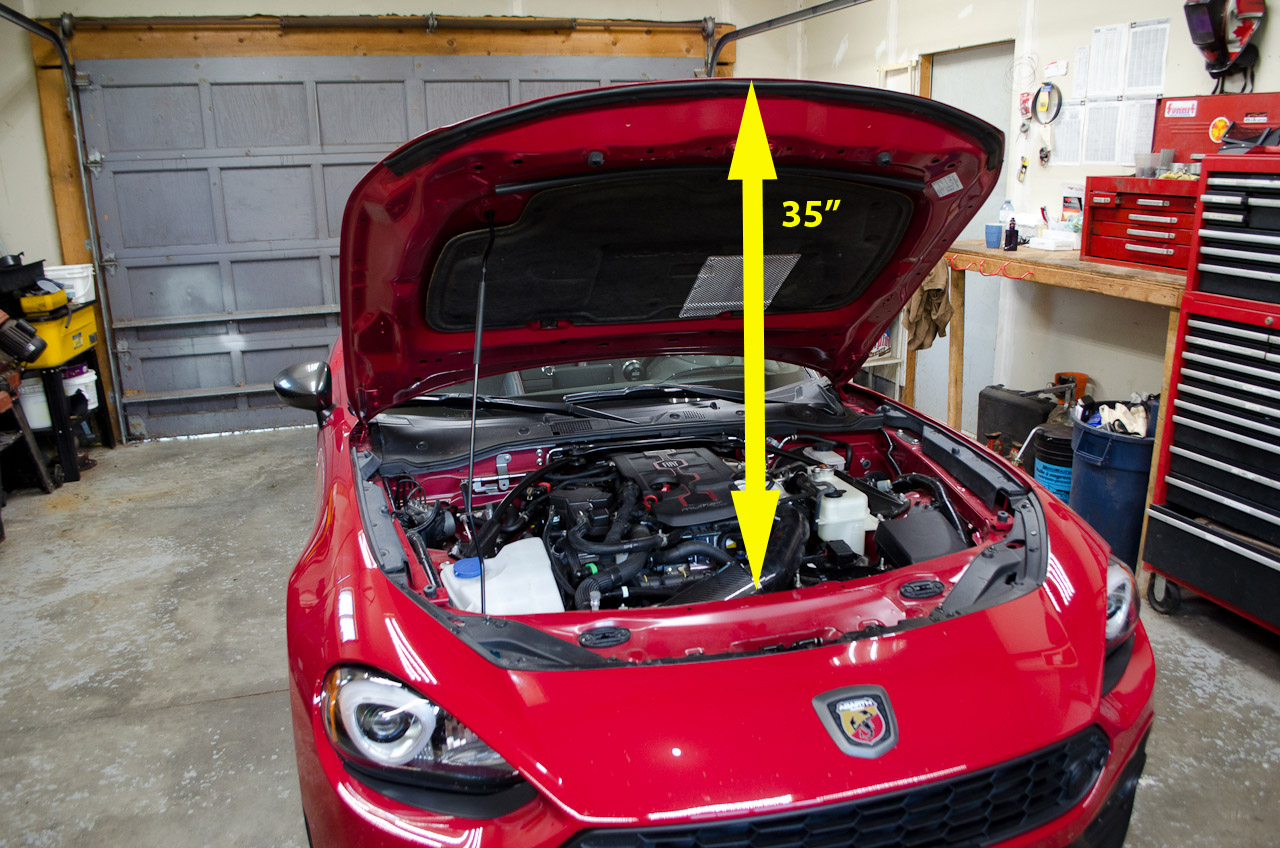 |
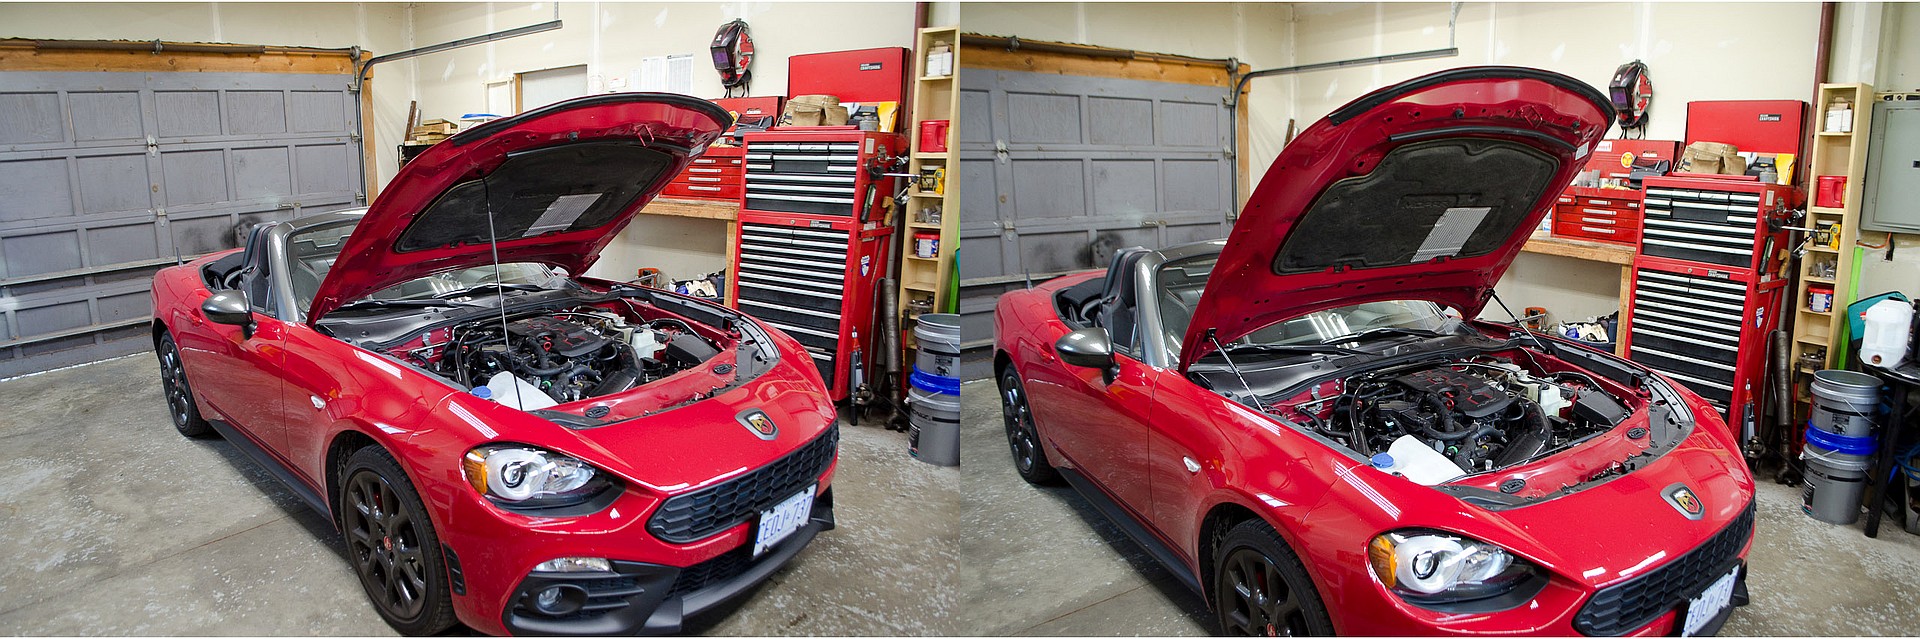
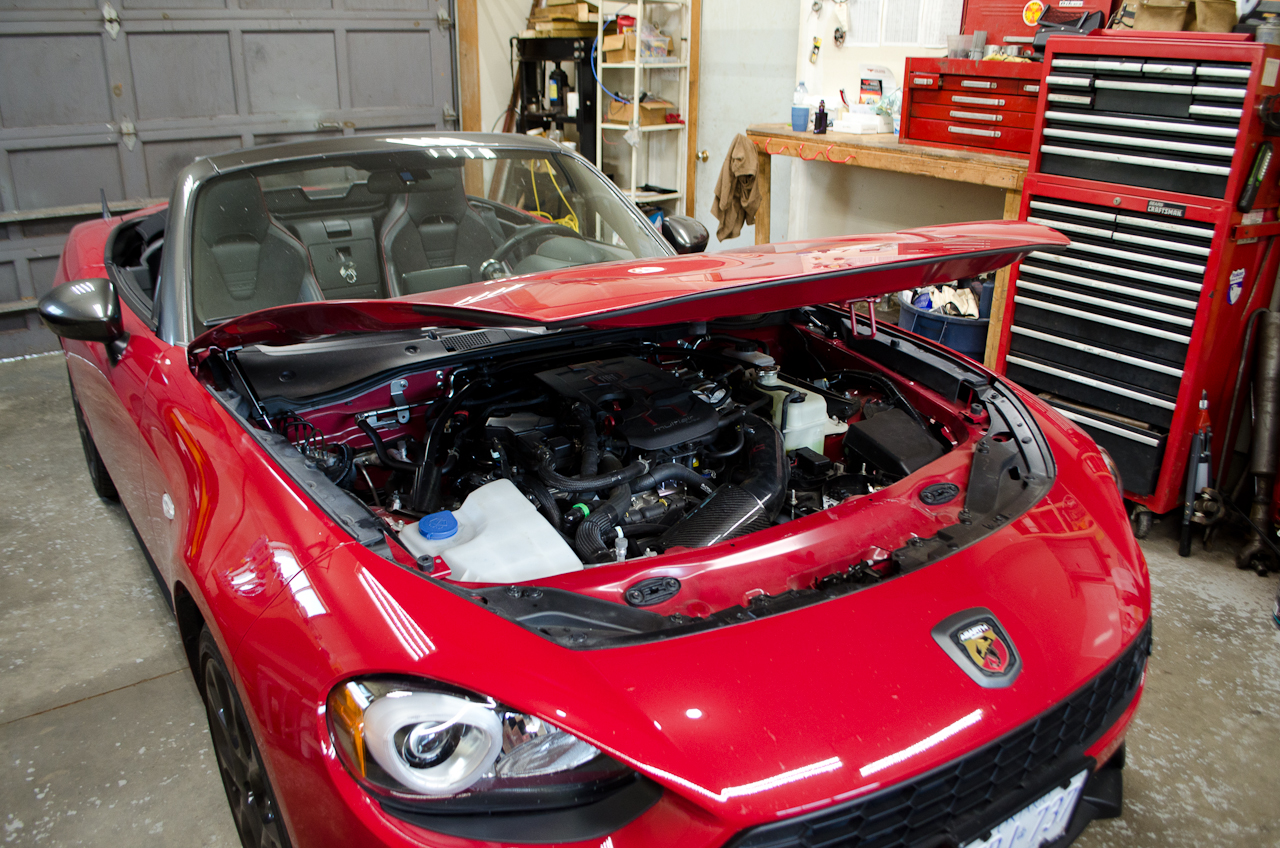
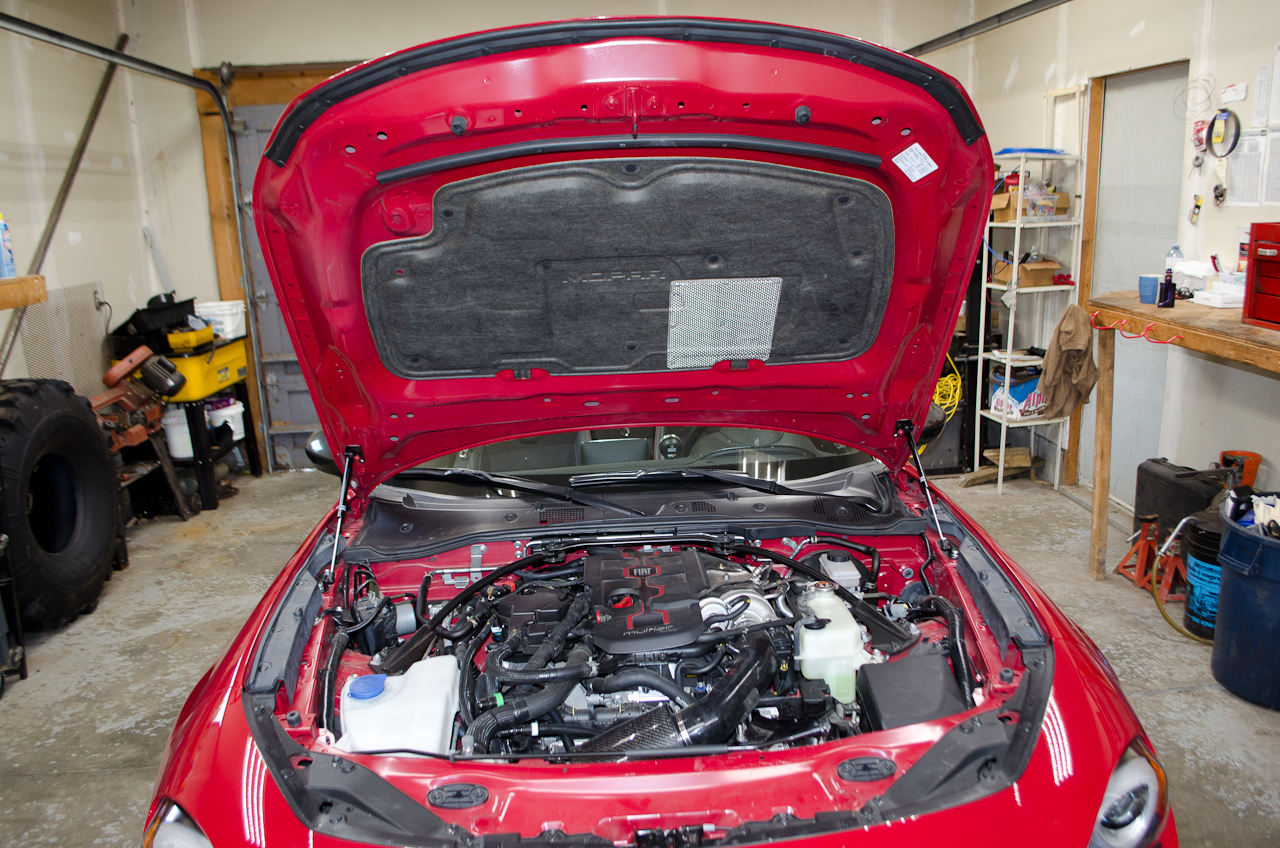
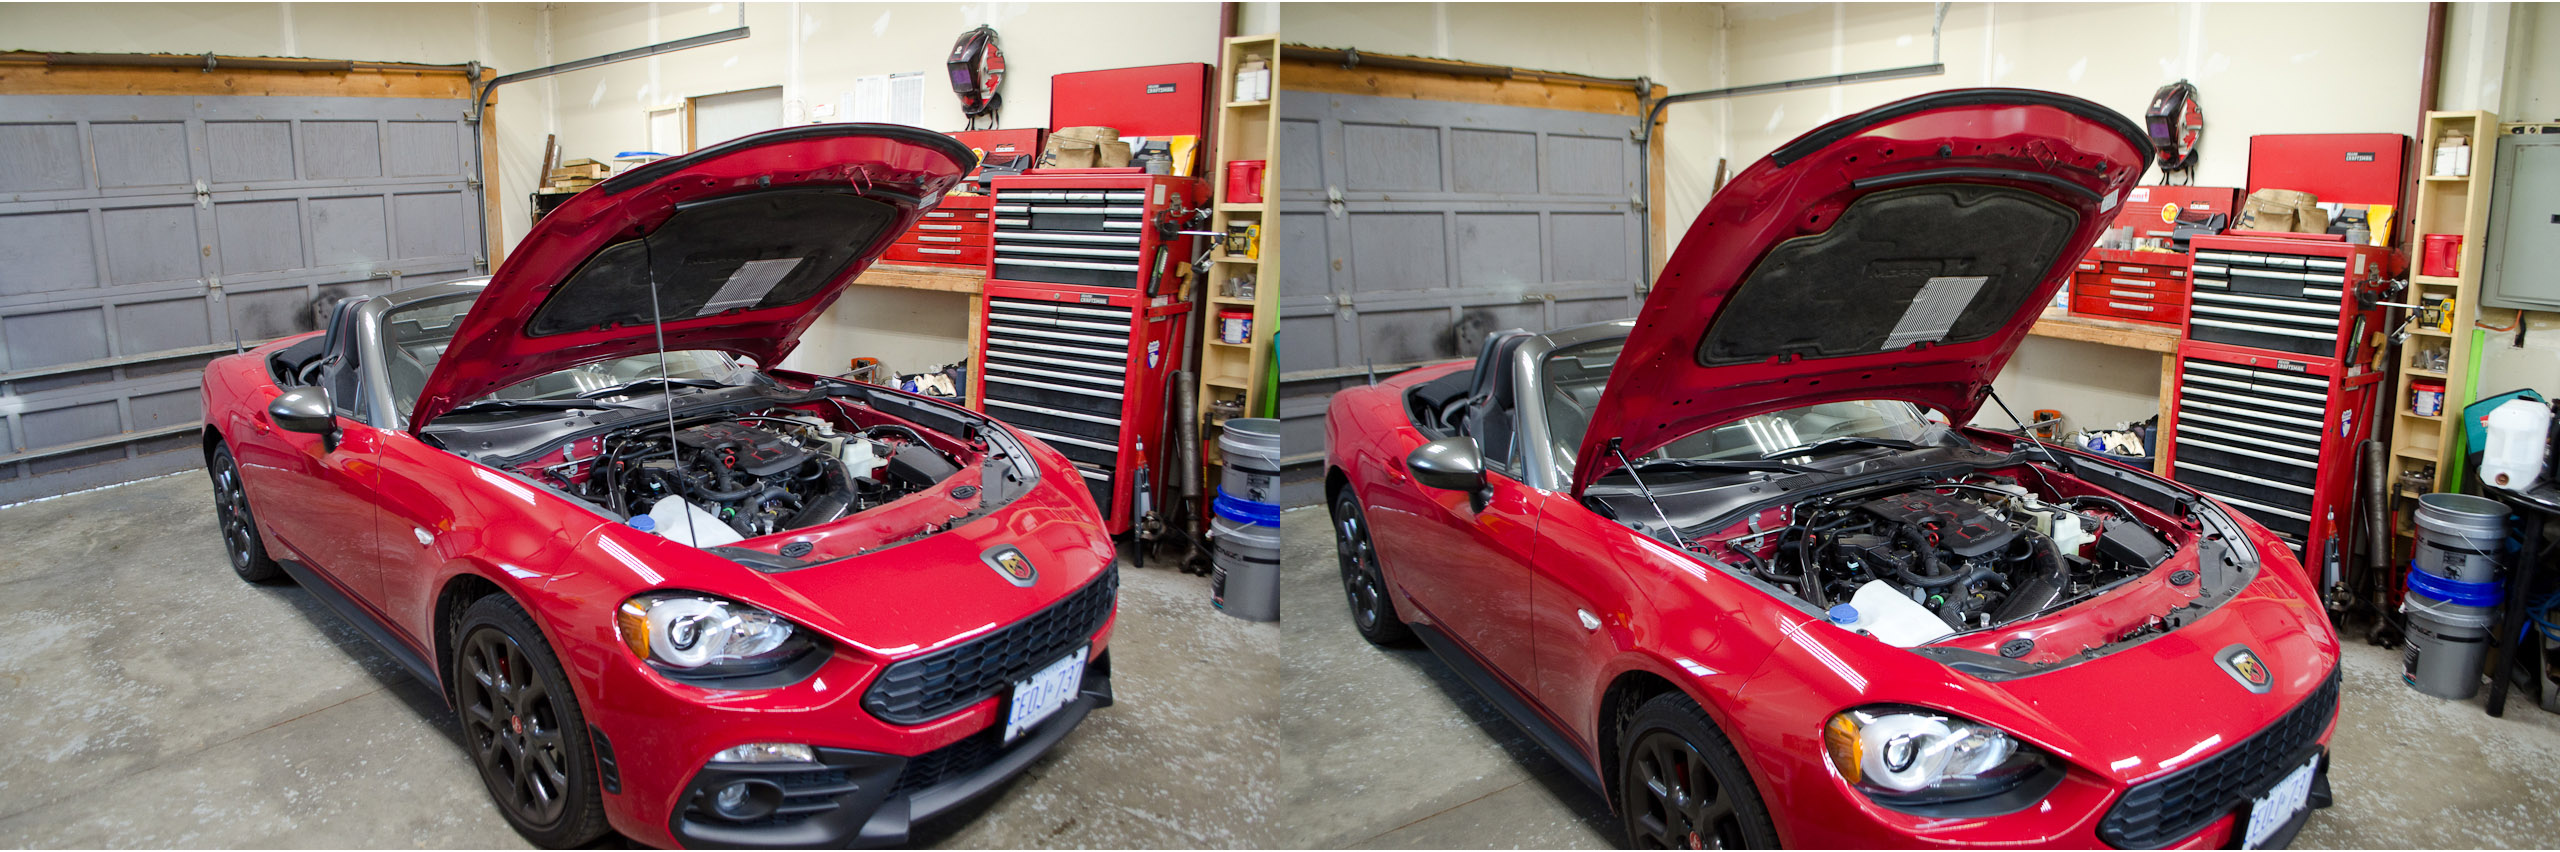
With the stock prop rod I had about 35" of clearance under the hood. | ||||||
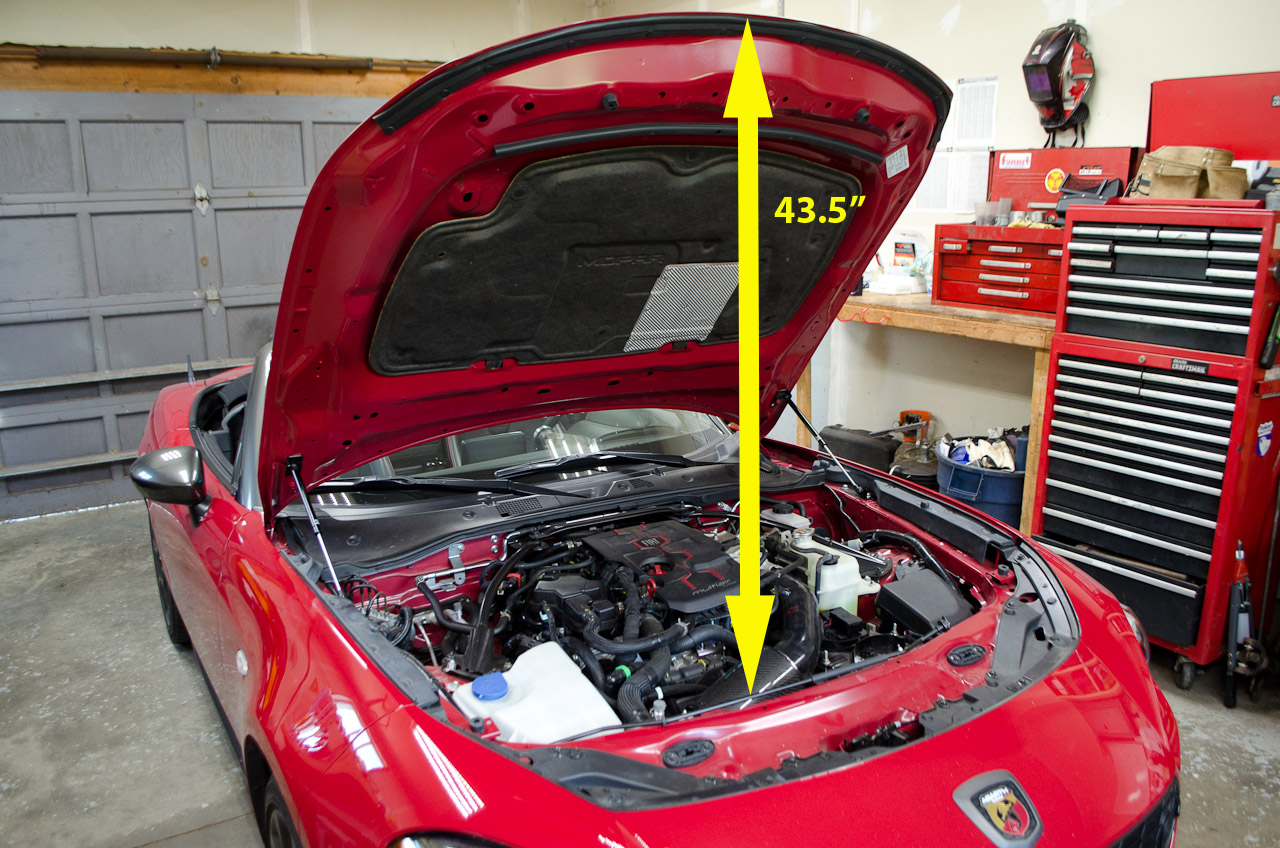 |
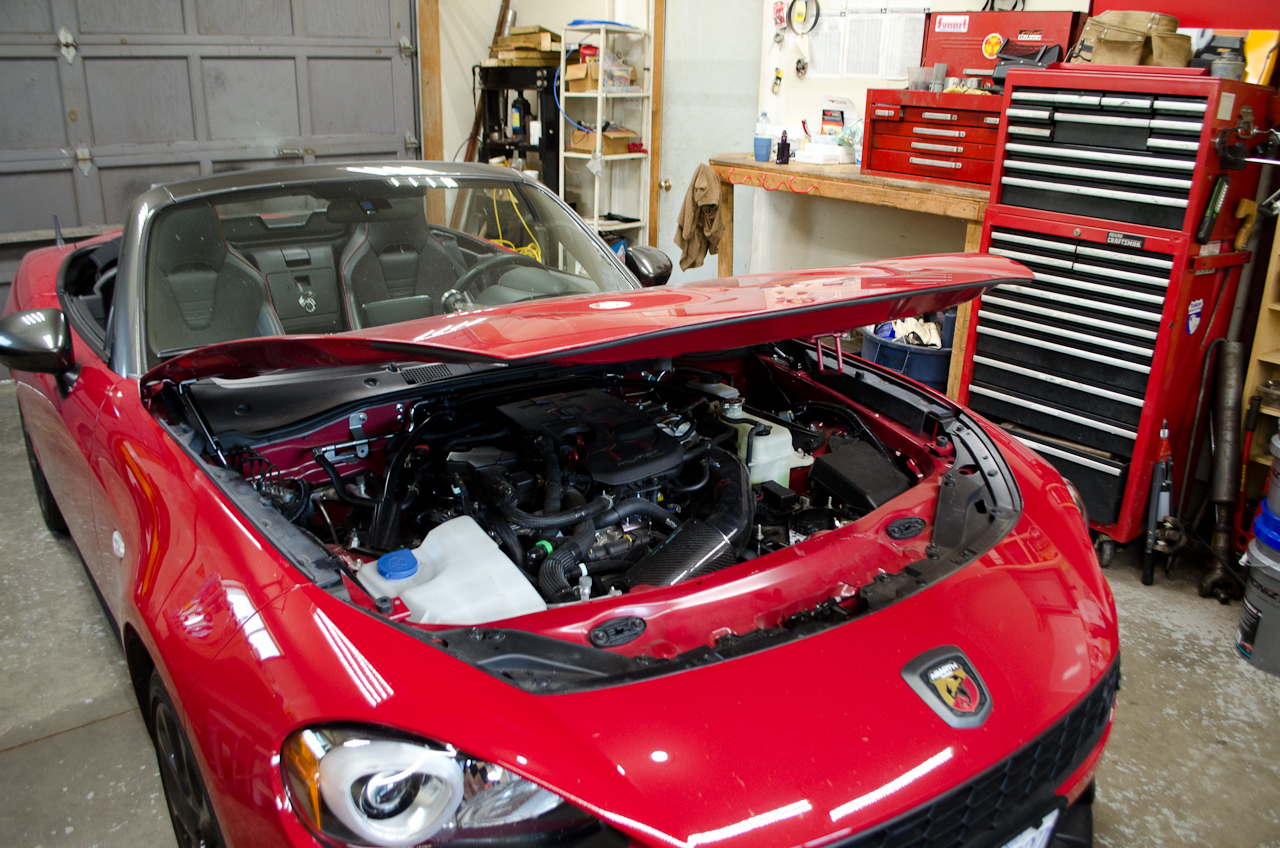
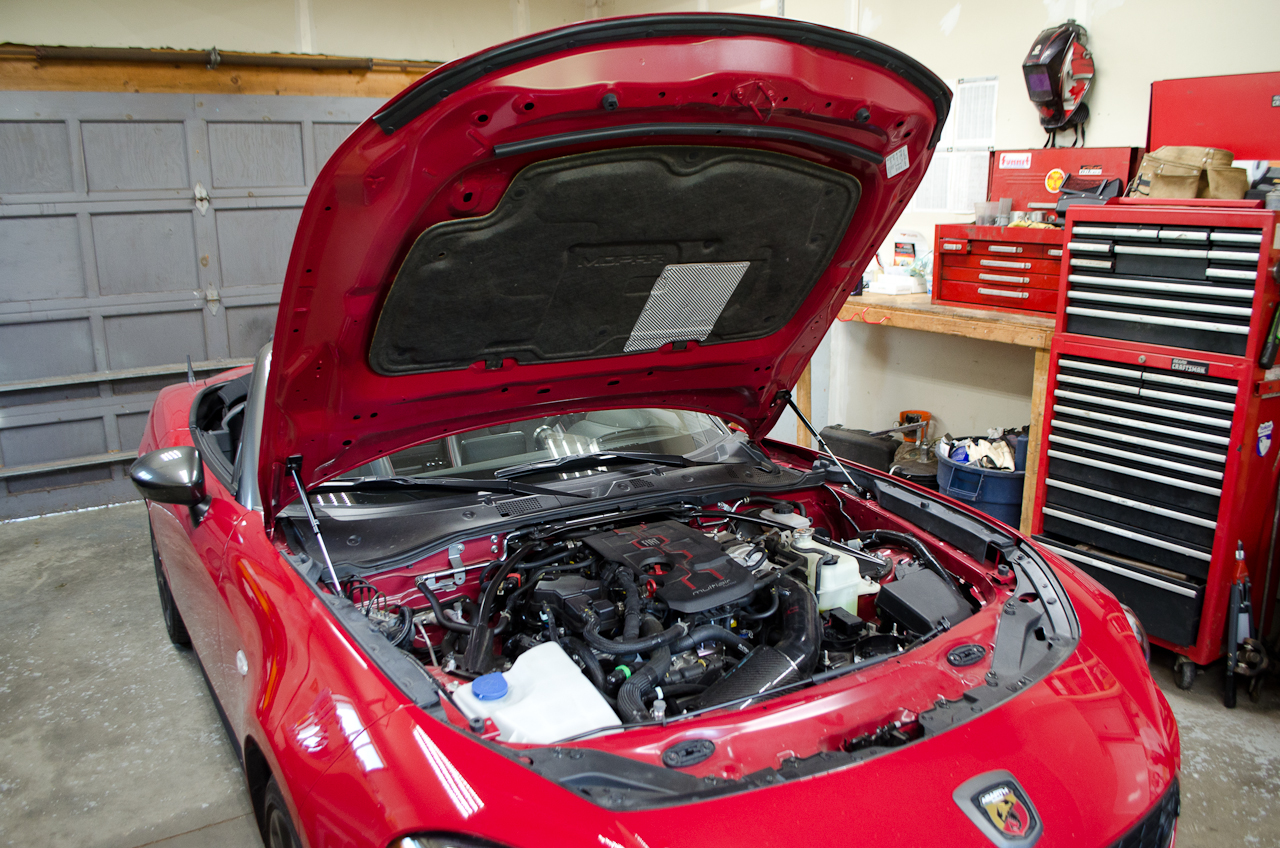
With the hood struts installed the hood opens much wider, giving me a full 43.5" of clearance. This makes working under the hood more easy, and of course there is no prop rod in the way at the front anymore. |
||||||
Comparison pictures - before (Left side) and after (Right side).
|
|||||||
|