 |
Drill Doctor 750 Drill Bit Sharpening Machine By Bill "BillaVista" Ansell |
IntroductionWhether you're a hard-core fabricator, occasional "make-a-part", or strictly a bolt-on type, one of the most frequent things you'll do in your shop is drill holes. It's also one of the most important tasks for proper fit, function, and appearance. Nasty, chewed out, misaligned holes cause poor fit, leading to increased stress, potential weak-points, and shoddy looking work. But - it's hard work drilling holes in steel - especially big holes in thick steel. A few weeks back I installed a new Class IV receiver hitch in my tow rig - a '78 Ford F250. In the end - I had to drill 6 or 8 holes, 9/16" in diameter, through 1/4" and 3/8" steel. Of course I was doing it on a Sunday, and by the end my bit was chewed up, dull, and I was almost literally grinding and melting my way through. I was tired and ticked off. |
 |
"THIS SUCKS" I thought to myself. There has GOT to be a better way........................... Enter the Drill Dr, a home/small shop drill bit sharpening machine. I had seen them on the web before, and had read a few reviews - most positive, but some mixed. I did some more research, including reading everything on their web site http://www.drilldoctor.com Normally, stuff like this is too good to be true. Could this small, relatively inexpensive machine do all it claimed, or would it be such a complicated nightmare of setup that I'd never use it? Well, I was thoroughly fed-up with the way I'd been doing things; so I decided to find out. |
|
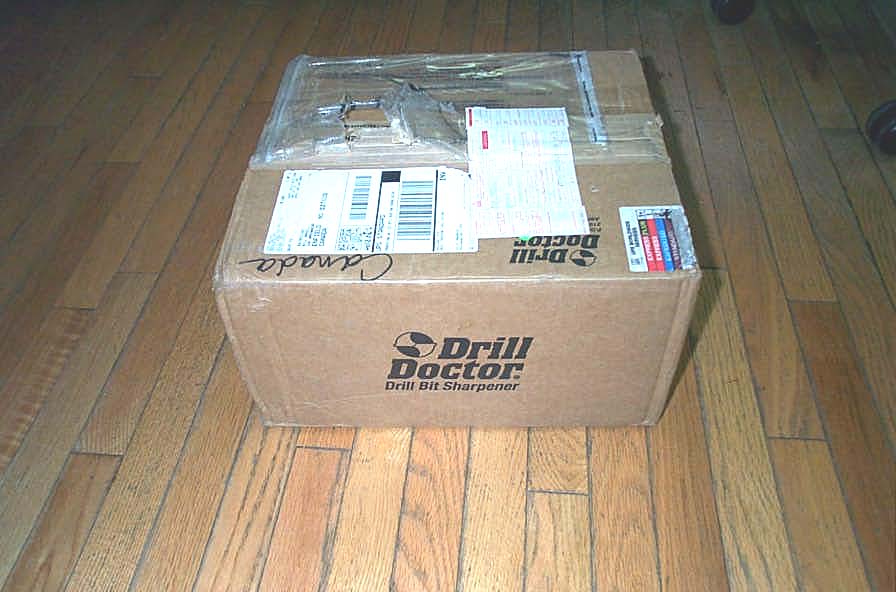 |
Here's the package as it arrived, Standard UPS from Oregon. I was excited, I had high hopes. Sure, I'd tried buying new, cheap bits all the time..but that's no help when the bit you need dulls or breaks on a Sunday and you can't get a replacement. And the factory grind on some of the cheap bits is awful too - causing poor roundness, quick dulling, and a bit that wanders all over the place. I hate that! |
|
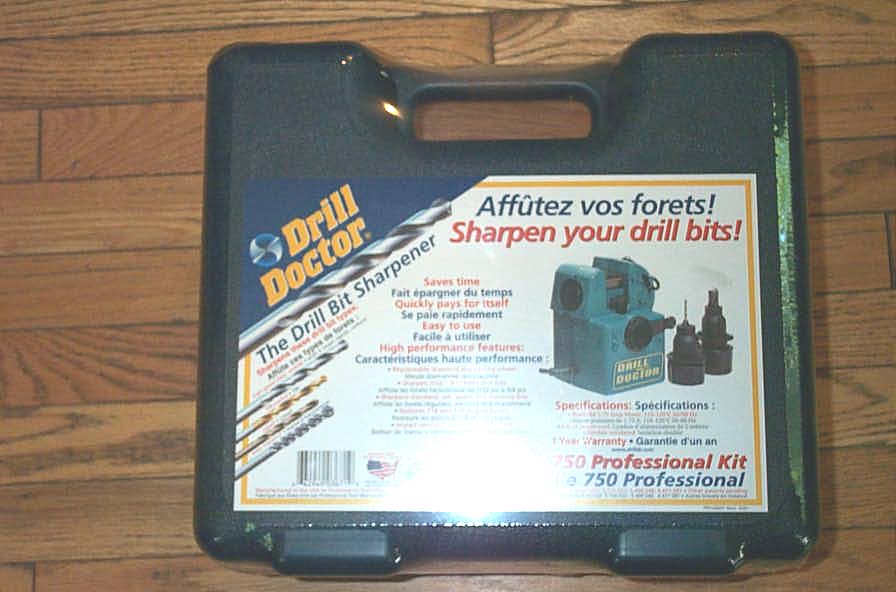 |
Inside the box, amongst the styrofoam peanuts (keep out of reach of curious 10 month old daughters!) was a nice shrink-wrapped plastic case. I'd also done a fair bit of sharpening bits by hand on my bench-grinder - but with mixed results. I just couldn't seem to get consistent - especially with the really large or really small bits. The Drill Dr 750 Pro comes equipped to sharpen bits from 3/32" to 3/4"! That should do nicely! |
|
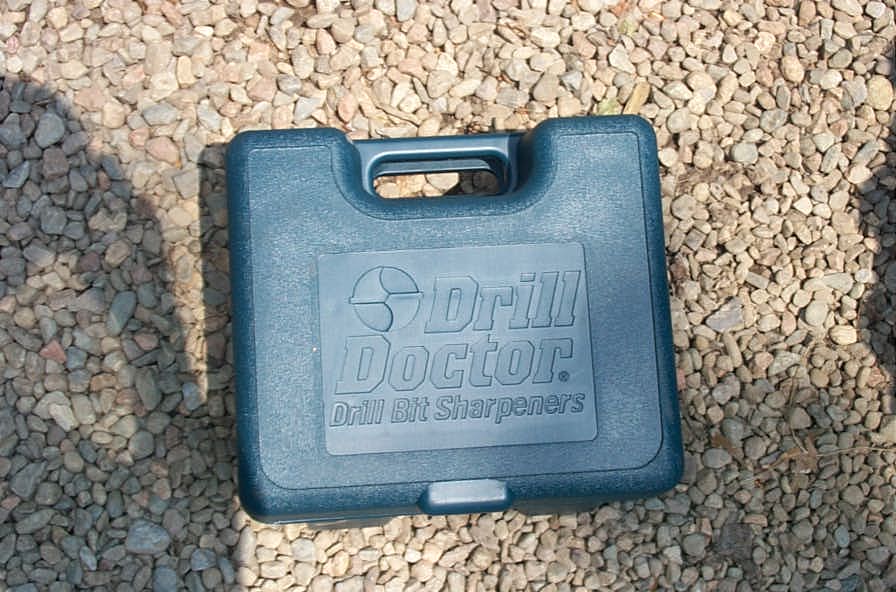 |
Here's the plastic molded case, and inside... | |
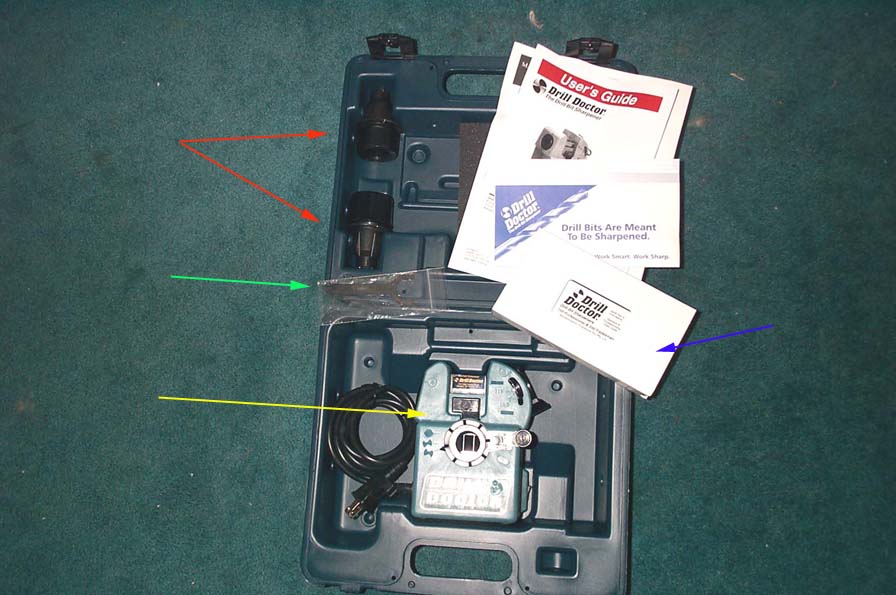 |
...You get:
|
|
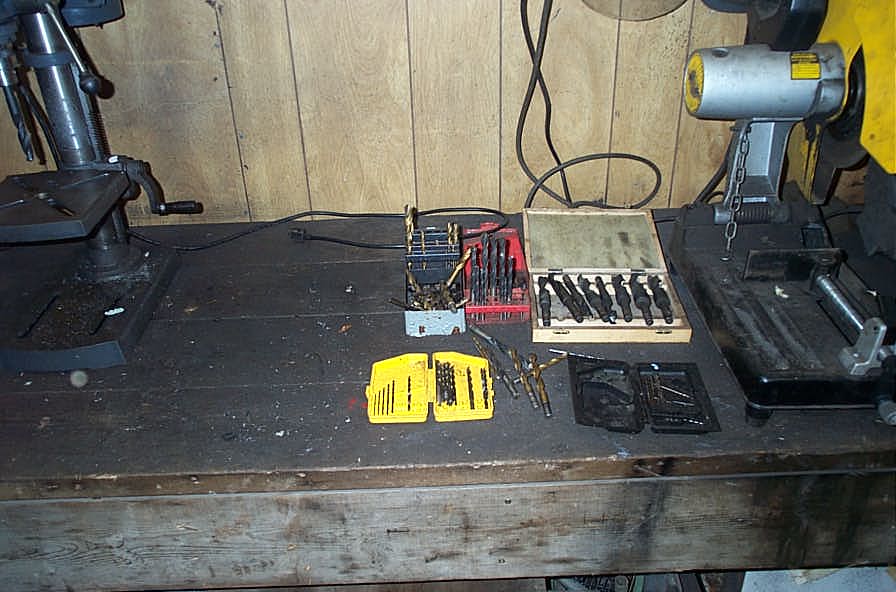 |
Boy I was sure hoping this machine worked as advertised. This is a picture, completely un-posed, of my bench. Just a huge mess of dull bits. Heck, I have come to detest drilling holes so much that I have even spent considerable time trying to figure out how to fabricate or attach something without having to drill holes, or as many holes as I probably should - maybe you have too! Ok - now, I'm as macho, hard-core, garage-guy as the next fella - but in this case, I really wanted success, so I read the instructions first! Three times, actually.....AND I watched the short video twice. It was totally worth it. There are also video clips, guides. and PDFs of the manuals available at their excellent web-site at http://www.drilldoctor.com |
|
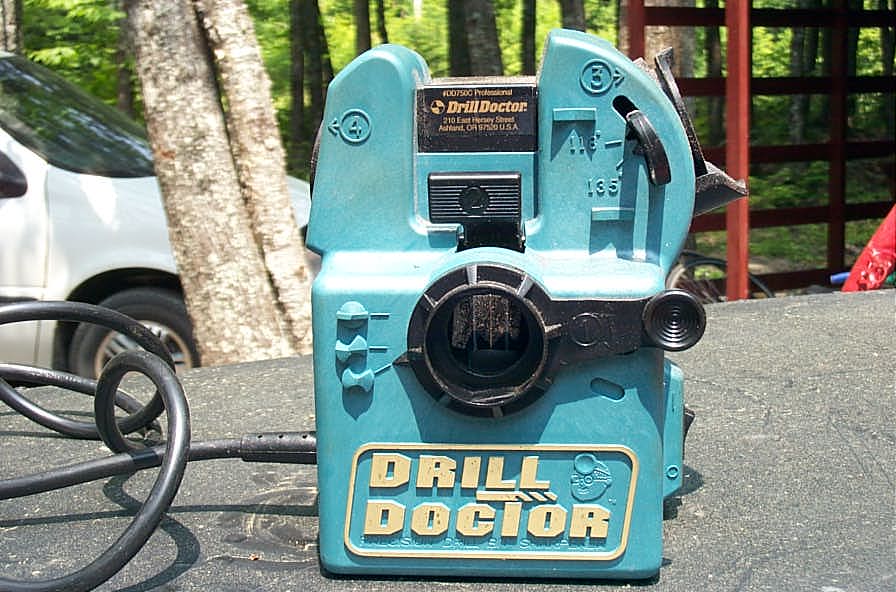 |
When it came time to operate the machine for the first time, it was really easy. The instructions and video are both of excellent quality - no poorly translated English or confusing diagrams. The only error I detected was that the actor in the video, when describing what types of bits the machine will sharpen, said "tin coated" bits. I've never heard of a tin coated bit, nor can I imagine why you'd want one. Rather, I suspect he was reading TiN coated, as in, Titanium Nitride coated bits. Along with excellent instructions, that include a laminated "quick reference" card, another awesome feature of the machine is the big, clear labeling of the steps on the machine itself; and the complete idiot-proof diagrams on the machine. Enlarge the pic to the left and note how the steps are numbered. Also see how easy and clear the settings are for different angles and types of bits... |
|
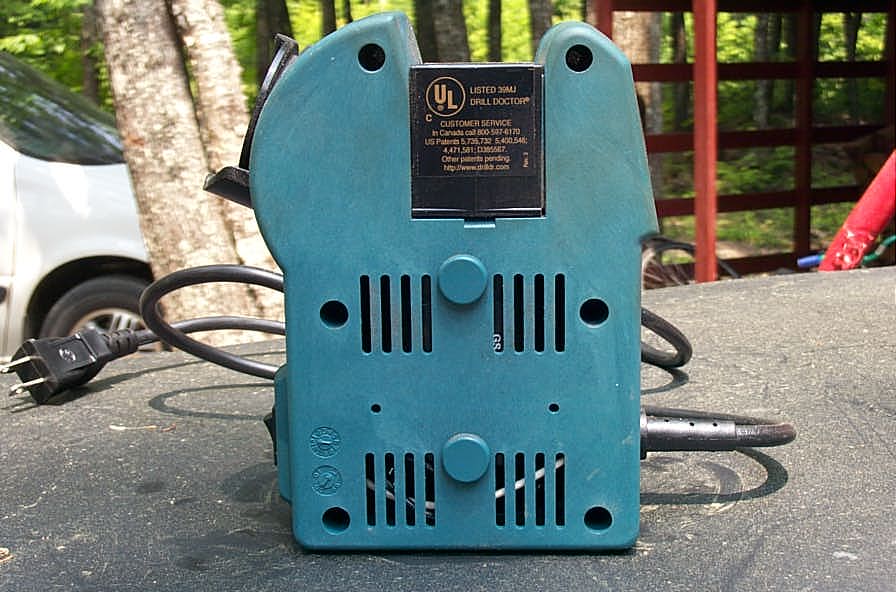 |
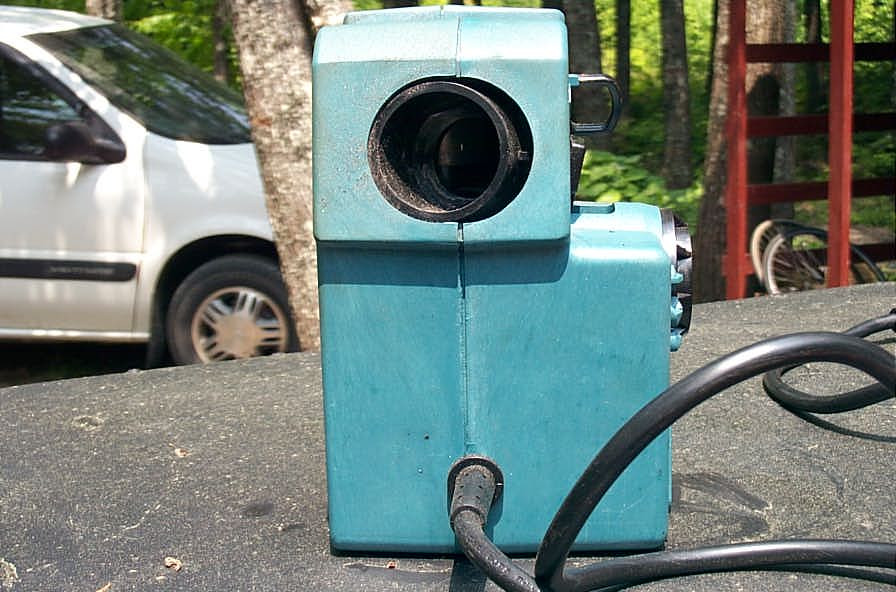
Honestly, I had read grumbling in the past about the machine being hard to operate. I can't imagine why. After going over the instructions and video,I was sharpening bits like a mad fiend in literally seconds! The 750 Pro kit is able to sharpen bits from 3/32" to 3/4", and will do 118° bits, 135° bits and either of those in straight cut, split-point, or masonry style! It even converts one type to another!!! The only slightly disappointing thing with the whole kit was, the video indicated that it came with a small rack for holding the 2 different chucks, that would fit on the 2 mounting studs seen on the back here. Sadly, mine came with no chuck-holding rack. Not a big deal, really, but would have been a nice feature. |
|
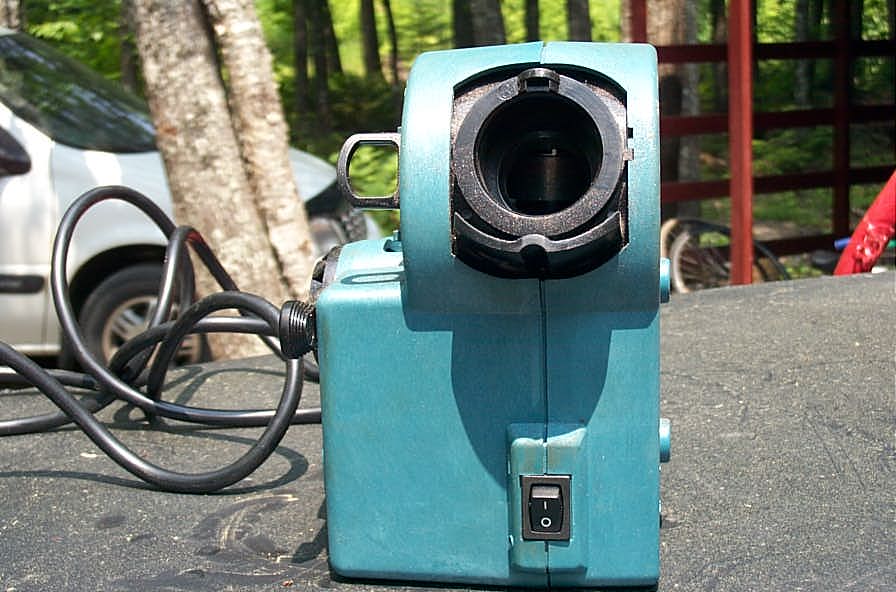 |
This is the right side, showing where the chuck is inserted to actually sharpen the bit. | |
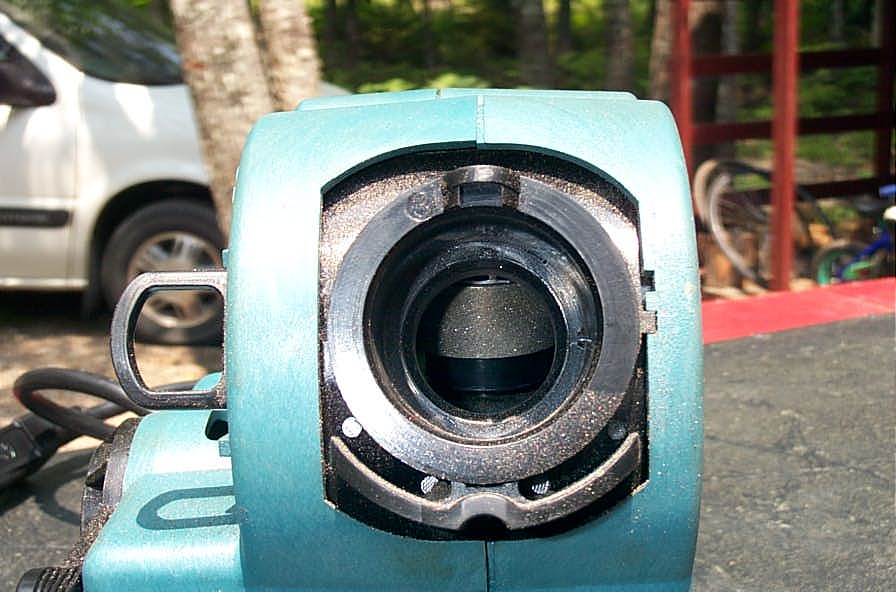 |
Inside you can see the diamond sharpening wheel. It's user-replacable, costs less than $20, and is good for about 200 bits. | |
 |
On the left side is the port for splitting the point of the drill bit. I won't go into exact details, because the instructions cover it very well. If you're interested ahead of time you can read more of the details on their web site or here: |
|
 |
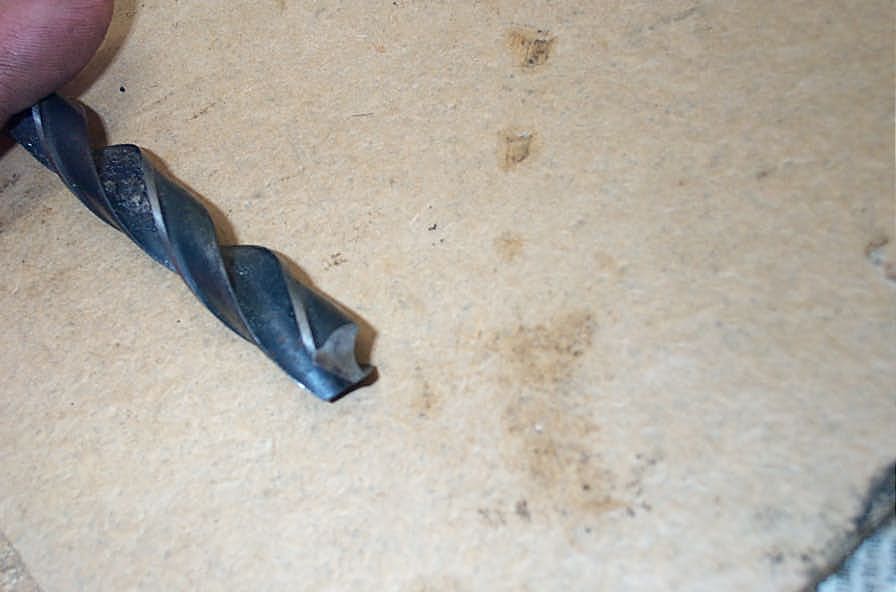
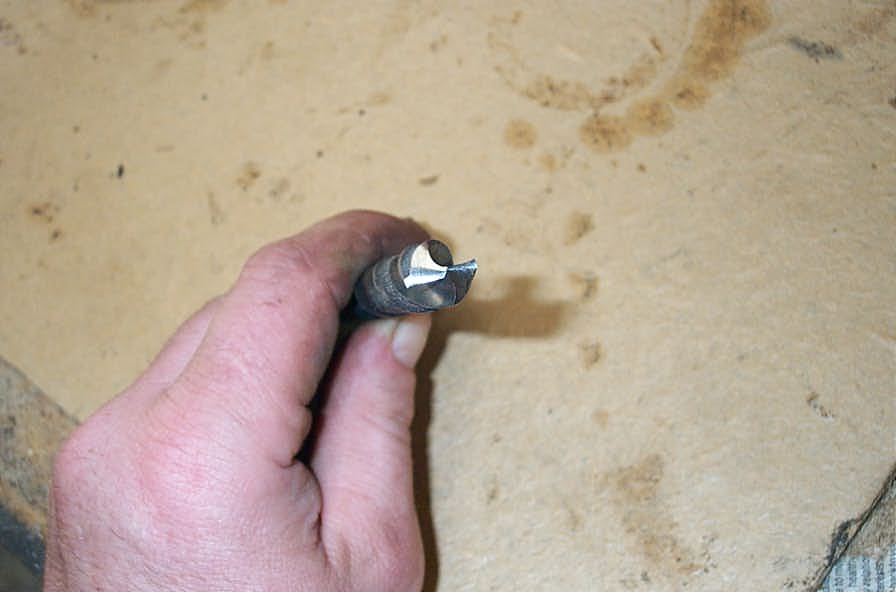
I decided I would put it to the test right off the bat. Here's the initial setup - a simple 18v cordless drill, a blunt, 118°, regular point, TiN coated drill bit grabbed at random from the heap on my desk (it turned out to be a 3/8"bit - well used), a chunk of 1/4" thick mild steel, and the Drill Dr 750. | |
 |
First thing I did was chuck the bit, and bear down, with moderate pressure, for 30 seconds. This is what it looked like in the end - not very impressive. | |
 |
Then I sharpened the bit, my first bit ever, in the Drill Dr. It took less than a minute (I think, I was kind of excited and forgot to count). Anyway, it was easy, though I'd never done it before. I made about 3 "passes" (this will make sense after you read the instructions (did I mention they're excellent :-) | |
 |
When sharpened, I chucked the bit, and repeated the test - 30 seconds under moderate pressure. Note the nice large cutting chips instead of the fine grinding dust of the unsharpened bit. |
|
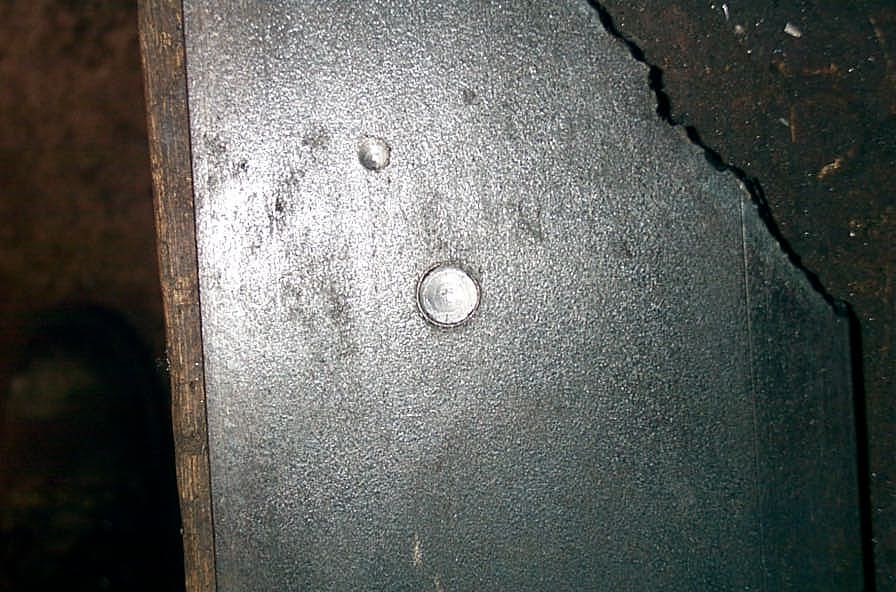 |
And here's the results. The "hole" (more of a tiny indent really) of the unsharpened bit is on top, and the lower hole was cut after the very first bit I ever sharpened! OK - so that's pretty impressive - obviously it works. BUT - 30 seconds with a run-down cordless drill and a puny 3/8" bit is not what we metal-mashing home fab artists are all about right! So - I decided on one more test. |
|
 |
This time I grabbed a "real" sized bit :-) A 9/16" silver and deming drill bit. It actually appeared to be in OK shape out of the heap. Not great, but not my worst. So, let's see what happens. |
|
 |
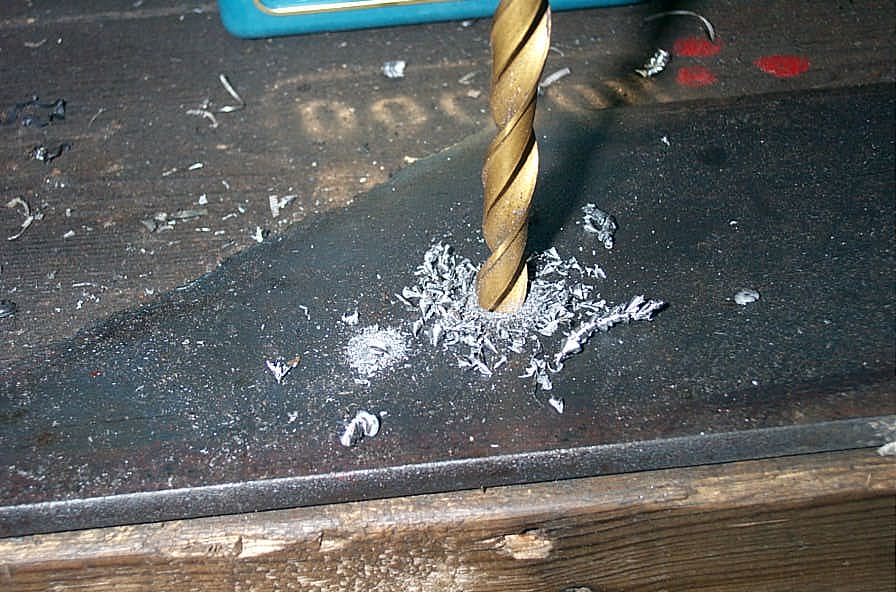
This time I chucked the bit in the drill press, and timed how long it took to cut clean through the 1/4' plate steel. 56 seconds for the original bit - not bad, but the cuttings you can tell are too fine - it's not cutting well - more like chipping and grinding away. When you're drilling like this, you tend to use way to much pressure, and this is what leads to out-of-round holes, burned up drill motors, and poor quality work. |
|
 |
So I sharpened the bit in the Drill Dr, it took me 1 min 31 Seconds (this time accurately timed by my darling wife Laurie, who had become curious and wandered out to see what the heck I was up to!) In the end - she proclaimed "That's a really cool little machine" |
|
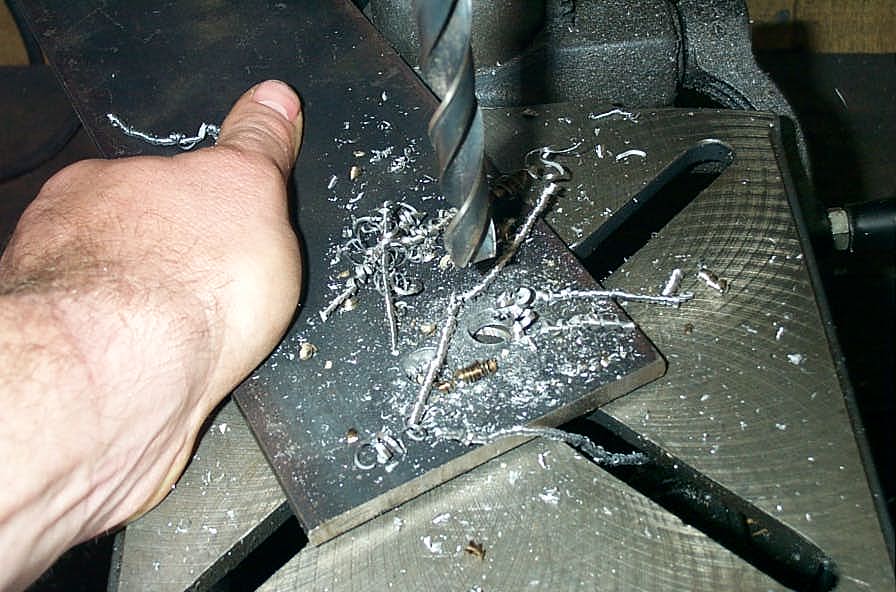 |
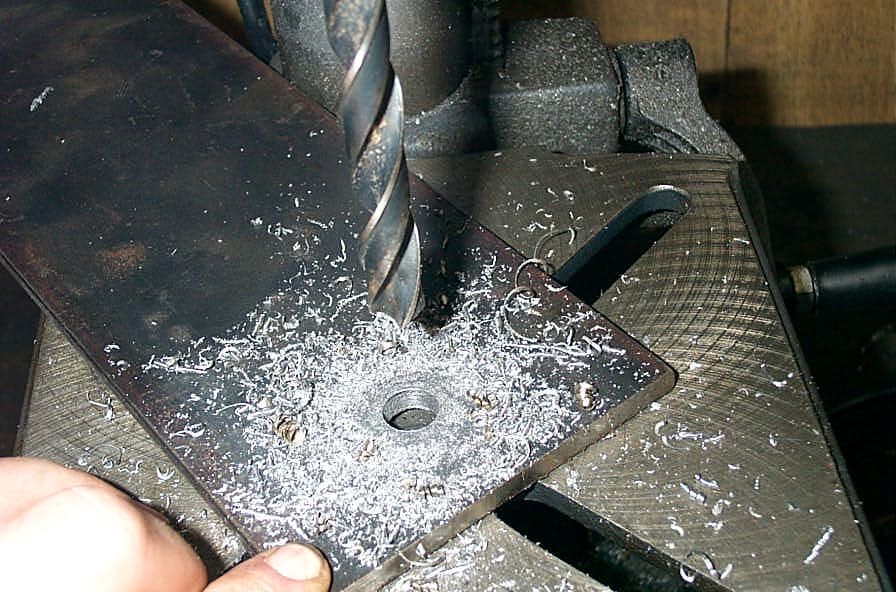
The second run took only 36 seconds to cut through. But the most important thing is - look at the beautiful long cuttings. That's what it should look like when you're drilling. | |
 |
So, in summary: Box of Drill Bits: $20 Drill Doctor 750 pro: $140-200 (shop around!) Safety glasses: $5 (always wear those safety glasses, folks!) The ability to effortlessly drill accurate holes without busting knuckles or burning up a drill, anytime you want: Priceless!! |
|
|
||
|
Sources: Drill Doctor Customer Support Mailing Address: Drill Doctor Customer Support Main Number: Email: |
|