 |
Custom ATV Stereo
By Bill "BillaVista" Ansell |
IntroductionMy wife Laurie LOVES music, and we both love to ride our ATVs, so this year for her birthday I made a custom stereo for her ATV so she can enjoy tunes on the trails and back ay camp. Here's the system I built:
|
 |
The BoxOne of my chief design goals was to have the system look sleek and integrated. While cheap and effective, I didn't want to build something out of large pieces of plastic plumbing pipe. But there aren't a lot of options for a good custom box that is sleek, good looking, and functional enough to house a head unit, speakers, and an amp. After many hours of searching the 'net, I finally found what I was looking for. There's a little-known company in Texas called "Extreme Sounds 4 ATVs" (http://www.extremesounds4atvs.com). They make a product called, simply enough, the "Enclosure 112". It's a weather-proof, durable ABS plastic enclosure, sprayed with LineX protective coat. According to their website:
It wasn't cheap at $189.95 but it was exactly what I was looking for and much more professional than anything I could make. |
|
 |
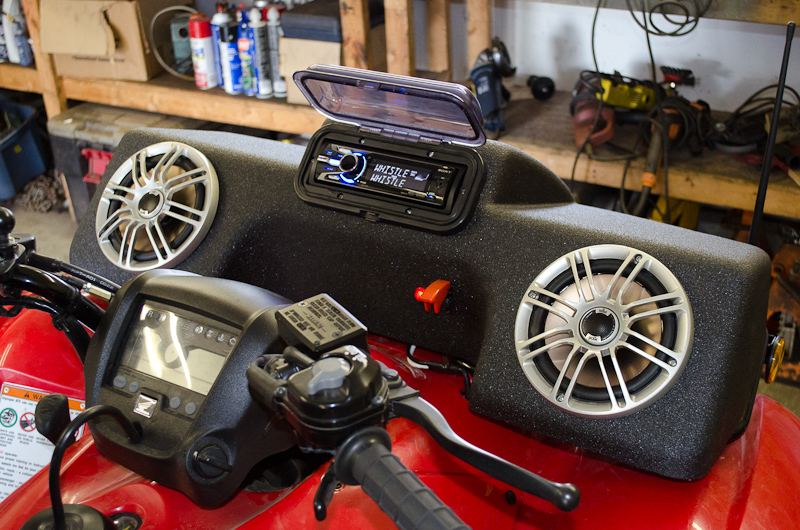
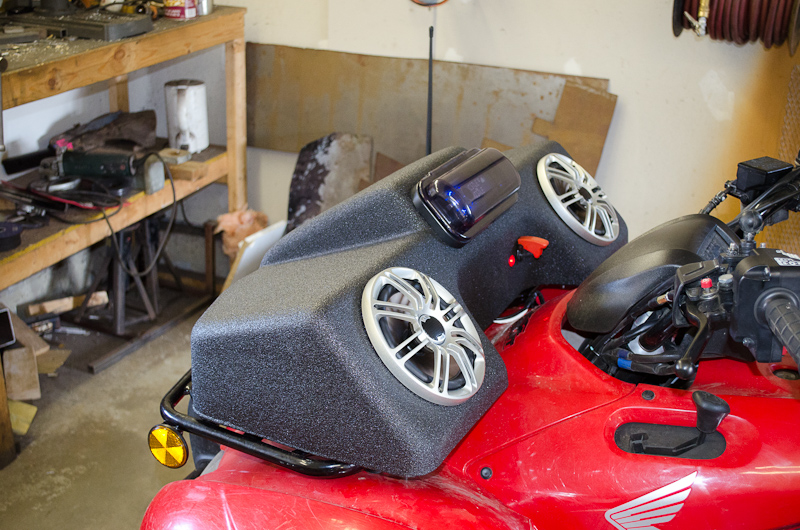
I really like the way it integrates with the quad. |
 |
It looks like it belongs. |
 |
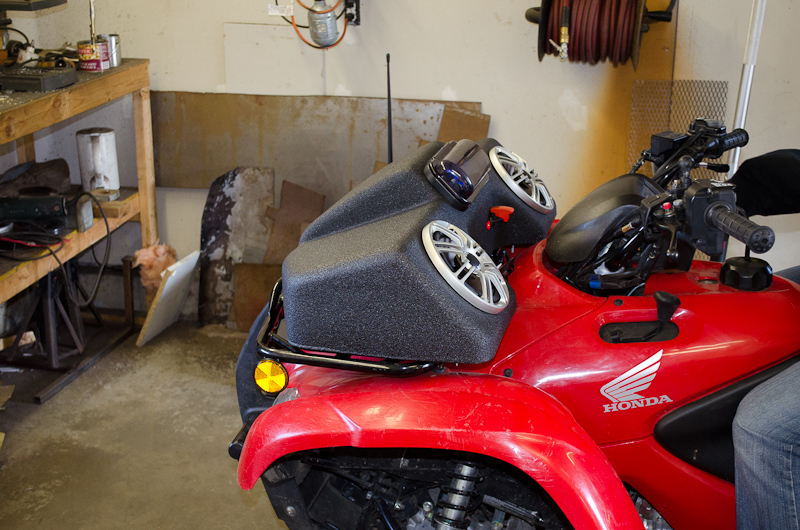
And there's plenty of room for components. |
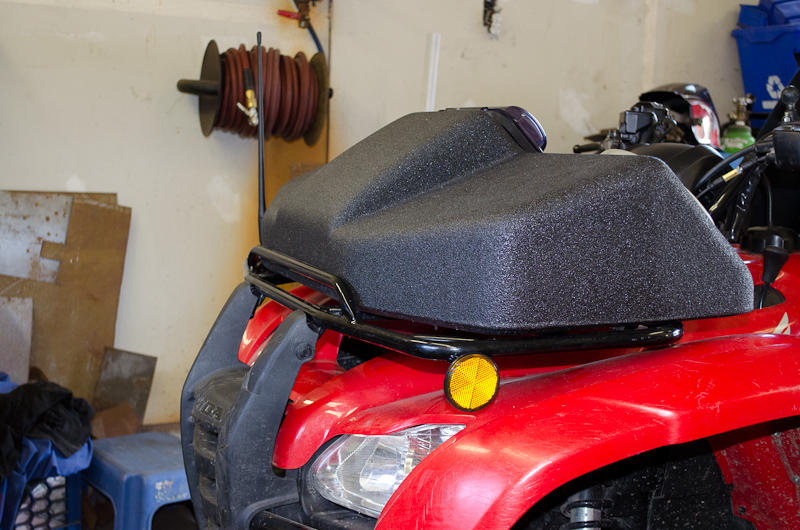 |
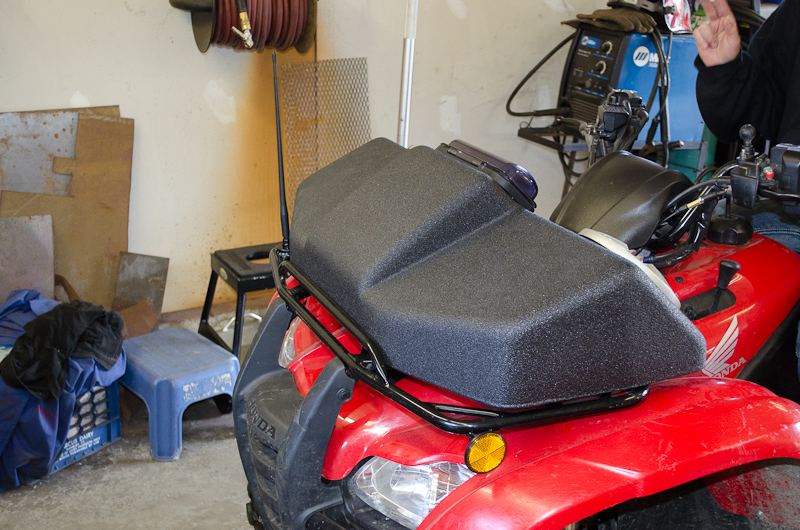
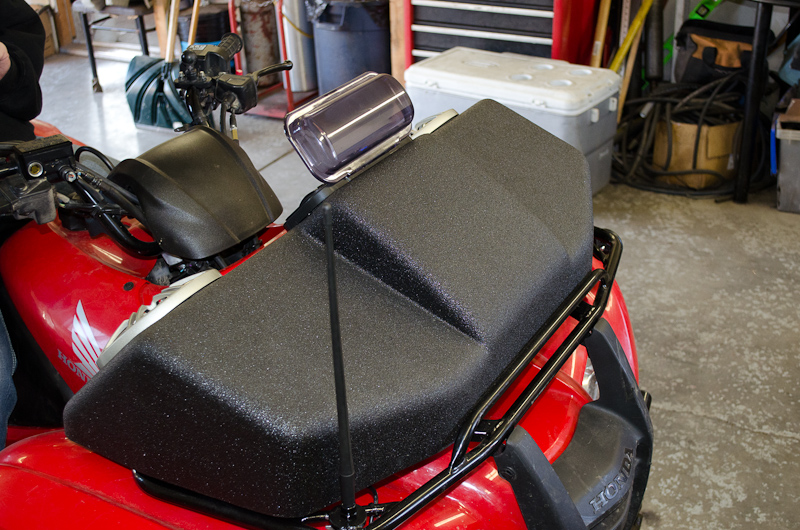
The low profile is sleek... |
 |
...and it fits perfectly on the front rack. |
 |
And doesn't interfere with steering or visibility. |
Head UnitFor the head unit I wanted FM radio and the ability to play MP3s / Ipod. |
|
 |
I chose the slick Sony DSX-S100 Digital Media Receiver. |
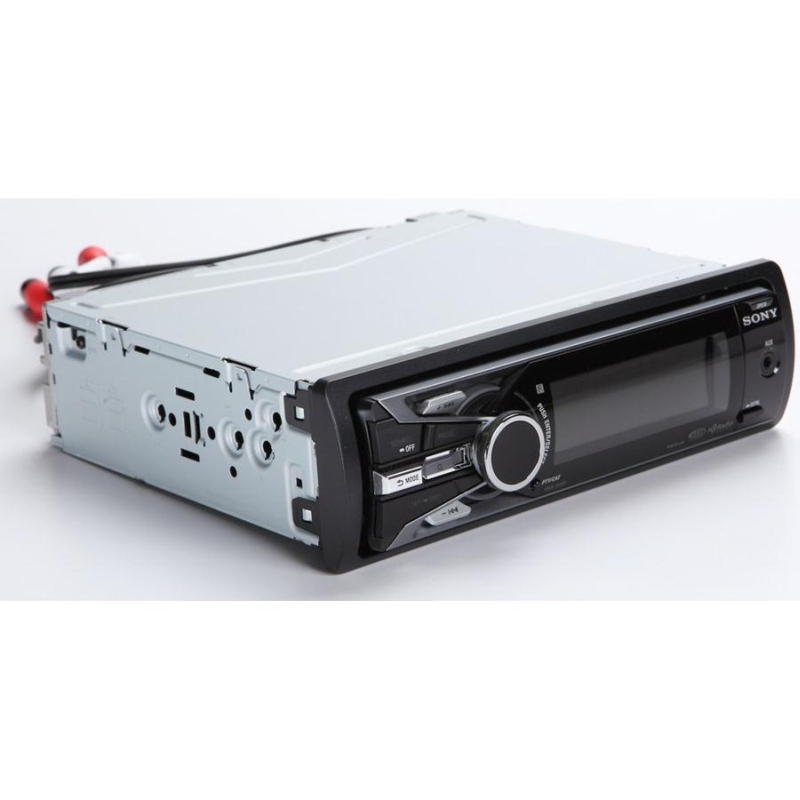 |
It's a single DIN sized chassis. |
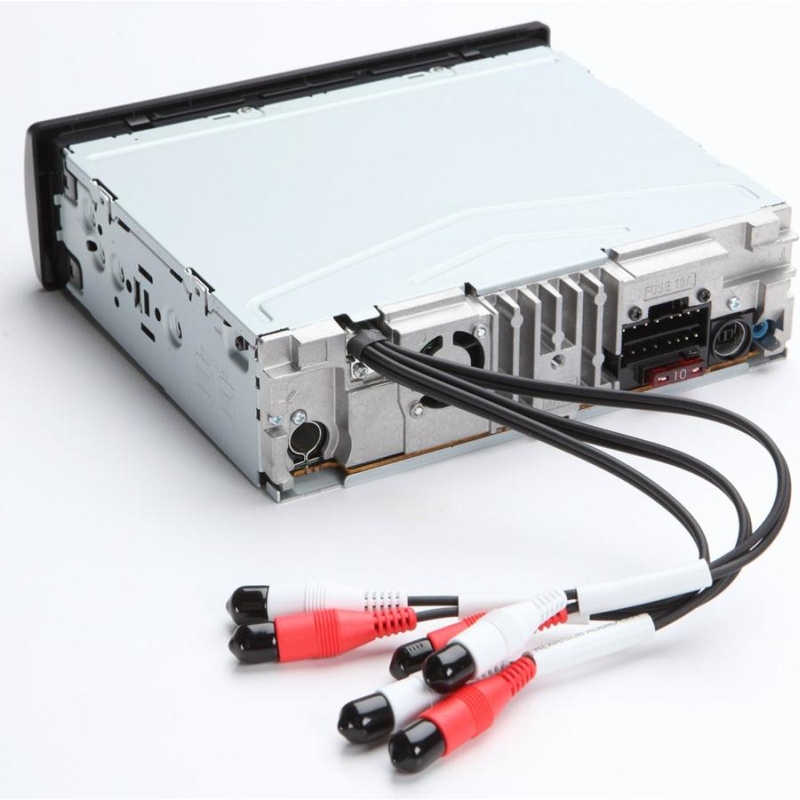 |
It has front and rear/sub high-voltage preamp outputs for connecting to an amp |
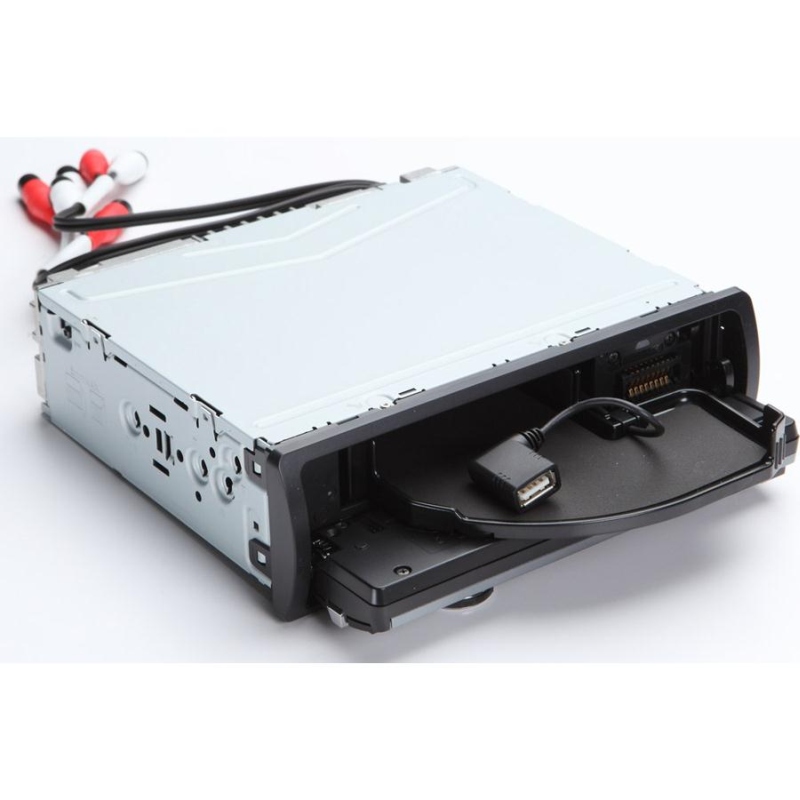 |
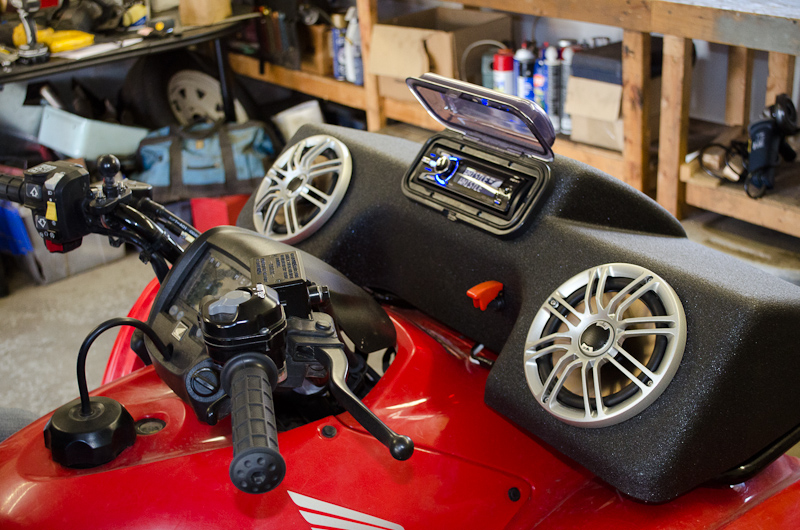
But the coolest feature is what they call the internal Tune Tray compartment that holds your iPod, MP3 player, or USB storage device. You fold down the face, plug your player or USB drive into the Tune Tray via the USB connection, and then close it up inside the receiver — safely out of sight, but fully operational from the receiver's controls. Very cool and perfect for an offroad vehicle. |
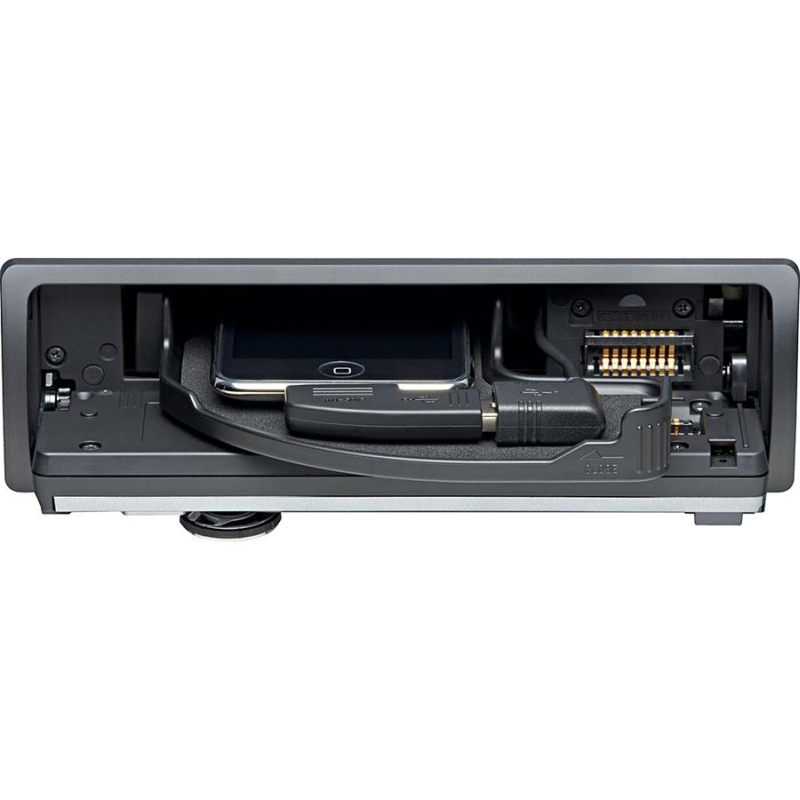 |
Tray open. |
Here are the basic specs:
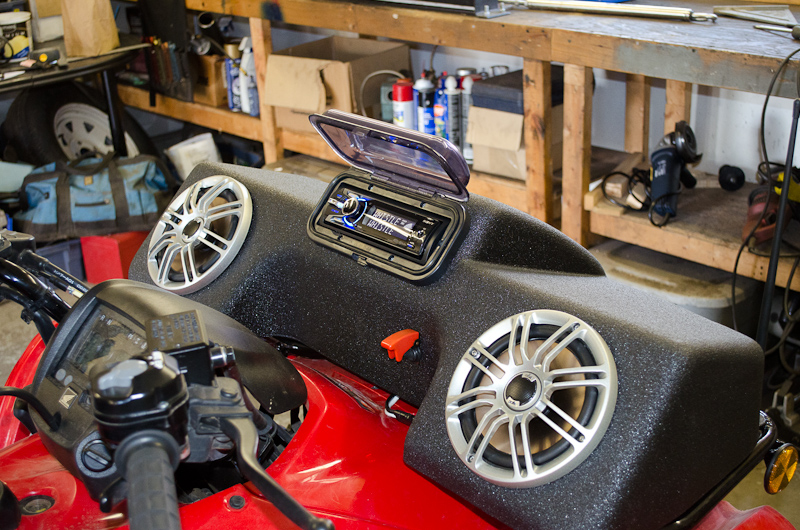
Protective Cover |
|
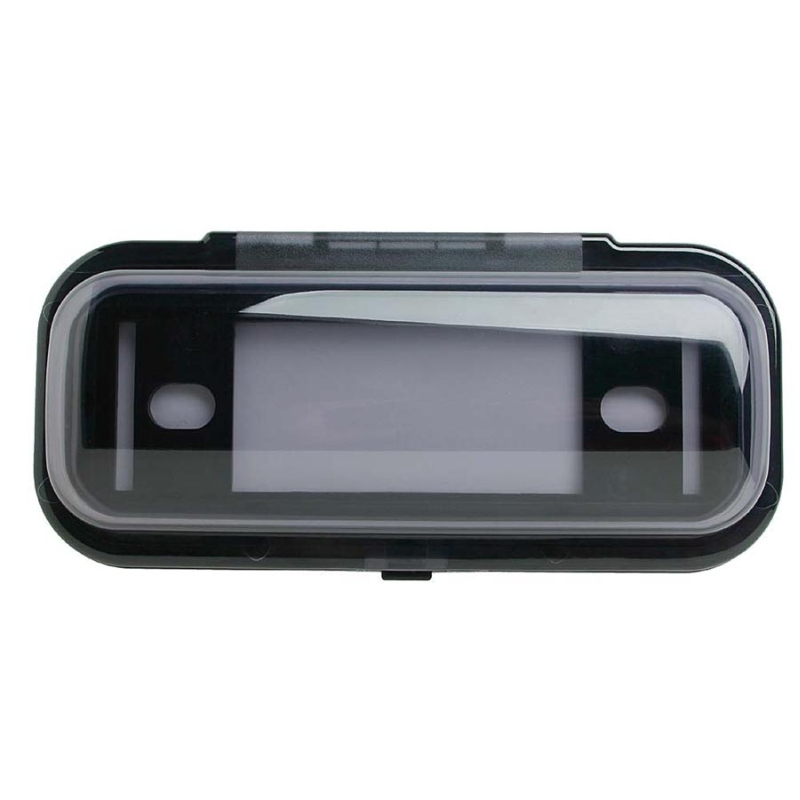 |
The DSX-S100 isn't a marine head unit, so I wanted to also use a marine cover to keep everything protected offroad and in bad weather. So I ordered this Metra 99-9005B Black Universal Marine Cover. It has a hinged tinted cover that fits any single-DIN (or 2-shaft) head unit and helps protect from sun, dust, dirt, and water. |
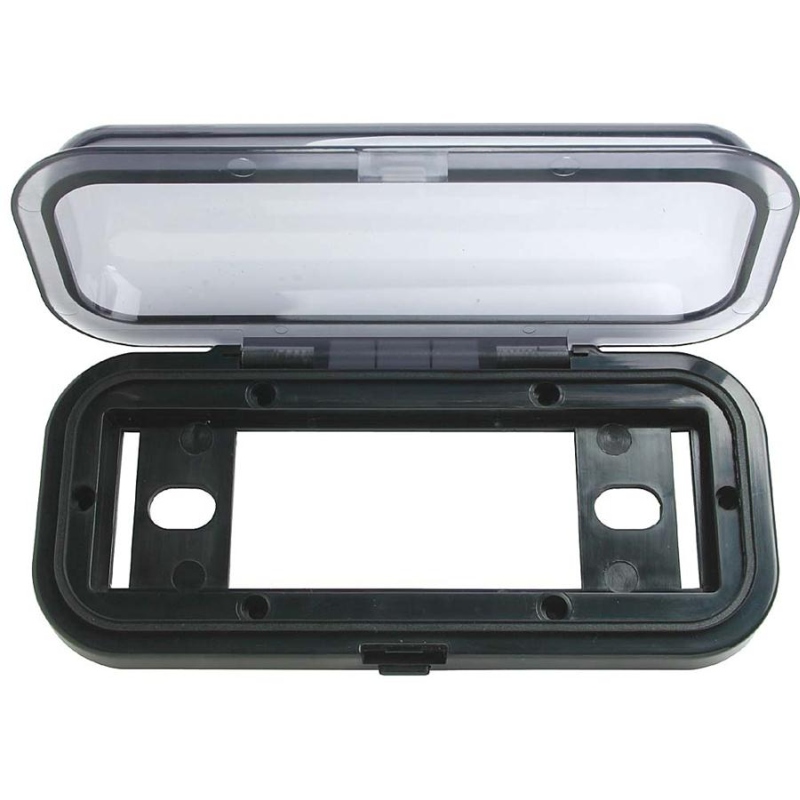 |
It has a spring-loaded latch, heavy-duty hinges, and foam and rubber gaskets to protect the head unit from water. |
AmpSince I wanted to mount the amp inside the box, choice was limited to what would fit into the box through either the head-unit cut-out or the speaker cut-outs. I didn't want to cut an extra access panel to fit a larger amp and then have to try and seal it up afterwards. |
|
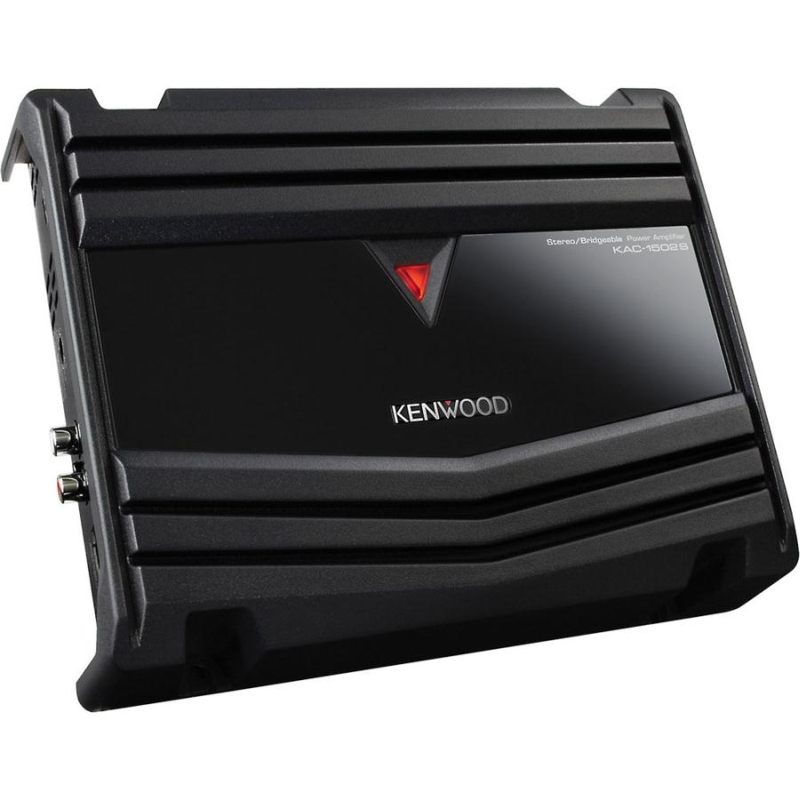 |
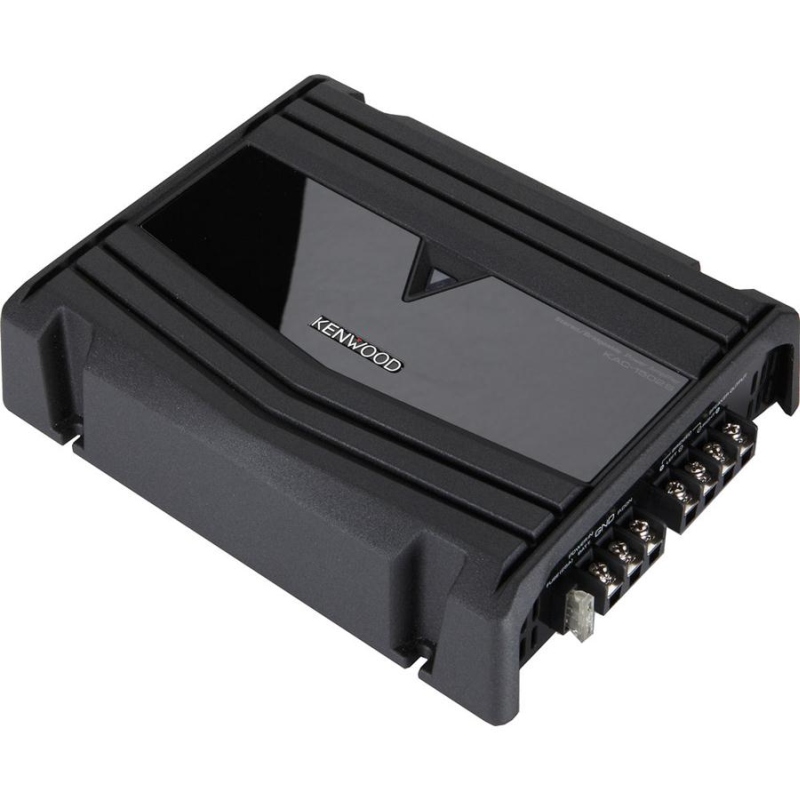
Fortunately this Kenwood KAC-1502S 2-channel car amplifier ( 60 watts RMS x 2) was the perfect size - it just fit in the slot I had to cut out to mount the head unit. |
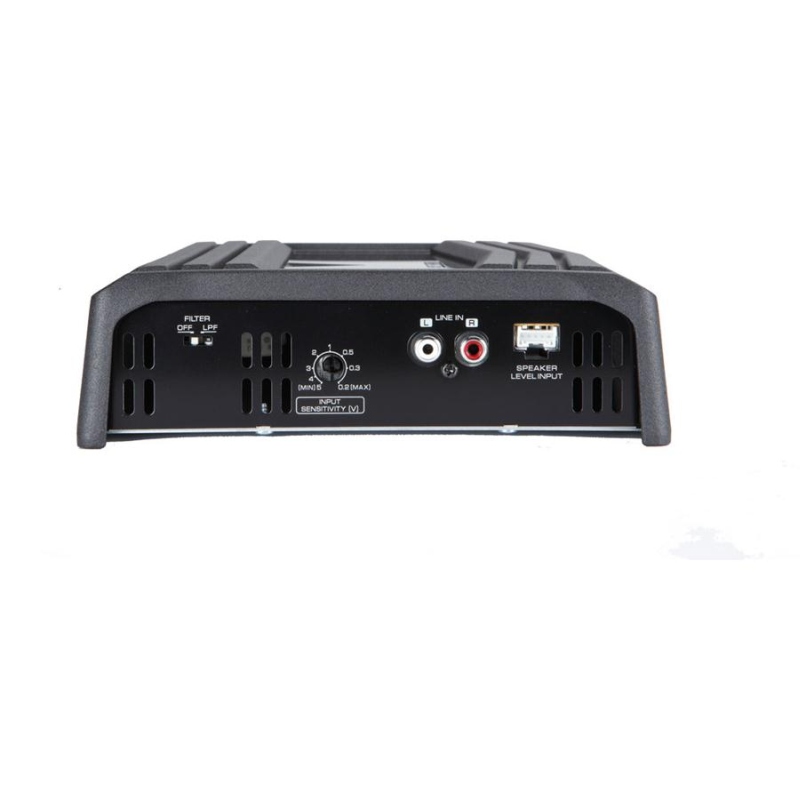 |
Gain: To accommodate the varying range of signal levels from today's factory and aftermarket radios, the KAC-1502S features an adjustable gain control; 0.2-5.0 volts (RCA). Low Pass Crossover: The amplifier has a fixed 80Hz, -18dB/oct low-pass filter which can be turned On or Off. Line Level Input: The line input is a pair of stereo RCA jacks. |
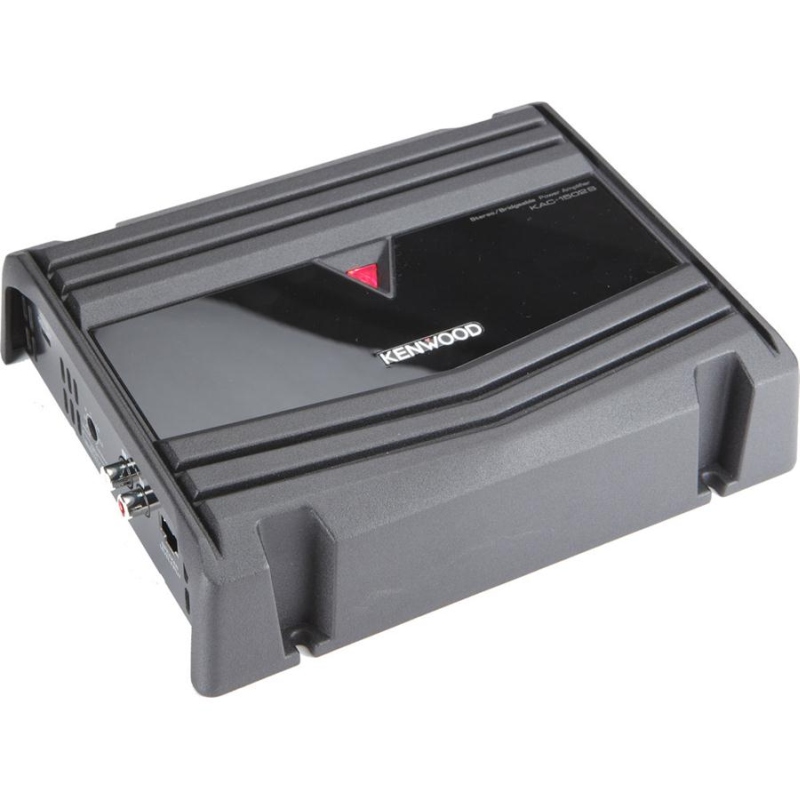 |
It measures 9-1/8"W x 2-3/16"H x 7-1/8"D Power Indicator: When the amplifier is turned on the Power indicator (on top of the amp) lights up red. This indicator turns off with the amplifier, and will turn off if the amplifier goes into protect mode. |
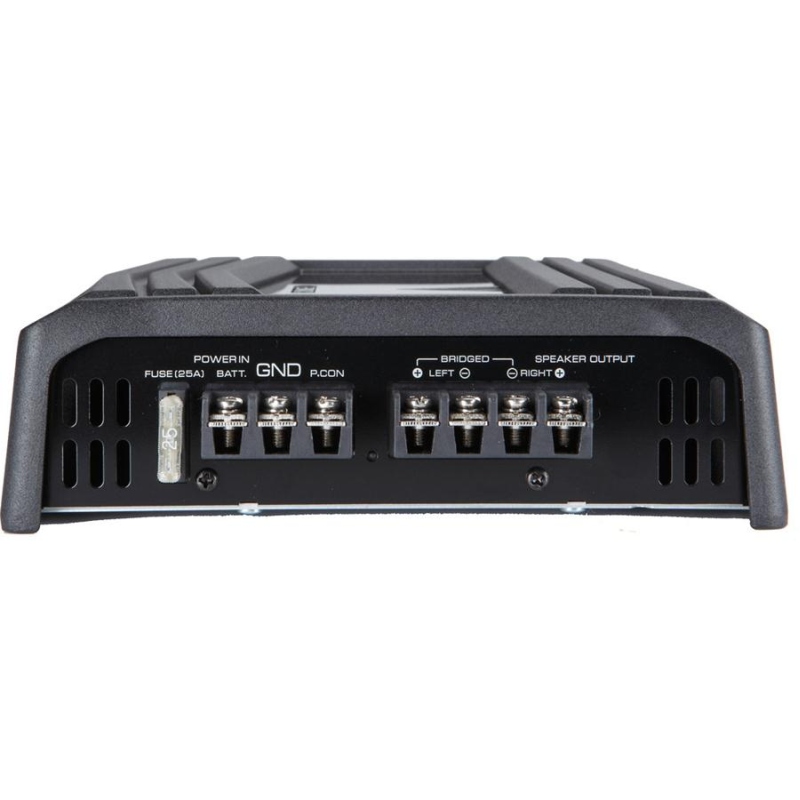 |
Power Connections: The power, ground, and remote turn-on connections are 0.35" wide screw terminals. A Phillips-head or flat blade screw driver (not supplied) is required to tighten/loosen the terminals. Spade connectors are recommended. Minimum 10 gauge wire is required for power and ground. Speaker Outputs: The two pair of speaker outputs are 0.35" wide screw terminals. A Phillips-head or flat blade screw driver (not supplied) is required to tighten/loosen the terminals. Spade connectors are also recommended for the speaker wires.
Speaker Level Input: A three-pin harness is included for the speaker level input. The input harness is common ground; it will not accept floating ground outputs. Fuse: The amplifier uses a 25-amp ATO blade-type fuse. |
 |
Specs:
|
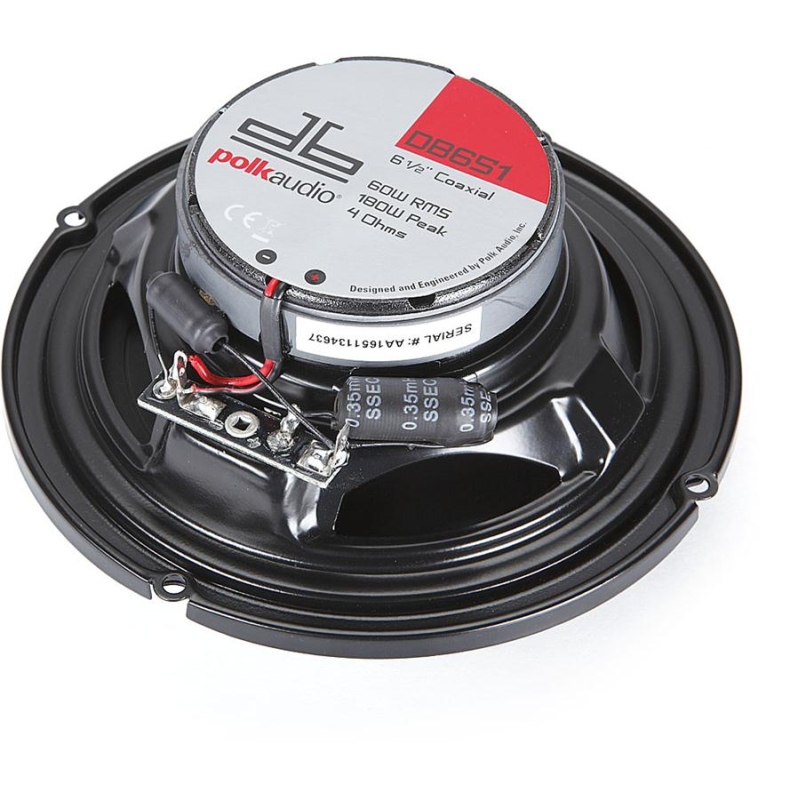
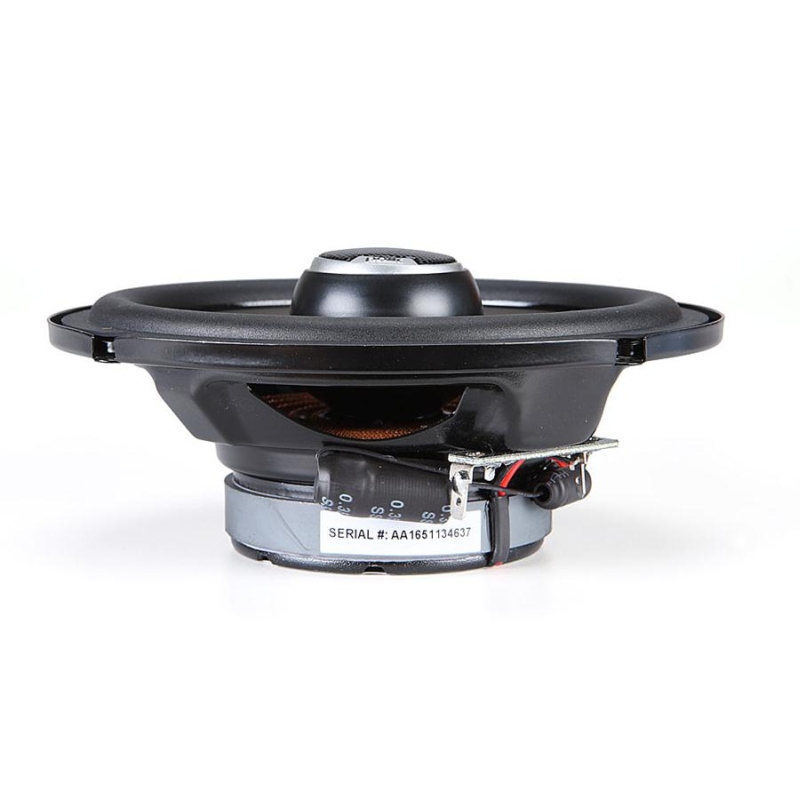
SpeakersThe box can fit up to four 6-1/2" speakers or two 6-1/2" speakers and two 8" speakers. I wanted to keep things fairly clean and simple and chose just a pair of Polk Audio db651 6-1/2" 2-way car speakers. |
|
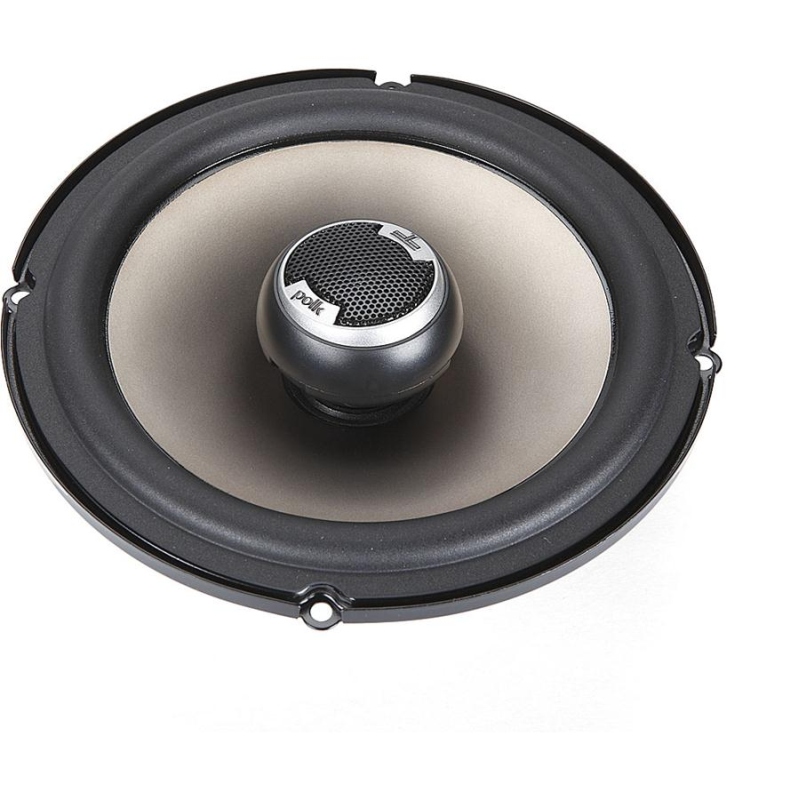 |
They have 6-1/2" woofers made from a polymer/mica composite and durable rubber surrounds that they claim won't fall apart under stress from heat, moisture, or time. They also have liquid-cooled 3/4" silk/polymer dome tweeters You can even pivot the tweeters, aiming them at your ears for improved stereo imaging. |
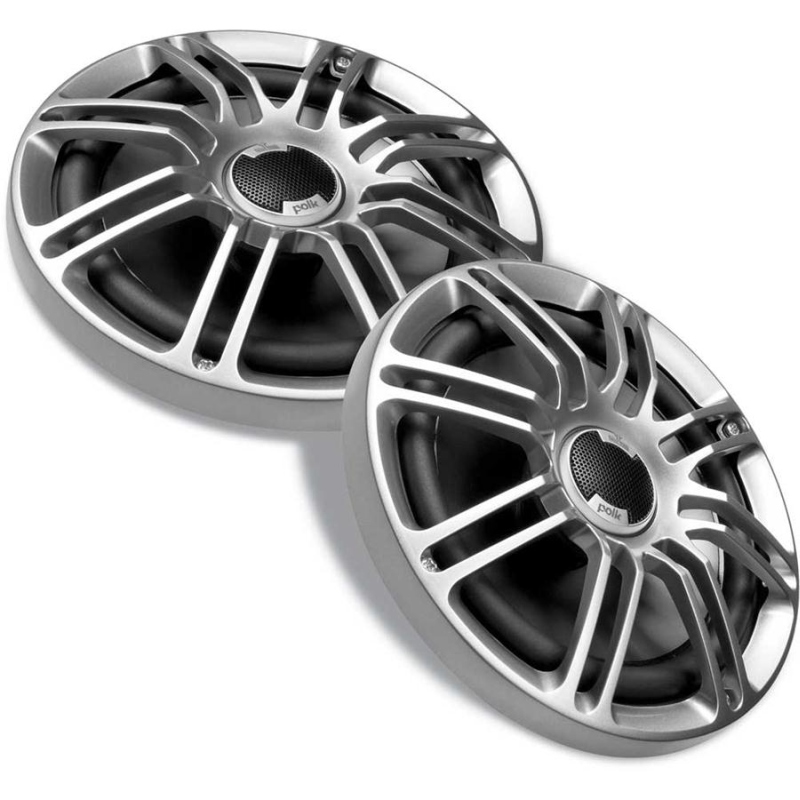 |
They are car speakers but are marine rated as they have rustproof baskets, stainless steel mounting hardware, and ABS grilles. |
 |
Other features are:
|
 |
|
 |
|
I got all of the components online from Crutchfield - I've use them a bunch in the past and find they have great section, good prices, and fast shipping. Here are PDF files of the owner's manuals for the main components:
ConstructionI wanted to keep the installation clean and simple and minimize the number of holes in the box. I also wanted to bolt the box securely to the front rack but have it removable if the need arrises. |
|
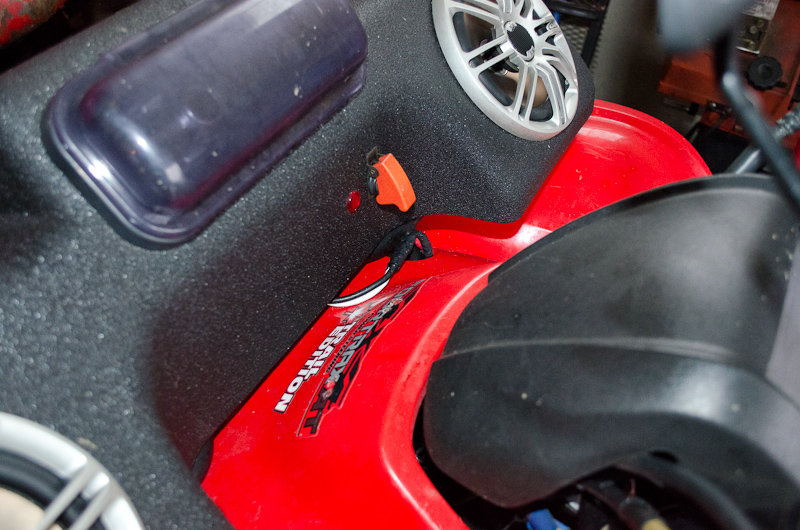 |
Power comes from 8 gauge 12V+ and Ground wires run directly from the battery to a 2-prong trailer wire disconnect (seen here just below the red covered switch). The box-side of the disconnect wires enter the box (sealed with automotive seam-sealer) where the ground and power wires each connect to a 40 amp auto-resetting circuit breakers. There's no need to use a circuit breaker on the ground, but I find the CBs also make convenient distribution blocks inside the box since the ABS box offers no grounding point itself. From the CB the power wire runs to this aircraft-style covered switch and from there to the head unit. The head unit has a remote-on wire that turns on the amp and the amp is powered directly from the 12V+ CB distribution block. A small red LED was also added to light up when the switch is in the "on" position. |
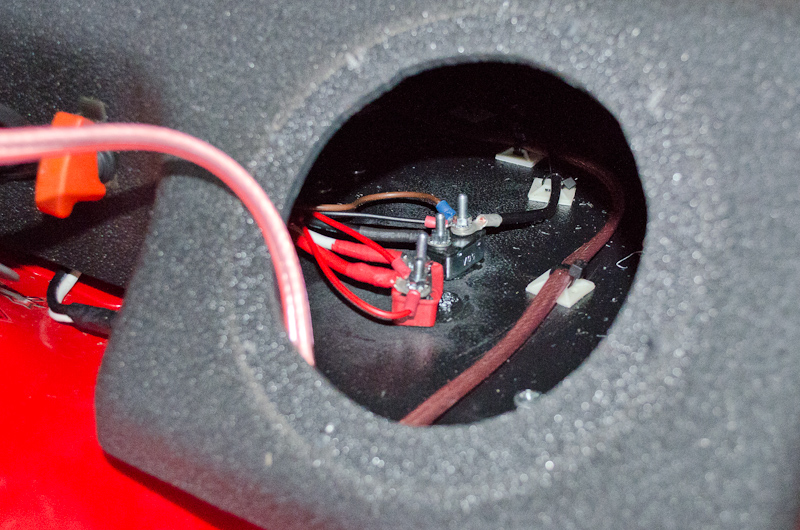 |
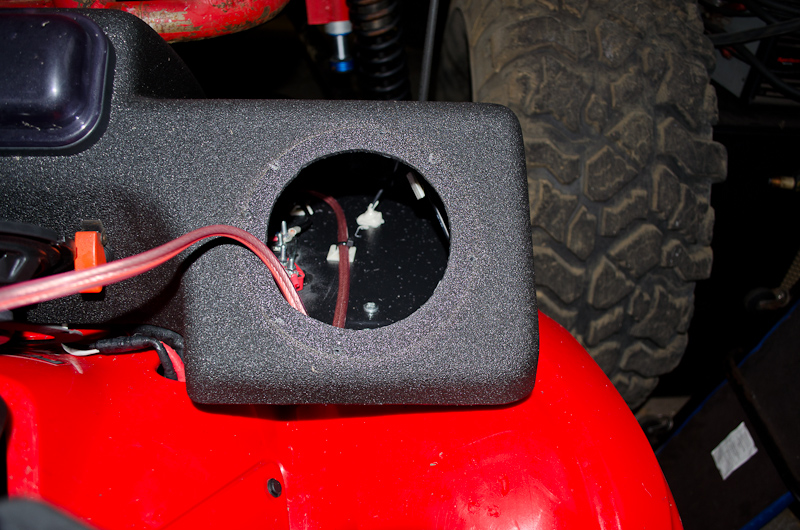
Here we can see the power and ground CBs / distribution blocks through the right side speaker cutout. The box comes as a sealed unit and you have to cut the holes for the speakers and head unit yourself. A jigsaw works well for this purpose. The CBs are epoxied to the bottom of the box. Also note the use of small adhesive-backed mounting pads combined with zip ties to keep the wiring neat and organized inside. |
 |
Here we can just see the switch terminals and the head unit. You can also see where the power and ground enter the box and are sealed with seam sealer. |
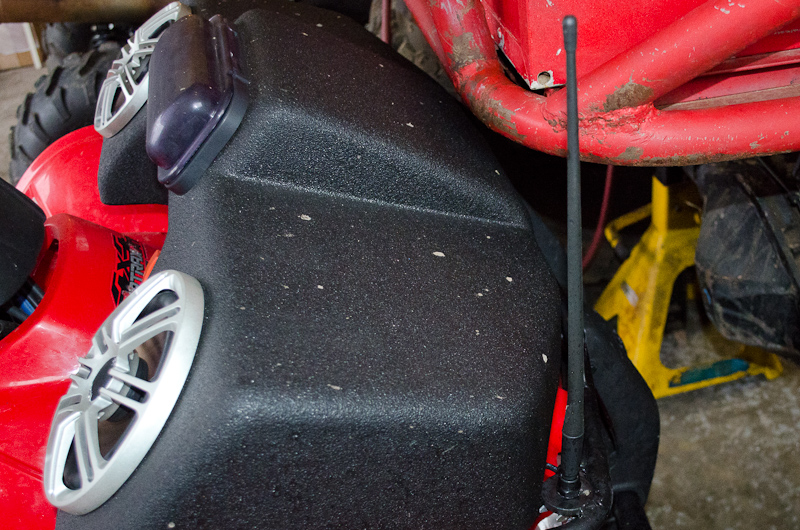 |
I mounted a small flexible FM antenna on the front corner of the rack, and ran the antenna wire into the box and connected it to the head unit. |
 |
Here you can see where the antenna wire enters the box and is sealed with the seam sealer. |
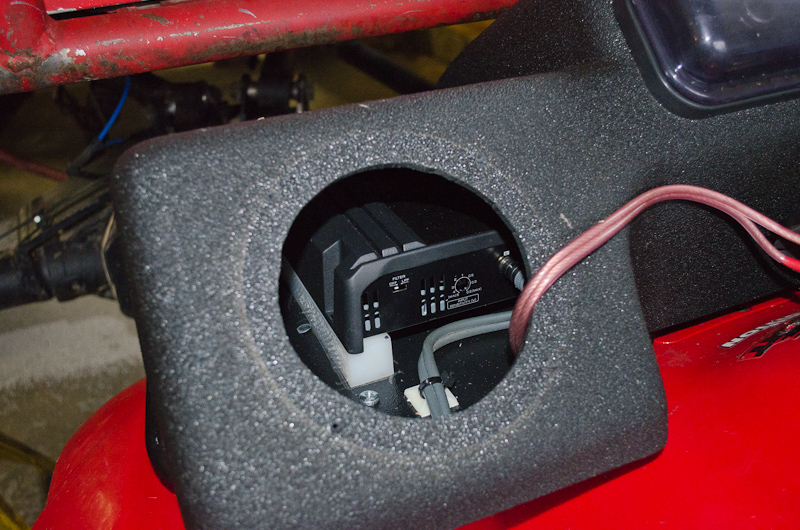 |
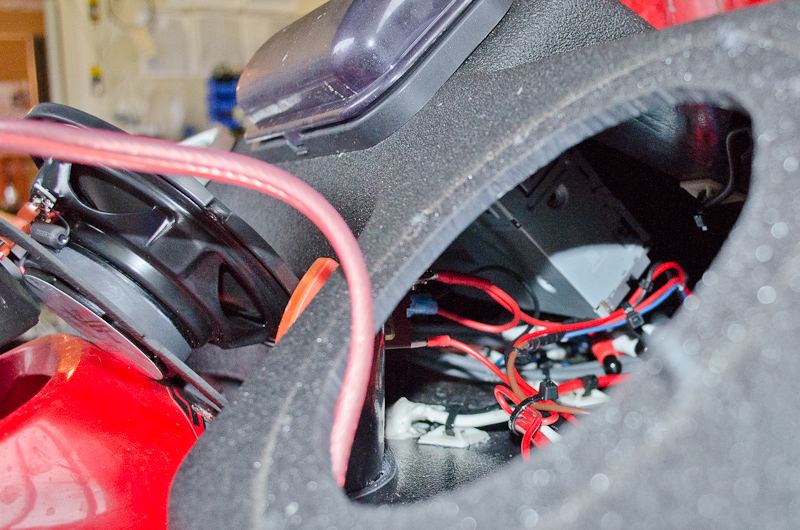
Over on the left side, just inside the speaker hole you can see the amp mounted. I epoxied a couple of pieces of white plastic (some scrap UHMPE I had lying around - same stuff kitchen cutting boards are made from and that I use to make skid plates) to the bottom of the box, and then screwed the amp to them; as I didn't want to screw through the box and create more holes. I connected all the wiring to the back side of the amp before screwing it down and mounted it so I could adjust the gain if necessary without having to unscrew and dismount it. |
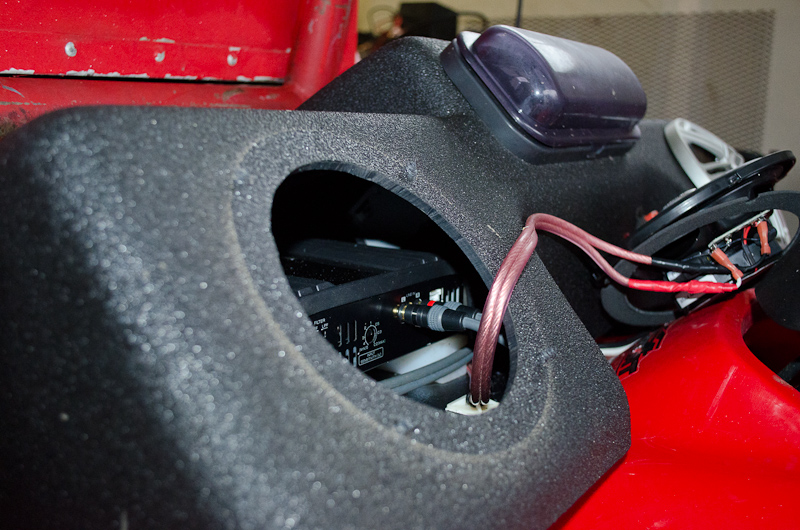 |
Here you can see the line-level inputs connected to the amp's RCA jacks. |
 |
Speaker wiring. |
 |
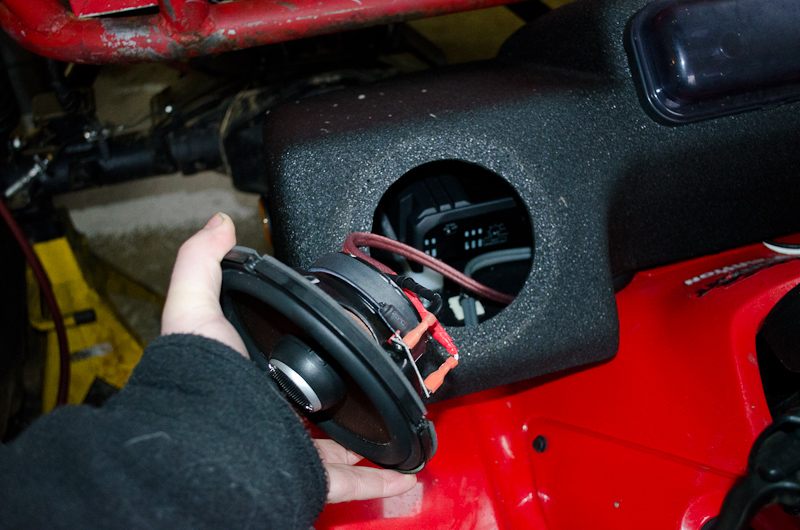
Speaker mounted. |
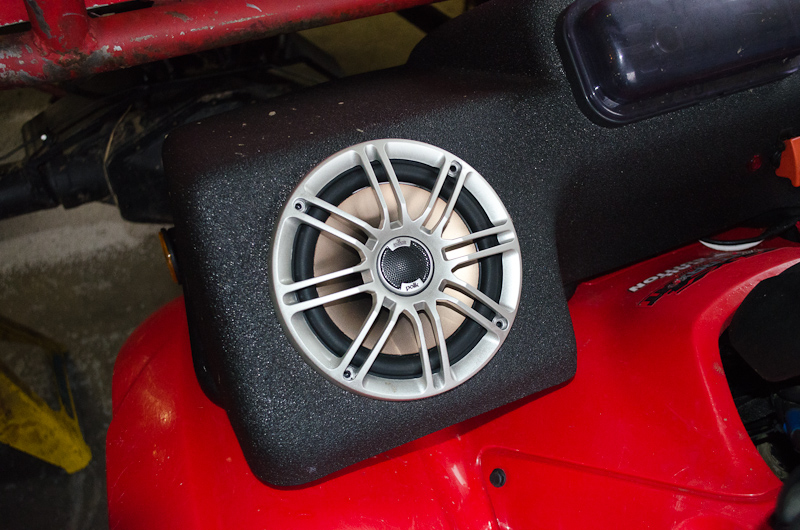 |
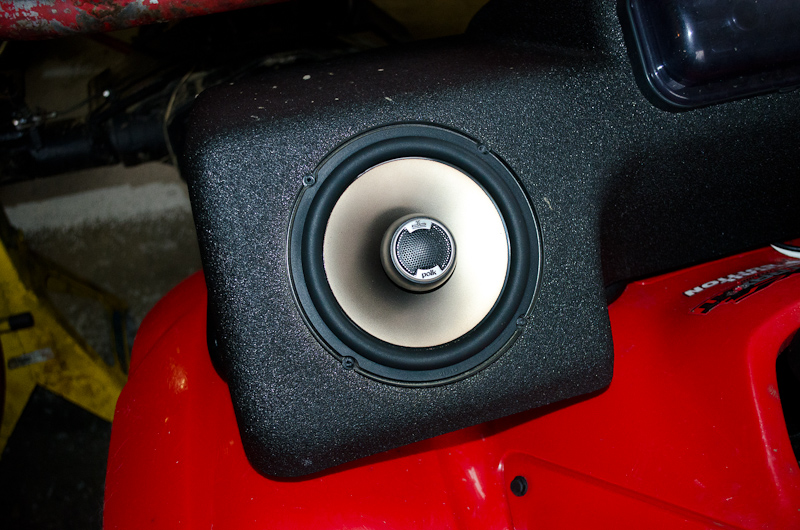
Grille mounted over the speaker. |
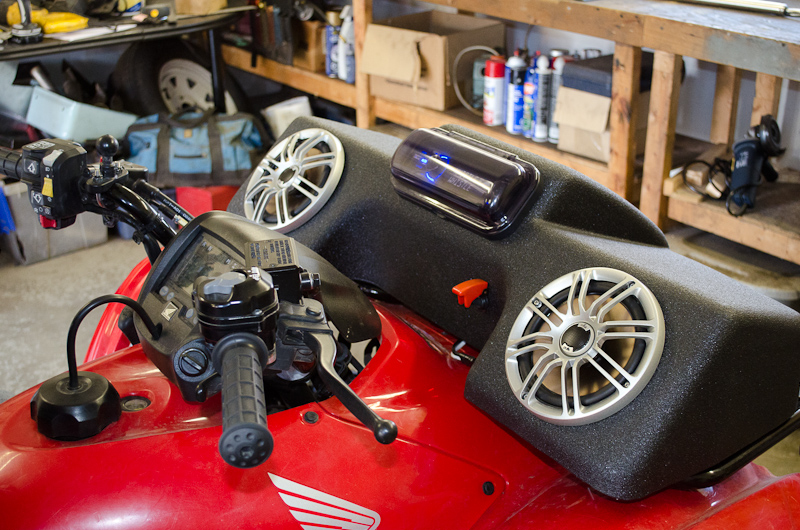
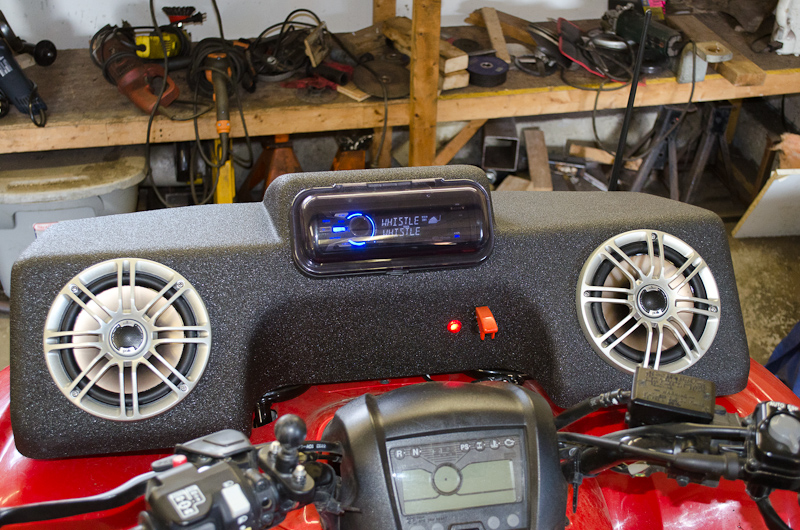
Finished ProductSome final pics of the completed project. |
|
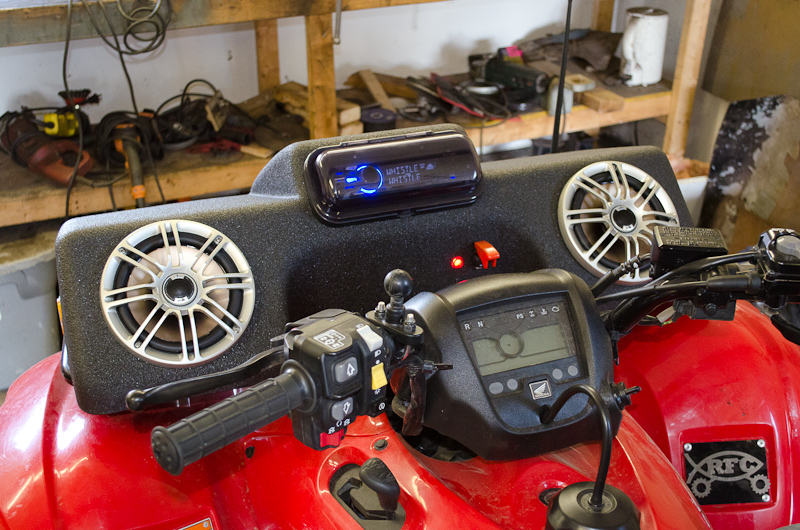 |
Power on. |
 |
Side view. |
 |
Cover open. |
 |
|
|