 |
Can-Am Outlander 1000XT Front & Rear Rack Removal By Bill "BillaVista" Ansell |
IntroductionHow to remove the front and rear racks from a Can-Am G2 Outlander. Just the basics are covered in the pictures / text - full details in the video at the end of the article. |
 |
Front Rack |
|
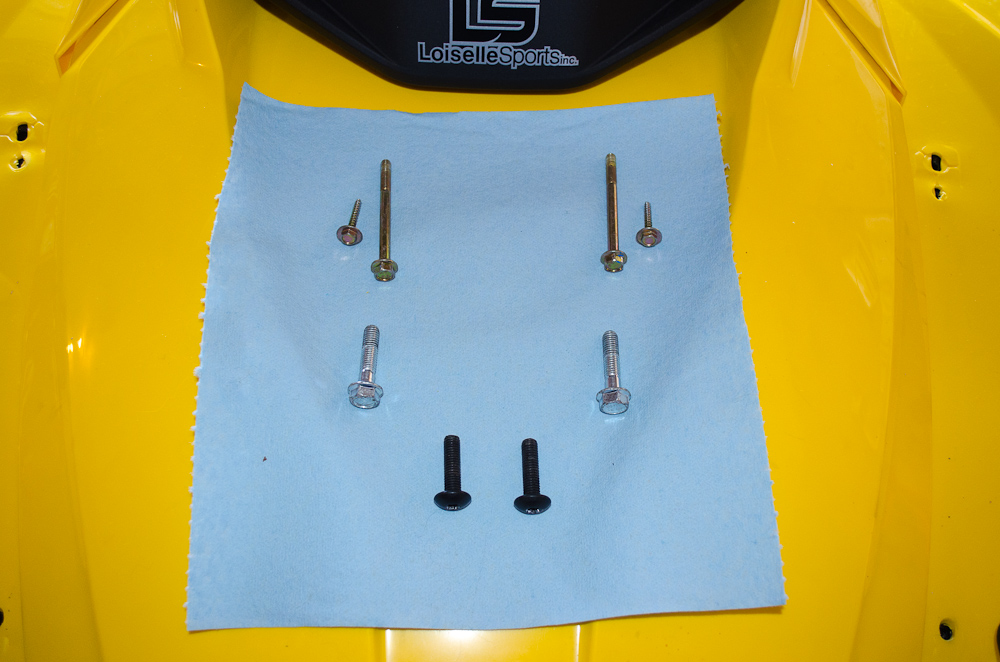 |
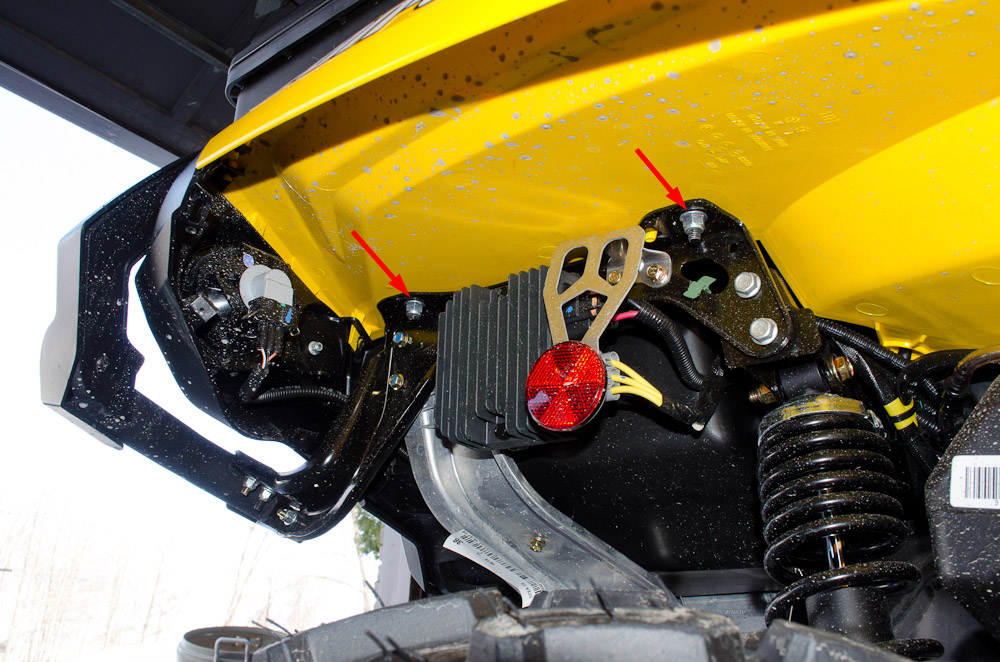
To remove the front rack you need to remove 8 fasteners as follows... |
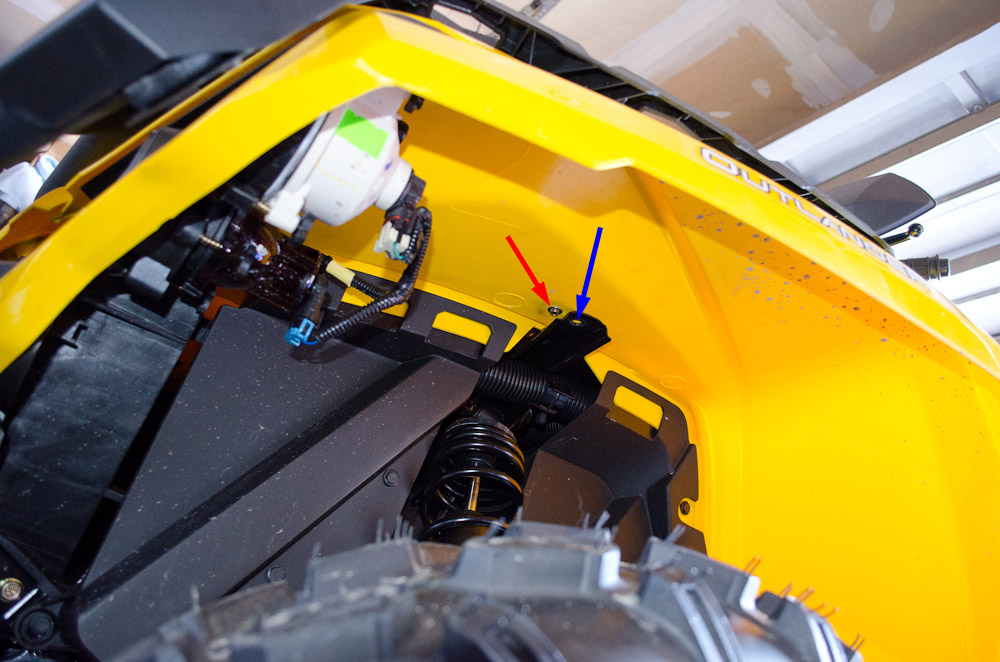 |
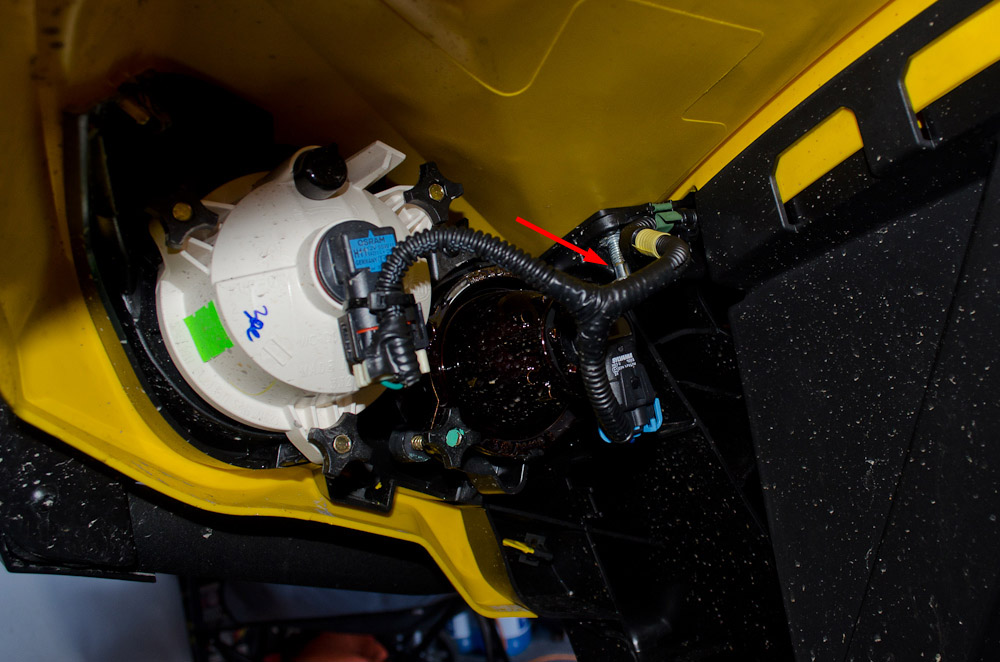
A long 10mm bolt (blue arrow) and a small 8mm screw (red arrow) from each side. Located up under the front fenders. |
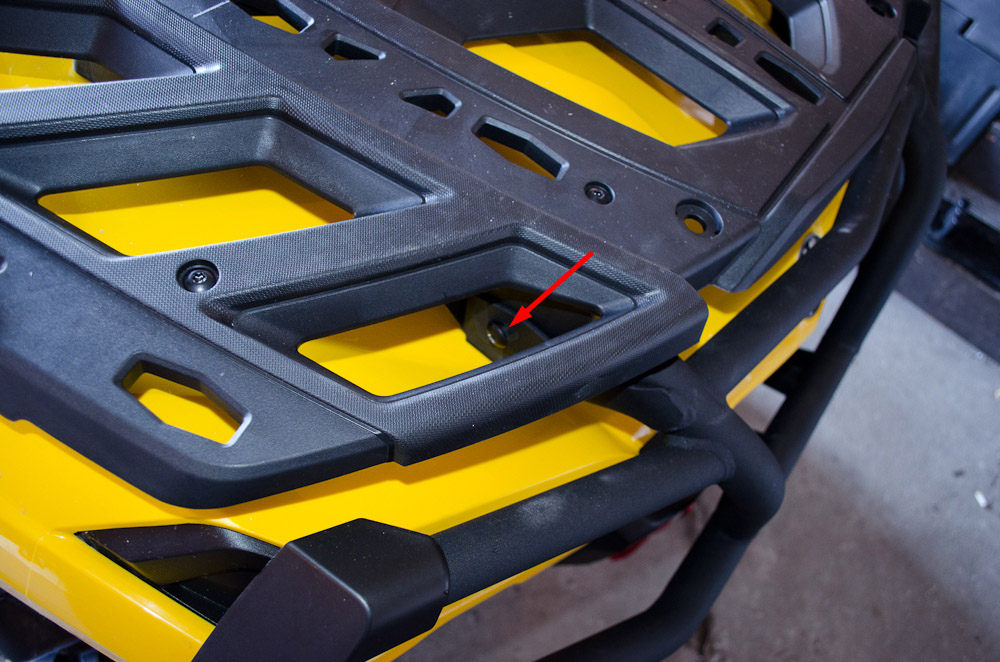 |
Two T-30 Torx bolts that attach the rack to the bumper. One on each side. |
 |
Two 13mm bolts (red arrow) located up under the front fenders, just beside the headlights. One on each side. |
 |
Front rack removed. |
|
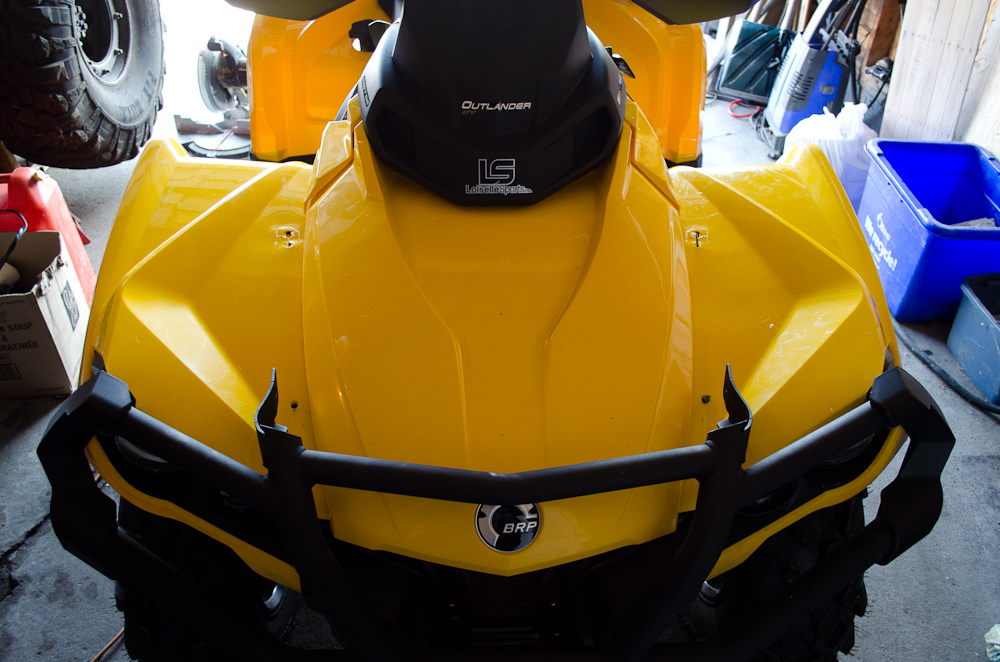
ATV without front rack. |
Rear Rack |
|
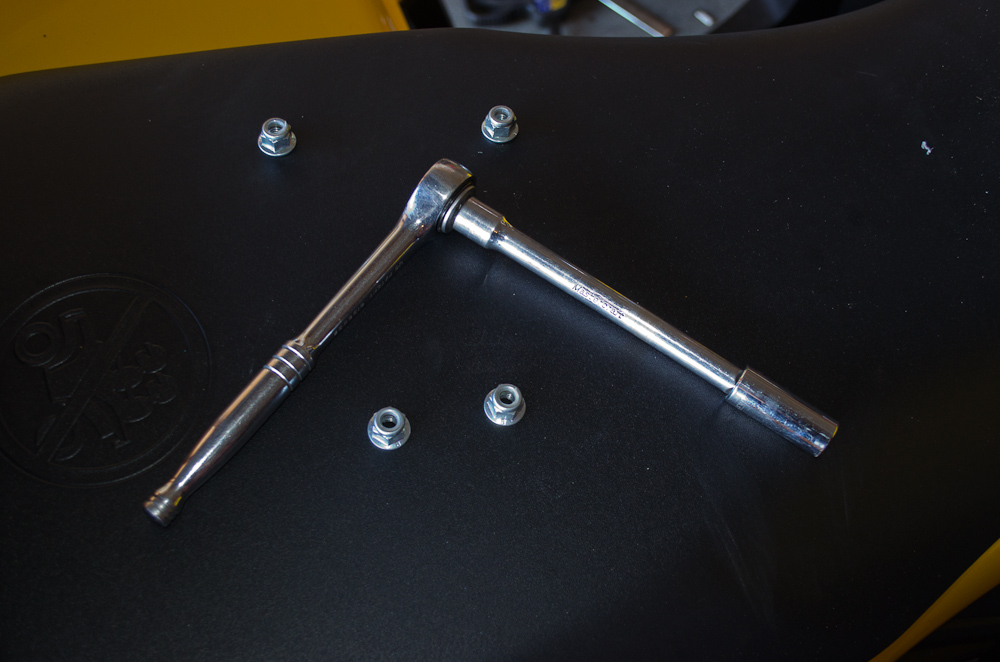 |
There are just four 13mm locking nuts to remove to remove the rear rack. |
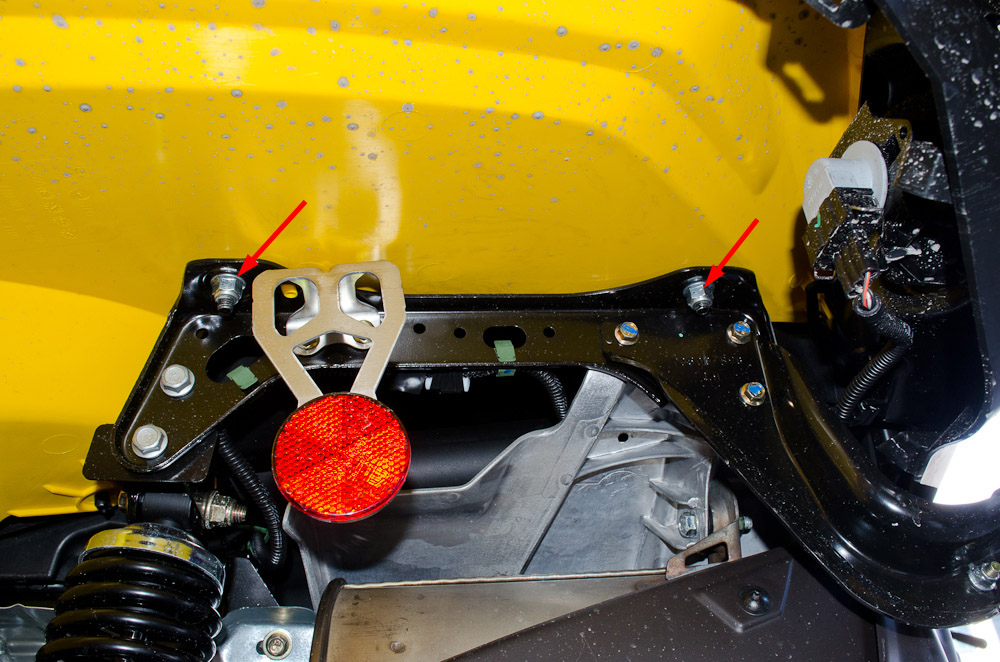 |
Two on the left side (red arrows). |
 |
And two on the right side (red arrows). |
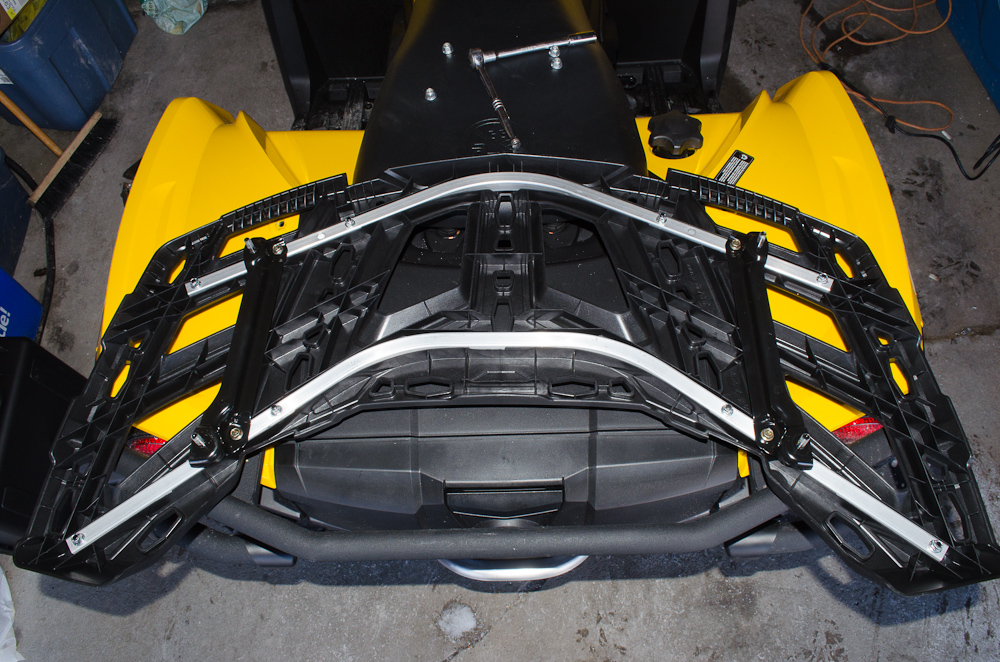 |
Rear rack removed. |
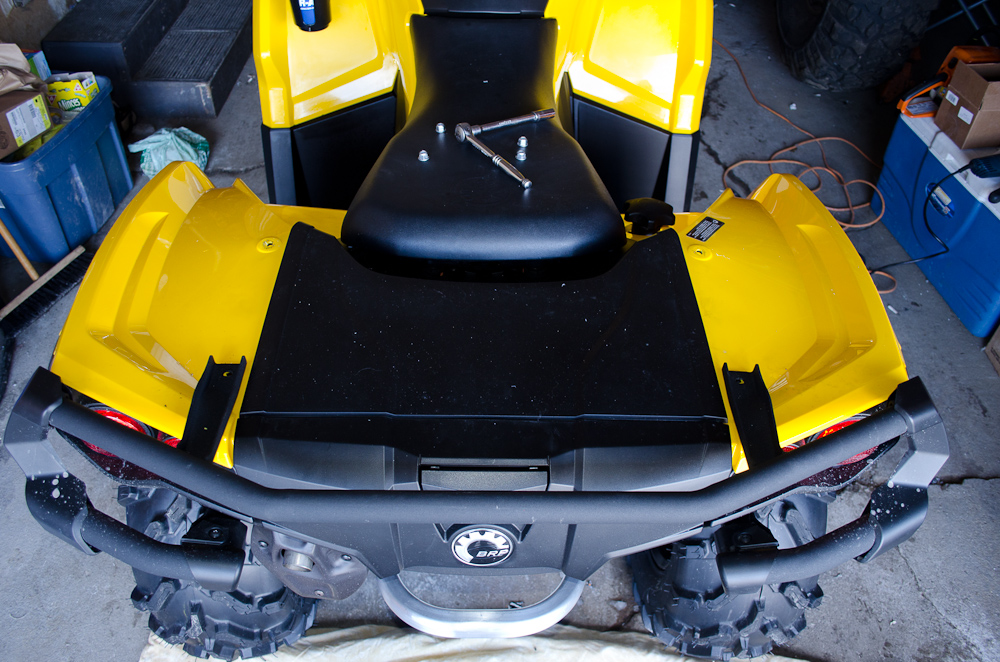 |
ATV without rear rack. |
The video showing the whole process with some tips and tricks.
|
|
|
|
|