 |
Defeating the Grizzly Shifter Interlock By Bill "BillaVista" Ansell |
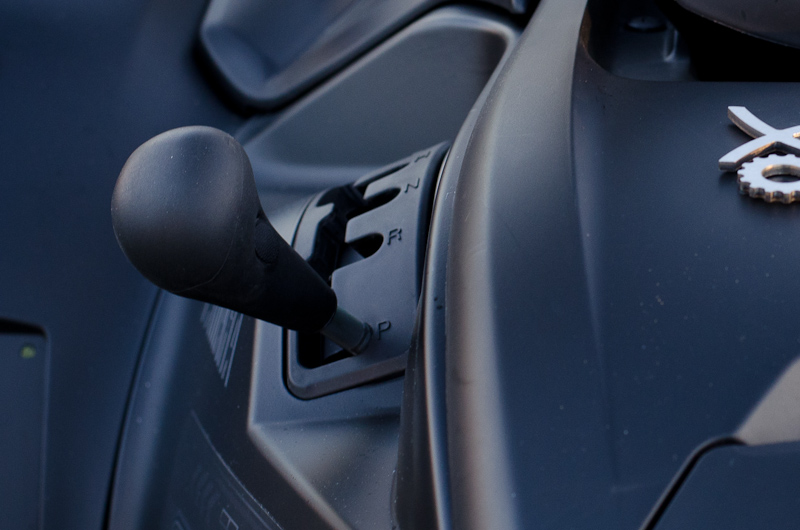
IntroductionThe gear selector on the 2007-2013 Yamaha Grizzly 700 is a good quality, smooth-shifting shifter. But it has one feature that I personally find incredibly annoying - the shifter interlock. The interlock is a "safety" mechanism that requires the operator to apply the rear brake when shifting from one gear position to another. The purpose, I expect, is to: a) Prevent the operator from damaging the transmission by jamming the shifter from one gear to another while moving, and b) Prevent the operator from losing control and hurting themselves by jamming the shifter from one gear to another while moving. |
 |
I get it - I can see why they did it. But personally, I find it an annoying pain in the ass. It's a real nuiscance, especially when doing technical riding that requires a lot of shifting. Plus, to be honest, I've never really liked the idea of "idiot devices" that restrict my control and try to force me to do or not do something based on the assumption that I'm an idiot. Plus, there's at least one situation I can think of where having to hit the brakes before shifting could be disasterous: imagine you;re attempting a steep climb and the front end gets light and starts to come over. I've been in this situation many times in my offroad buggy, and sometimes the only thing that can save you from a nasty back-flip roll is finding reverse quickly and backing down which also brings the front end down. Hitting the brakes, especially the rear brakes in this situation just accelerates the reverse-endo and can invite an immediate roll. Sure, saving a roll like this can be hard on the transmission - but backflipping is a lot harder on yur head. All that said, I cannot and do not recommend the following modification as it serves to defeat the factory-installed safety mechanism and doing so will no doubt void your warranty, ruing your ATV, endager your health, and might even make baby Jesus cry...but I found the interlock such a pain that here's what I did. |
|
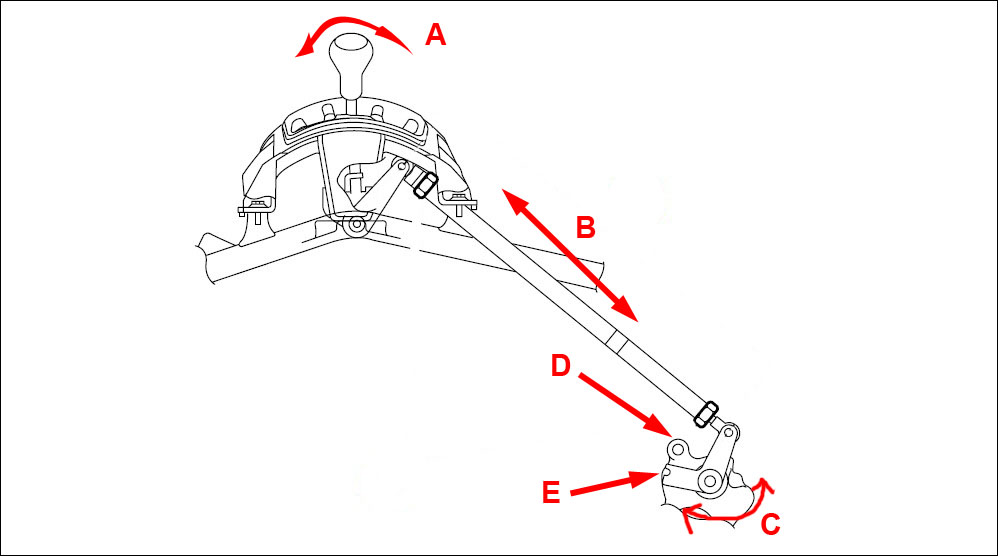 |
This is how the interlock mechanism works. When you move the shifter (A), the shift rod moves back and forth (B), causing the shift guide to rotate (C). There is a spring-loaded pin (D) that prevents the rotation of the shift guide (and therefore the shift) by intefering with the slotted tab on the end of the shift guide (E). Applying the rear brake, by foot pedal or hand lever, causes a "shift control cable " to retract the pin, allowing the shift to be made. |
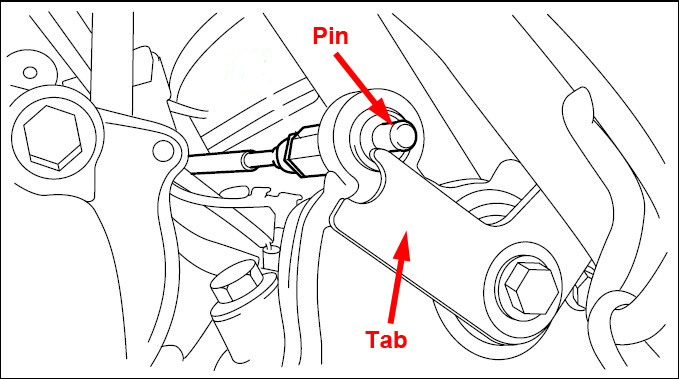 |
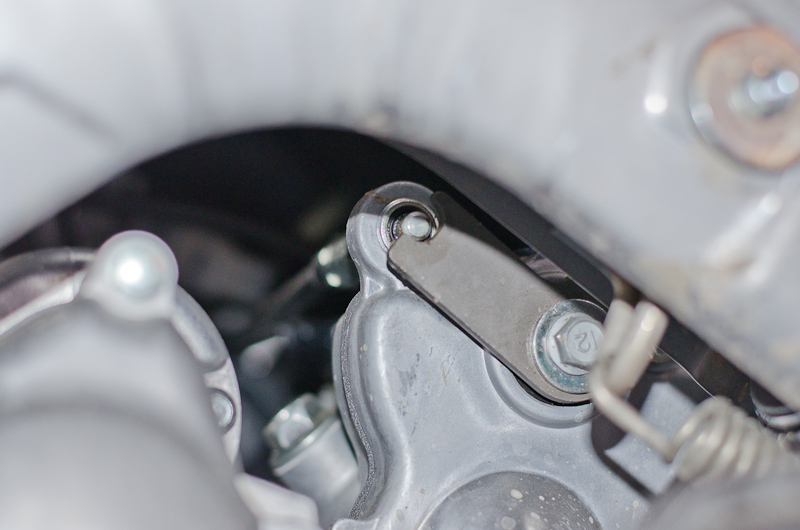
Close-up of the interlock pin and the slotted tab on the end of the shift guide. The slot in the tab and the two unequal prongs serve to effectively prevent shifting from any gear position to another without first applying the brake. It's actually a clever design, I'll give it that. But I didn't like the results and so set about to remove the interlock function. |
 |
This shows the approximate location of the interlock, located behind the exhaust underneth the plastic panels on the left side of the ATV. |
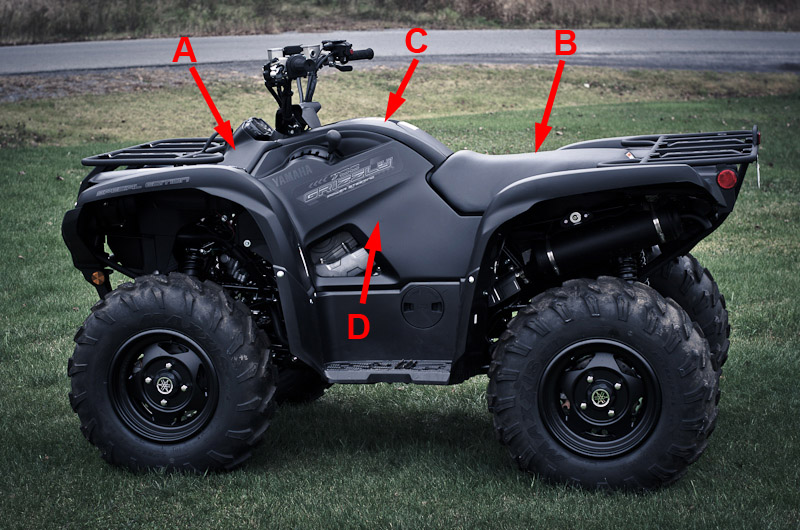 |
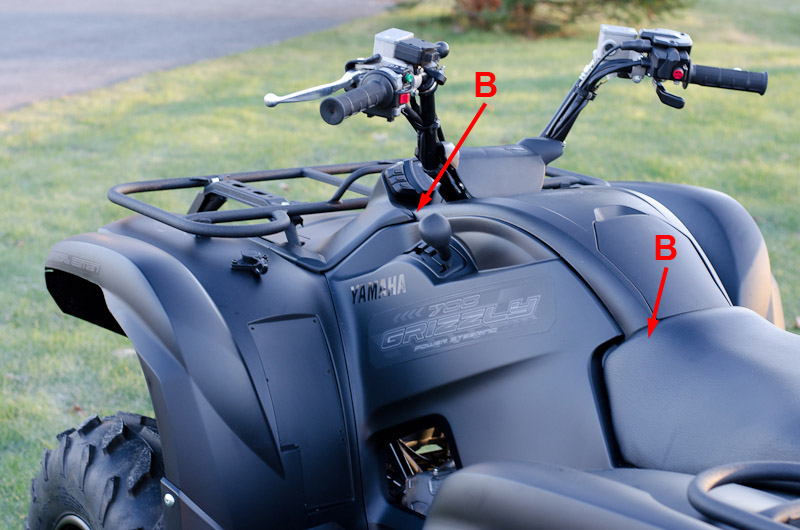
In order to access the interlock, I had to remove: A - Panel "A" (aka "The Lid") B - The Seat C - Panel "C" (aka "The Top Cover") D - Panel "D" (aka "The Left Side Cover") |
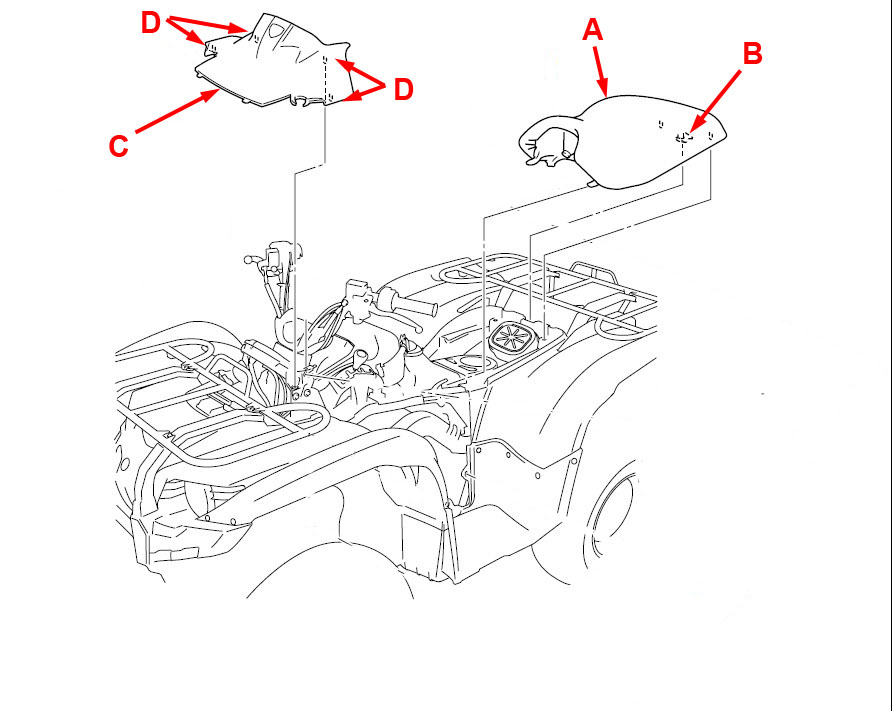 |
I removed the seat (A) by depressing the lever at the back (B) and lifting the seat up and back. Next I removed the lid (C), by pulling upwards and forwards in order to disengage the four pins (D) from their grommets. |
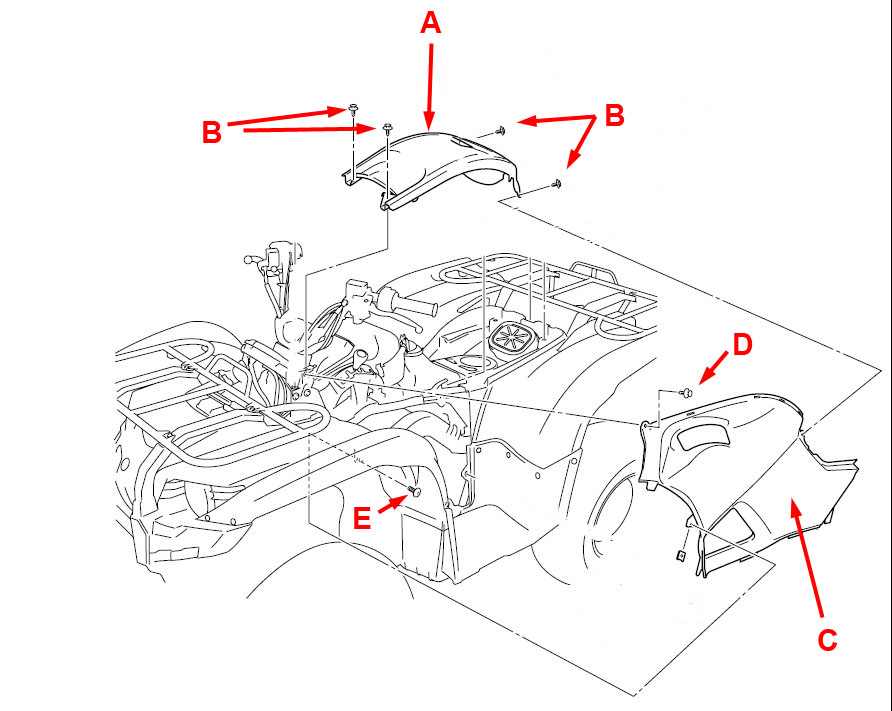 |
With that done I removed the top cover (A) by removing the four quick fastener screws (B) and pulling the cover upwards. Finally I removed the left side cover (C) by shifting into reverse, removing the quick fastener screw (D) and the bolt on the inner fender (E). |
 |
This pic shows the approximate location of the quick fastener screws that secure the top cover. |
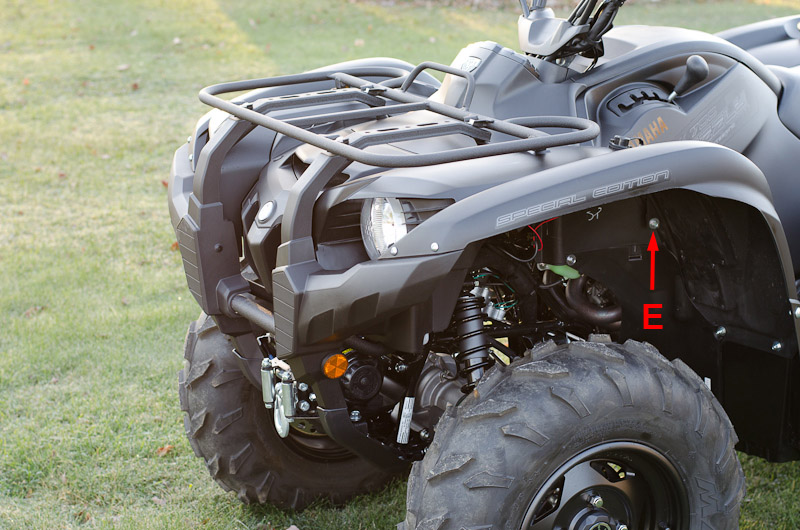 |
And this shows the location of the inner fender bolt (E). |
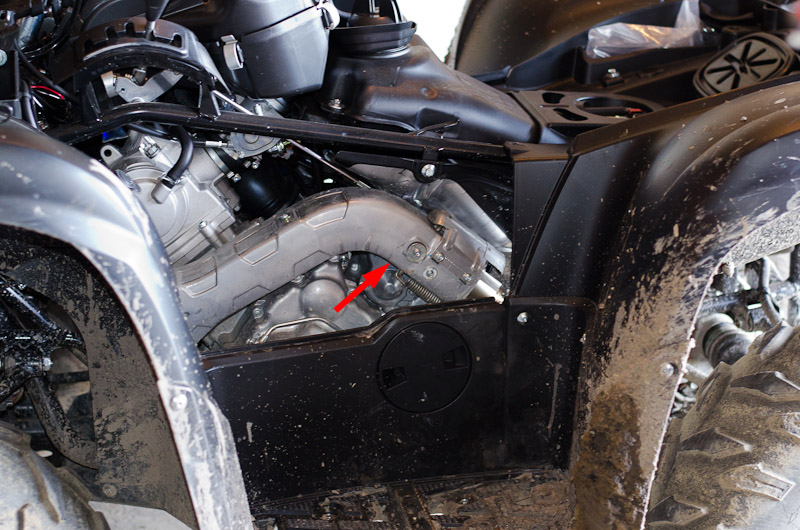 |
With the plastic panels removed, we can clearly see the exhaust. The interlock is tucked behind it in the area indicated by the red arrow. |
 |
Closer shot showing the location of the interlock. If we get down and lookup and underneath where this red arrow indicated, we will see... |
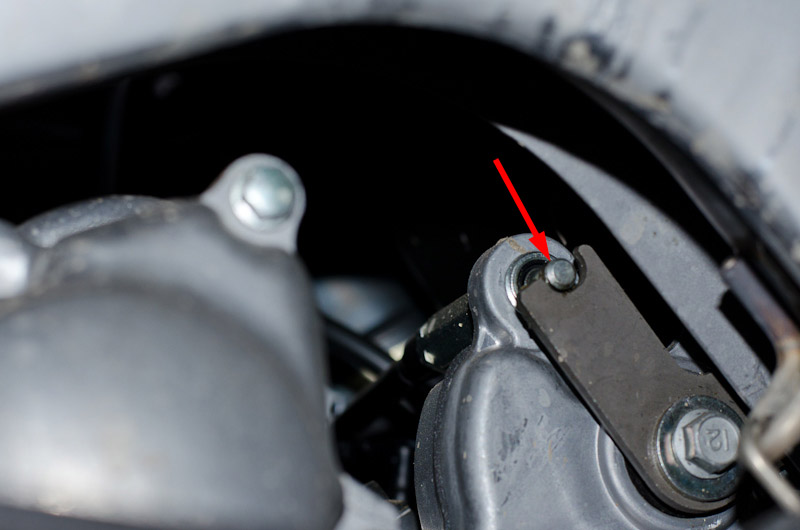 |
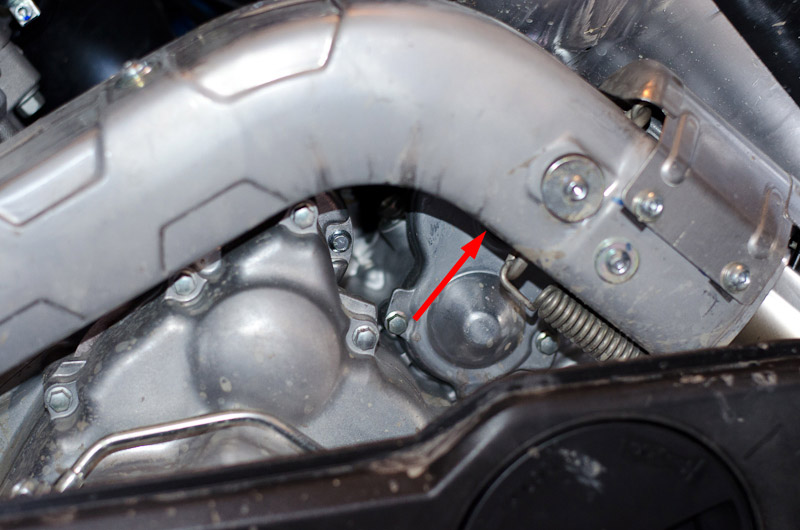
...the shift interlock mechanism consisting of the spring-loaded pin (red arrow) and the slotted tab on the shift guide. |
 |
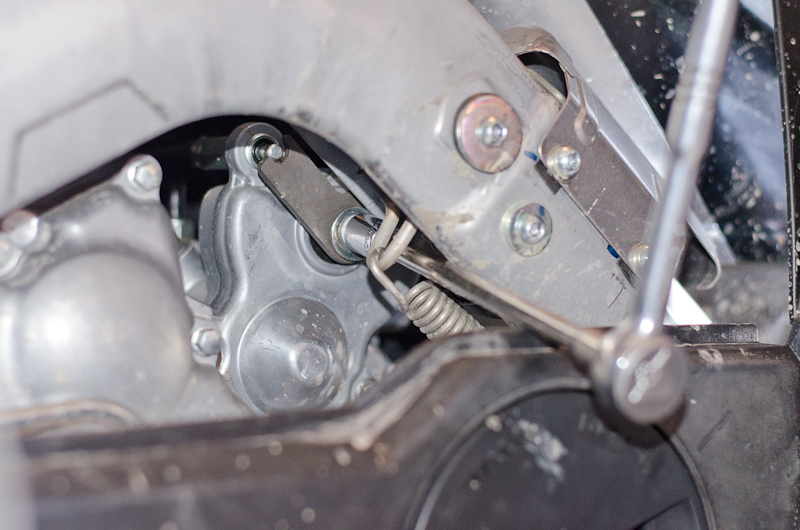
In this pic I am pulling the left brake lever on the handlbar, and you can see the pin is retracted which allows for shifting. |
 |
There are a lot of ways I had read about on the internet for defeating the mechanism or disabling it, either permanently or temporarily. I wanted a permanent solution so I unbolted the shift guide, and then shifted the lever to "H", which allowed me enough slack and room to work the shift rod (with the shift guide attached) over the top of the exhaust so that I had room to work on it. |
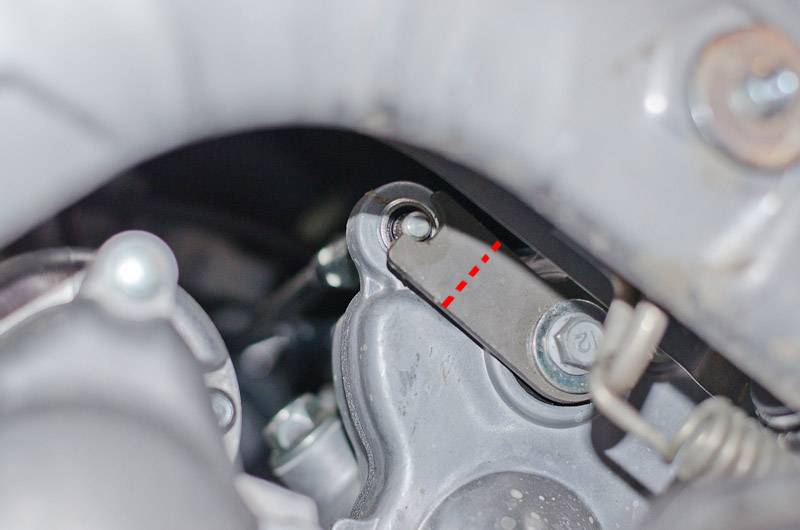 |
I then took an angle-grinder with a zip-disk installed and cut off the top of the interlock tab on the shift guide, in about the position indicated by the dashed line here. I had to cut enough off so that the corners of the tab wouldn't catch on the pin, regardless of shifter position. Less extreme / permanent measures include just bending the tab out away from the pin. Personally, I didn't want to risk bending the part of the shift guide that the shift rod attaches to, and am happy with a permanent solution. That said - a new shift guide with the tab is only a $12.00 part should I ever want to replace it. |
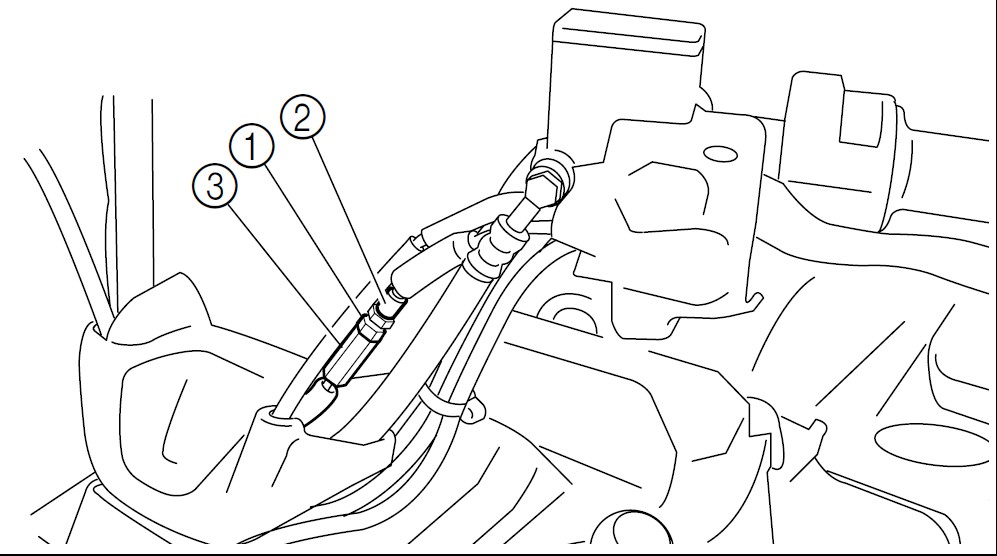 |
I've also heard of people defeating the interlock by loosening the locknut (1) then adjusting the shift control cable (2) using the adjuster (3), but I can't confirm whether this works as I didn't try it. |
 |
After putting everything back together (the proverbial "reverse of removal") I can now shift quickly and smoothly without having to worry about stepping on the brake pedal or pulling the left brake lever. |
|