 |
Symtec Heat Demon ATV Seat Warmer By Bill "BillaVista" Ansell |
IntroductionWinter riding can add a whole new dimension and new challenges to ATV riding - not to mention enabling you to enjoy your machine (and make use of your investment!) all year round. If you live where it's cold in the winter months, some winter-specific accessories can make you a whole lot more comfortable when out on the trails in the snow and make winter riding more enjoyable. |
 |
| One such accessory is the Heat Demon ATV Seat Heater by Symtec. In this article I'll show you how I installed on on my Yamaha Grizzly 700 - but as it's a universal product and installation is quite simple this procedure will work for any ATV. | |
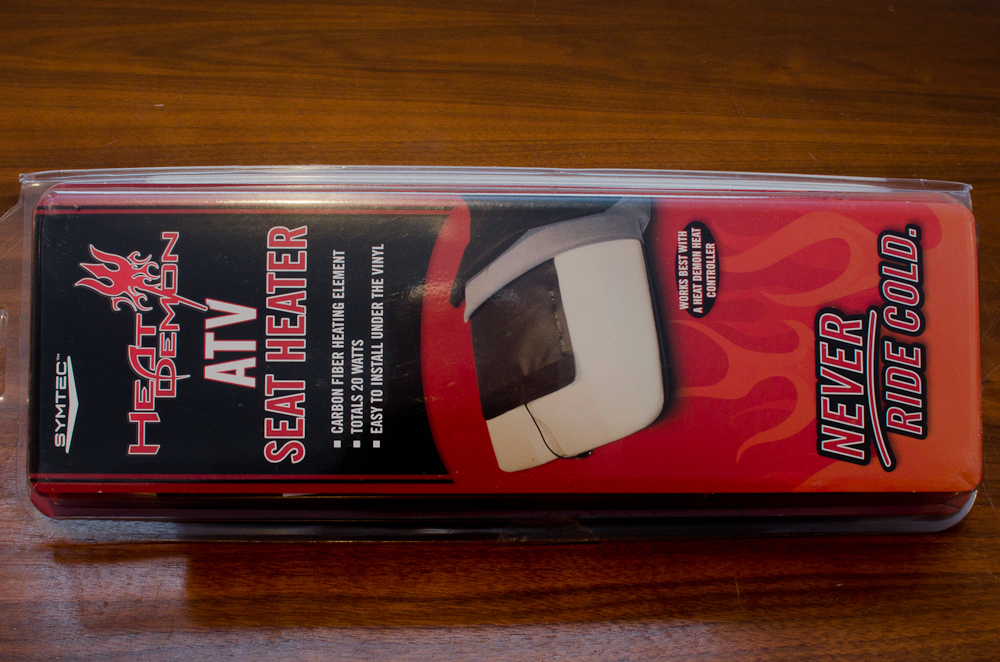 |
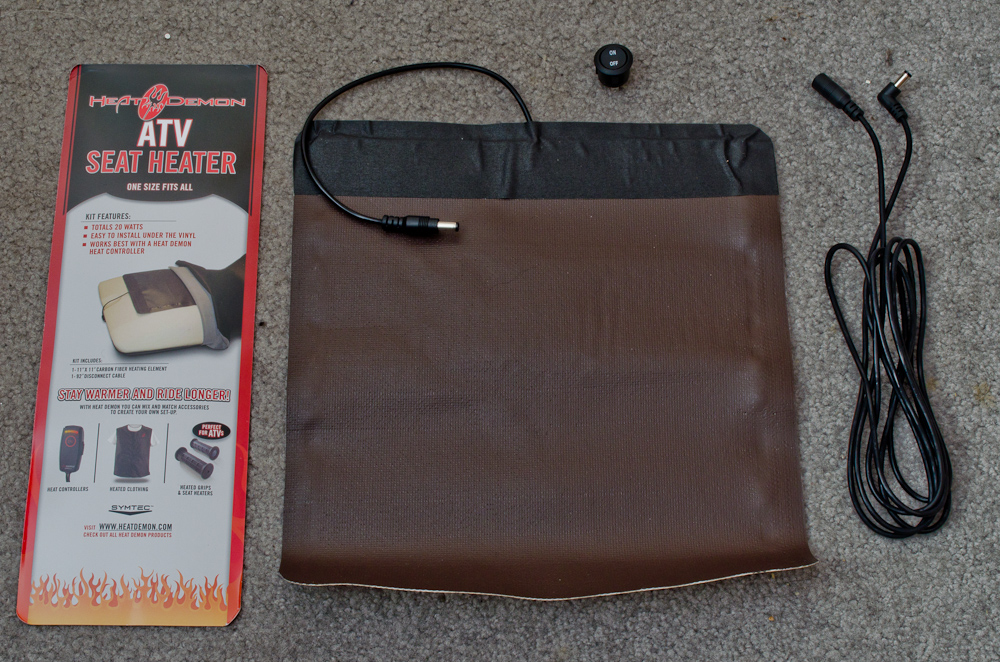
The Symtec Heat Demon ATV Seat Heater in it's package. |
|
Inside the package you get the heating element (pad), a cord to connect it to either a previously-installed Heat Demon controller (see my Heat Demon Grip Warmers article for details on the Heat Demon controller) or to the supplied switch, and the supplied switch which is a simple On-Off style rocker switch (technically a single-pole single-throw or SPST switch). If connecting to the supplied switch you will have to cut the 90* male end off the supplied cord and wire the bare end to the switch, then wire the other side of the switch to a 12V+ DC supply. See my article on installing an accessory fuse panel for information on switches, relays, fuses and other things electrical). The rest of this article assumes connection to a Heat Demon controller. |
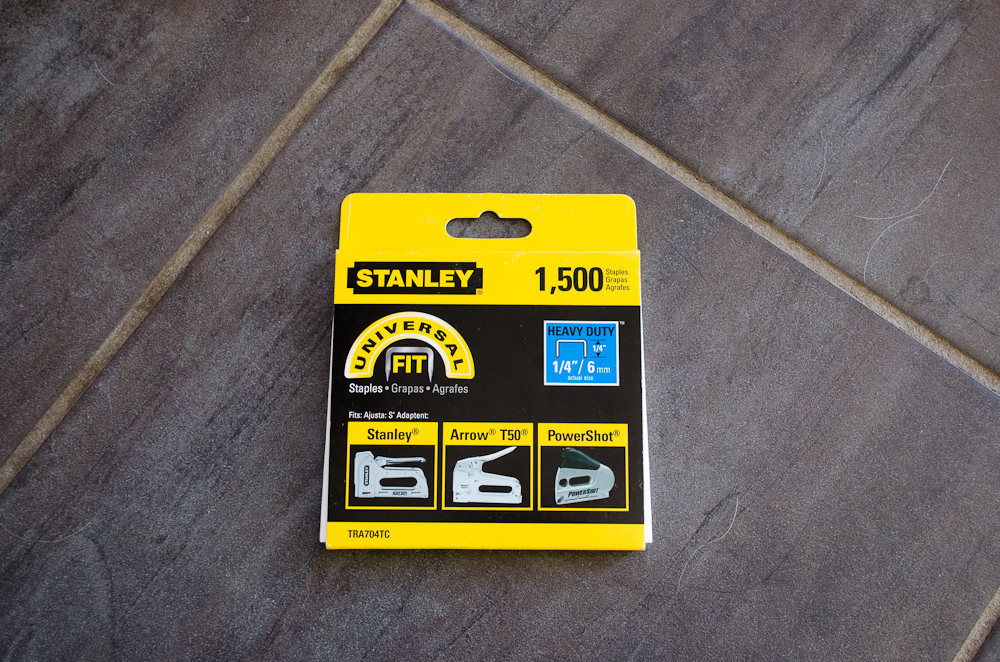 |
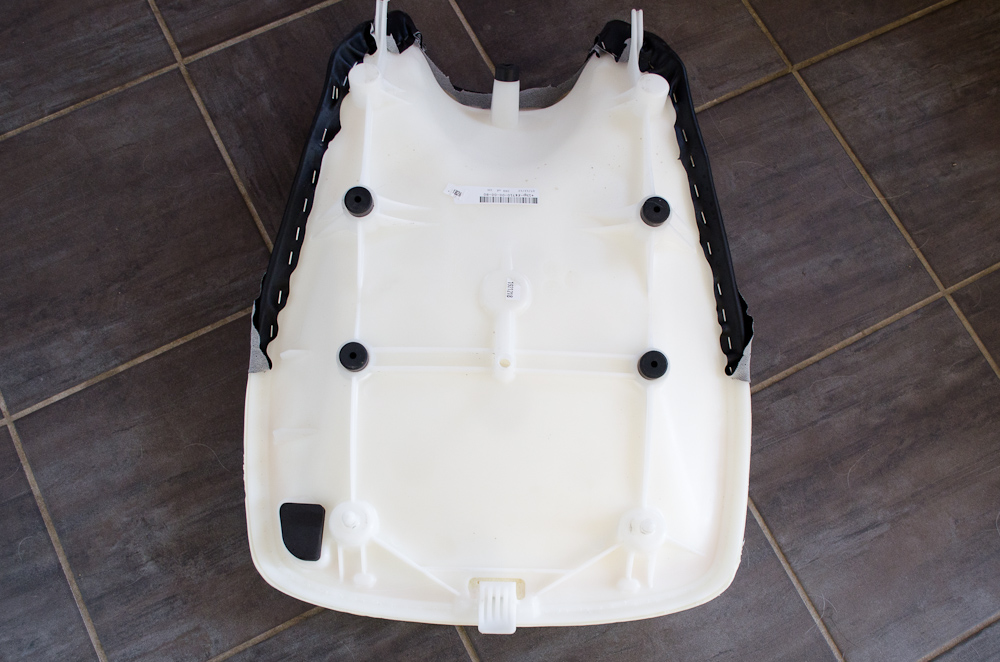
The heating element installs underneath you stock seat cover, so you will have to unstaple your seat cover in order to get the element inside. So, before you start, make sure you have the appropriate staples and good quality staple gun for re-stapling the seat cover back in place once the heating element is installed. The plastic of the seat frame is quite thin where you will need to staple the cover down, so make sure you have staples that are 1/4" (6 mm) and not longer - otherwise the staples will go right through the seat frame and come out the other side, making holes in the other side of the seat cover. Do not ask how I figured this out! Stainless steel, or better yet marine-rated Monel staples would be best as they are most corrosion resistant. I was impatient and had to settle for these regular staples. |
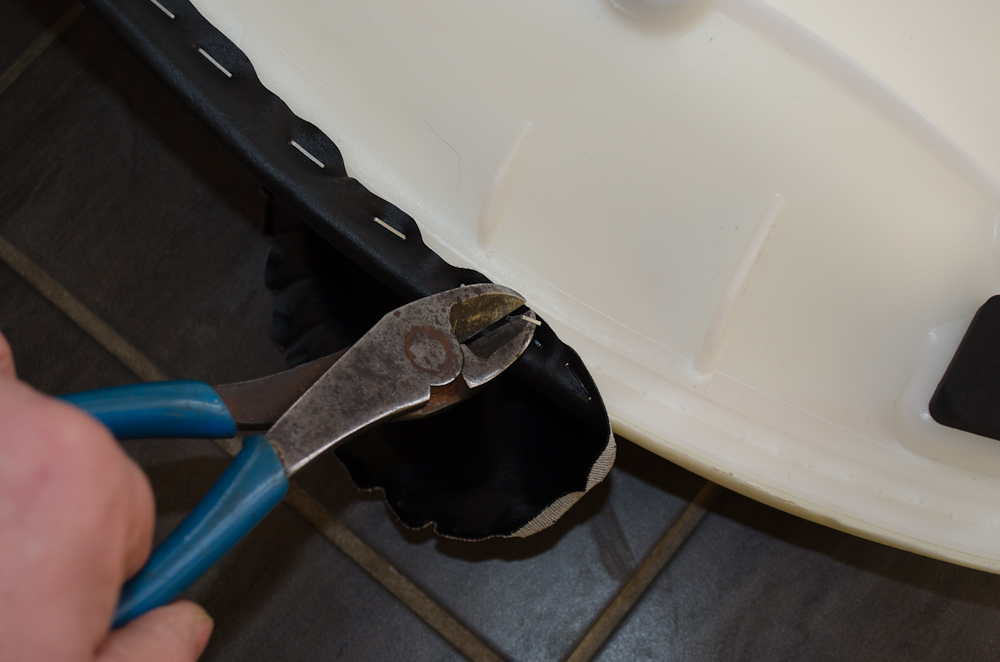 |
Begin by using side-cutters... |
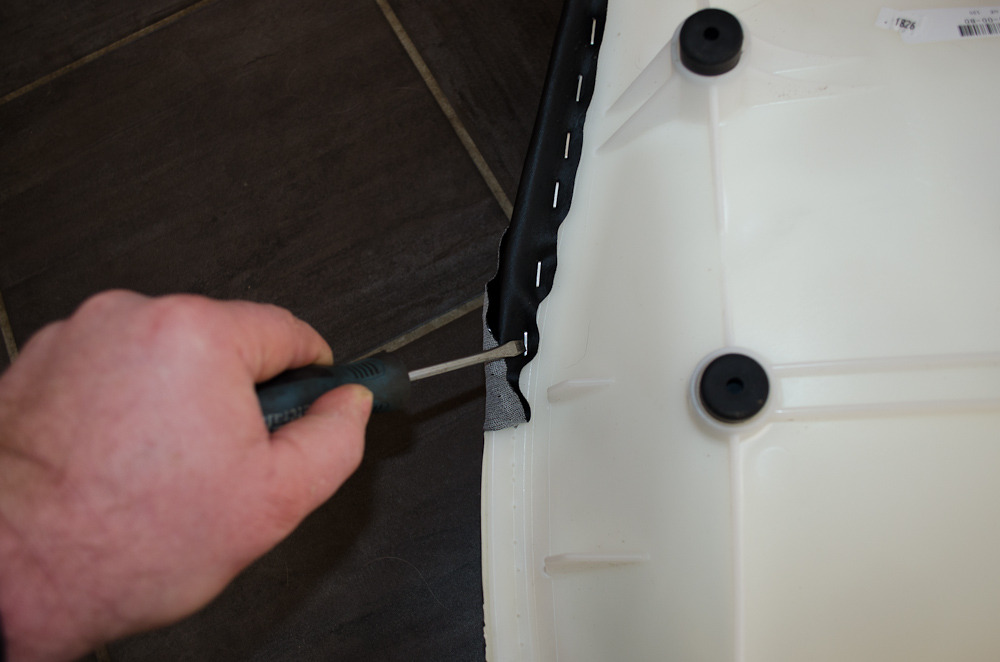 |
... and/or a small screwdriver to remove the staples from the rear 1/3 of the seat cover. |
 |
This illustrates the extent of the area from which you have to remove the staples in order to easily install the heating element. |
 |
With the staples removed, pull back the cover. Next remove the tape from the sticky pad on the underside of the heating element, slide the heating element into place with the cord positioned to the rear, and press down to stick it in place on the seat foam. Before I removed the seat, I sat on the ATV and marked my usual seating position so I would know how far forward I would have to place the heating element. |
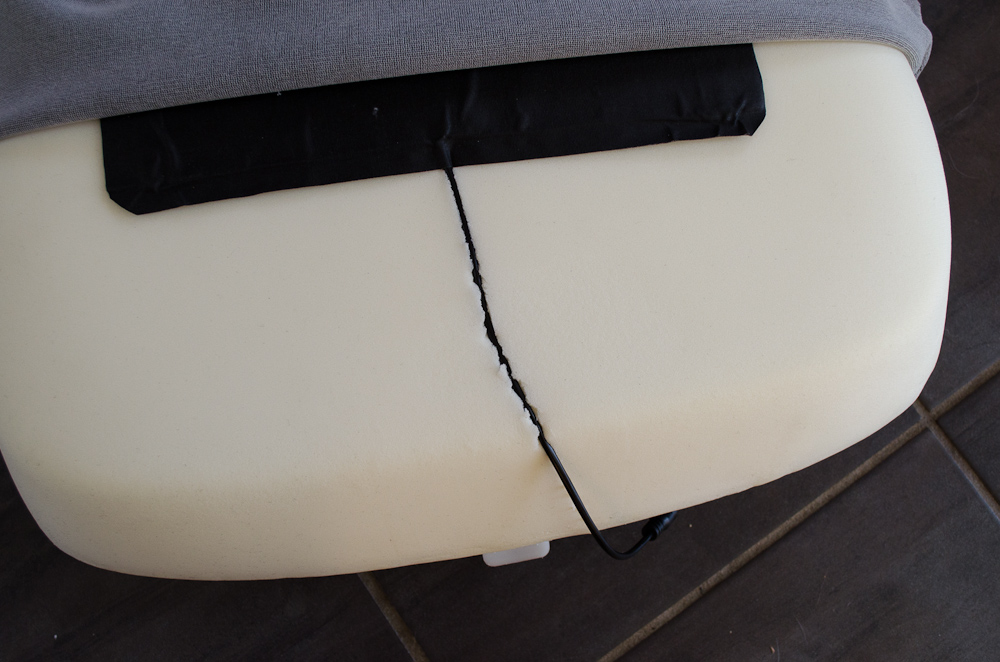 |
I used a sharp utility knife to make a very small channel in the seat foam into which the cord could fit so that it wouldn't stand out when the seat cover was stretched back in place. |
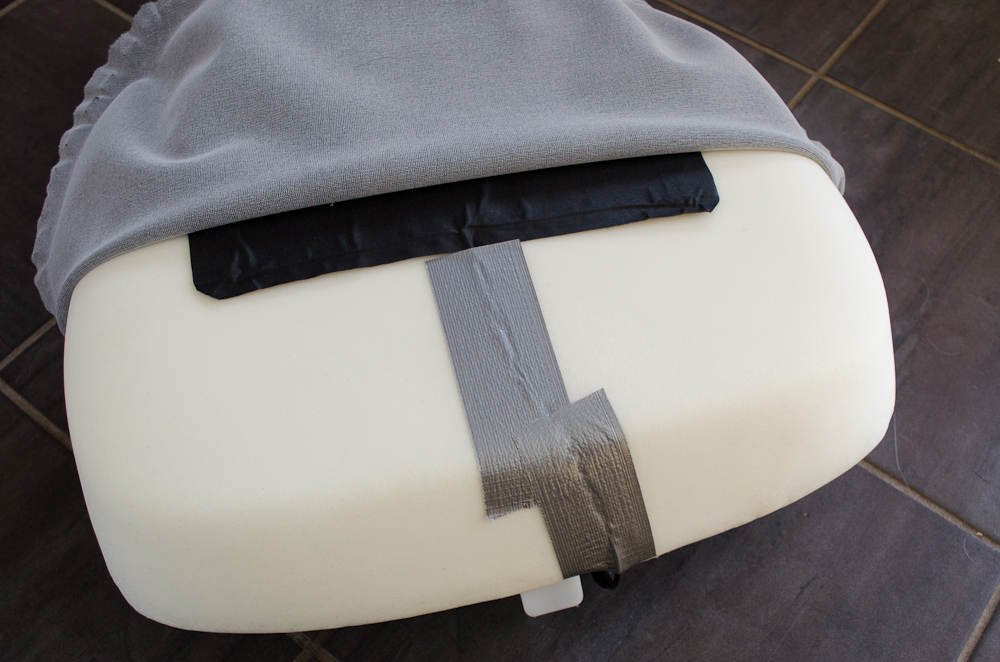 |
Then covered the cord in its channel with some good ol' duct tape. |
 |
With the heating element and cord securely in place, stretch the seat cover tightly back over the seat and re-staple it. The plastic is quite hard so you need decent hand strength and a good staple gun to do this well. Try to staple the little tabs back into the position they came from to get the best fit, and make sure the seat cover is even and stretched tightly enough. As I am neither talented nor patient you can see that I had to use a few extra staples. |
 |
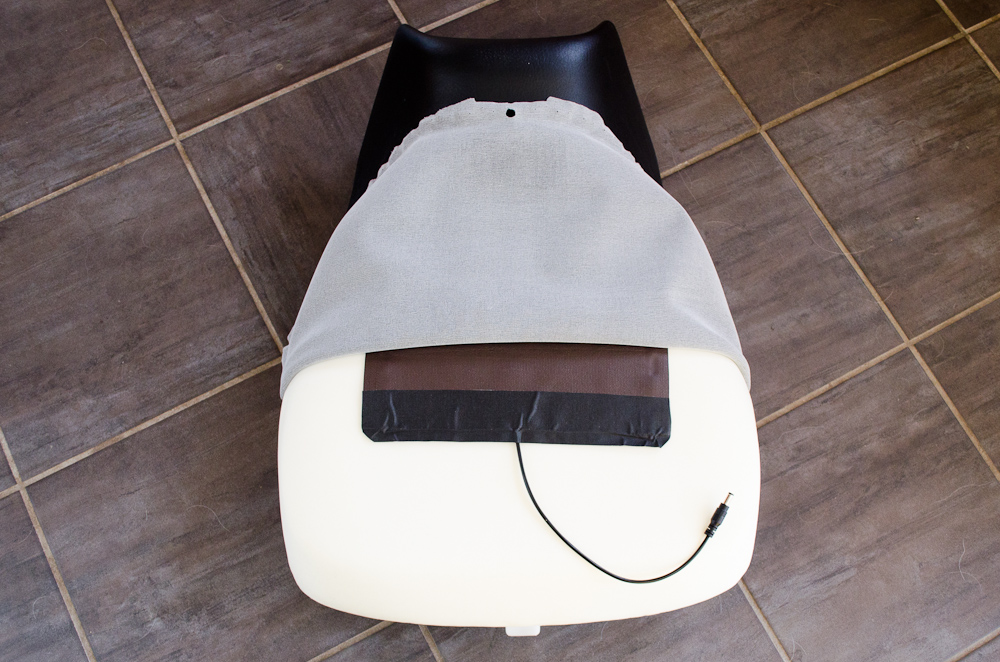
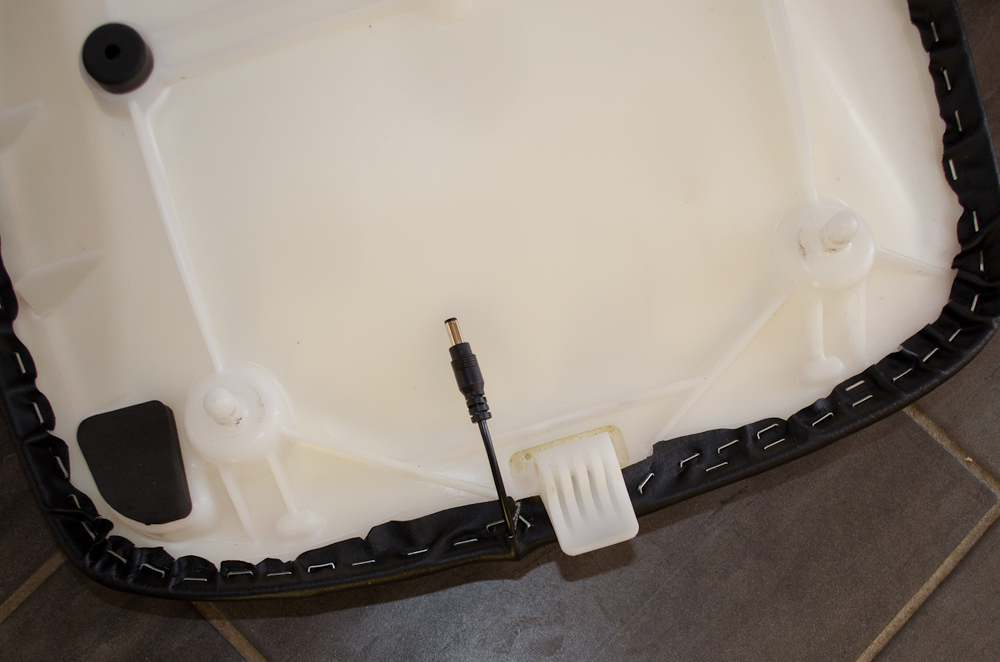
Leave the little pigtail of the cord free near the back of the seat, but staple the cover closely around it to keep things secure and tidy. |
 |
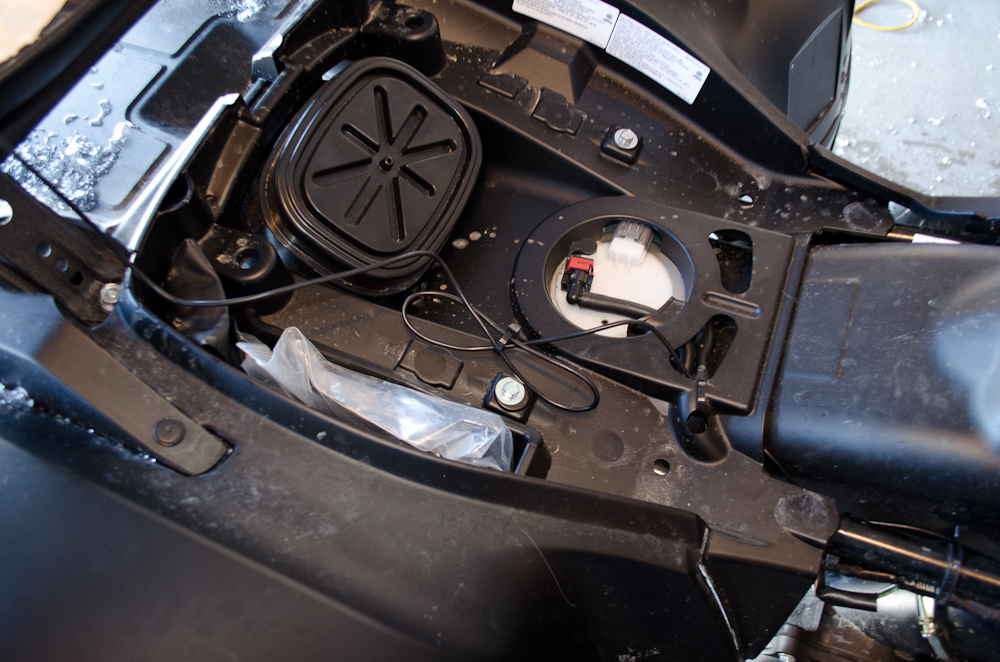
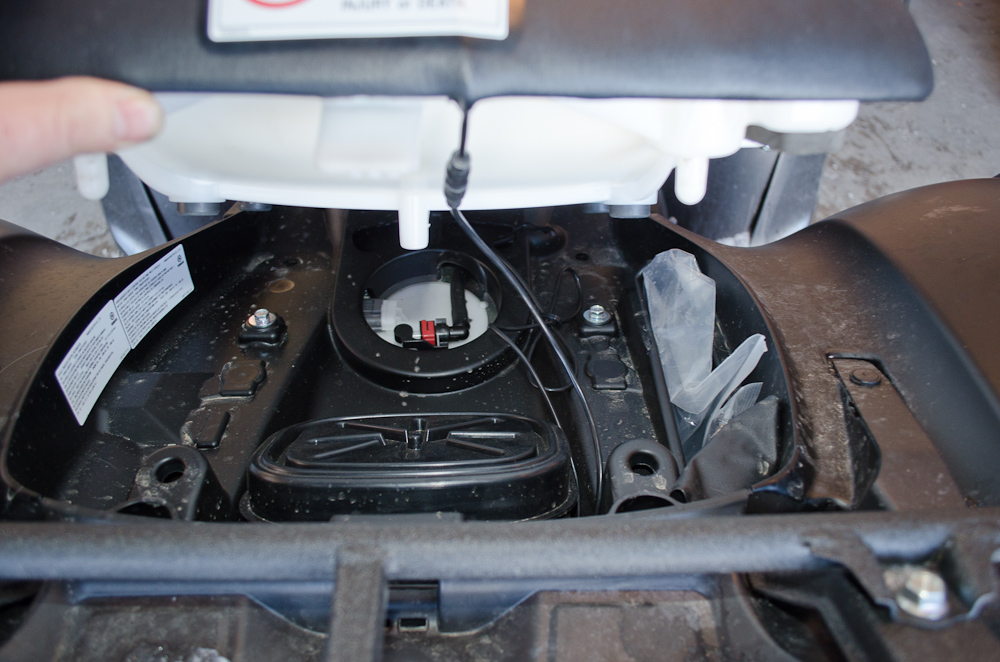
This shot shows the seat on the ATV but flipped up, so you can see how the seat pigtail connects to the supplied cord that will be run to the 12V+ power source for the heating element - in this case a handlebar mounted Heat Demon Quad-Zone Controller. |
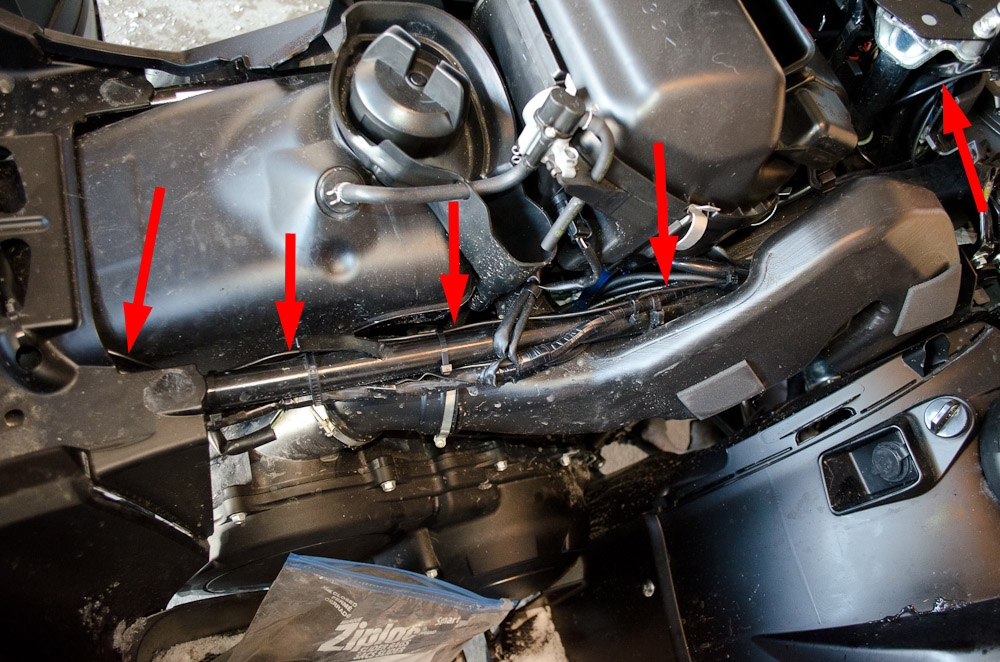 |
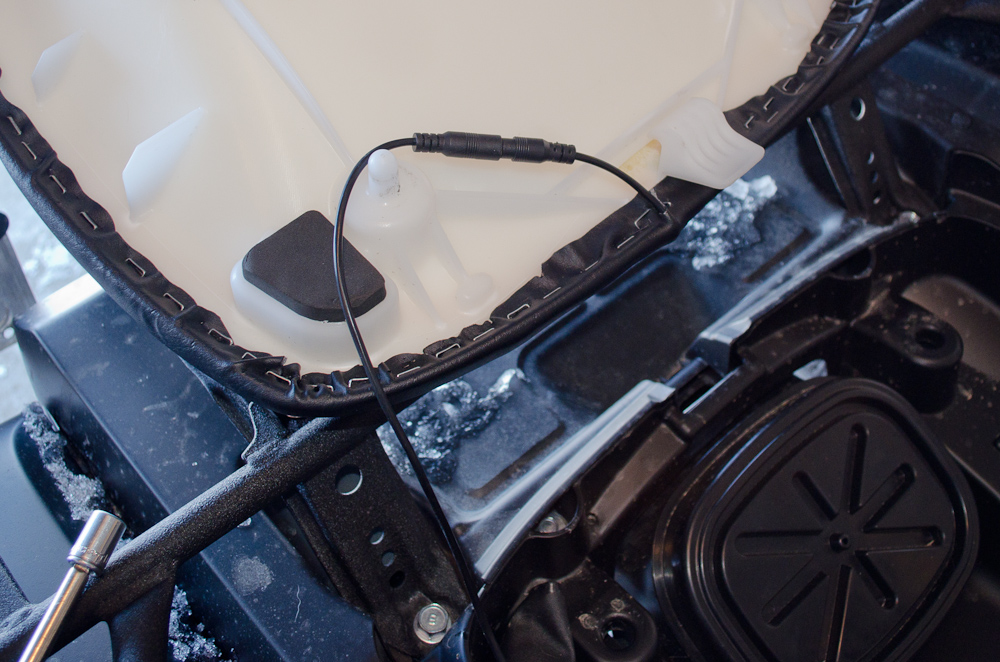
Route the supplied power cord along the frame of the ATV to the handlebars where the controller is mounted. Make sure it is secured and can't rub, chafe, get pinched, or interfere with anything and make sure to avoid hot surfaces like exhaust. |
 |
At the handlebar end, the 90° male fitting just plugs into one of the accessory ports on the controller... |
 |
...like this. |
 |
Make sure any extra length is stored and secured so as not to rub, chafe, get pinched, or interfere with anything, but leave enough slack so you can still easily remove and install the seat. If you have to remove the seat completely from the ATV (i.e. to take it away from the machine) you simply unplug the pigtail from the cord where it attaches at the rear of the seat. |
 |
Re-install the seat, making sure the cord doesn't get pinched and you're ready for nice toasty-warm-bum ATV riding! |
|