Mounting Pelican Cases on a Can-Am G2 Outlander

By Bill "BillaVista" Ansell
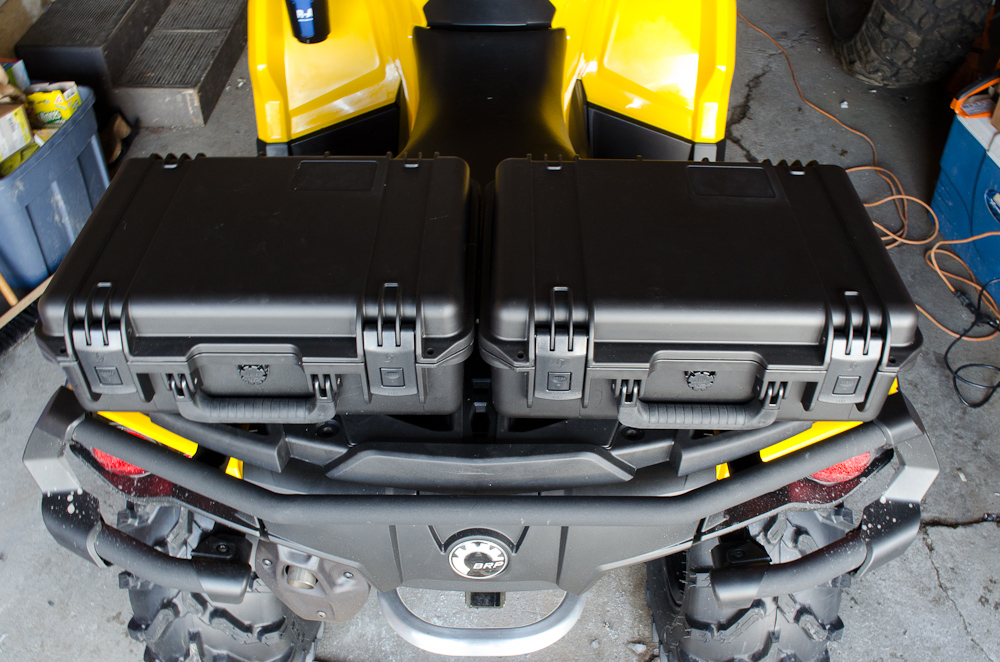
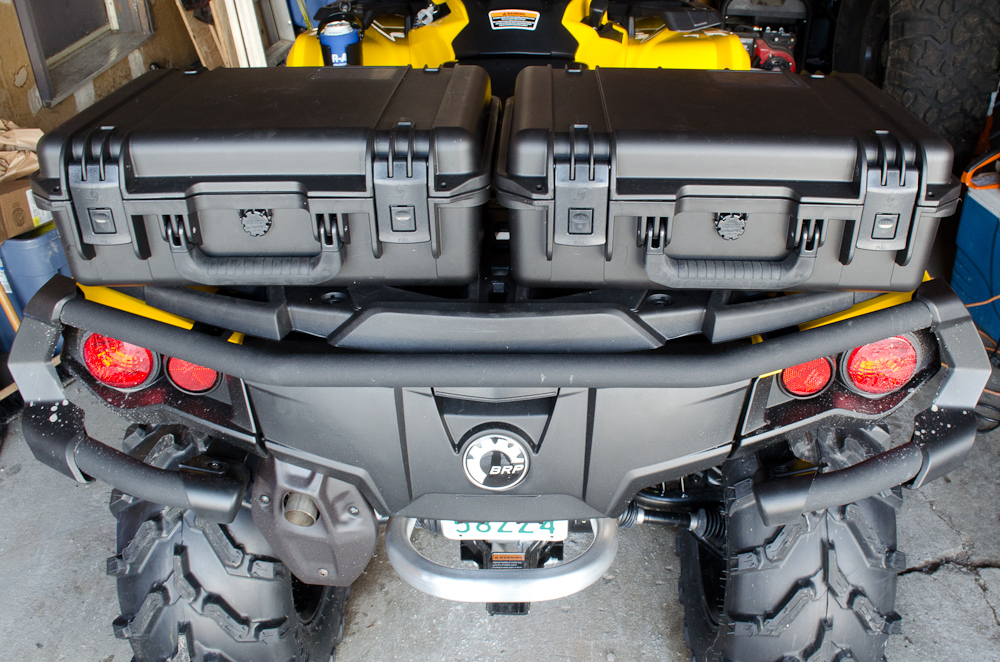
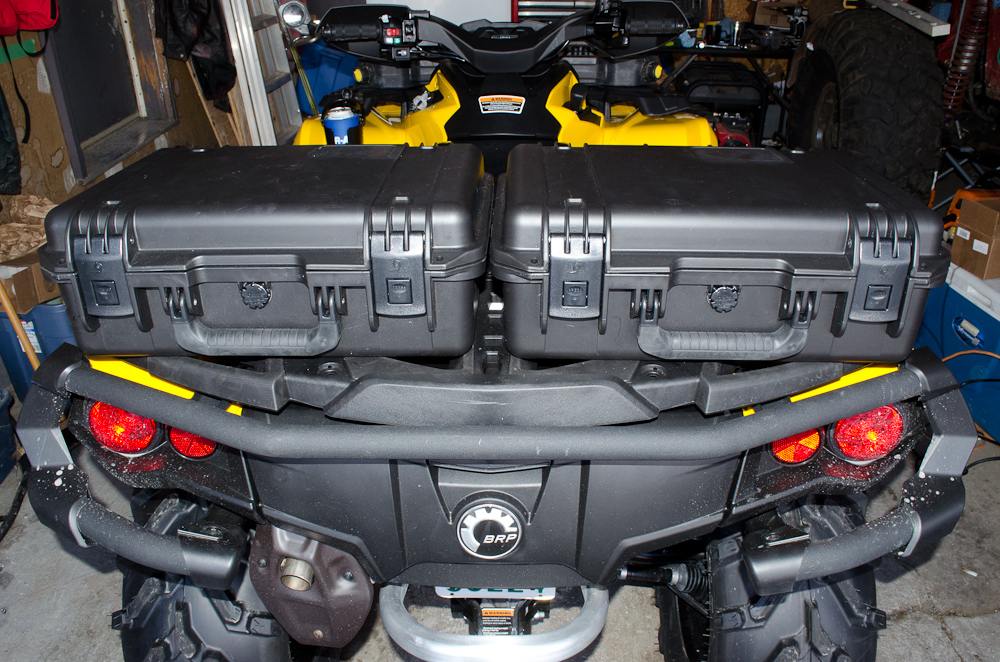
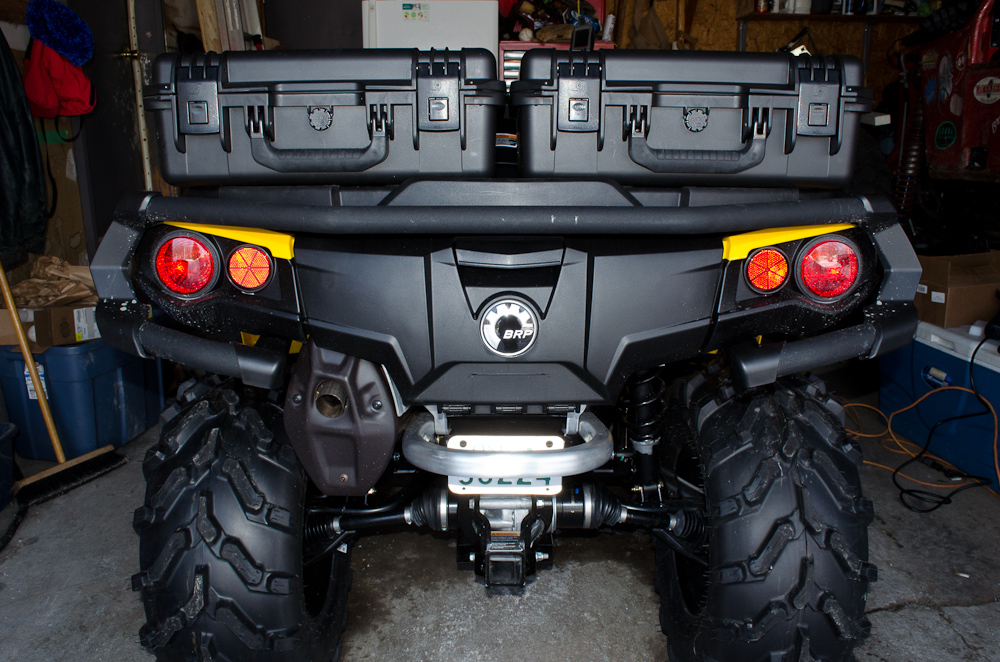
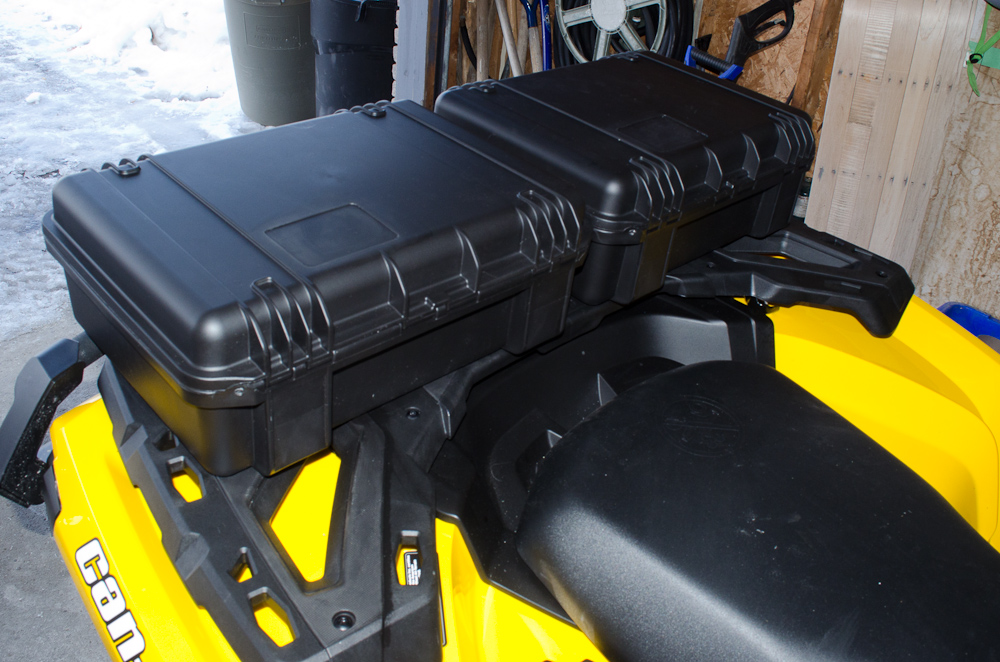
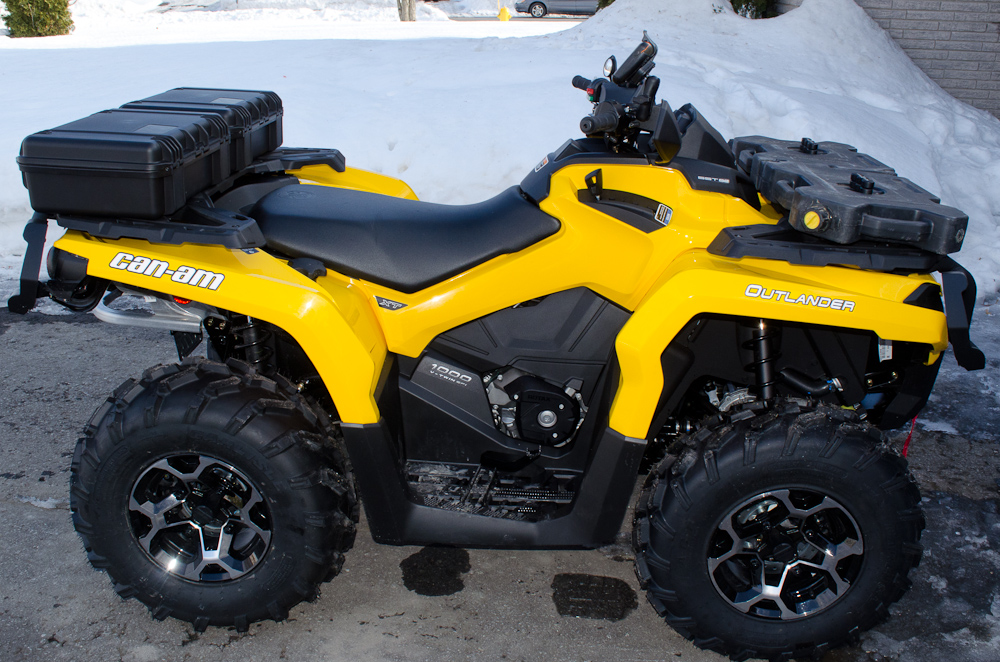
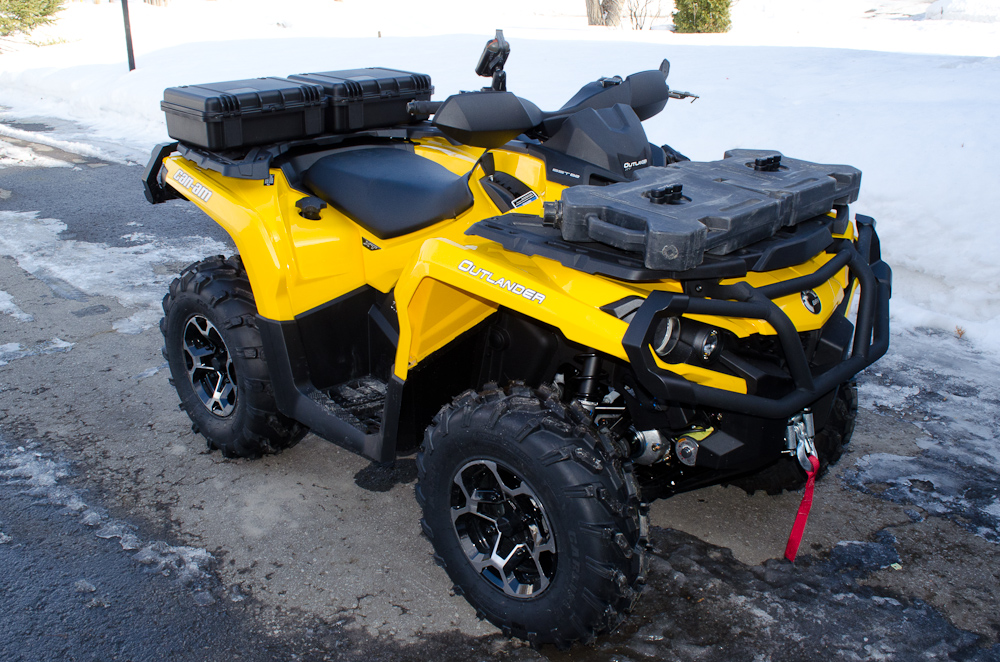
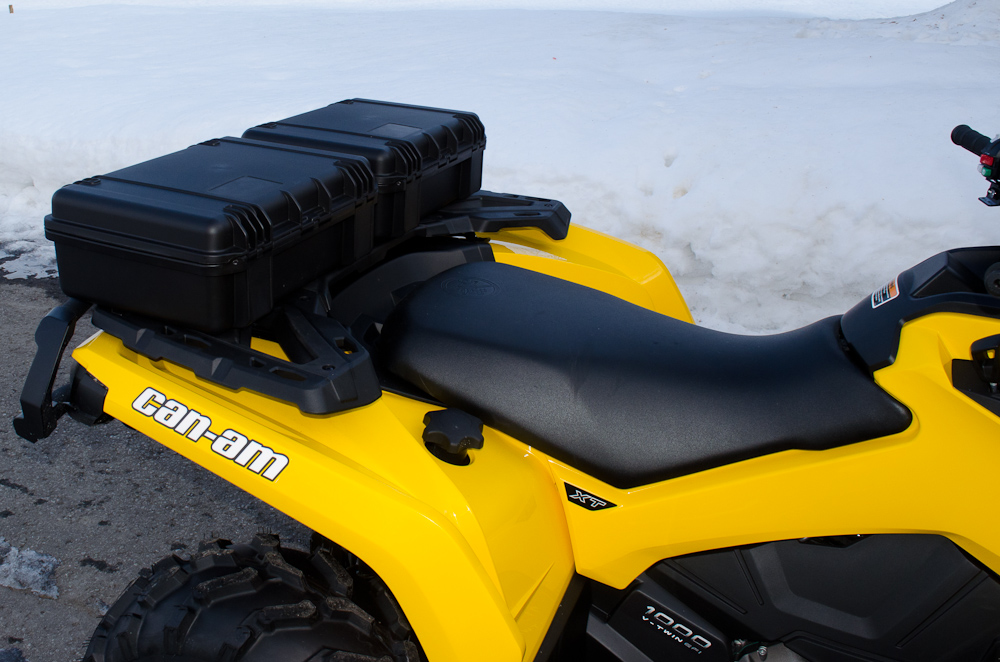
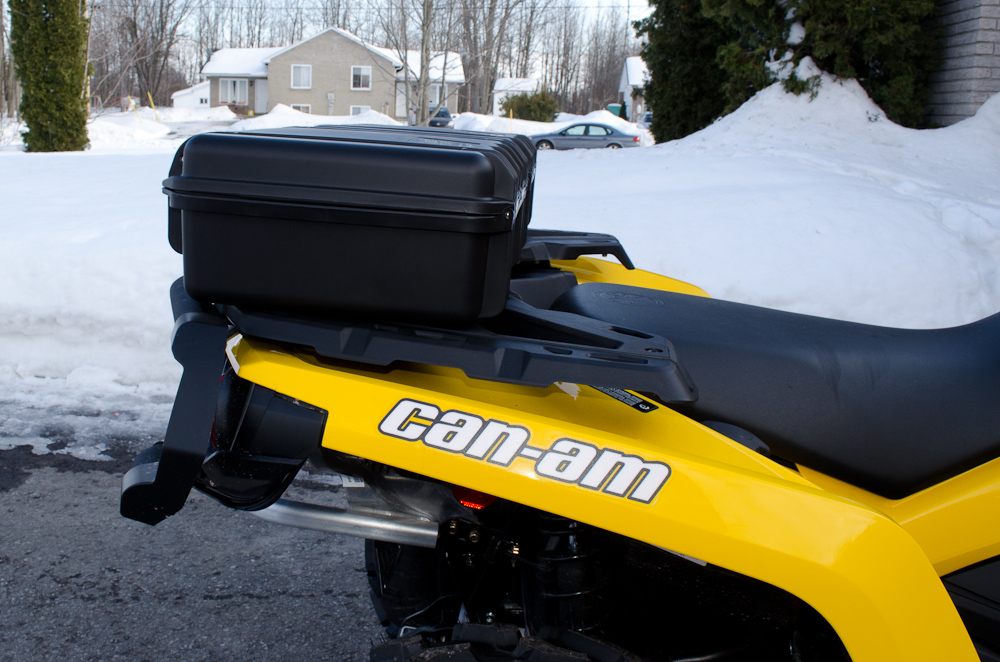
Photography: Bill Ansell
Copyright 2014 - Bill Ansell
(click any pic to enlarge)

Introduction

Having storage on your ATV is super-handy, but I personally find that many of the factory and after-market ATV storage boxes are way too big for my liking. Sure, they have great storage space, but they are also really bulky and tall and ruin the "sleek" look of the ATV in my opinion.

As an alternative to the more common options, I chose to mount two medium-sized Pelican cases on the back of my 2014 Can-Am Outlander 1000XT.

They provide plenty of storage for the essential tools, recovery gear, and supplies and there's even room for for some food and drink. However, if you need space to store helmets and several changes of clothes then these are probably too small for you.

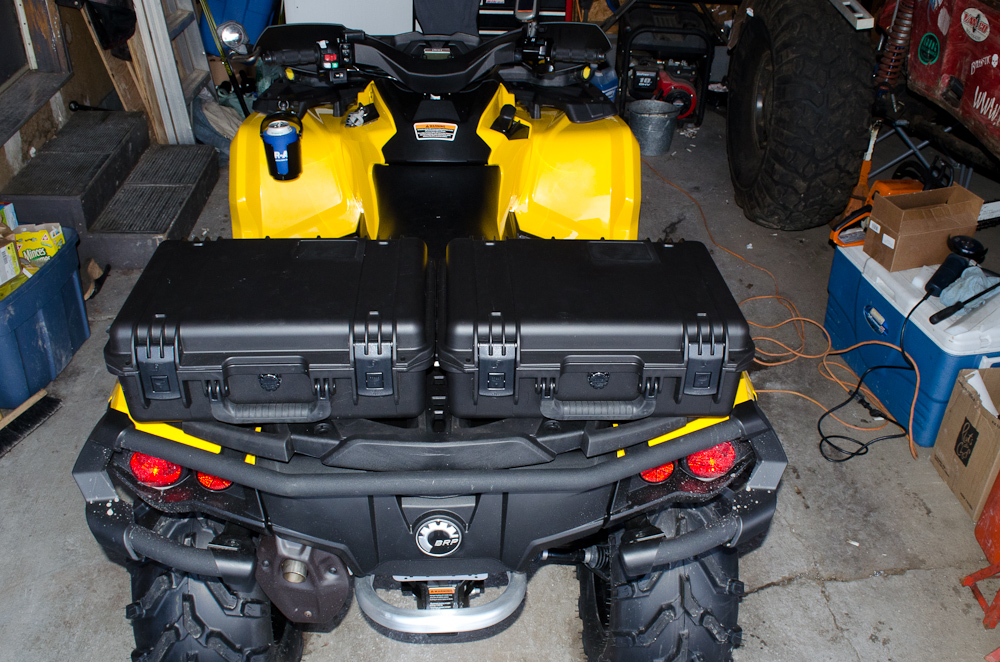
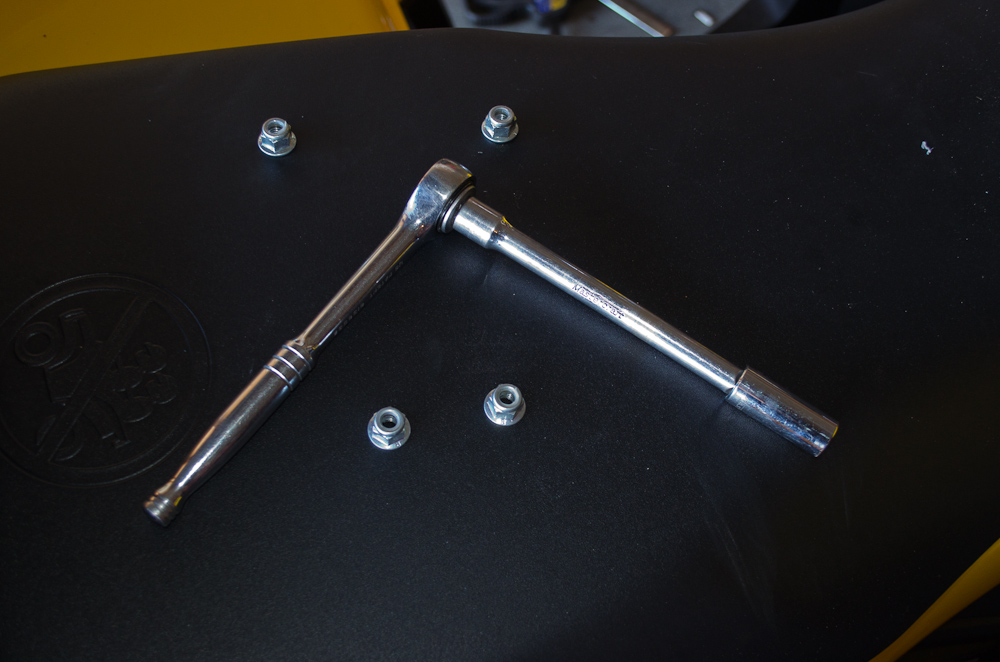
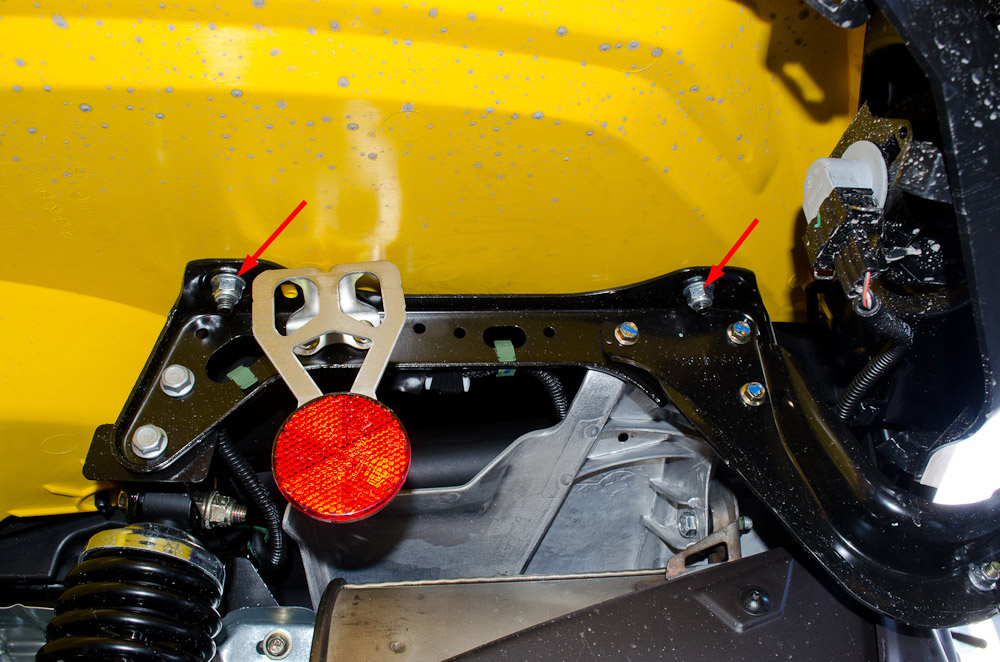
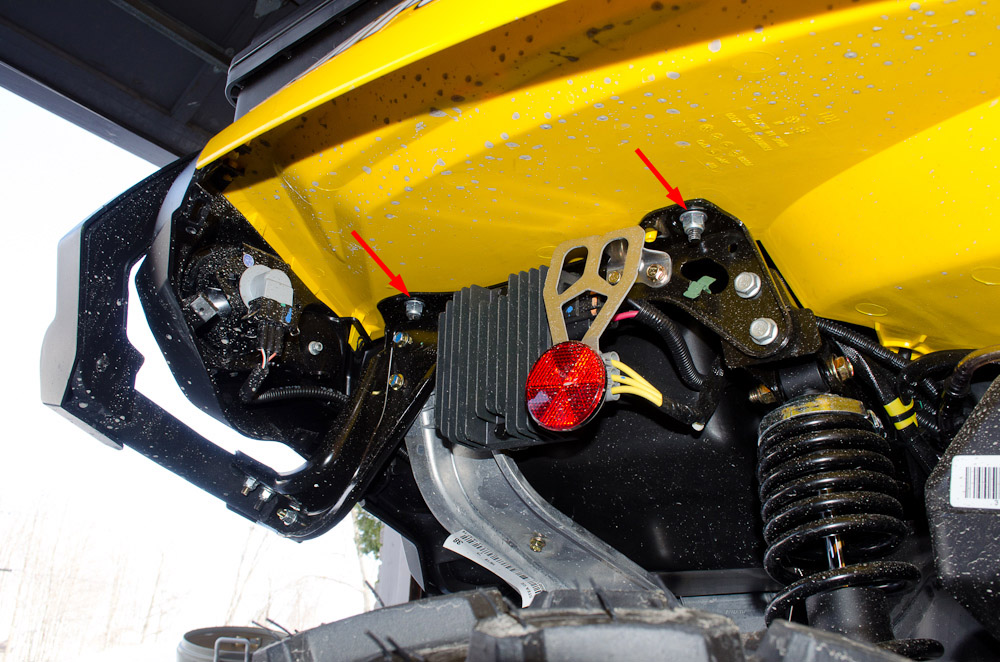
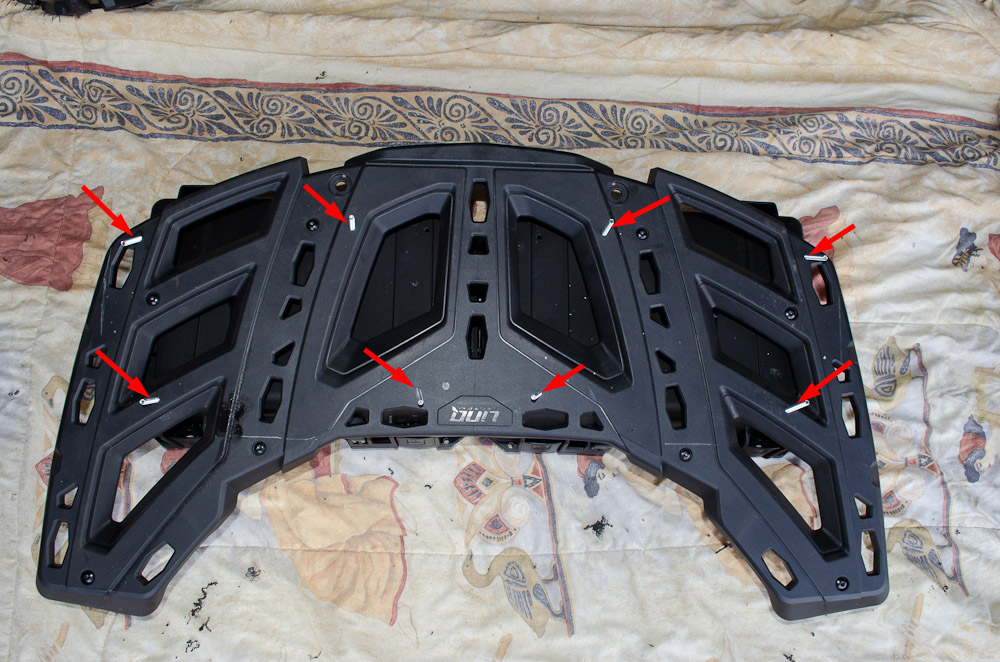
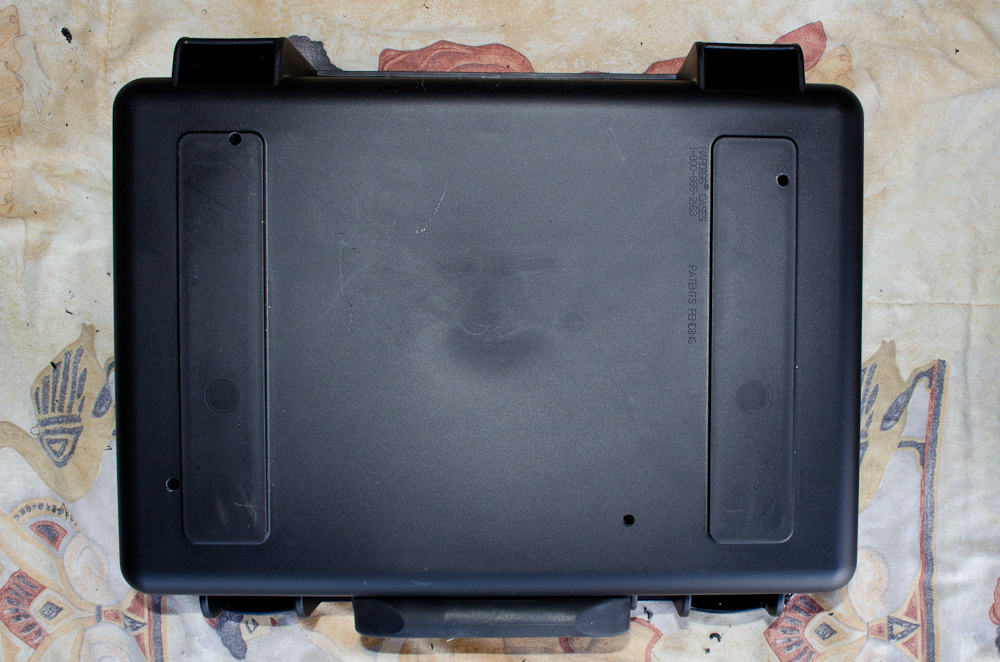
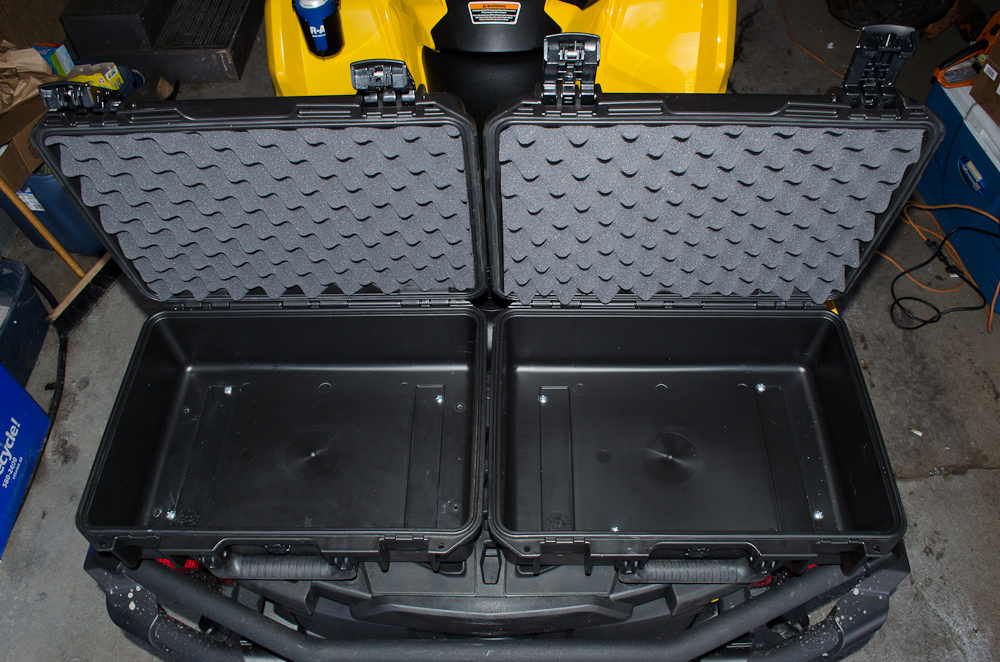
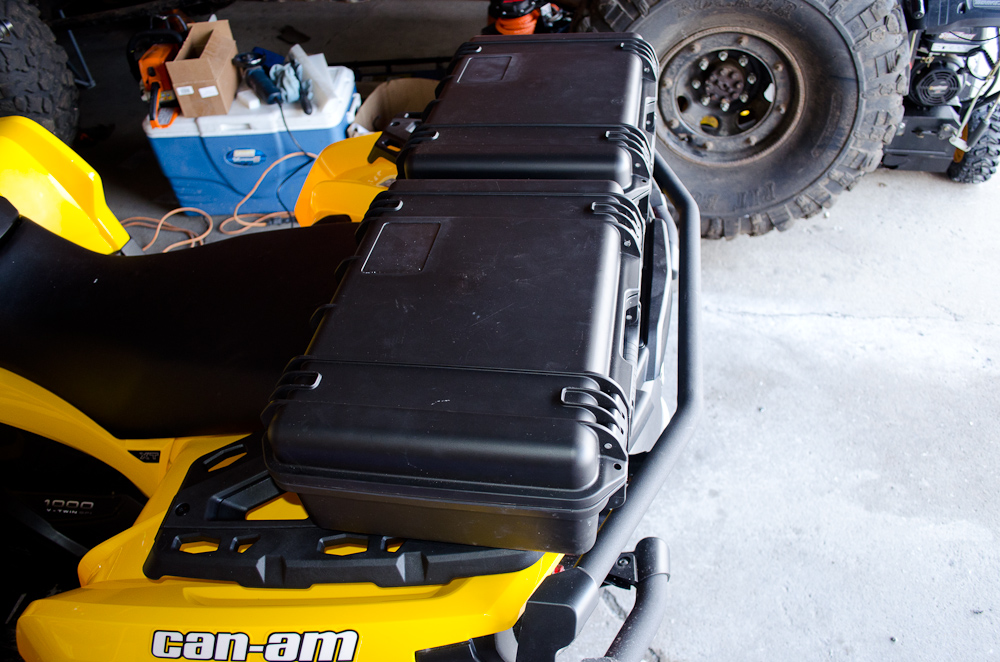
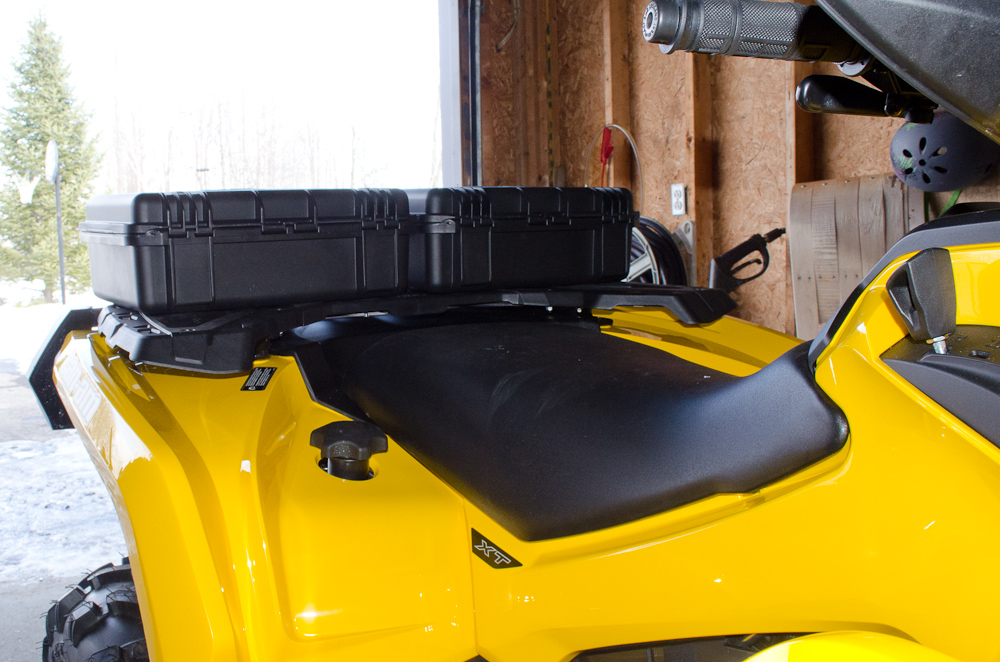
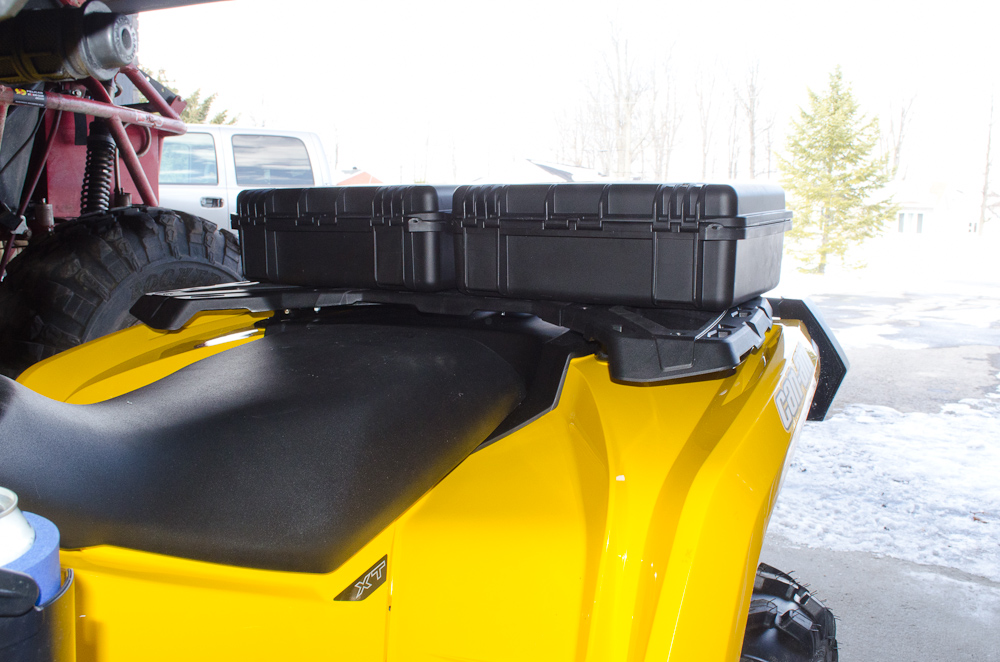
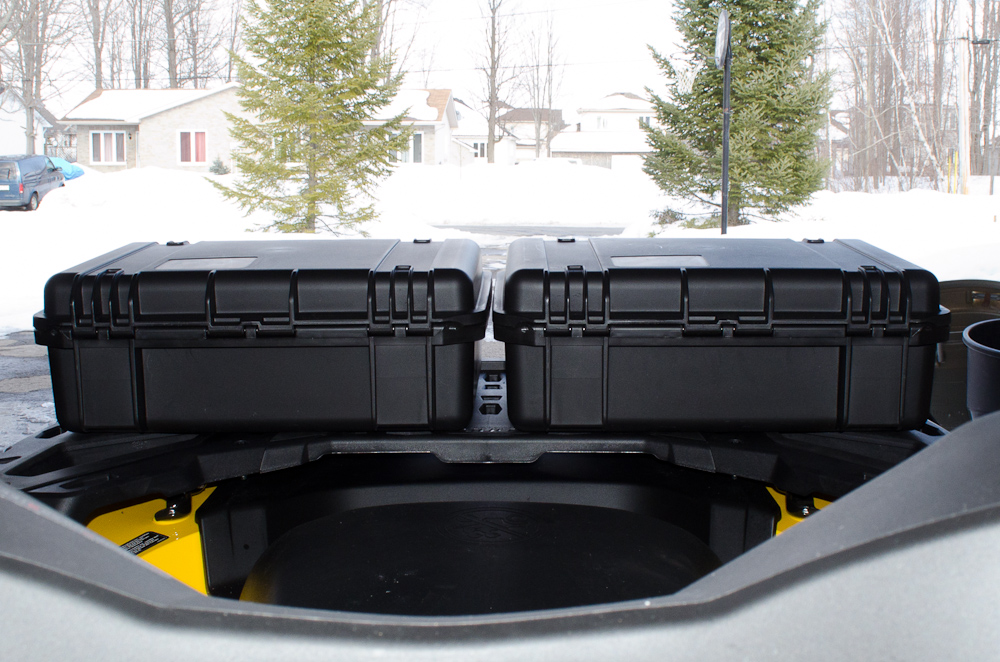
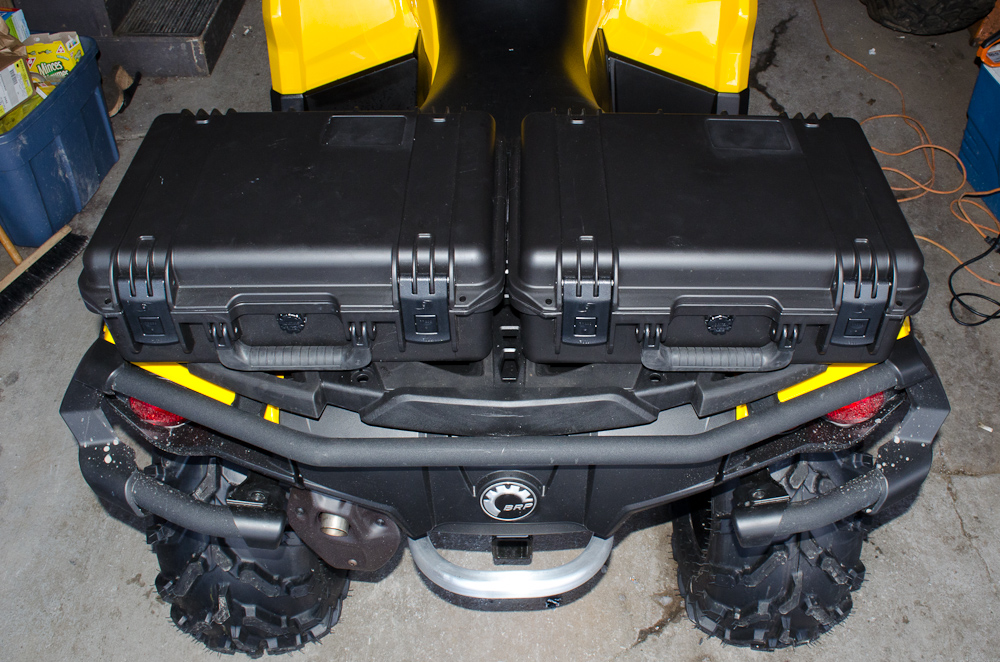
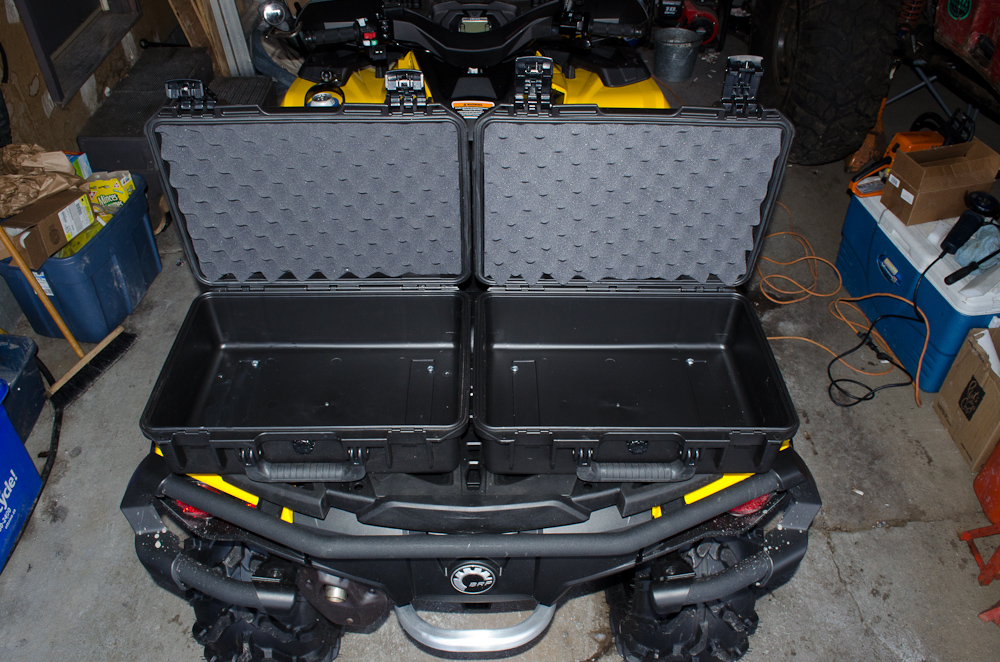
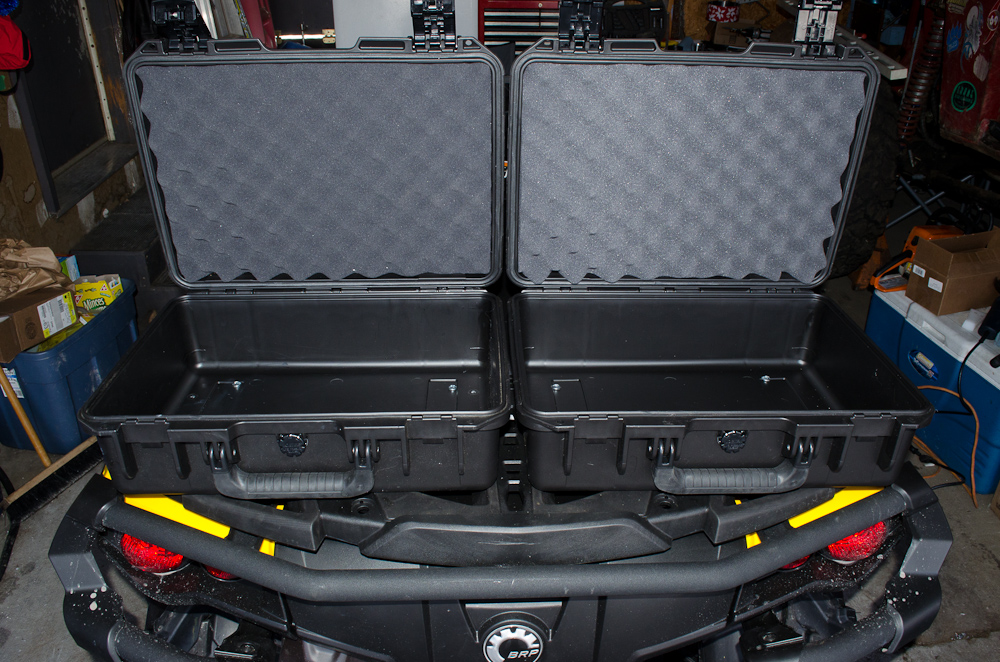
I chose two Pelican im2300 Storm Case's, mounted side by side. I keep one for clean/dry storage and the other for stuff that is, or can get, wet and muddy. In my opinion, these strike the perfect balance between having just enough space while remaining fairly low-profile and sleek-looking.

In order to mount the cases, the first thing you need to do is set them on the rear rack where you want and make some chalk or pencil marks on the rack. Make sure that where you position them doesn't leave them hanging out where they'd be susceptible to trail damage, nor so far to the front that they interfere with your preferred seating position. Also make sure they will open and close freely where you mount them.

Installation

Next you need to remove the rear rack so you can get everything positioned and drill the mounting holes through the rack and cases, starting from the underside of the rack.

Removing the rear rack is super-easy - there are just four 13mm locknuts to remove. I used a 3/8" drive ratchet, 6" extension, and a deep 13mm socket.
 

There are two nuts on each side of the ATV holding the rear rack on.

Left side shown in this pic. Remove the two nuts indicated by the red arrows.

 
Right side. Remove the two nuts indicated by the red arrows.
 

Once you have removed the 4 nuts, carefully pry the rack up and off the rear of the ATV.

I found that the rear mounting studs came out pretty easily with just an upwards tug on the back of the rack.

The front mounting studs took a little more persuasion and I ended up prying them up with a small pry bar wrapped in a rag to prevent scratching the plastics.

This is a pic of the underside of the rear rack.

 
Here's what the rear of the ATV looks like with the rear rack removed.
 

Next I set the cases upside-down on a blanket on the floor (don't tell my wife where the bed cover went!), and then set the rack in position upside-down on top of them, using my previous chalk marks as a guide.

I used a square and level and a piece of aluminum straight-edge to get everything lined up, square, even, and where I wanted.

Because of the shape of the underside of the rear rack, you don't have complete freedom of where to drill the holes for the mounting bolts.

I used some nuts (red arrows) to lay out where I wanted the bolts to go, checking to make sure there was clearance for the nut while locating the fastener in an appropriate spot on the case (i.e. reasonably spread out and far enough from the edges).

Once I had chosen the locations, I double-checked everything, marked the positions with a centre-punch, then carefully drilled through the rack and cases together, being careful not to move the rack or boxes in the process. I chose to use 1/4" bolts for the mounting, four per case, and used a 9/32" drill bit to make the holes.

Here's a shot of the rack, with a bolt in each of the mounting holes.

The bolts will actually be installed the other way up, but I did this just to help you see where on the rack the mounting holes ended up.


Here's a shot of the underside of one of the im2300 storm cases, showing where the holes ended up.

Not perfect, but pretty good considering how constrained by the shape of the underside of the rack you are in the choice of hole location.


With the rack still off the ATV, put the cases in position, push the bolts through from the inside of the case, and then install the nuts from the underside of the rack.

It's a good idea to use locking nuts or a touch of blue thread locker on each bolt.

I used 1/4" bolts with rounded Phillips heads.

 
To complete the job, re-install the rear rack on the back of the ATV and re-install the four mounting nuts you previously removed, and torque to spec.
 
Job complete!

Gallery

Here is a gallery of the final product from different angles. I think it shows quite nicely how the cases don't completely ruin the sleek sporty look of the ATV.

I have been using Pelican cases as ATV storage boxes for some years now, and have installed them on Hondas, Yamahas, and now my Can-Am.

Features of the Pelican case that I like are:

  • They are crushproof.
  • The lid has an O-ring seal that makes the case 100% watertight and dust/dirt proof.
  • They have two big, strong, easy-to-open latches.
  • They are built with stainless steel hinges.
  • They are lockable.
  • They are available with a 3-piece foam set or padded dividers.
  • They come with a lifetime guarantee.
  • They only cost about $100 each if you shop around online.

Total:


Get a GoStats hit counter

BillaVista.com

web count
Get a GoStats hit counter