 |
Wet Okole Seat Covers By Bill "BillaVista" Ansell |
IntroductionSo you've finally pulled the trigger and bought that dream truck - it may have cost upwards of $40 or $50k and you need it to last a long time. At the same time - a truck is meant to be used: camping, fishing, winter driving, 'wheeling, hauling, and of course lots of tow-duty - in my case pulling the Rock Buggy on family four wheeling adventures. Add the kids eating and drinking (and spilling) in the back on long trips and your spanking new interior can easily become a disaster in short order. |
 |
In my case, I love my new Chevy Silverado 2500HD - it's my dream truck. I plan to use it hard - but also want it to last 15 or 20 years - heck I only just sold the '78 it replaced! But I also want the kids and the dog and Laurie and I to be able to enjoy the truck - to be able to pile in and out of it and have fun - whether it's coming home from the beach, a camping trip, or the end of a long, muddy day of wheeling. That's why I decided to invest in some really good-quality seat covers. After my usual obsessive research I settled on waterproof, custom-fit, neoprene covers from one of the oldest names in the business - Wet Okole of Hawaii. That, and who can resist a product whose name, in its native language, means "wet bum"?! They're certainly not the cheapest covers on the market - there are plenty of foreign-made cheapies available from big box stores if that's your thing. But if you want total protection, factory-like fit, easy installation, and really great looks (with TONS of custom colour and piping and graphics options), take a hard look at Wet Okole. |
|
 |
They have custom patterns for just about every conceivable vehicle. Before you even think about ordering you need to check out the website and then spend some quality time in your truck making notes on your seats - do they have arm rests, cup holders, integrated seat belts, power adjustments, etc. There are plenty of pictures and question on the website to help you catalogue your seats accurately and provide the right information for accurate ordering. You can also e-mail pics to Wet Okole and they'll help you make sure you get the right covers for your truck. You also need to spend some quality time on the website checking out all the possible colour combinations and custom graphics available. |
||||||||||||||||||
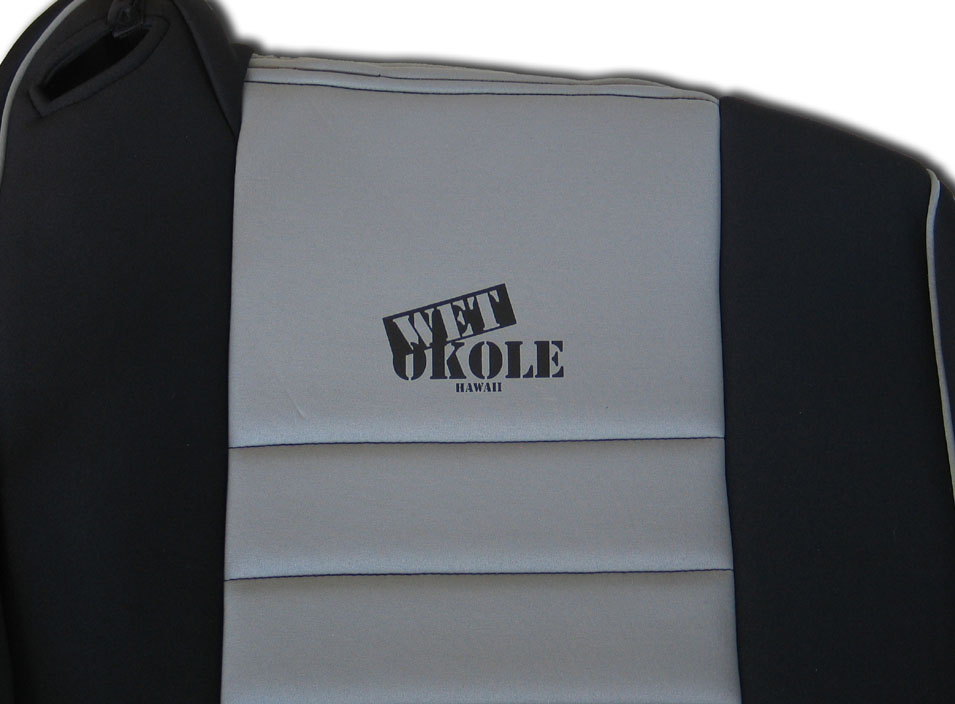 |
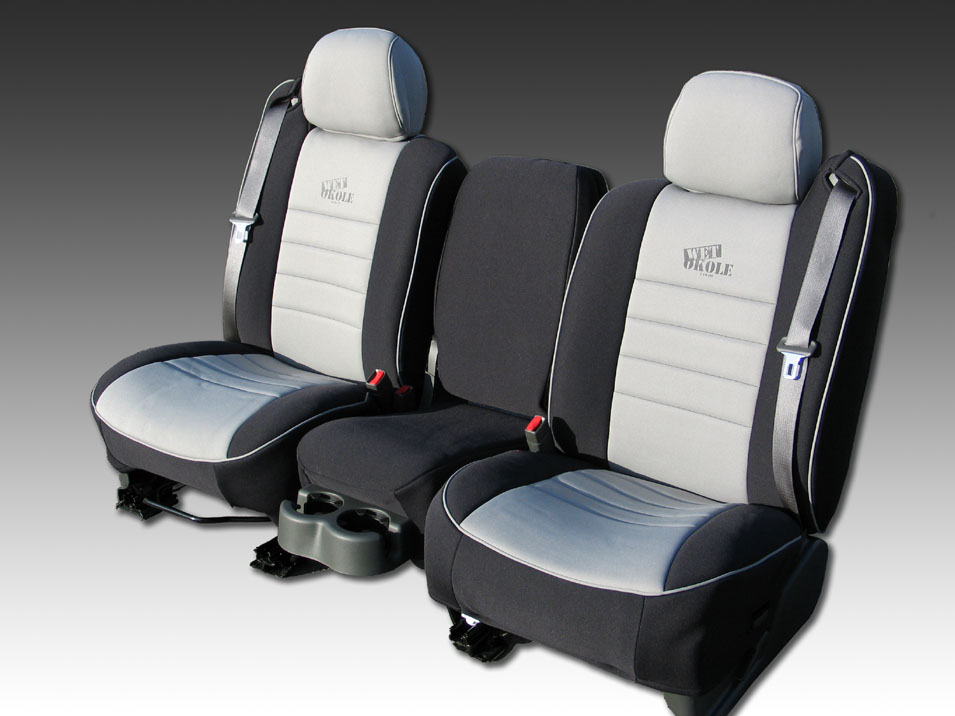
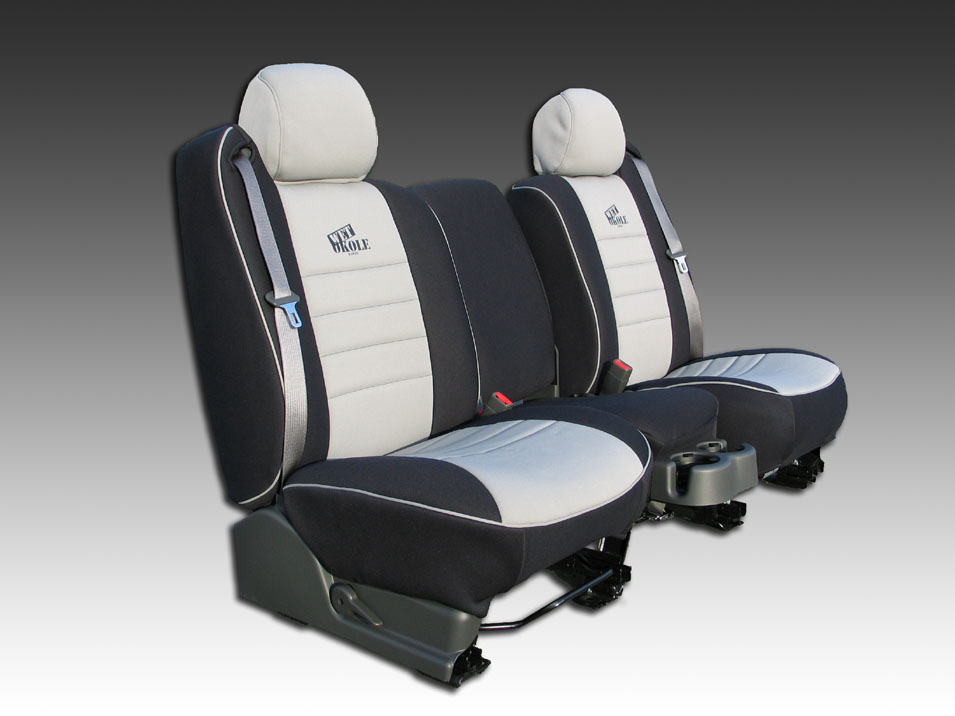
I settled on "Half Piping Seat Covers" that come with black outside panels, inside panels in any of about 25 solid colours, and piping that matches the inside panel colours. I chose gray for the inside panels and piping, to match my truck, and settled on the classic original Wet Okole logo. I remember seeing that logo on some Jeep seats years and years ago and thinking - those are cool, I want some of those! |
||||||||||||||||||
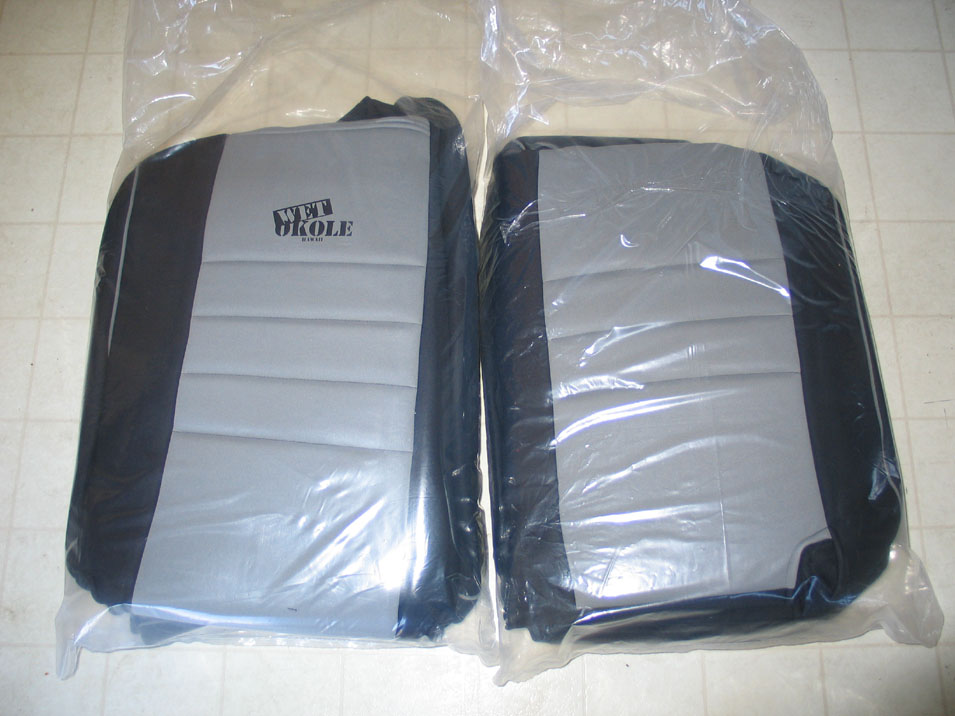 |
Even though they are made to order, my covers arrived in less than two weeks, all wrapped together in two plastic bags. | ||||||||||||||||||
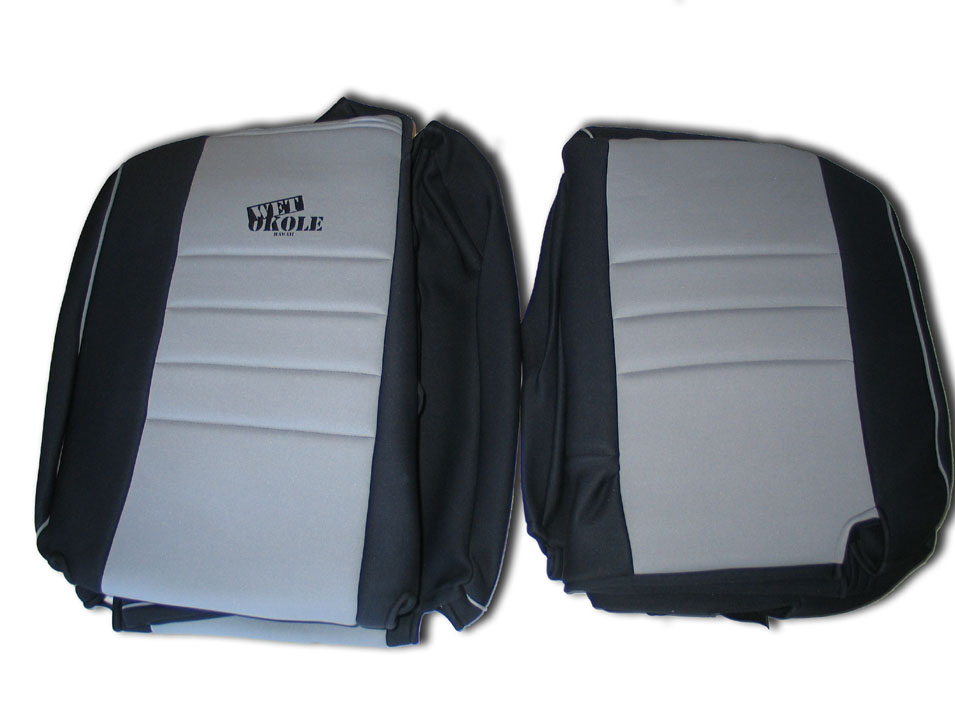 |
Out of the bag. | ||||||||||||||||||
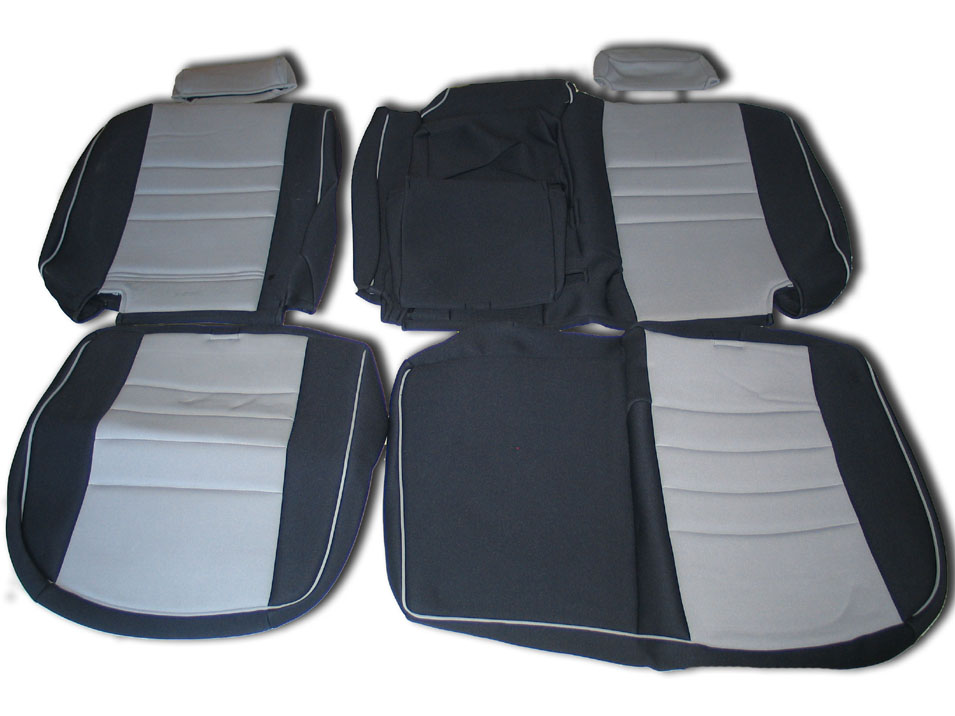
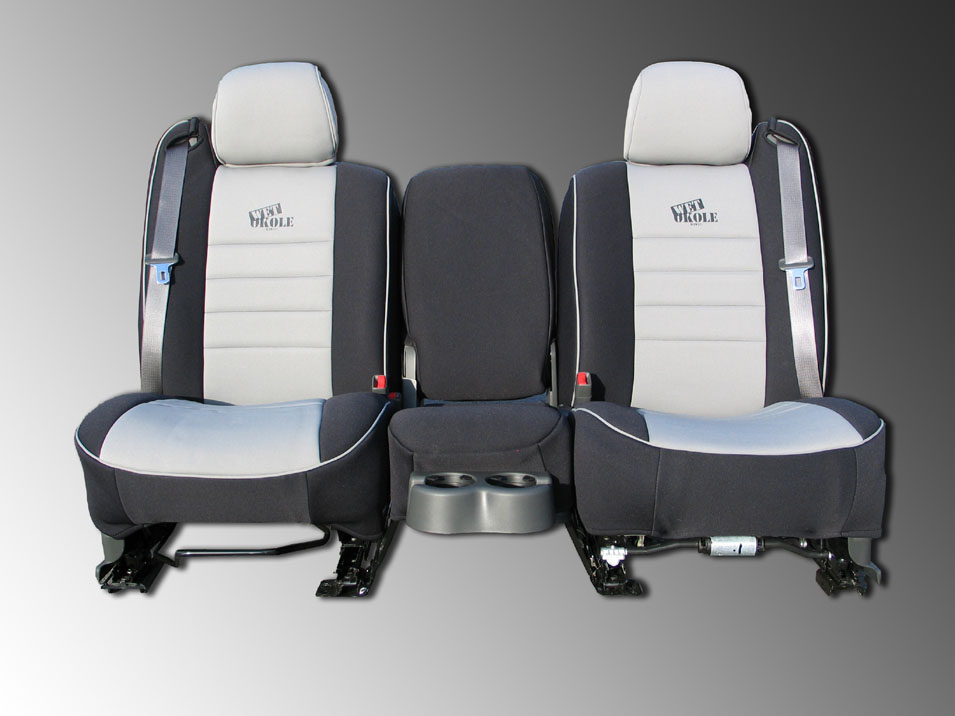
The Parts of the SetThe following series of pics show the different covers that come in the complete set. Im my case the complete set is for front and rear seats in a 2007-Classic Chevy Silverado 2500HD Crew Cab. |
|||||||||||||||||||
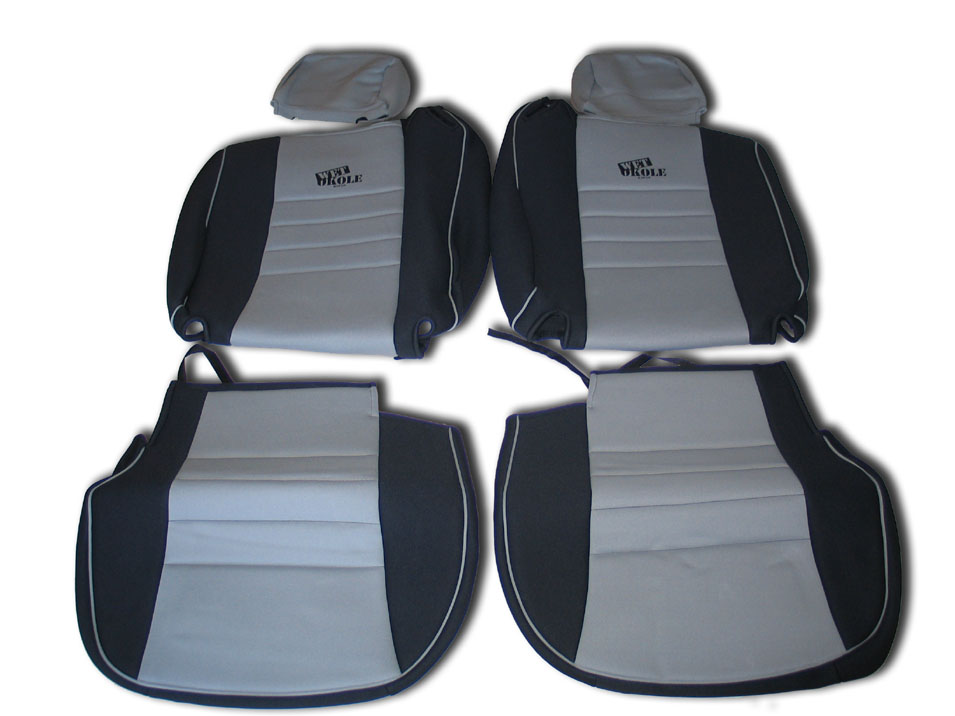 |
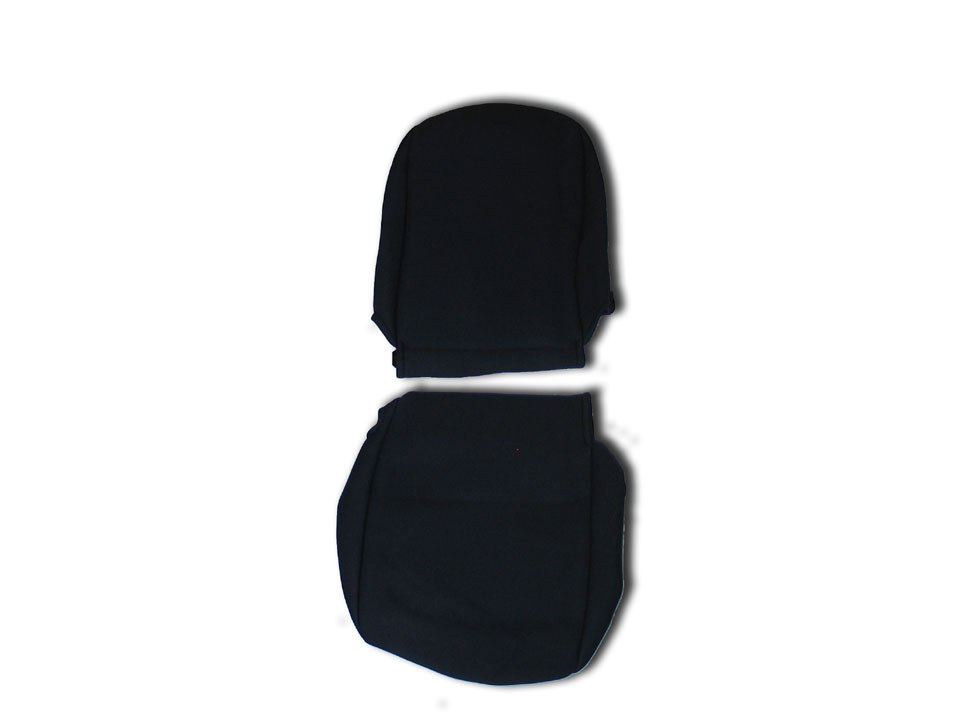
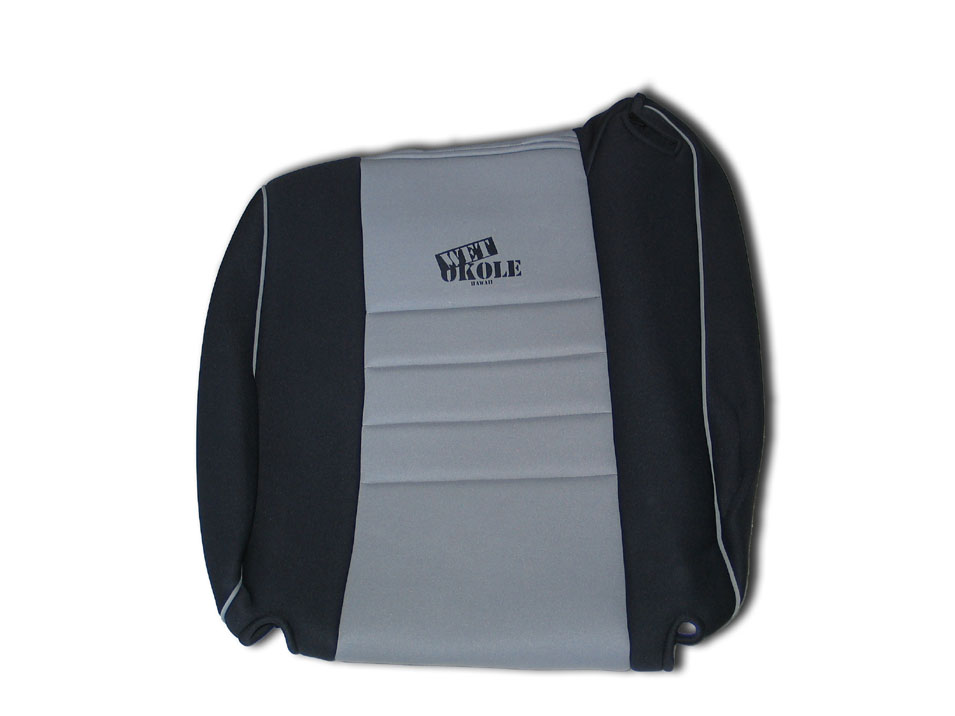
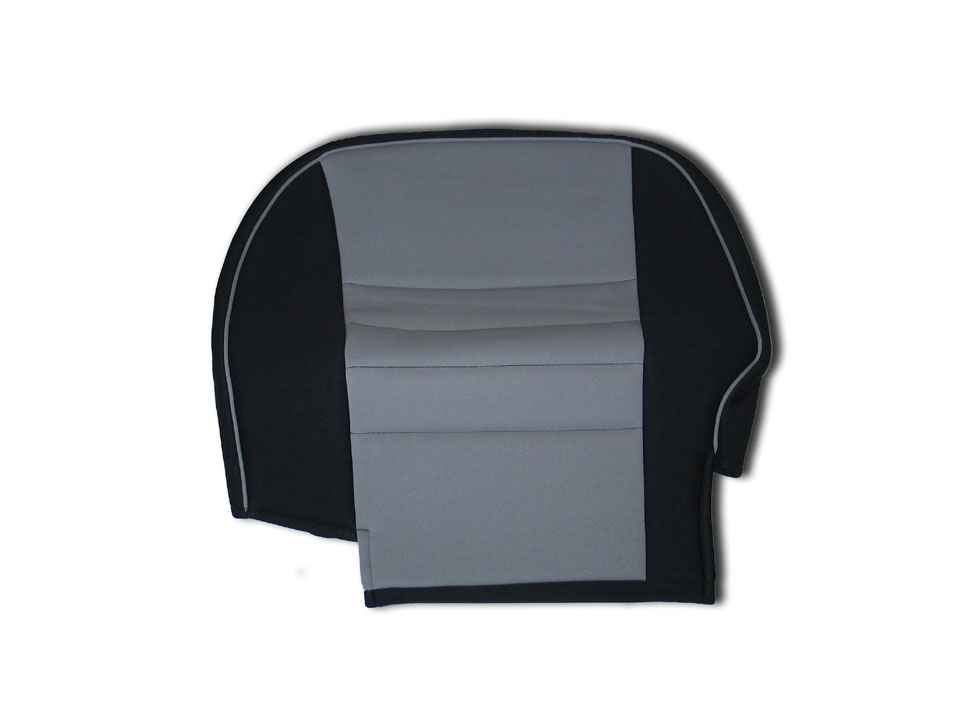
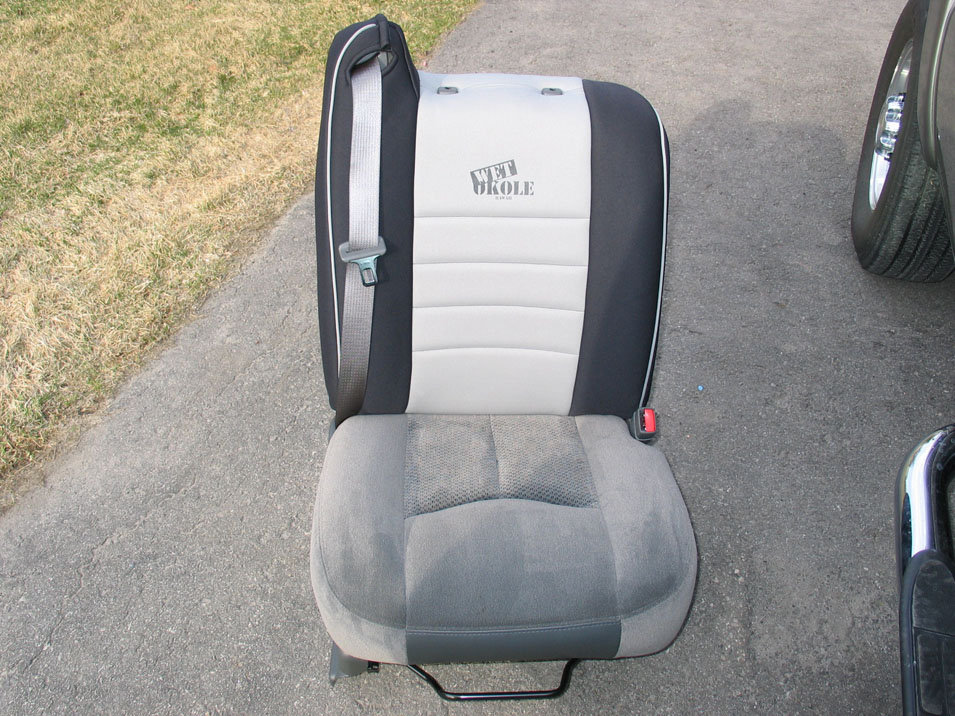
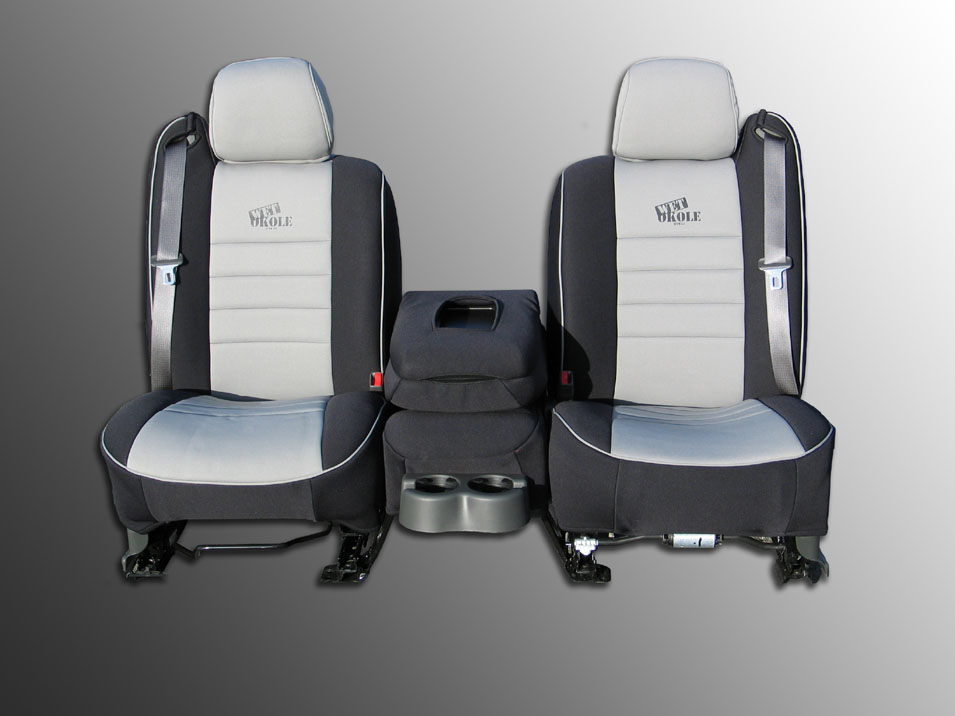
The front driver's and passenger's side covers, including headrest covers. | ||||||||||||||||||
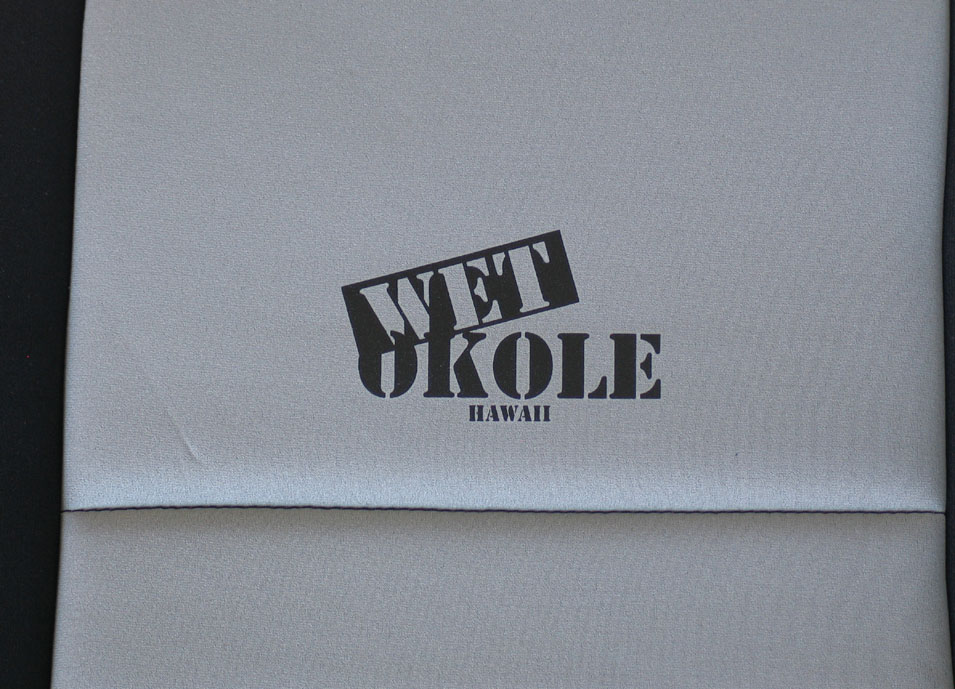 |
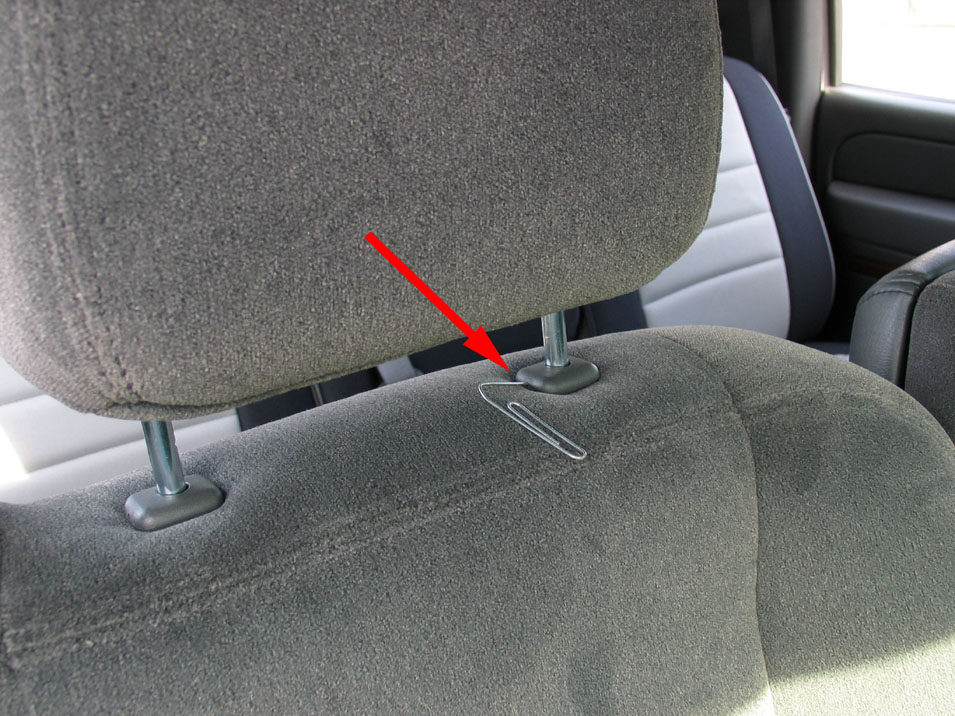
Close-up of the classic "Wet Okole" logo. Note that the various logos are available only on the front seat covers. |
||||||||||||||||||
 |
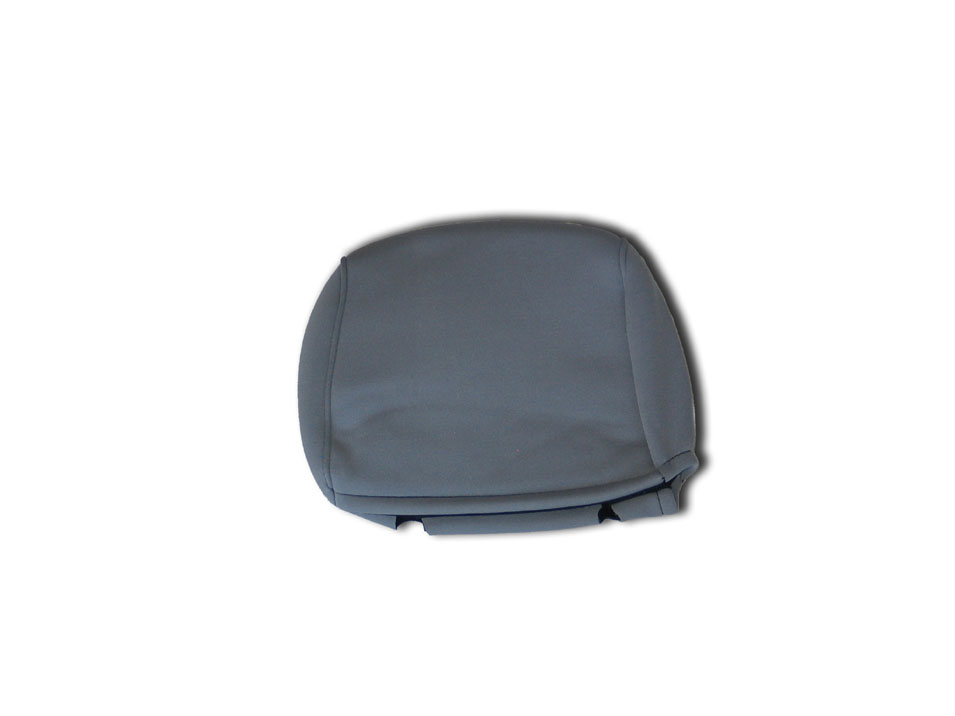
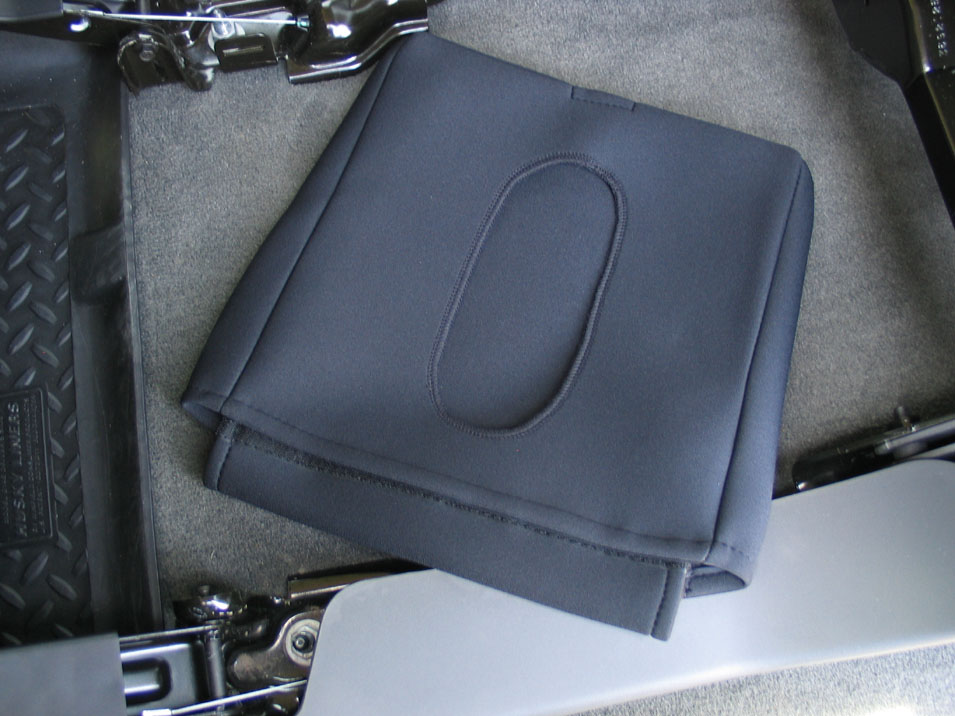
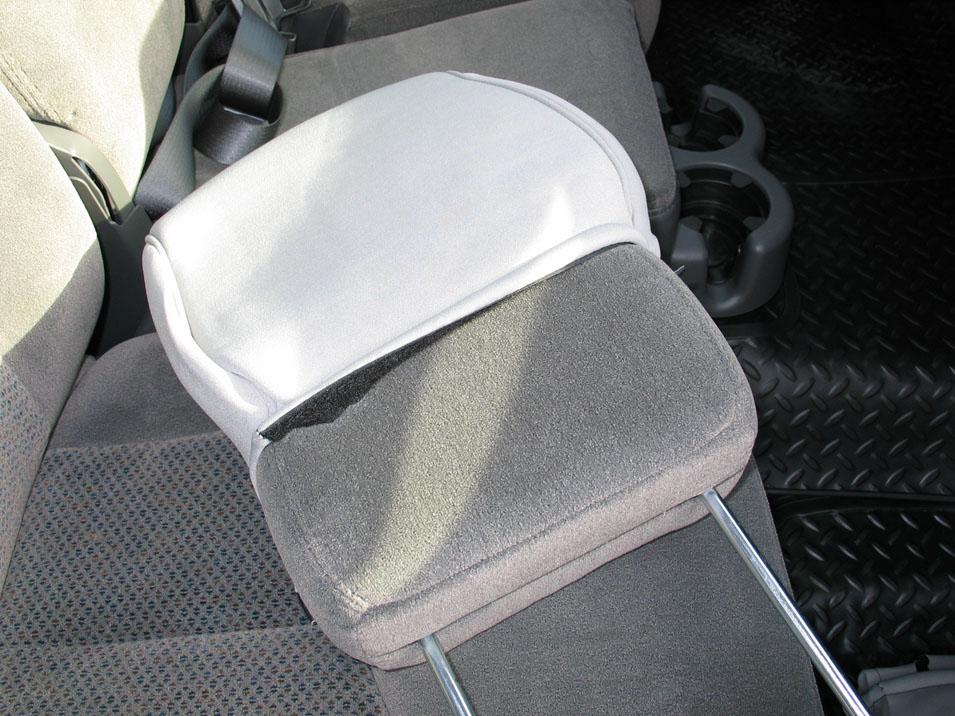
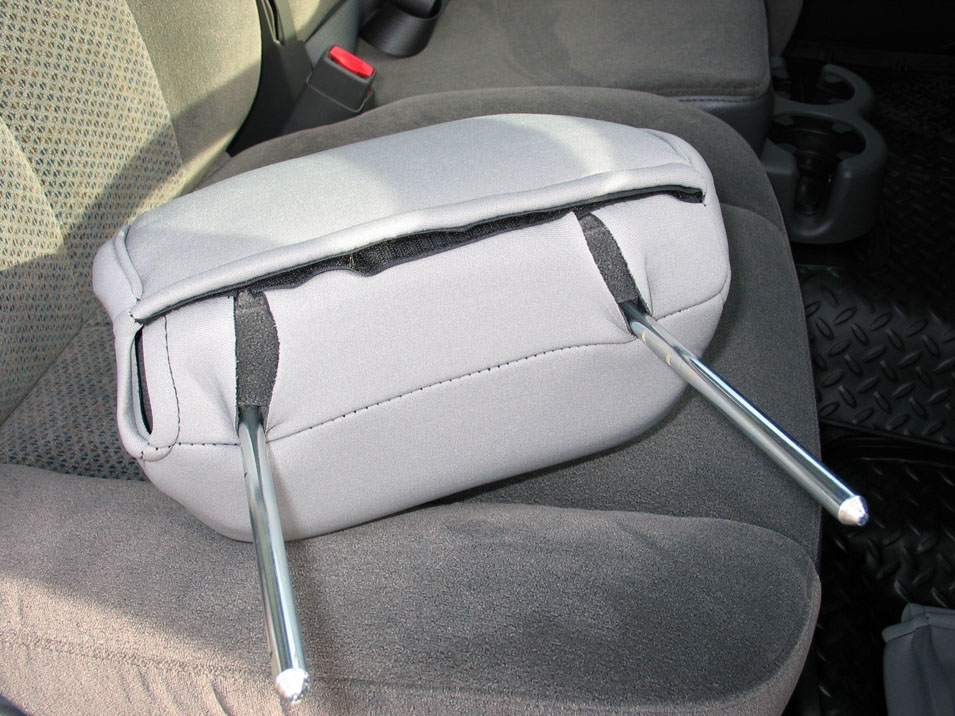
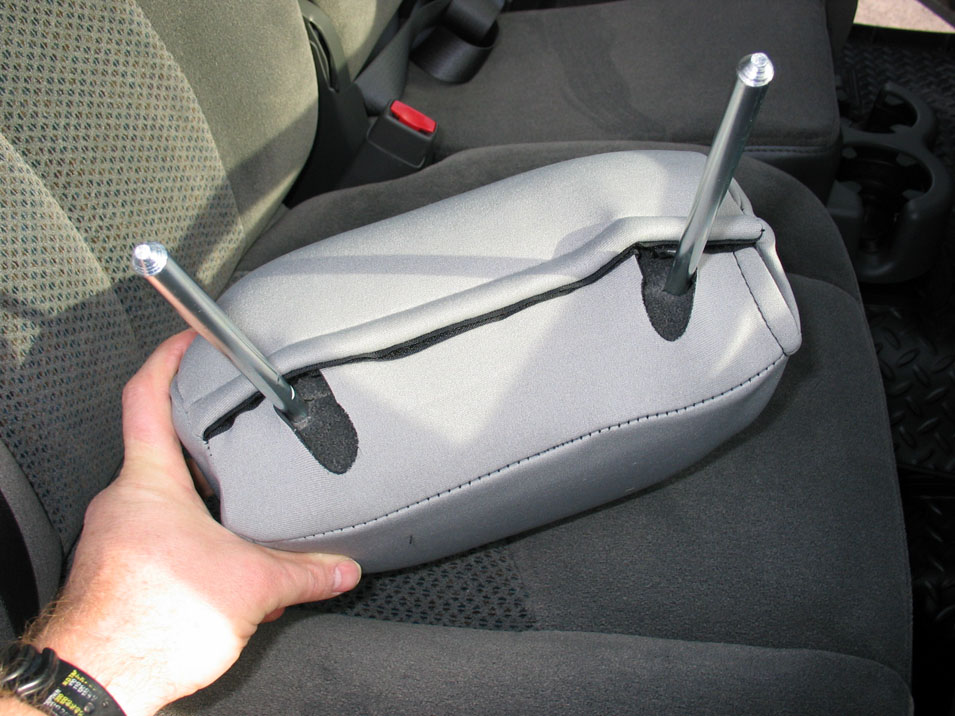
Upper and lower covers for the front center jump-seat / console. | ||||||||||||||||||
 |
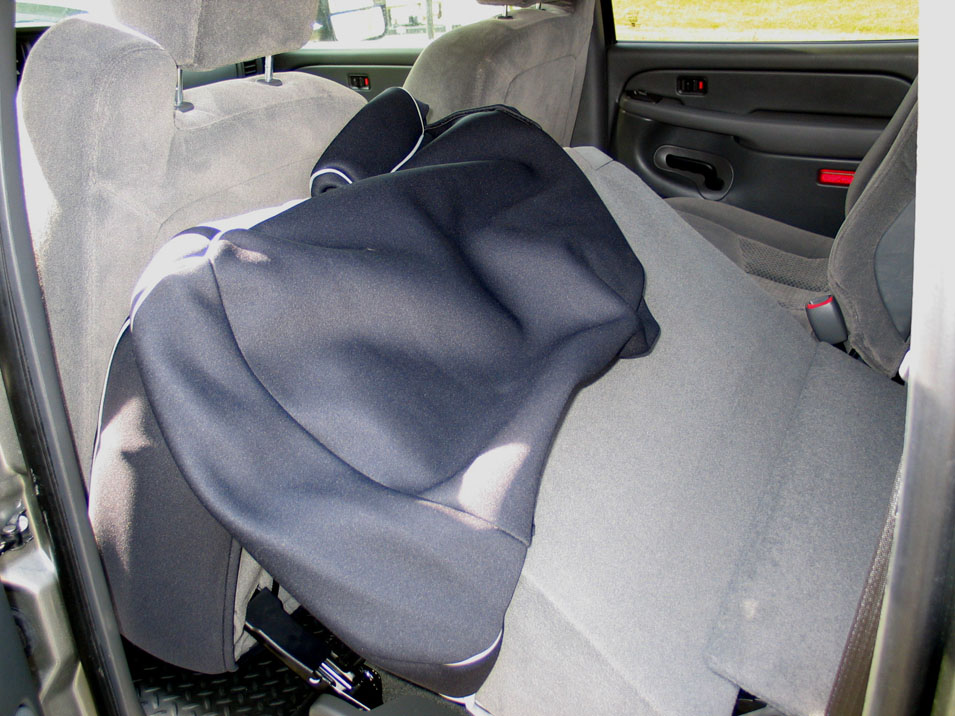
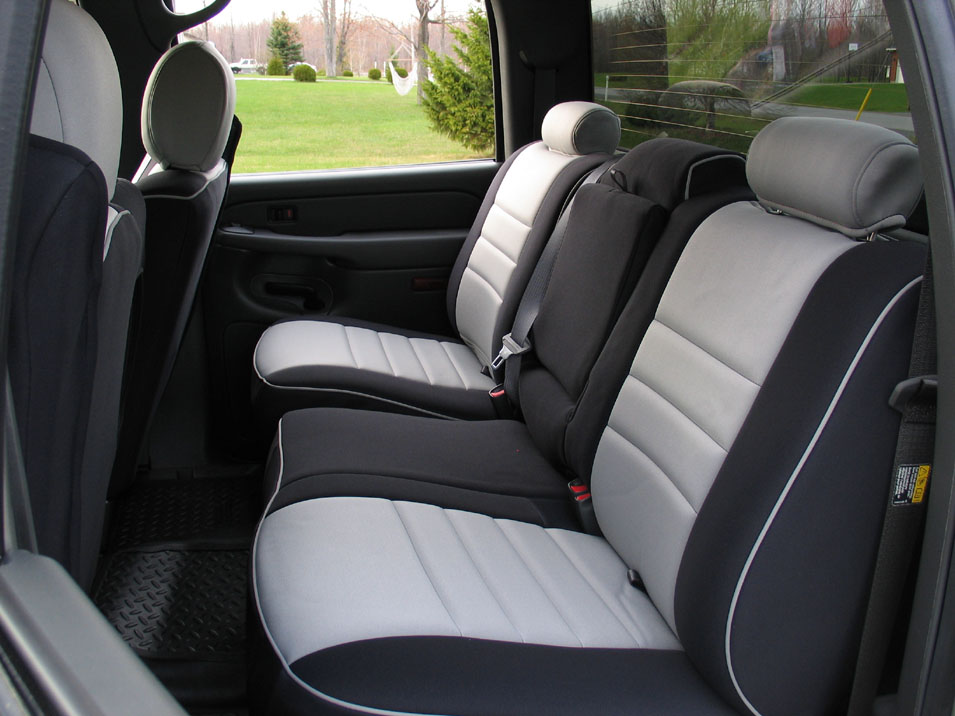
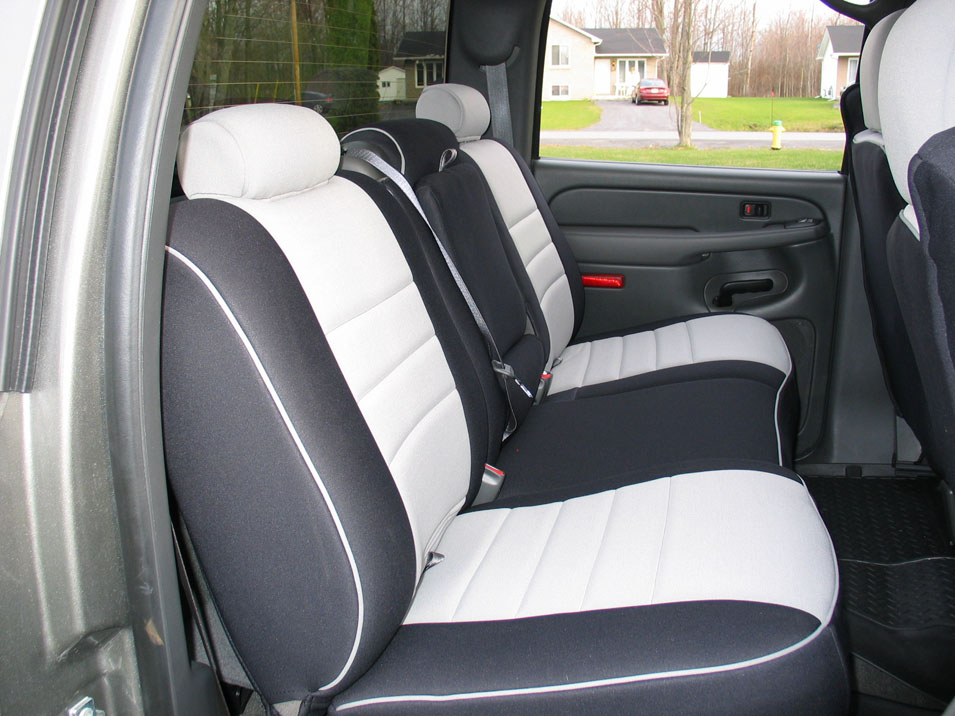
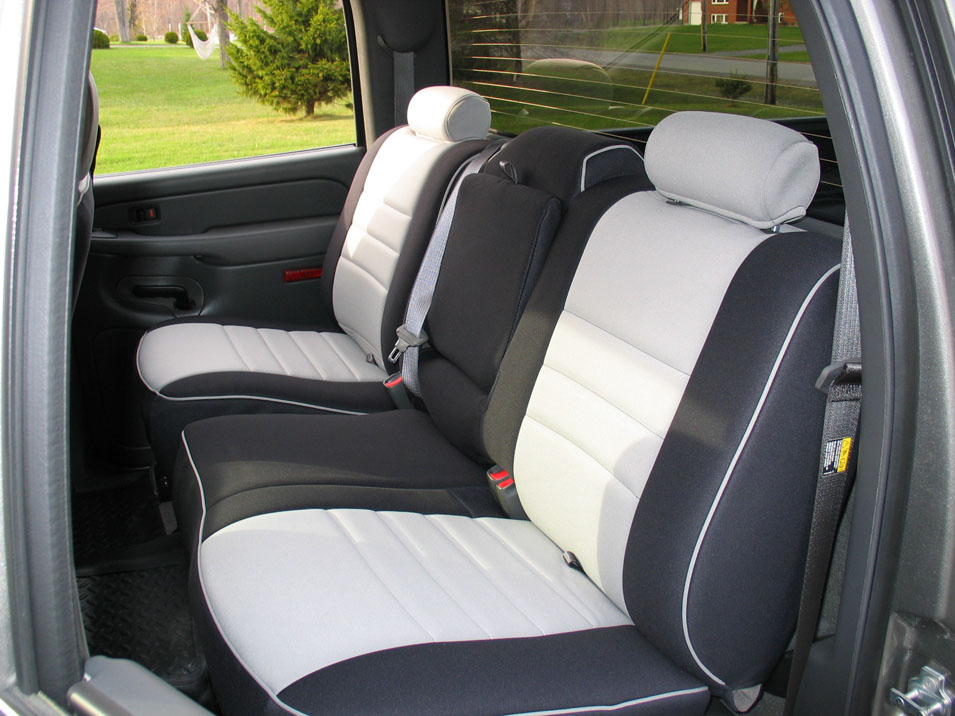
Rear seat covers, including headrest covers. | ||||||||||||||||||
InstallationFor some reason my covers arrived without any instructions - but once you've figured out which cover is which, installation is pretty straightforward and I managed without instructions without any problems. Before you begin, it does help to lay out all the covers separately and identify each individual one. |
|||||||||||||||||||
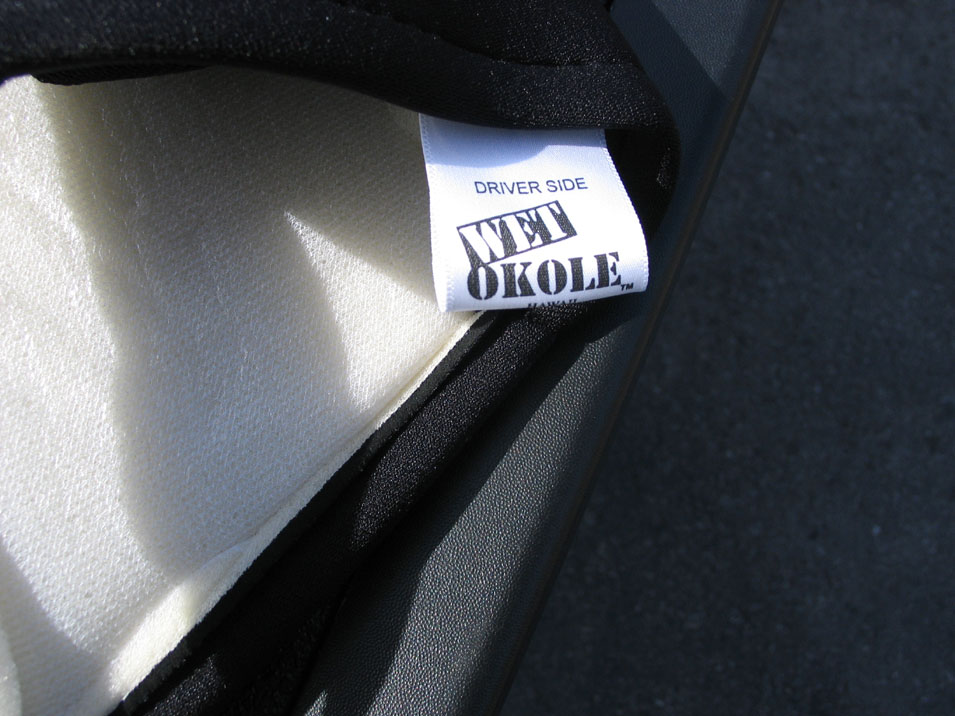 |
Each of the driver's side covers will be identified by a tag like this that reads, not surprisingly, "Driver Side". | ||||||||||||||||||
 |
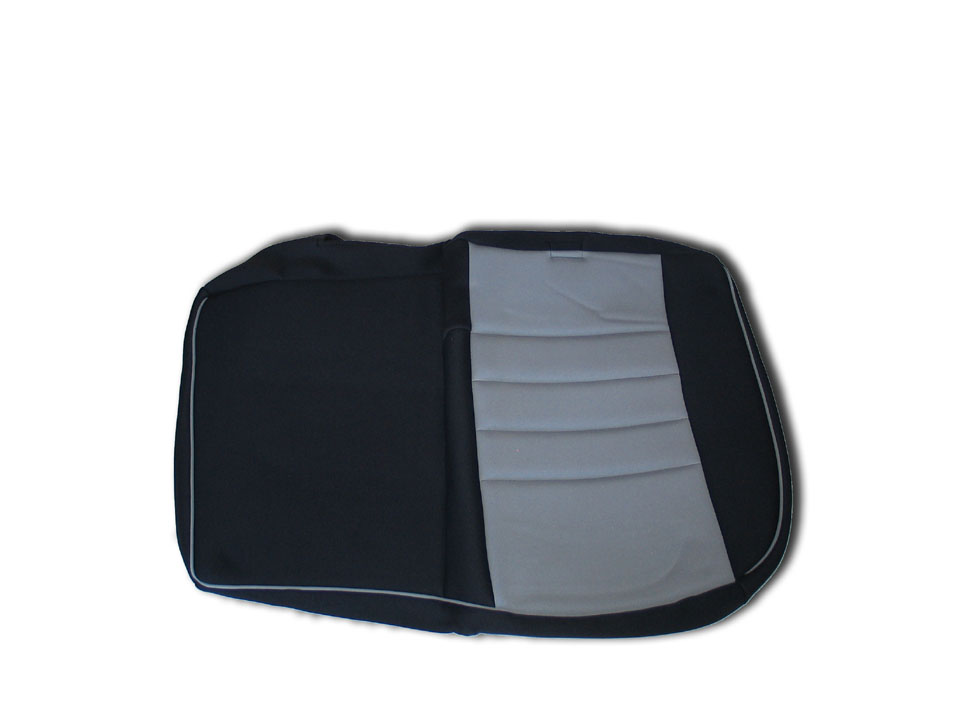
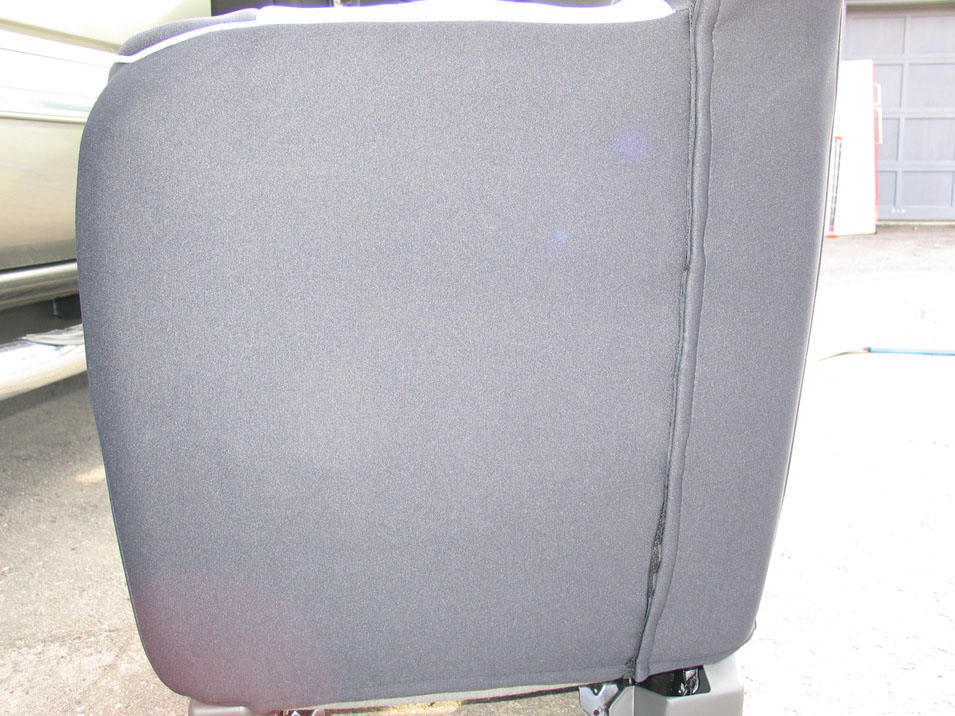
Driver's seatback. | ||||||||||||||||||
 |
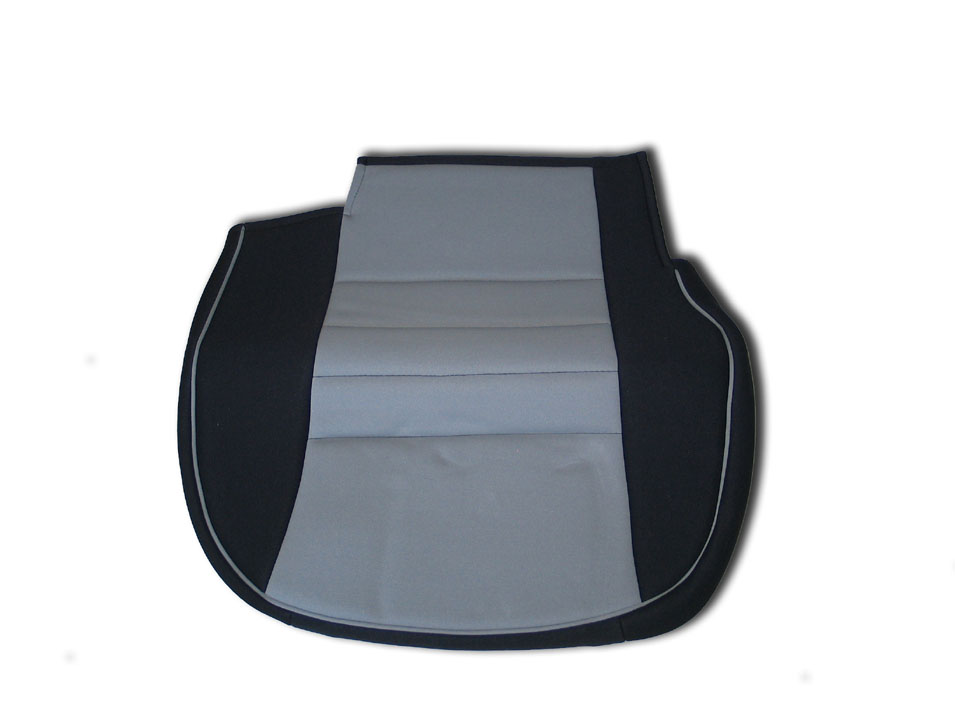
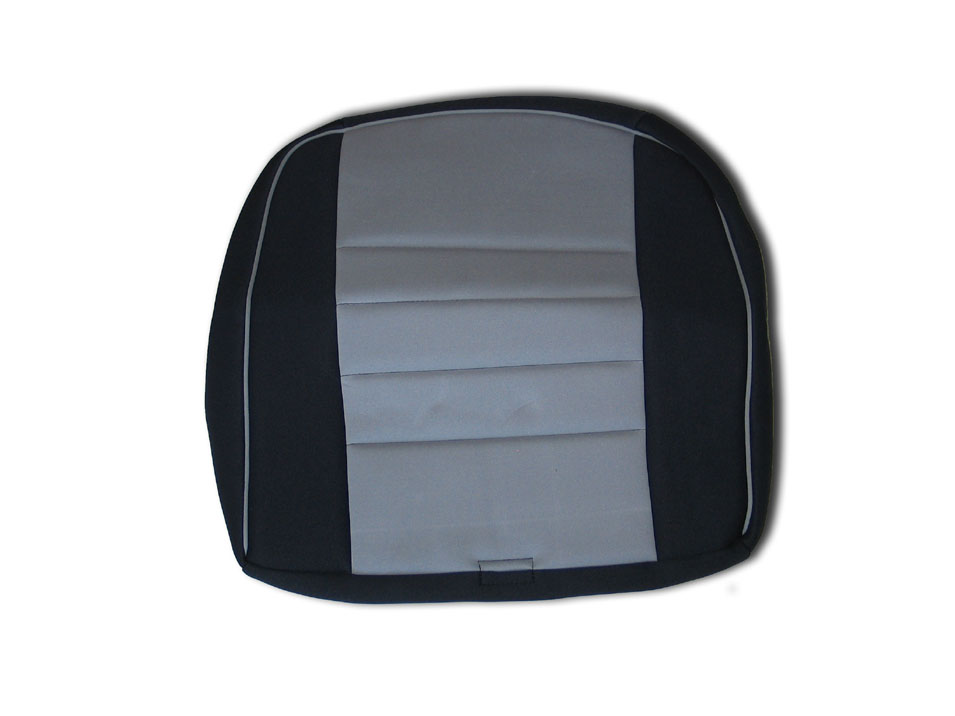
Driver's seat cushion. | ||||||||||||||||||
 |
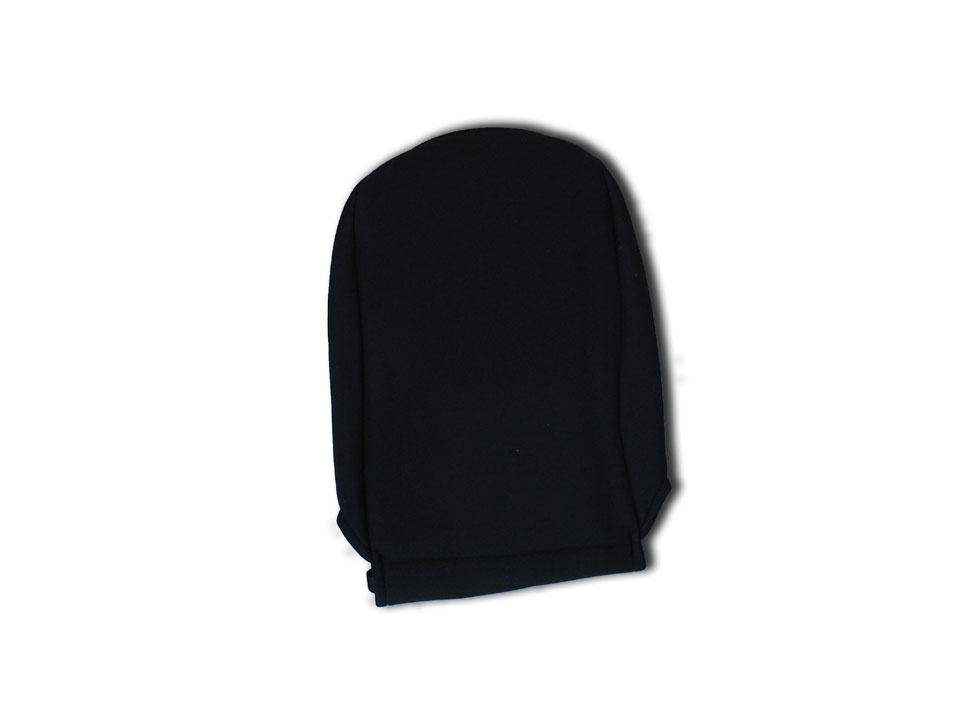
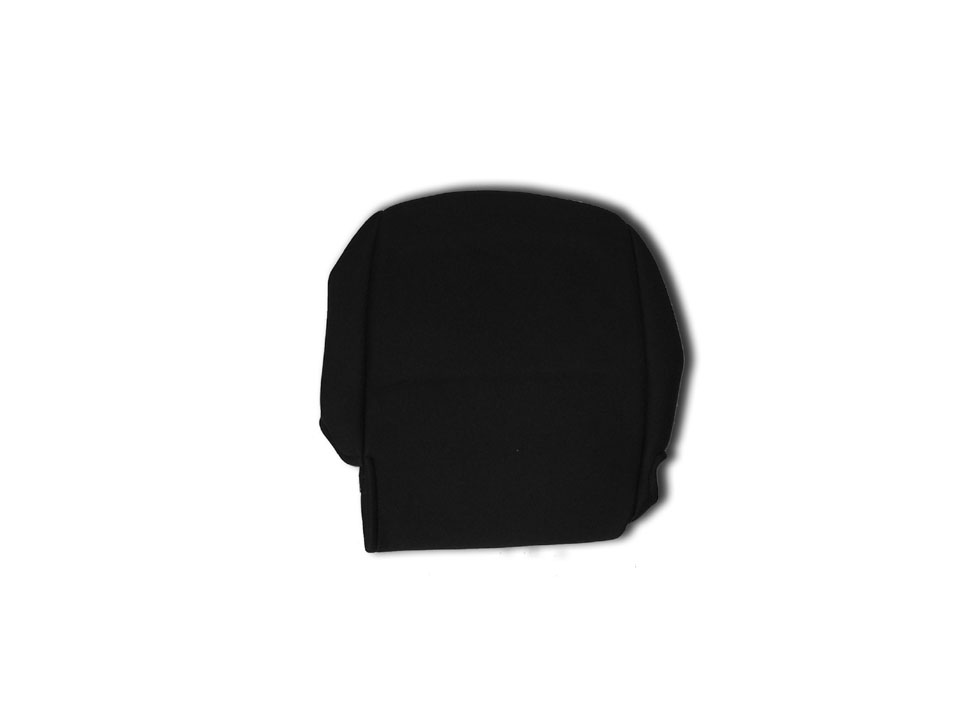
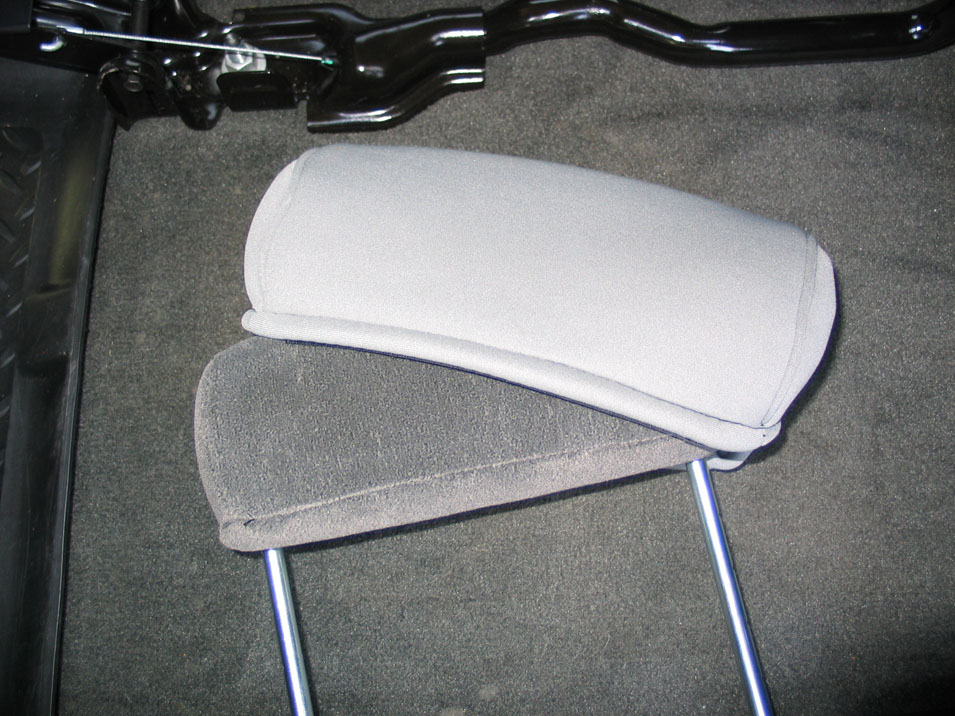
Front seat headrest. | ||||||||||||||||||
 |
Front jump-seat seatback. | ||||||||||||||||||
 |
Front jump-seat seat cushion. | ||||||||||||||||||
 |
Passenger's seatback. | ||||||||||||||||||
 |
Passenger's seat cushion. | ||||||||||||||||||
 |
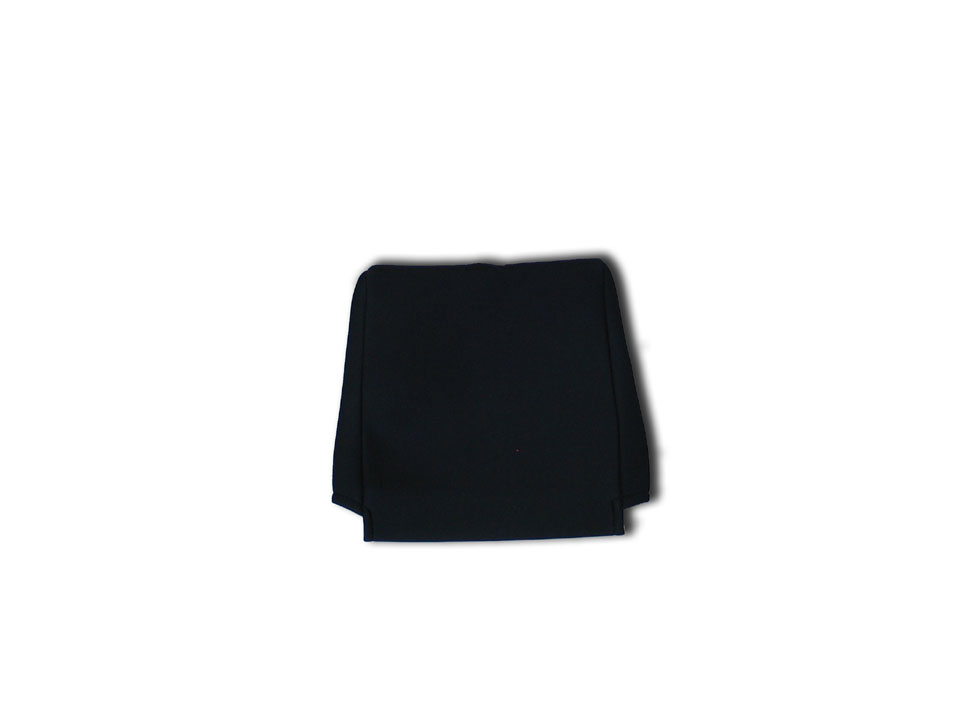
Driver's side rear seatback. | ||||||||||||||||||
 |
Driver's side rear seat cushion. | ||||||||||||||||||
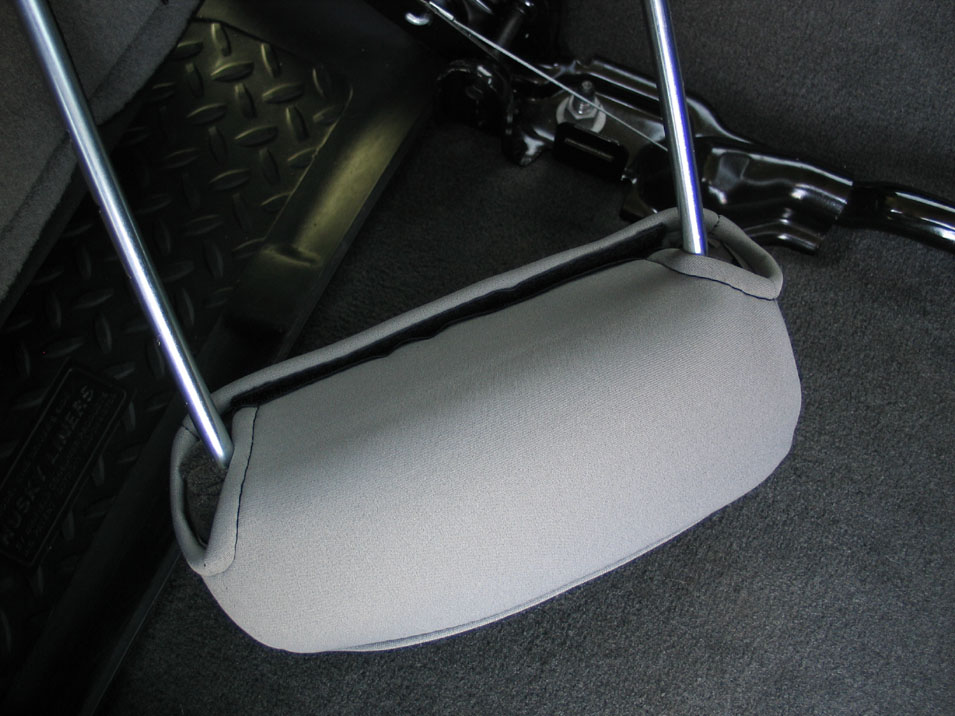
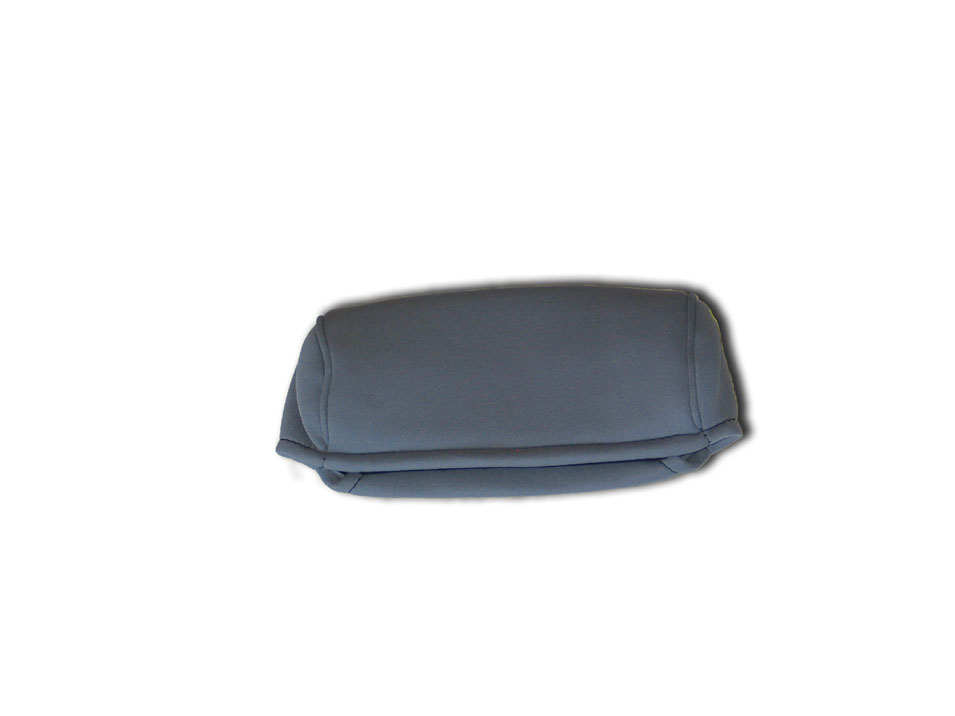 |
Rear seat headrest. | ||||||||||||||||||
 |
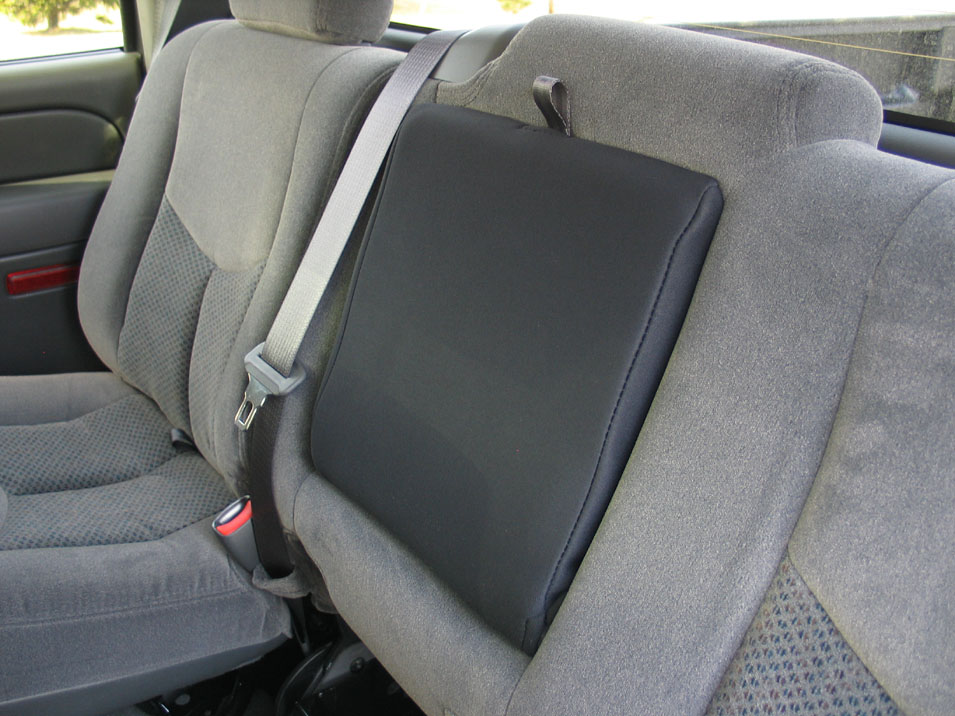
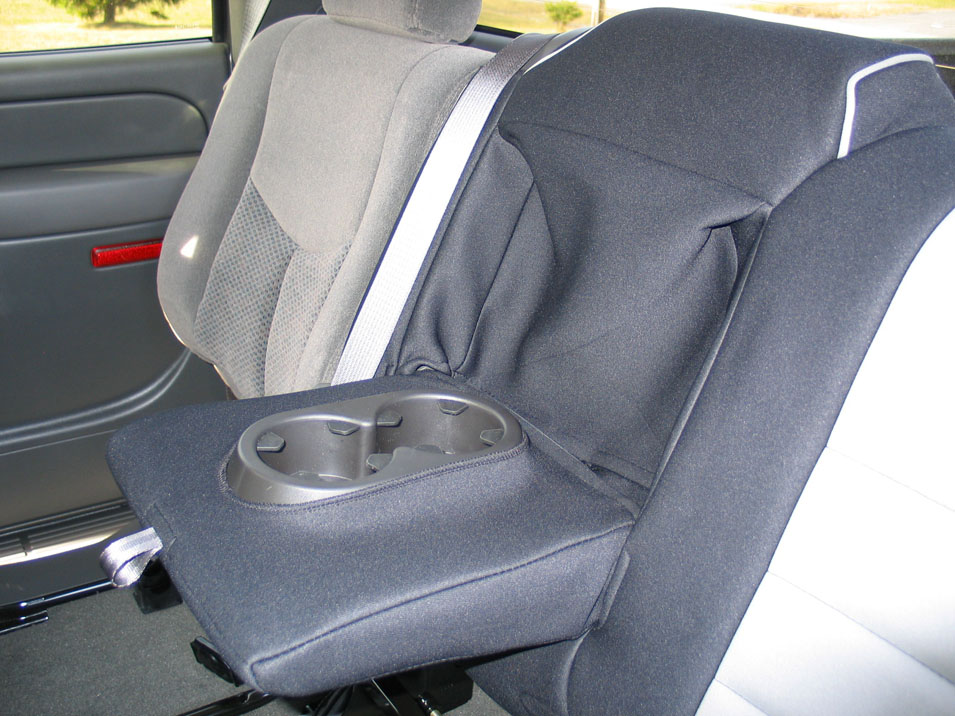
Rear seat fold-down arm-rest / cupholder. | ||||||||||||||||||
 |
Passenger's side rear seatback. | ||||||||||||||||||
 |
Passenger's side rear seat cushion. | ||||||||||||||||||
Rear Seats |
|||||||||||||||||||
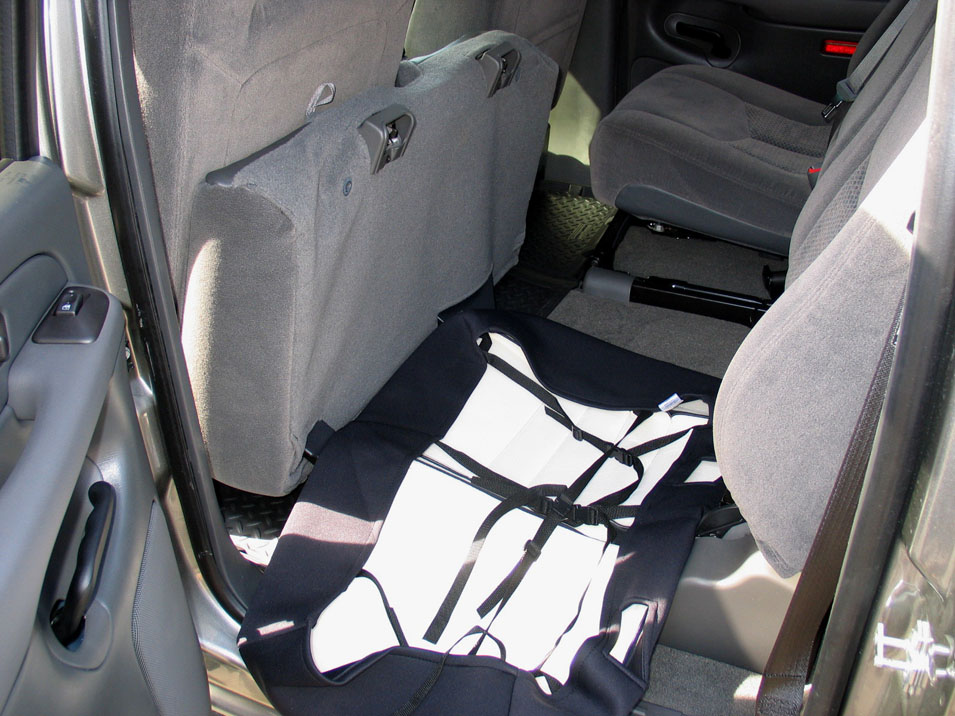 |
Fold up the seat bottom, then lay out the cover and undo all the straps. | ||||||||||||||||||
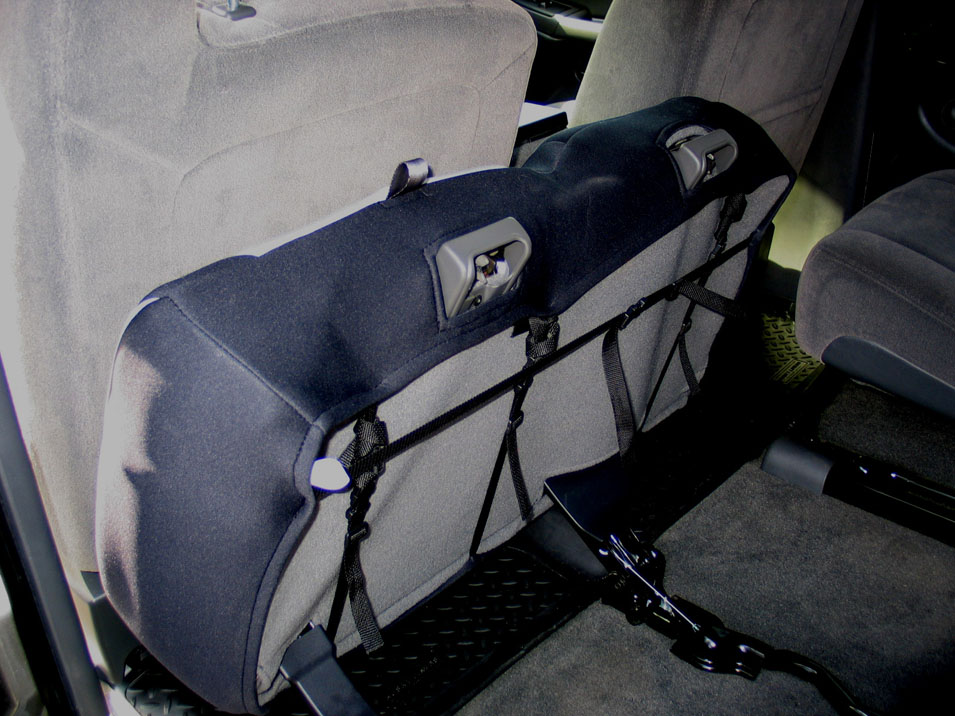 |
Stretch the cover over the seat, do up the connectors on the straps and tighten the straps. | ||||||||||||||||||
 |
Make sure you fit the cut-outs over the latches... | ||||||||||||||||||
 |
...and pull the release tabs through the little slits. | ||||||||||||||||||
 |
Snap the seat back down and check for a snug fit. Tighten the straps if necessary. | ||||||||||||||||||
 |
Now move on to the seatback. Here's a tip - tilt the seatback forward, fold the little flap back, and place a heavy object on it to keep it folded back. Otherwise, the Velcro on the seat covers will continually snag on the carpet on the flap and make you say bad words. Here I'm using a draw bar (with a towel to keep grease off the carpet). |
||||||||||||||||||
 |
Next, remove the headrests:
|
||||||||||||||||||
 |
Start by installing the small cover over the fold-down armrest. Here you can see the slot cut out for the cup holders. |
||||||||||||||||||
 |
Fold down the arm rest, slip the cover over it, and fasten the Velcro. | ||||||||||||||||||
 |
Here's the cover installed. | ||||||||||||||||||
 |
Moving onto the seatback cover, undo the Velcro and stretch the cover over the seatback. | ||||||||||||||||||
 |
The only tricky part is getting the section that fits behind the arm rest all tucked into place. | ||||||||||||||||||
 |
You just have to take your time and get it all fitted into place and do up the Velcro... | ||||||||||||||||||
 |
...and you eventually get it all fitted into place. | ||||||||||||||||||
 |
Check the positioning of the cover by making sure that the cutouts are correctly positioned. | ||||||||||||||||||
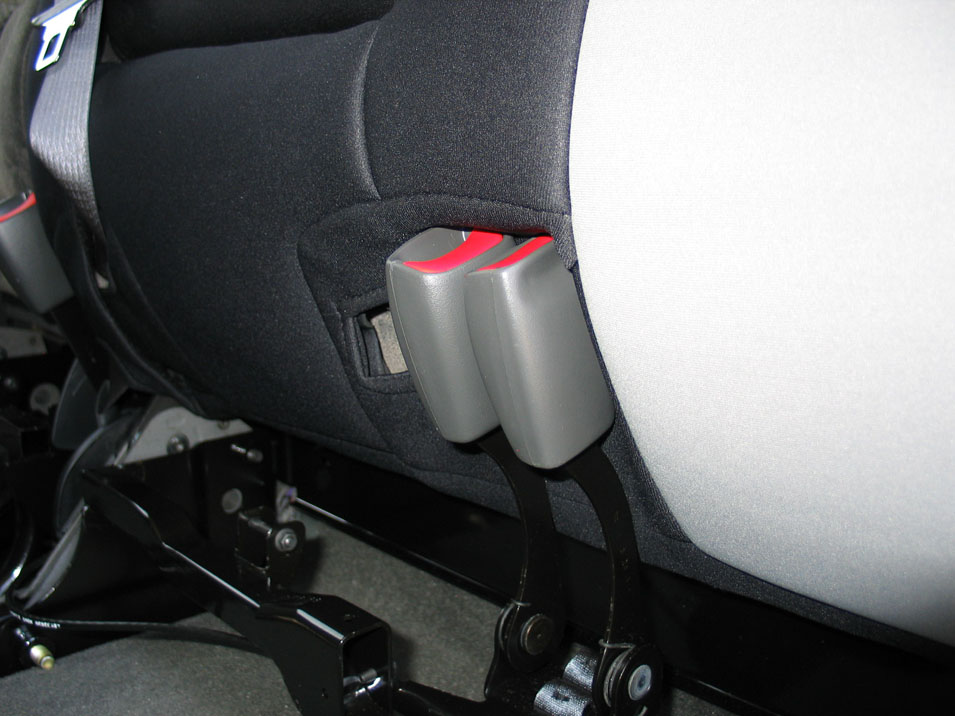 |
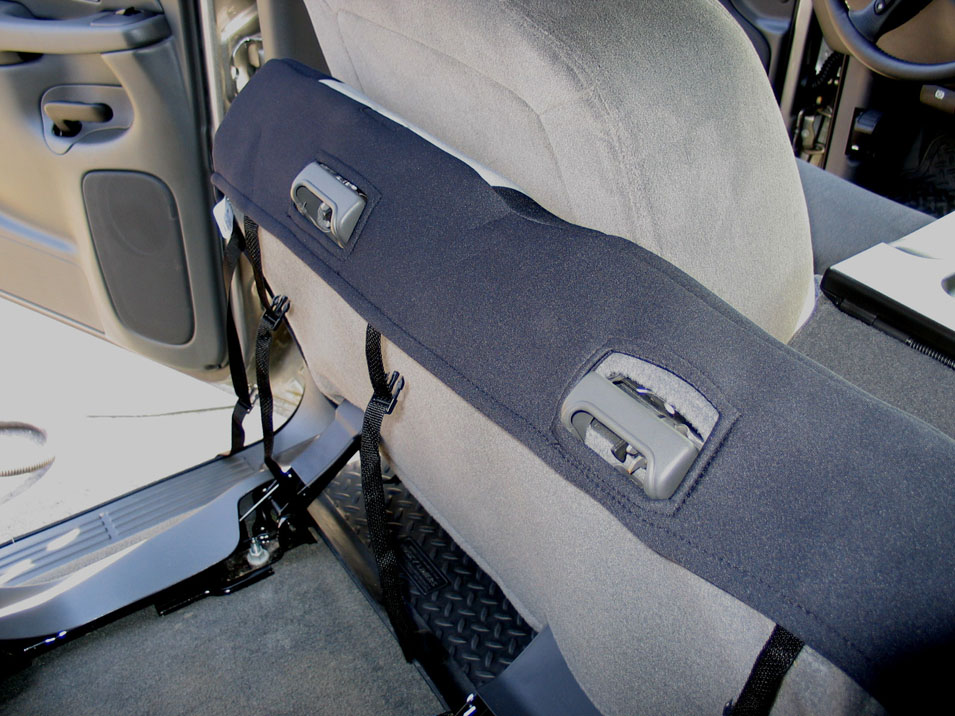
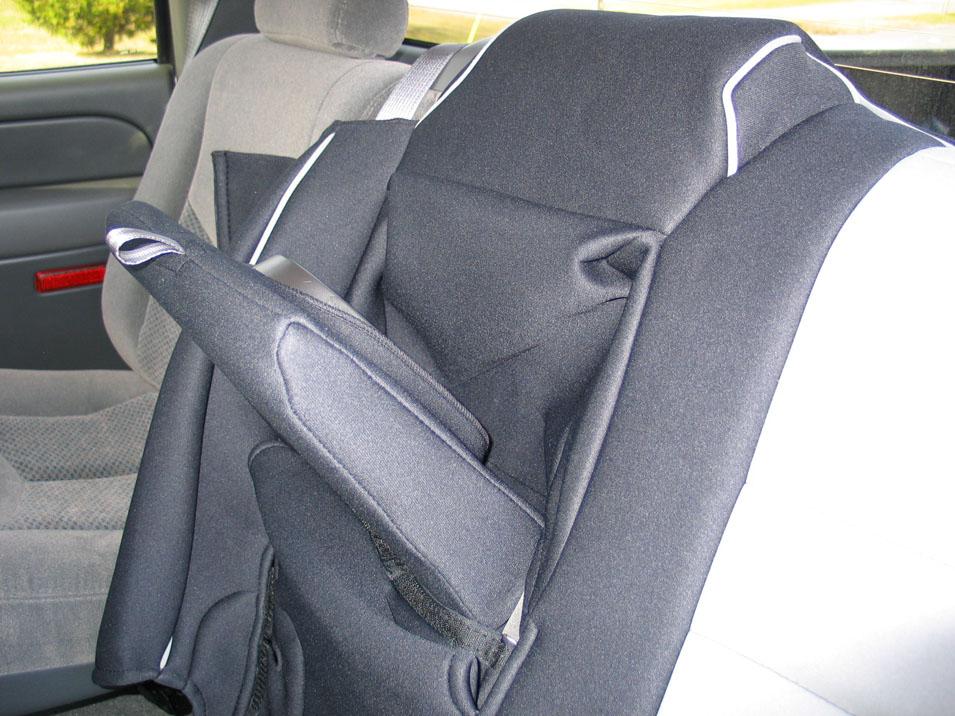
The seatbelt buckles remain on the outside of the cover. | ||||||||||||||||||
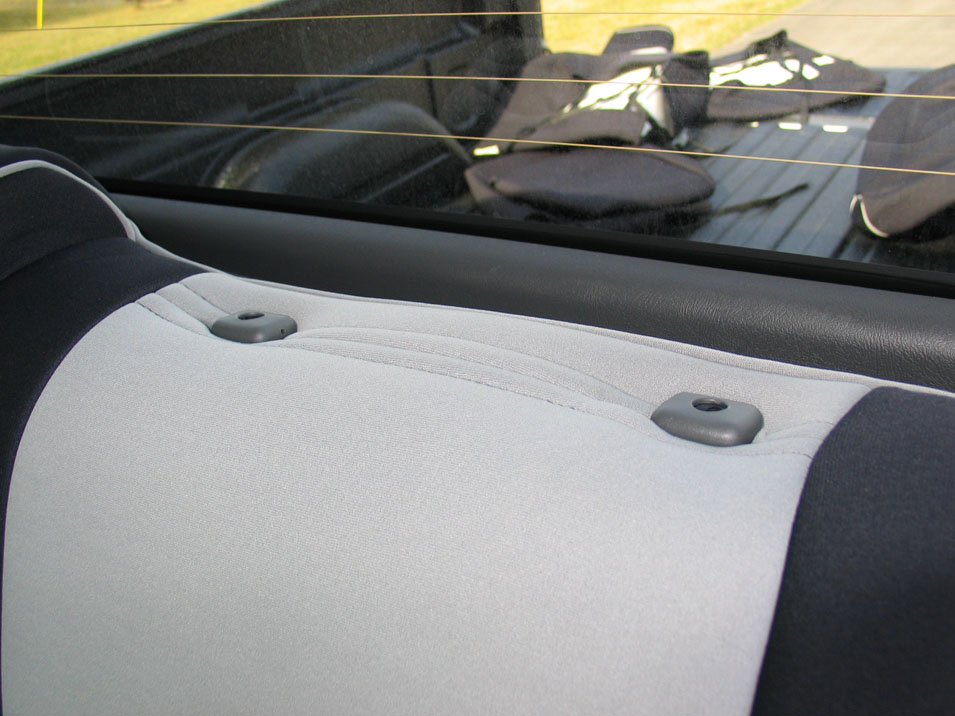 |
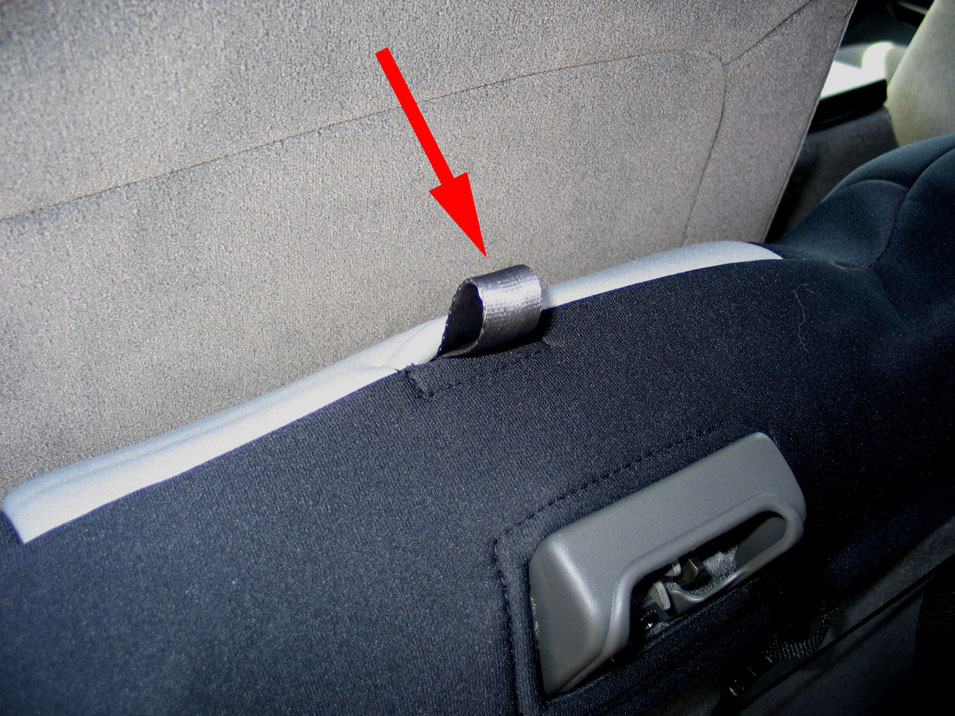
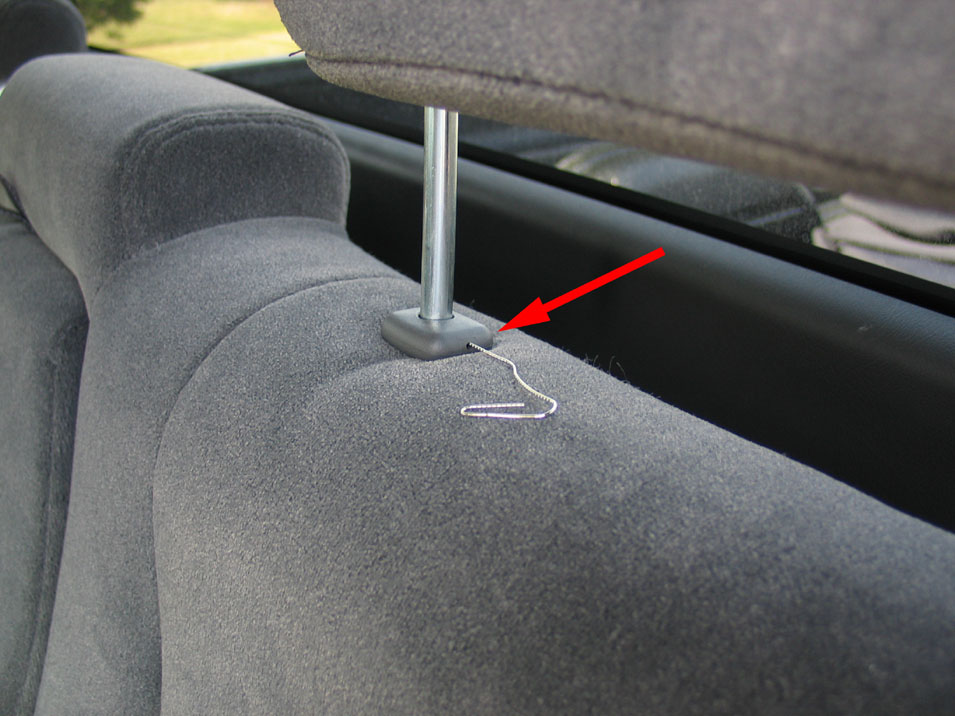
The headrest retainers pop through two small slits in the top of the cover. | ||||||||||||||||||
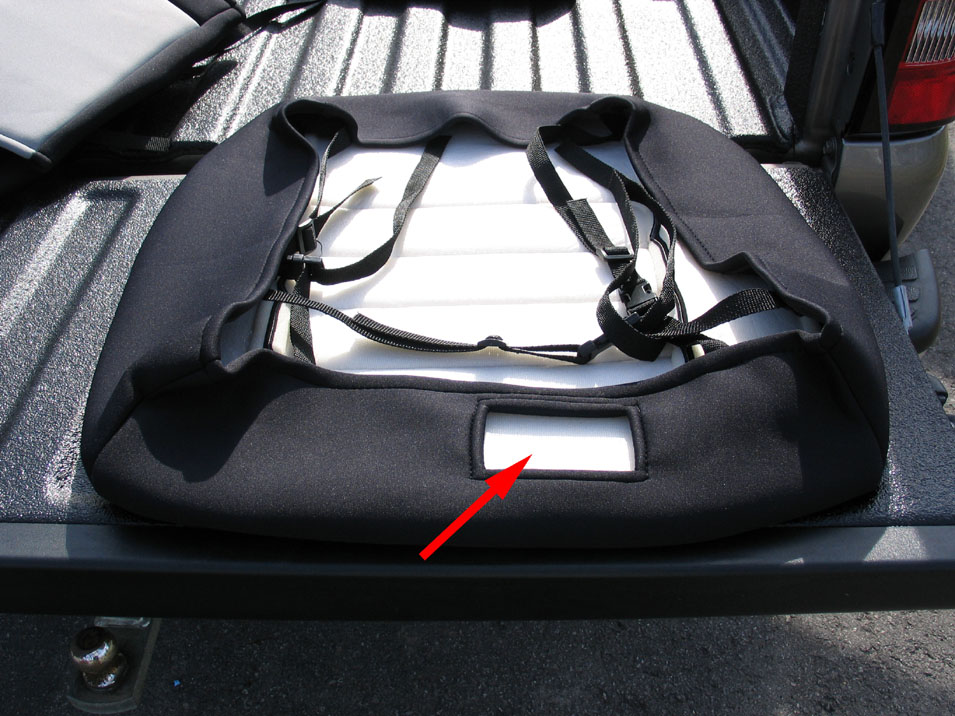
 |
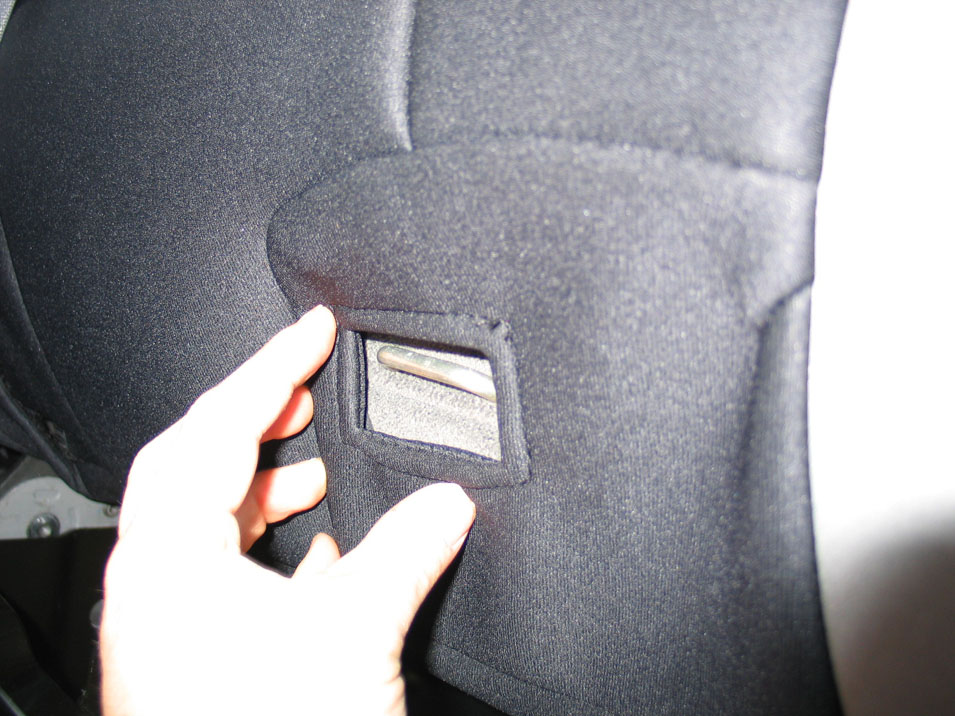
The seatbelt for the centre passenger feeds through a special slot. | ||||||||||||||||||
 |
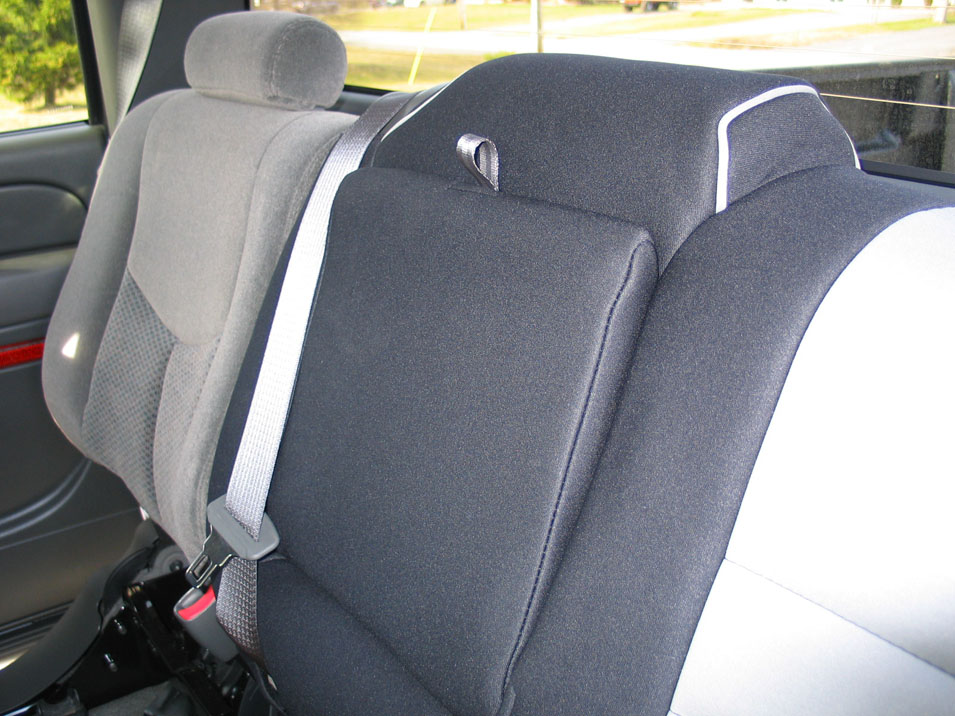
The rear headrest covers simply slip over the headrests... | ||||||||||||||||||
 |
... and Velcro together underneath. | ||||||||||||||||||
 |
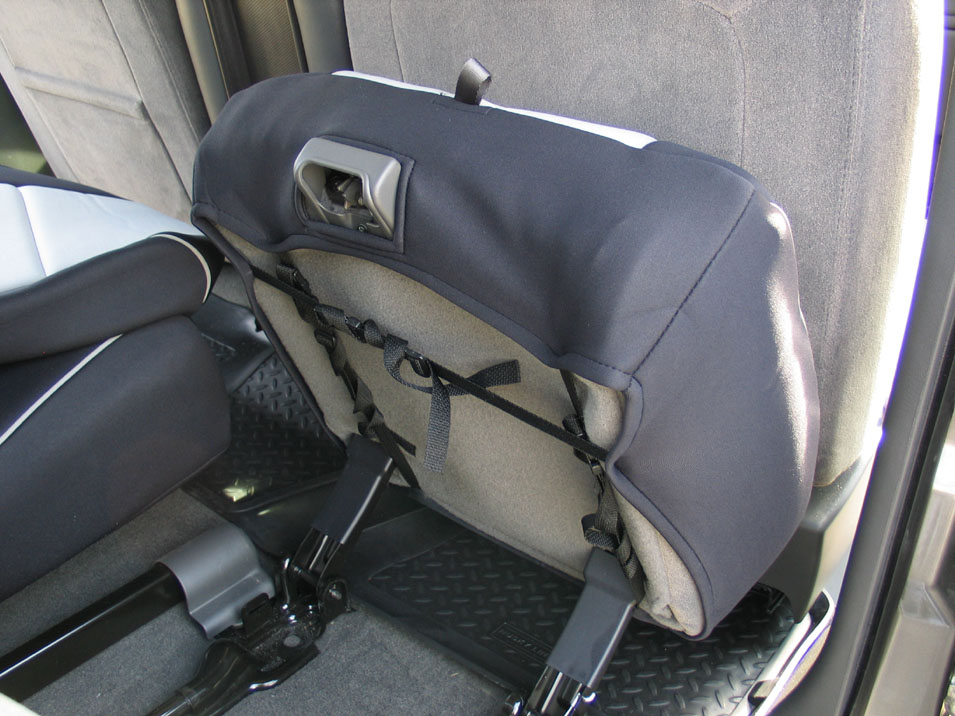
Once you get the cover on and correctly positioned, it's just a matter of doing up all the Velcro connections. Driver's side rear covers installed. |
||||||||||||||||||
 |
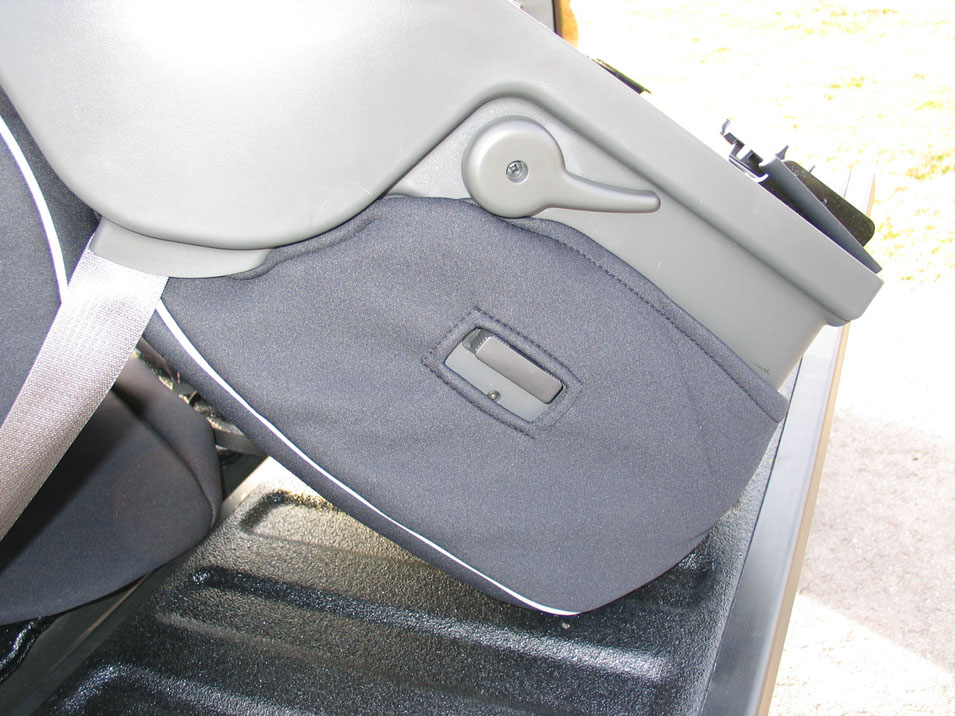
The passenger's side rear covers go on in the same fashion, except that there is no armrest/cupholder to deal with. | ||||||||||||||||||
 |
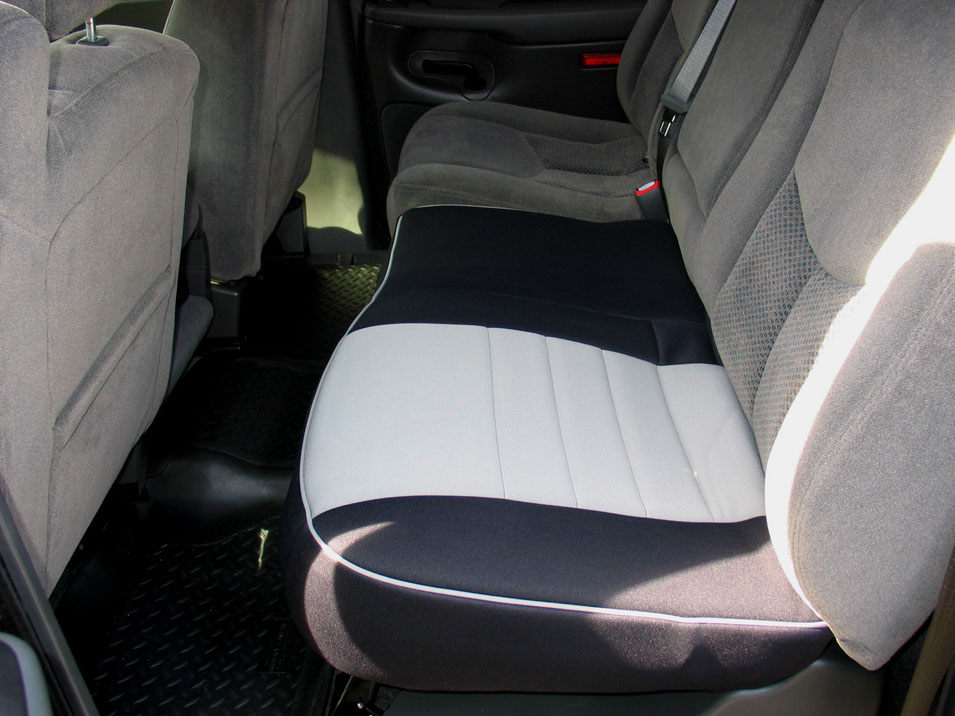
Rear seat covers installed. | ||||||||||||||||||
Front Seats |
|||||||||||||||||||
 |
Start by removing the front headrests using the same technique as for the rear. | ||||||||||||||||||
 |
It's not immediately obvious which way the front headrest covers go on, but the more "rounded" looking side goes to the front. | ||||||||||||||||||
 |
If you put them on the wrong way around, this is what it looks like underneath when you do them up. Note the excessive strain around the metal posts. |
||||||||||||||||||
 |
This is what it should look like when you do them up. | ||||||||||||||||||
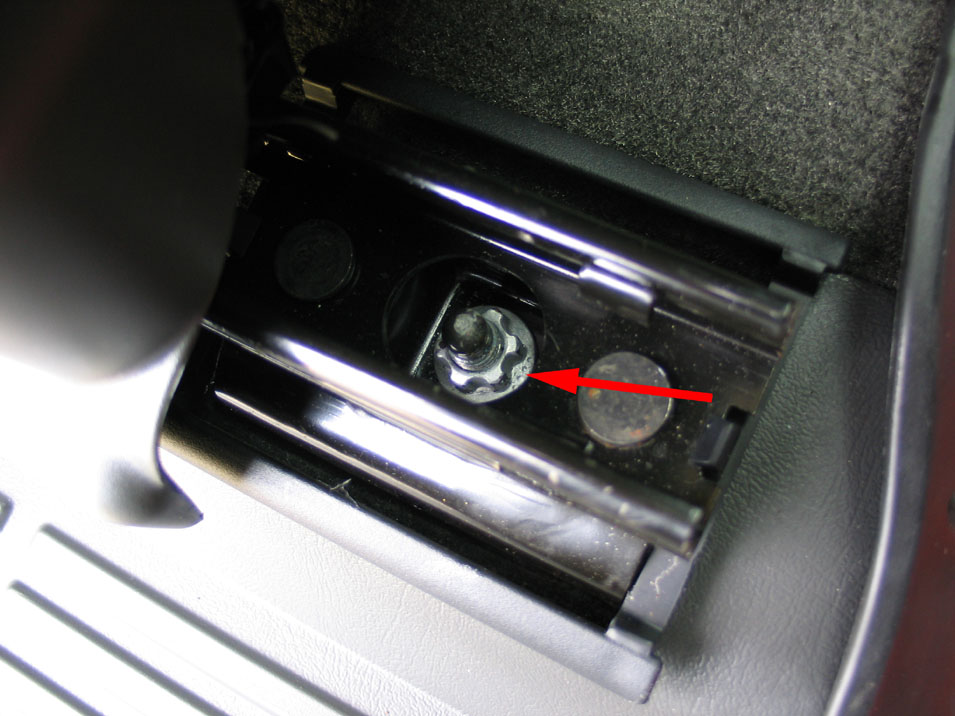 |
It is FAR easier to install the front seat covers with the seats removed, than with them still in the truck. The seats all come out very easily with the removal of just eight nuts/bolts (the jump seat is held in by the inboard nuts and bolts of the driver's and passenger's seats.) At the front of the driver's and passenger's seat, remove the two 6-point nuts. If you don't have a 6-point socket, you can use 12-point socket that fits snugly. |
||||||||||||||||||
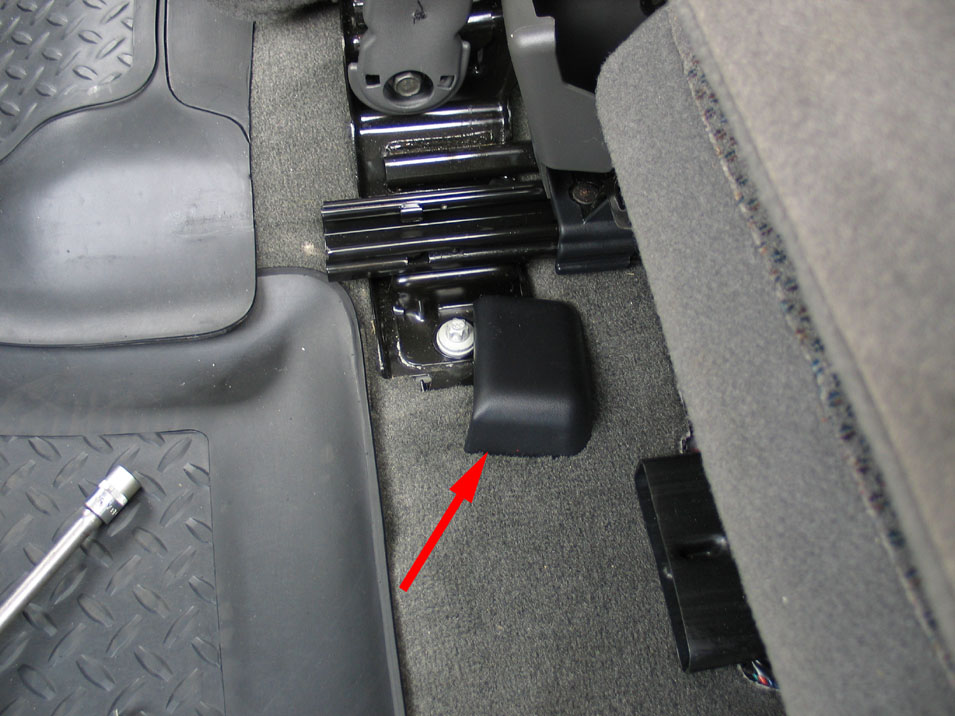 |
The rear use bolts rather than nuts. On the inboard sides they are covered by these little black plastic covers that simply pry off and out of the way. | ||||||||||||||||||
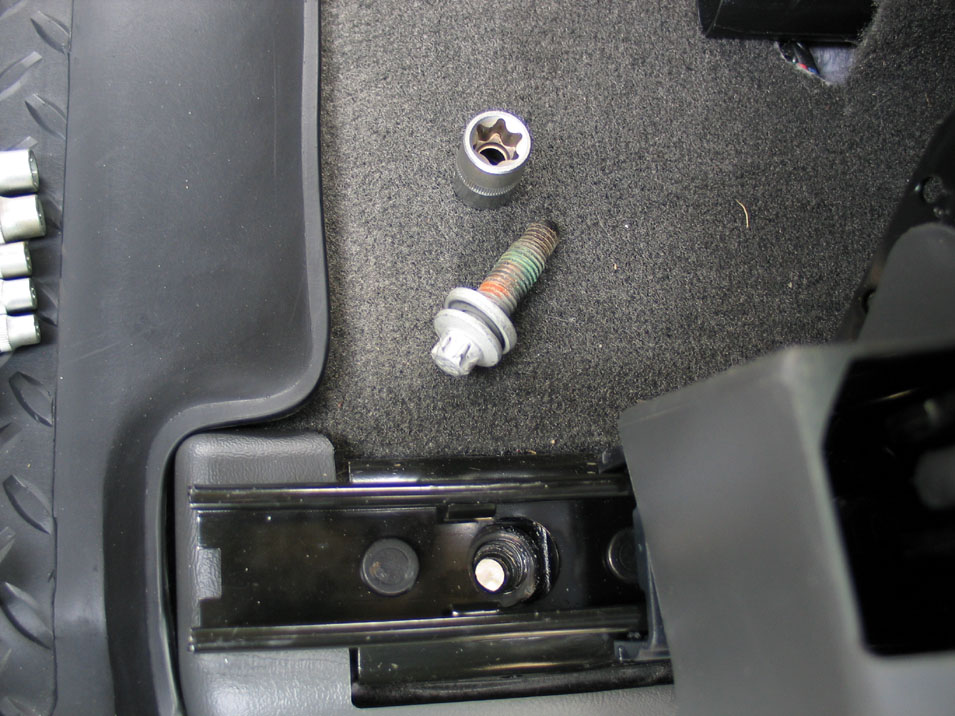 |
This is a bolt from the rear mounting point, shown next to the proper 6-point socket. | ||||||||||||||||||
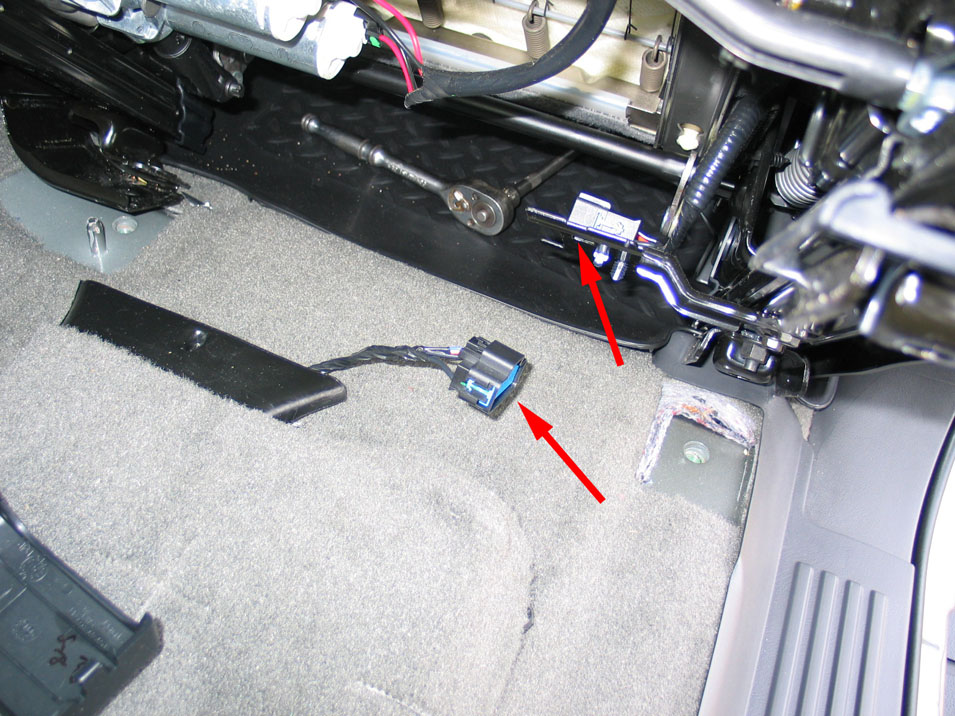 |
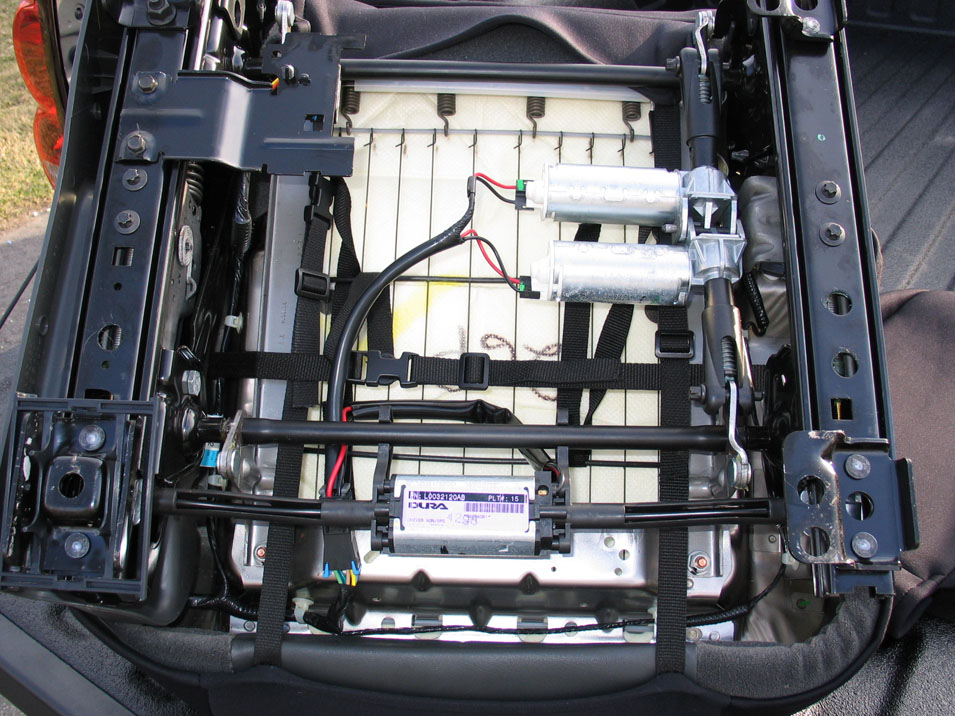
If your seats have power-adjustments, be sure to disconnect the electrical connectors prior to lifting the seat out of the vehicle. This pic shows the underside of my driver's side front seat with the two halves of the connector indicated by the red arrows. The easiest way to disconnect the electrical connectors is actually to slide the seat all the way forward and then reach under the seat from behind, before you remove any of the bolts. Of course I only figured this out after removing the bolts, tilting the seat, and balancing it on my head while I ducked underneath to pry apart the connector! |
||||||||||||||||||
 |
If you have power-adjust seats, the seat cushion cover will have a cut-out for the power adjuster. This is the driver's side cover for my truck. |
||||||||||||||||||
 |
With the seats out of the truck, start with the seatback covers. Open all the Velcro connections, lay the cover on the seat, and tuck the bottom edge of the cover down between the seat cushion and the seatback. |
||||||||||||||||||
 |
Then lift the cover over the seatback, pull it into position until snug, and do up the Velcro connections. | ||||||||||||||||||
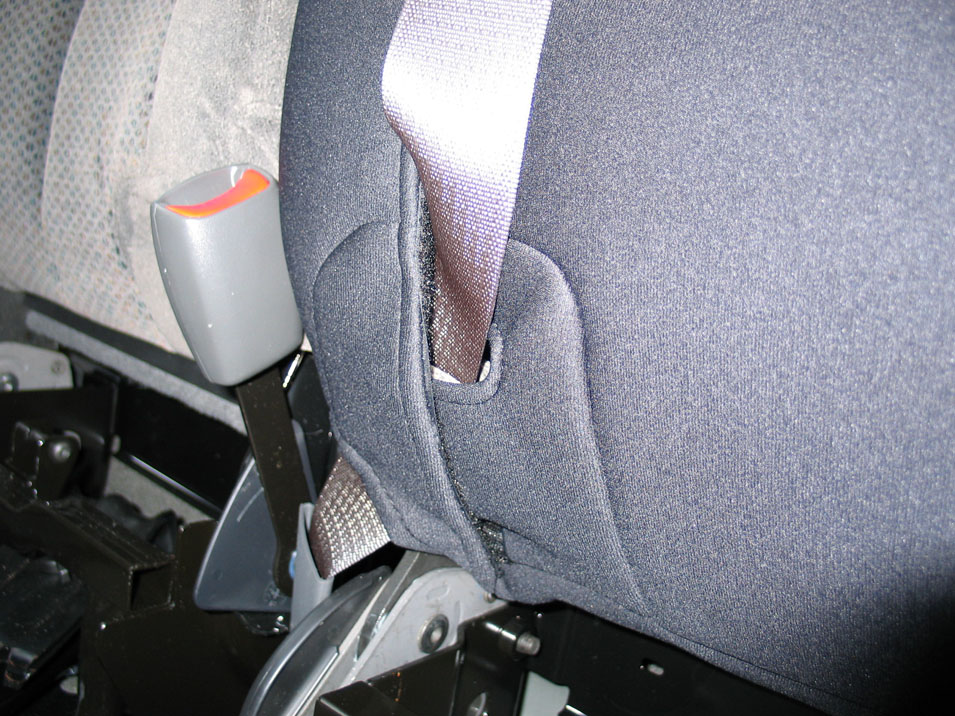
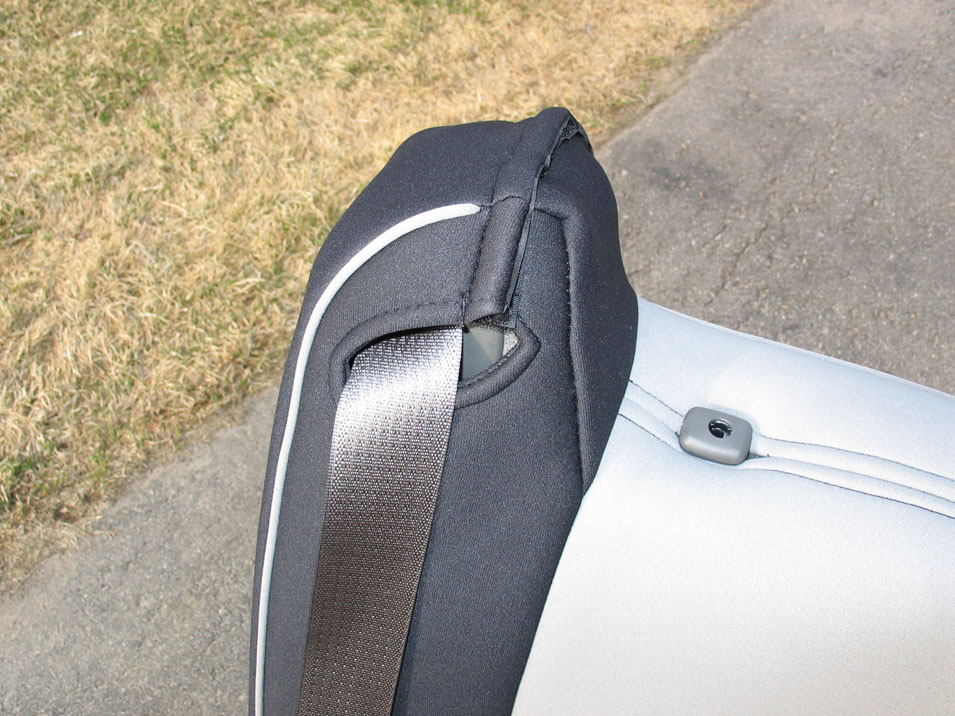 |
The integrated seatbelts exit through a slot. | ||||||||||||||||||
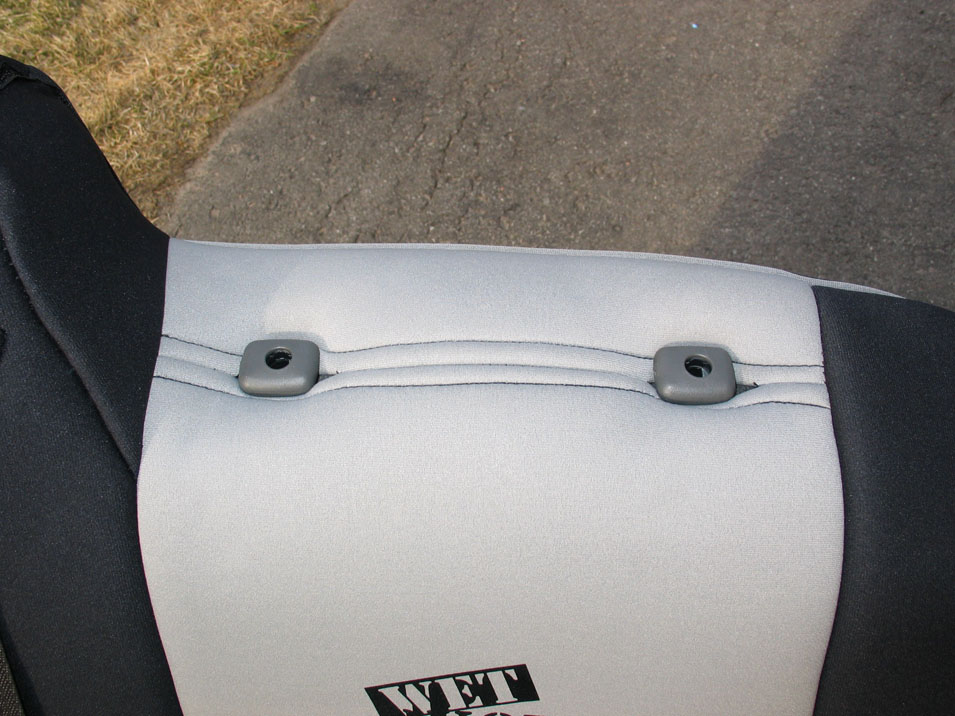 |
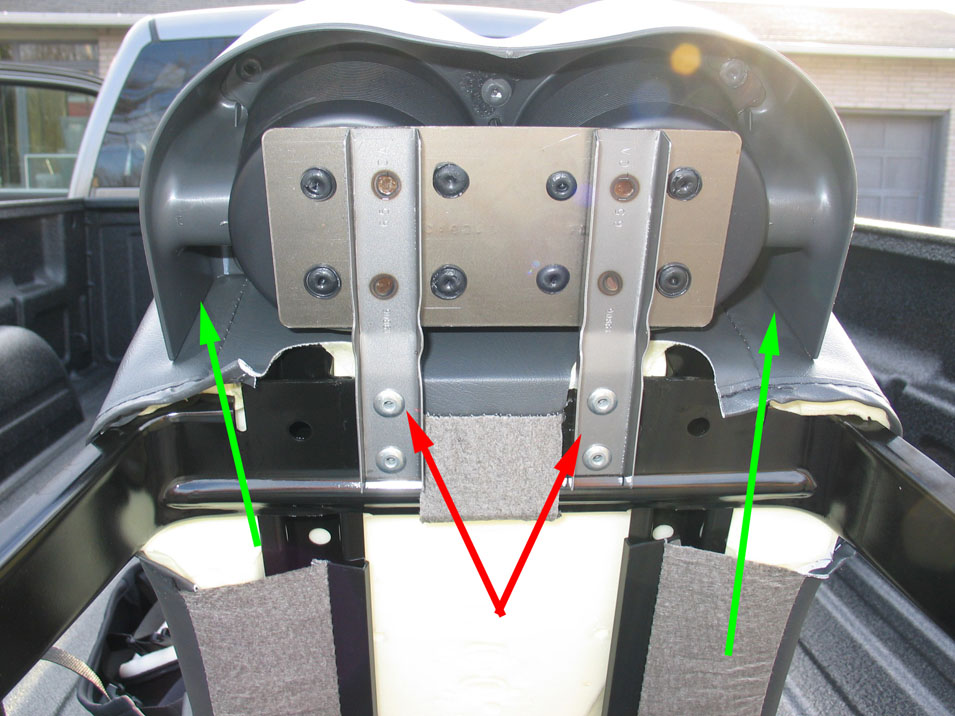
Pop the headrest retainers through two small slits in the top of the cover. | ||||||||||||||||||
 |
Pic showing the Velcro connection on the back of the seatback. Do both of the seatback covers in this fashion for the main front seats first, then move onto the seat cushion covers. |
||||||||||||||||||
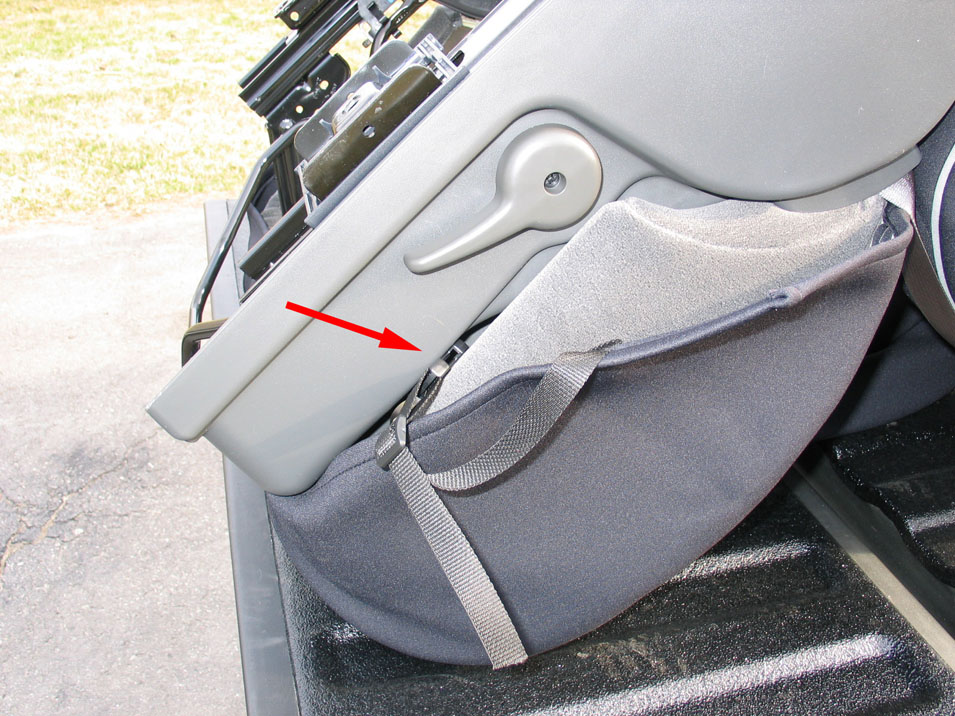 |
The next six pics show the passenger's (non-power) seat. Stretch the seat cushion cover over the seat, then flip the seat over. Towards the front of the seat, where there is clearance, fit the buckle from the strap (red arrow) through the gap between the seat cushion and the plastic base. |
||||||||||||||||||
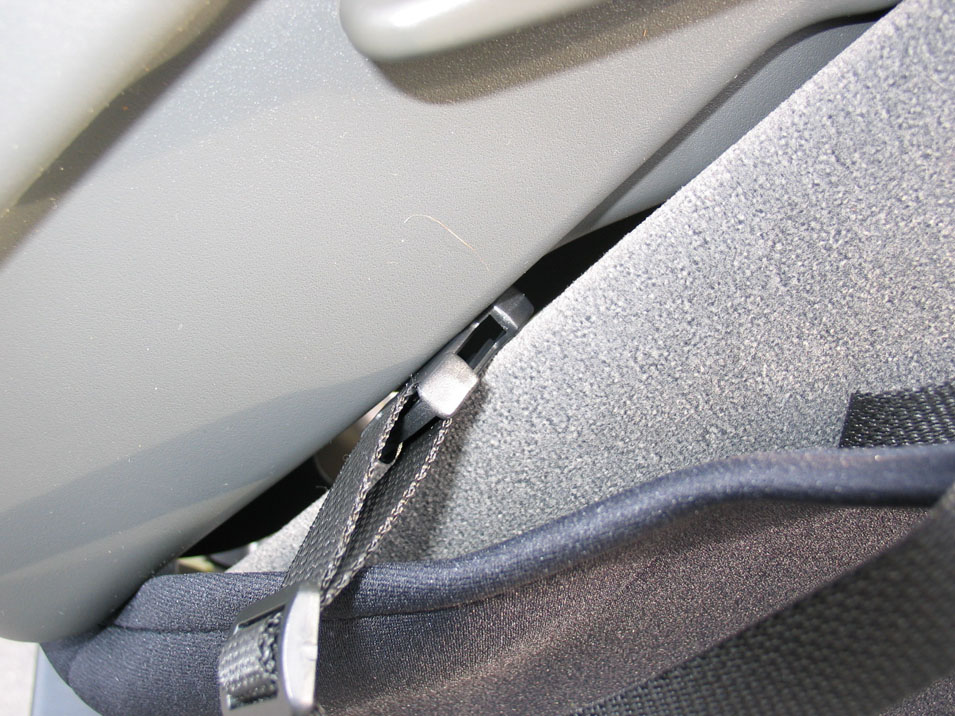 |
Close-up of buckle being fed through the gap. | ||||||||||||||||||
 |
After the strap is fed through, tuck the edges of the cover in around the plastic. | ||||||||||||||||||
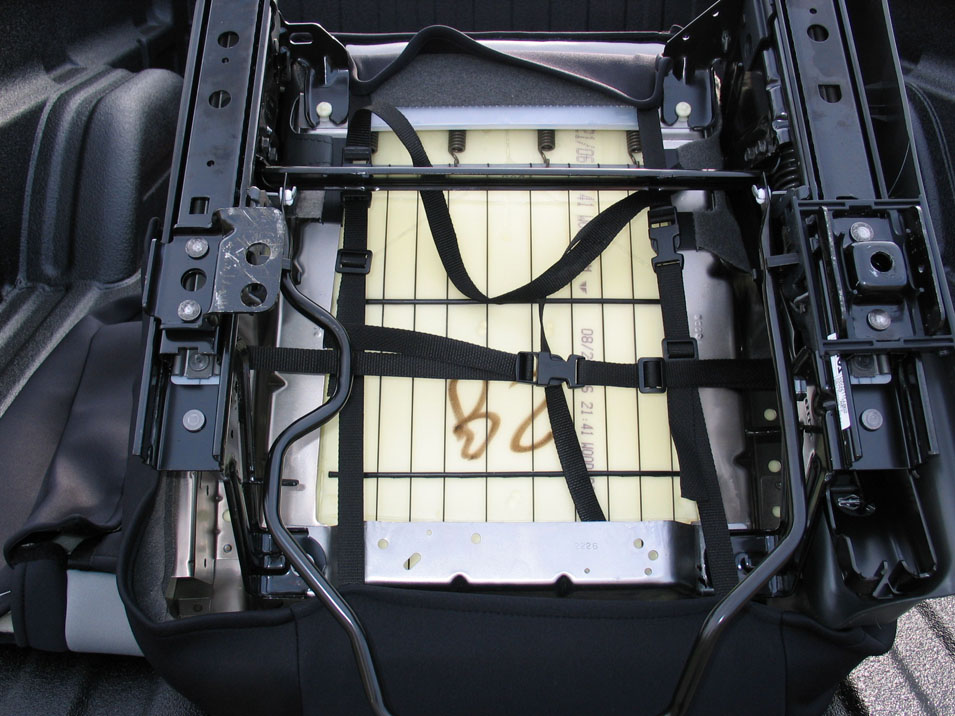 |
Fit the buckle on the other end of the strap through the other side in the same fashion . With the buckles fed through, slide the strap up so that it stretches straight across the bottom of the seat. Connect and tighten all the straps. |
||||||||||||||||||
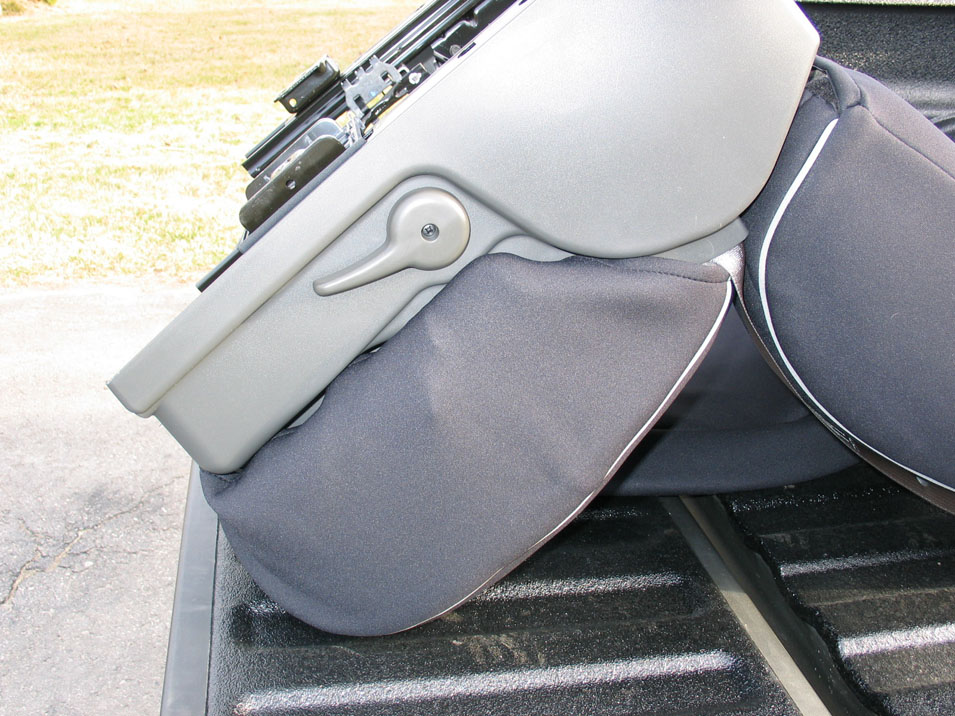
 |
Completed front passenger seat. | ||||||||||||||||||
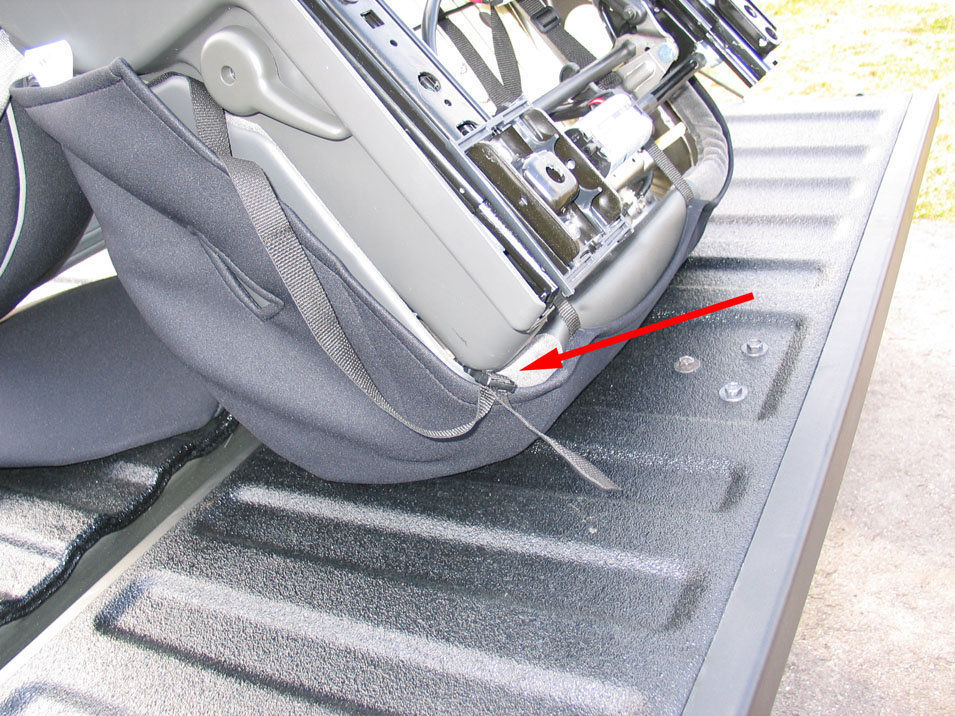 |
The front driver's (power) seat is completed in much the same way, except that you have to feed the buckle through way up at the front where there is a sufficient gap (red arrow). | ||||||||||||||||||
 |
Close-up of buckle being fed through on driver's (power) seat. | ||||||||||||||||||
 |
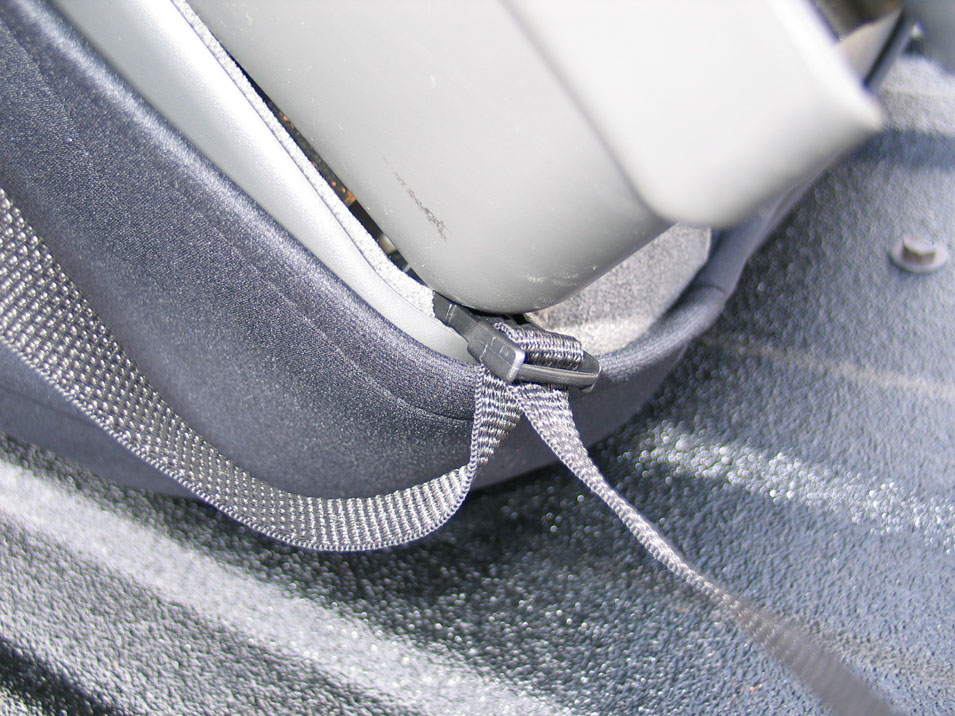
Again, tuck the edges of the cover in around the plastic, and make sure the cut-out allows easy access to the power adjuster. | ||||||||||||||||||
 |
With the buckles fed through, slide the strap up so that it stretches straight across the bottom of the seat. Connect and tighten all the straps. |
||||||||||||||||||
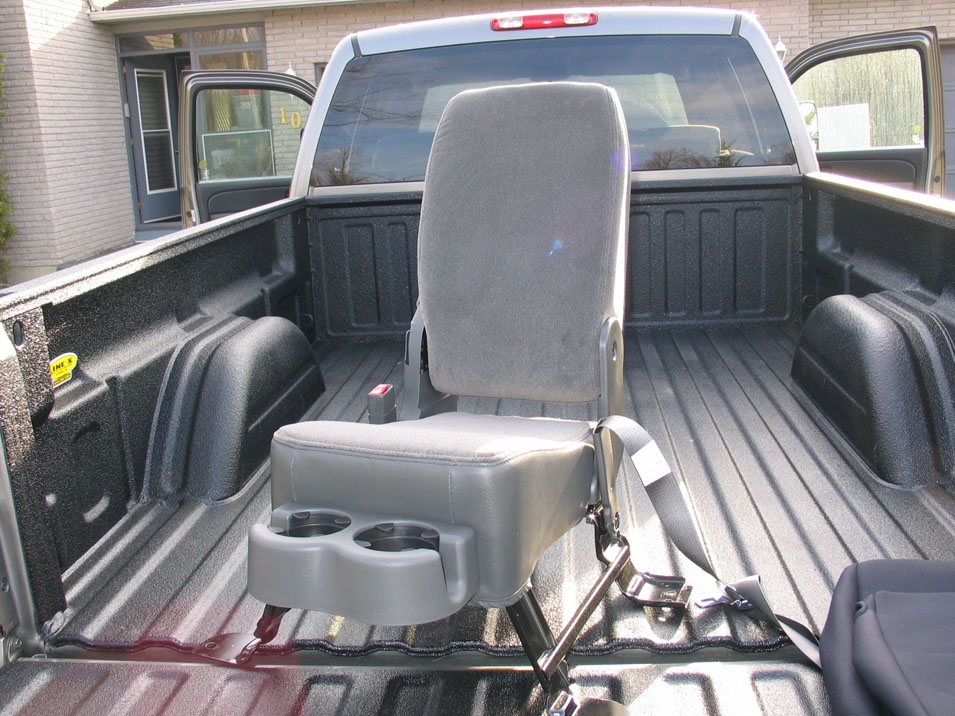 |
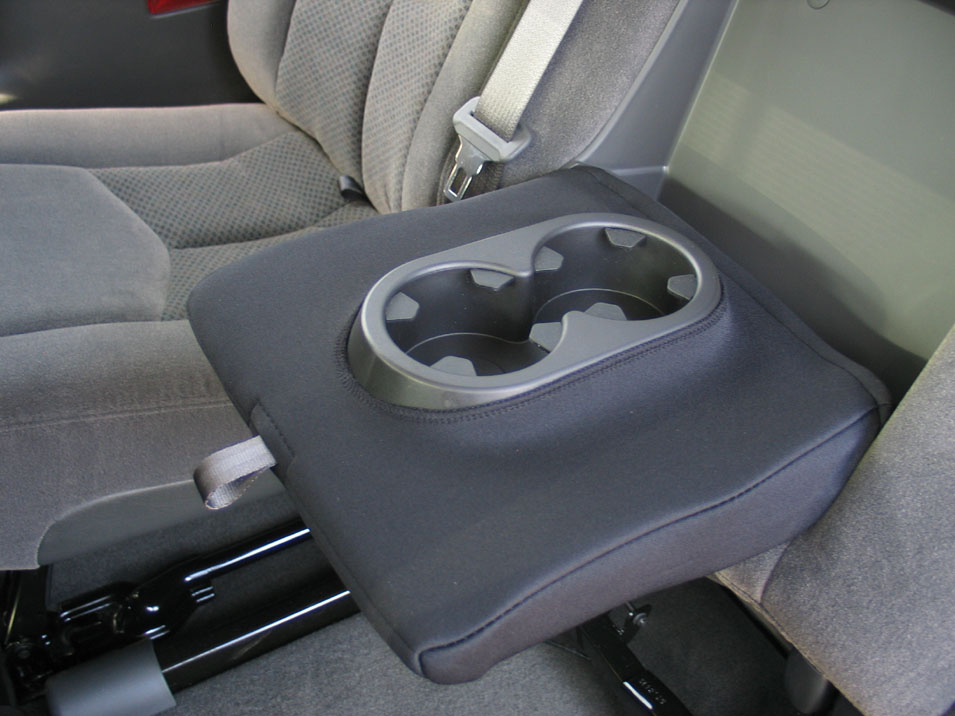
The final step before re-installing the front seats is to do the front centre jump-seat. You simply stretch the covers over the seat and do up the straps and Velcro |
||||||||||||||||||
 |
The only catch is the way the cup-holders are riveted onto the seat - making it impossible to loosen them so the cover can be fitted between the seat and cup-holders (green arrows). I just applied a little downward pressure on the top of the cup-holders and this created sufficient gap for me to tug and wrestle the cover down between the cup-holders and the seat cushion. |
||||||||||||||||||
 |
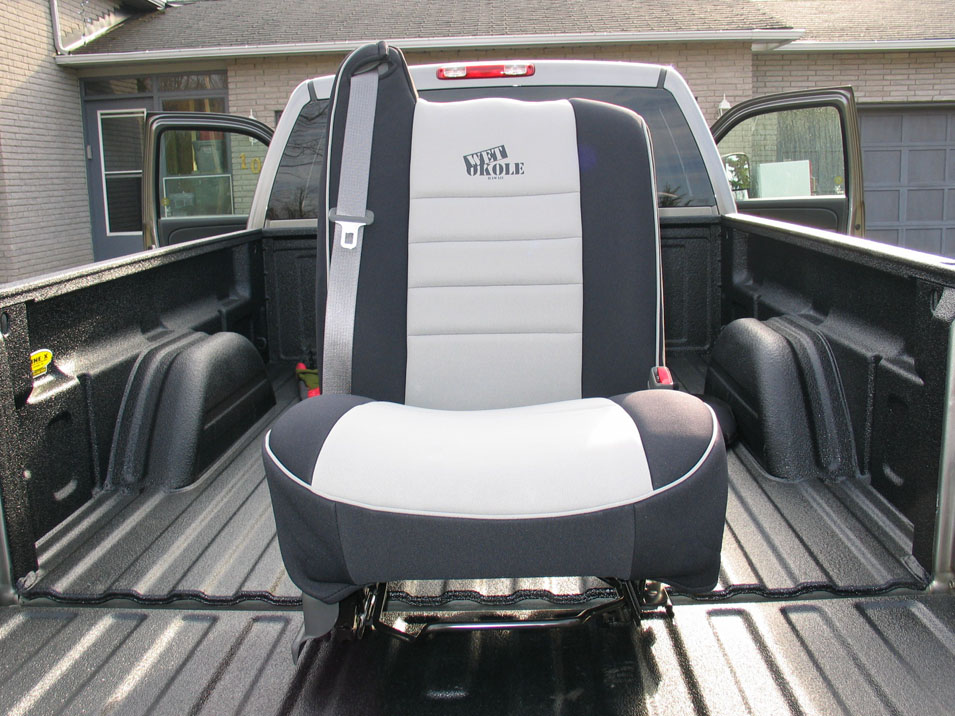
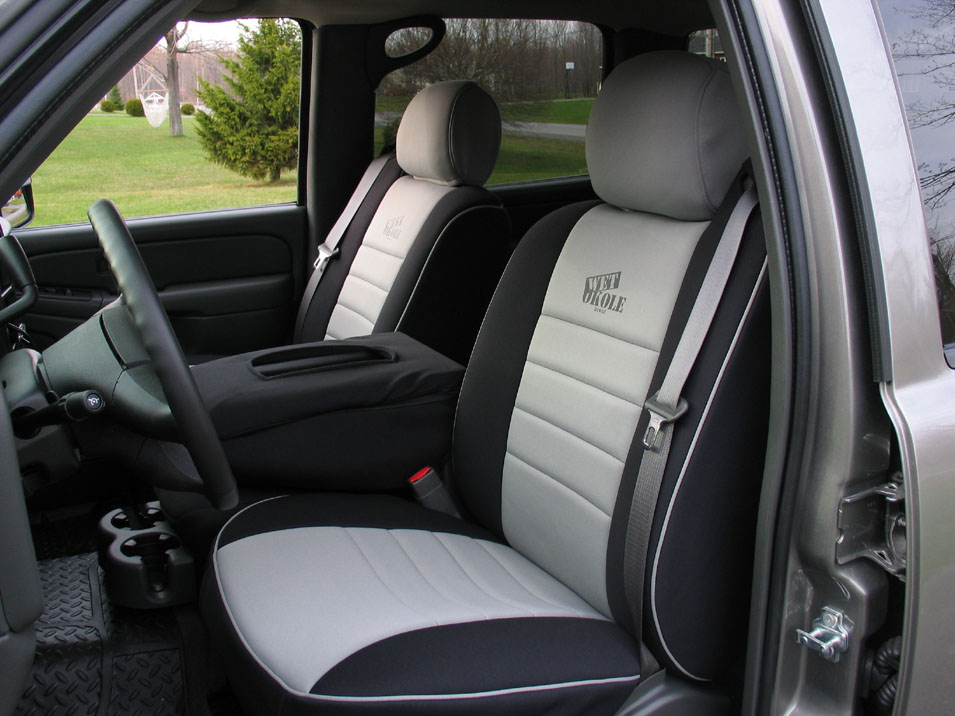
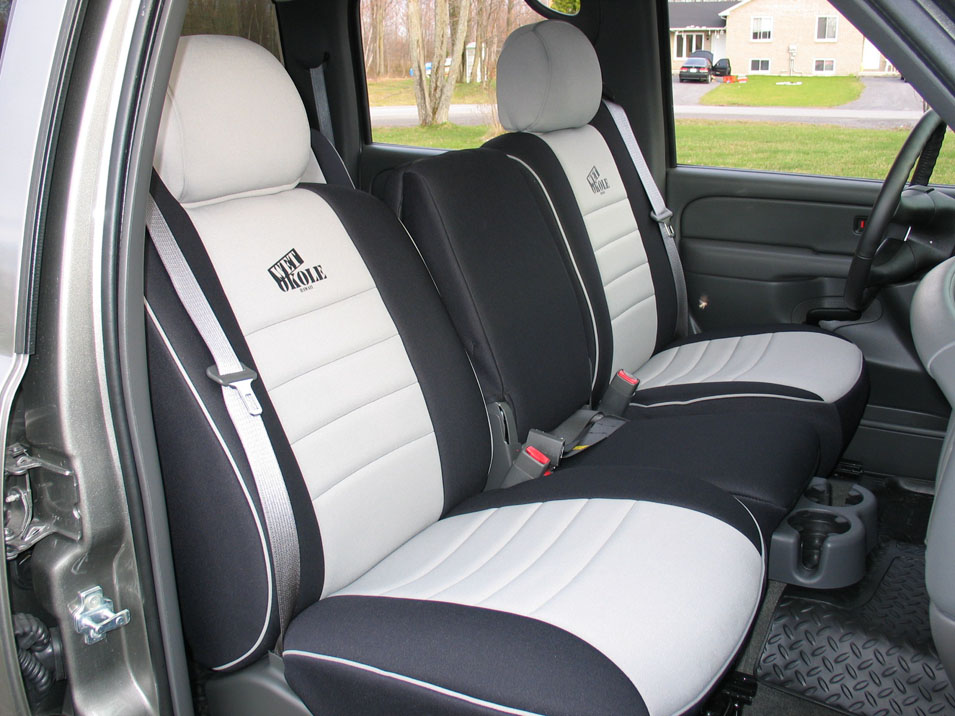
Here are the completed front seats. When re-installing the seats, remember to reconnect any electrical connectors and to torque the nuts and bolts to the correct factory specification. This is particularly critical in this style of truck where the seatbelts are integrated into the seats. |
||||||||||||||||||
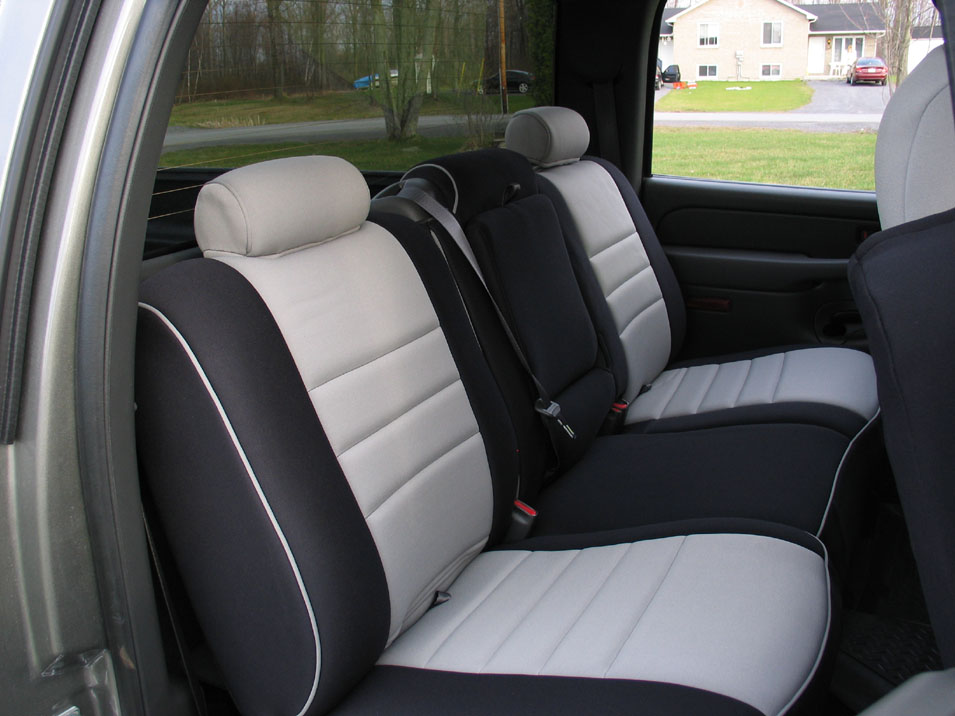
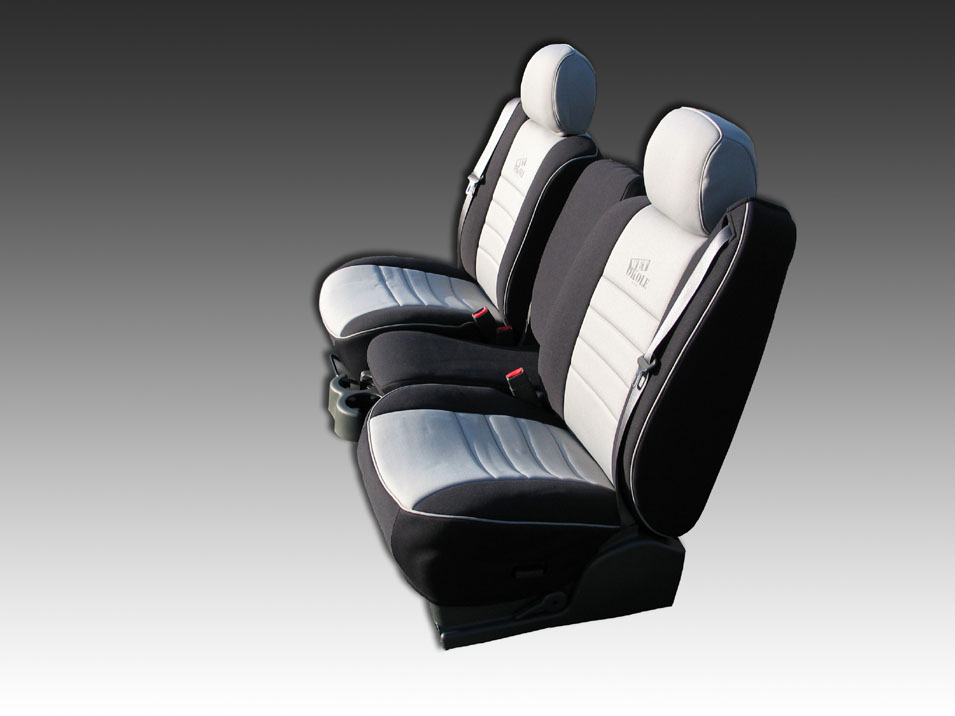
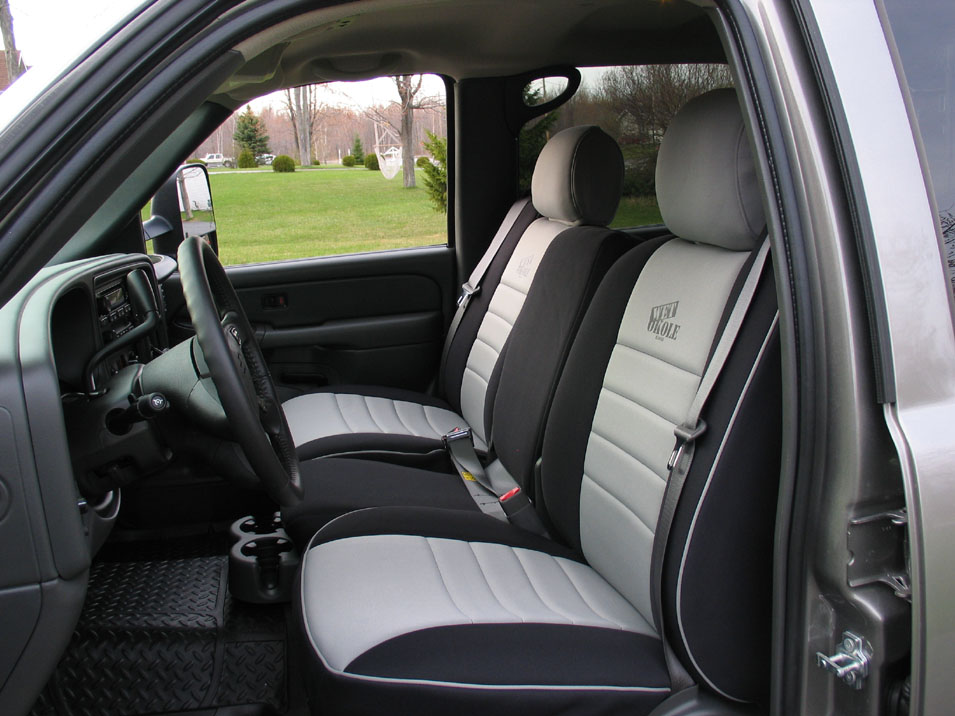
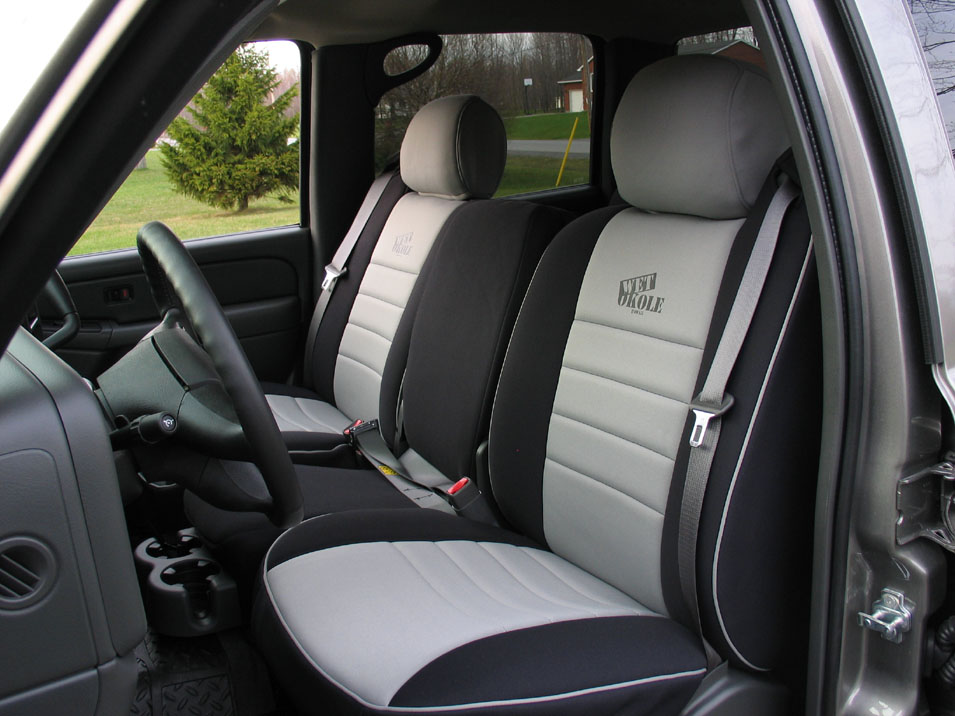
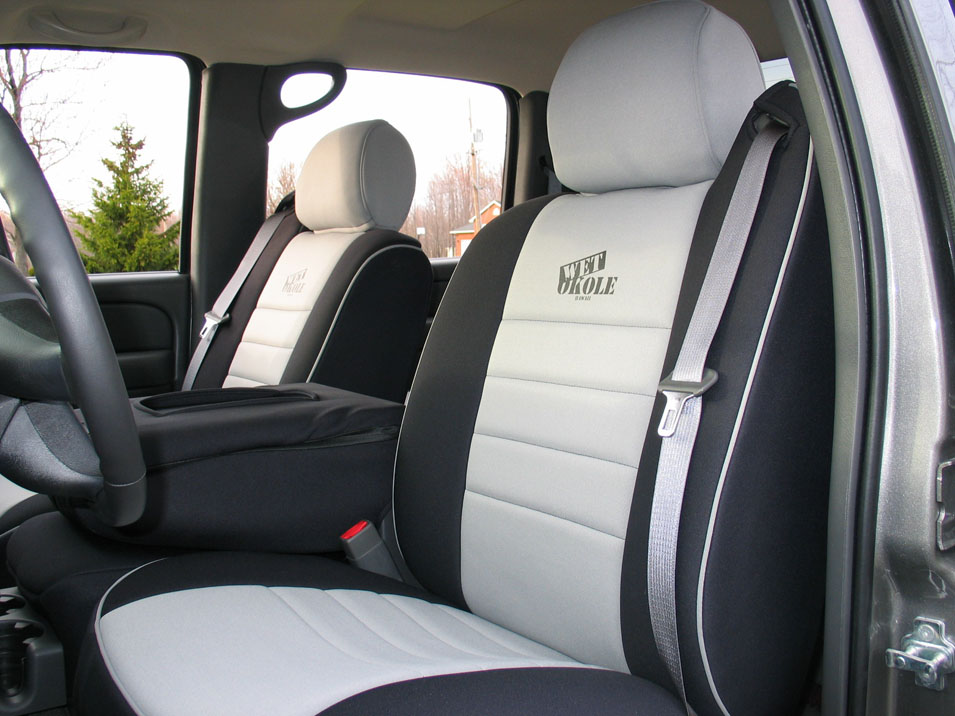
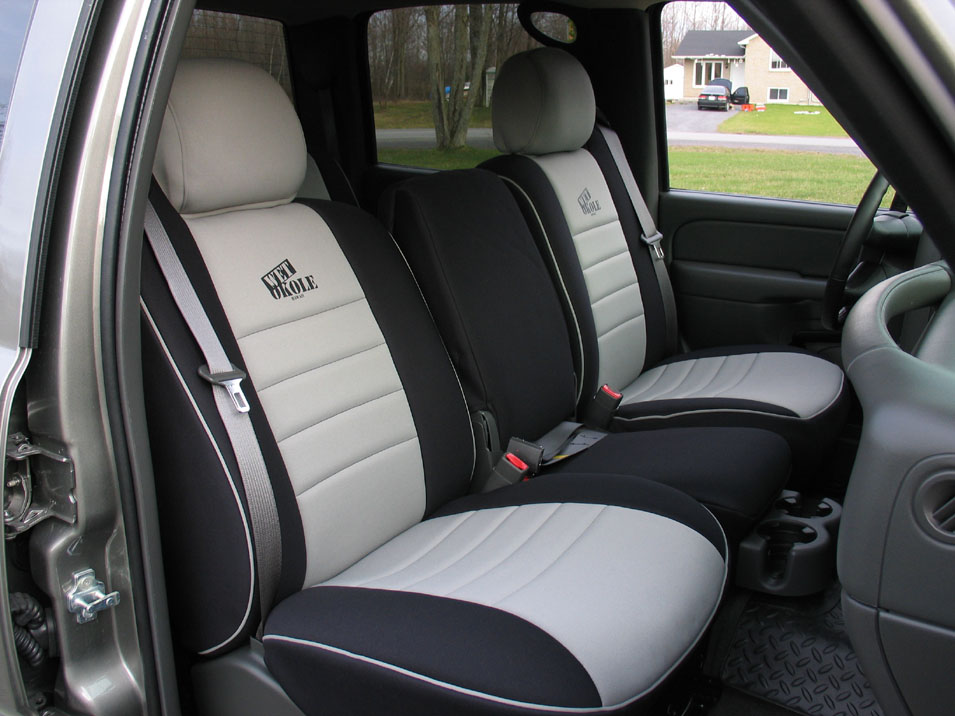
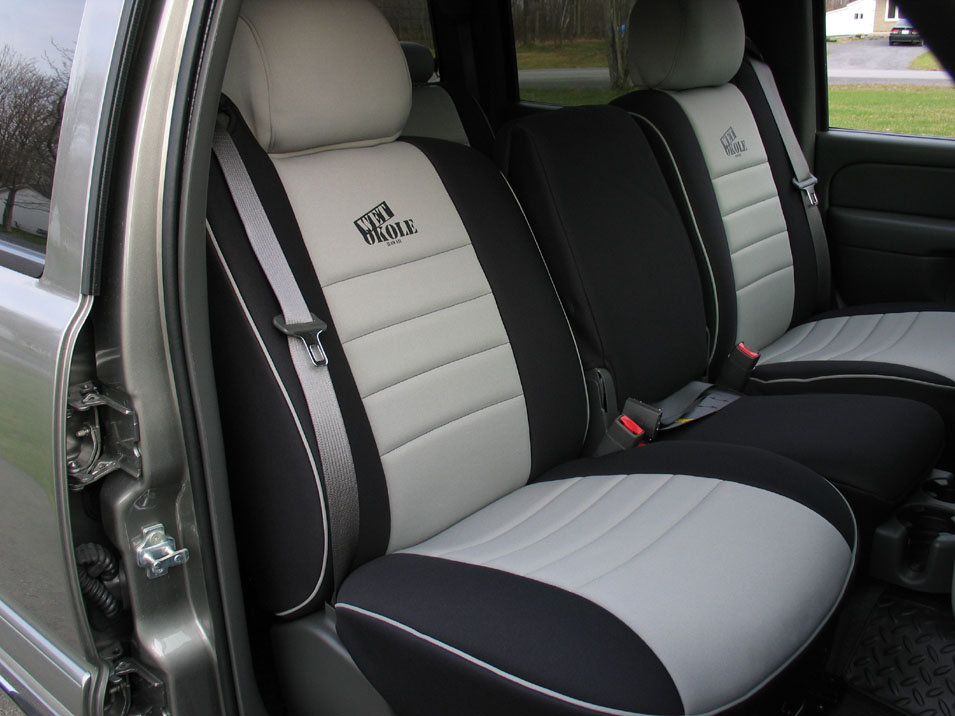
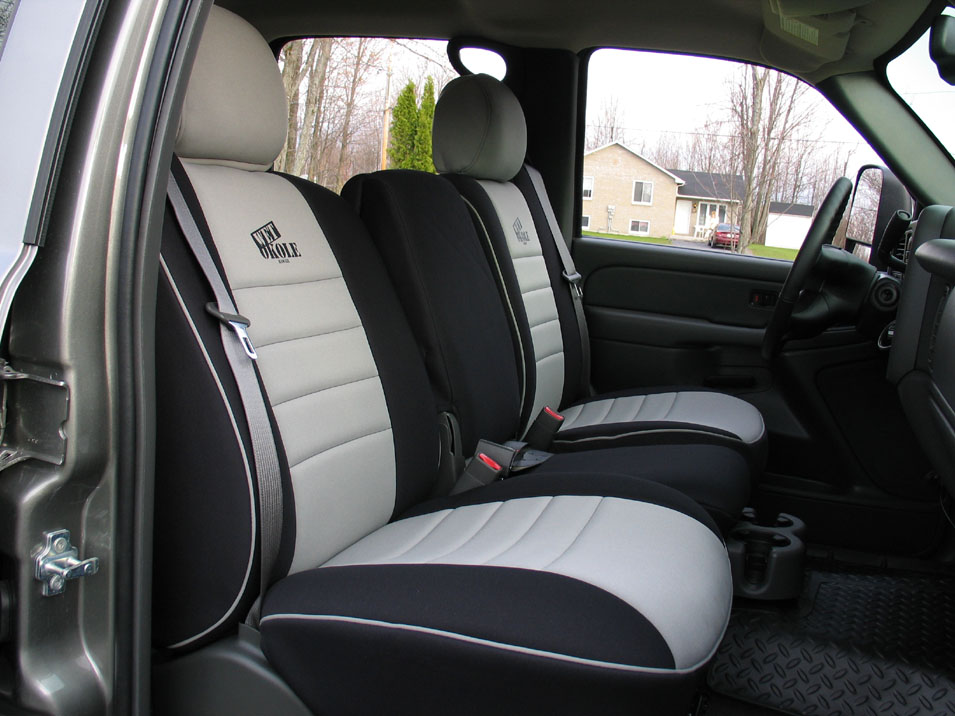
Gallery of Completed Front Seats(be sure to click to open, then expand to view the full-size versions)
Gallery of Installed CoversRear Seats
Front - Driver's Side
Front - Passenger's Side
ConclusionI'm very pleased with my Wet Okole seat covers. They're a top-quality product that compliments my new truck. They fit extremely well. They look great. They're made in the U.S.A. from top quality nylon-laminated neoprene with 1/2" foam padding in the seating surfaces. They're waterproof, easy to clean (with wet suit shampoo) and don't get hot in the summer or cold in the winter. Now I can use the truck the way I want - the dog can clamber in and out, the kids can eat and drink in the back, and we can all pile in after a long day of muddy 'wheeling or fishing or camping and I can relax knowing my seats are protected and I can clean up easily when we're done. |
|||||||||||||||||||
|